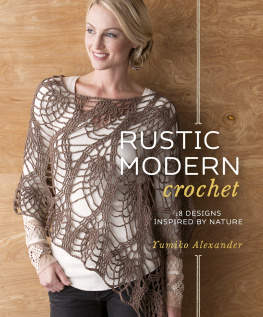
rustic modern
crochet
18 Designs Inspired by Nature
Yumiko Alexander
Introduction
Knitting and crochet have made my life in the United States very beautiful. When I moved here from Japan, my English was limited and everything was new to me. Although the language and culture in the United States and Japan are very different, knitting and crochet have remained a constant in my life. I have enjoyed communicating with people and expressing myself through my design work, and I have met many wonderful friends through knitting and crochet.
Looking back, it is easy to see the path that brought me here. First, my mother is a fiber artist. Because of her, I grew up in a world full of texture and color. My grandparents owned a tailoring business. From them, I learned to pay attention to detail and to appreciate fine handwork.
Around the age of eleven, I spent a lot of time looking at yarns through the window of a shop next to where my mom bought groceries. One day we went in and she purchased a book, yarn, and needles for me. I studied the book, practiced the techniques, and eventually taught myself how to knit.
Once I began making clothes, I needed to figure out how to change the sizes and adapt patterns, because in Japan, the patterns are written for only one size. Soon I was trying new stitches, changing and adapting the patterns to suit me. The next logical step was to design my own patterns, so I did.
When I was twenty-two, I met a knitwear designer at an exhibition. She helped me improve my skills and taught me more about the design process. That took me in the direction of designing and selling original sweaters for stores in Japan.
In my late twenties, I married an American and moved to the United States. When I started living in Arizona, I did not expect to encounter a large knitting and crochet community due to the warm weather. Eventually, though, I met a knitter who invited me to speak about my knitting and crocheting at a guild meeting. At the meeting, I realized there were others in Arizona who enjoyed making knitted and crocheted items as much as I did. I attended another fiber event and took a class from a local store owner. She told me about her store, Tempe Yarn & Fiber, and explained how several people met there regularly to crochet and knit. Today, I visit the store frequently and enjoy being surrounded by yarn, lots of colors, texture, and good friends who are always willing to try on my designs for style and fit. I bribe them with yummy desserts on help me name my designs day.
My design ideas come from what I want to have in my closet. Each design needs to be something I wont find in the usual clothing stores. I love texture as much as I love color. I believe the possible combinations of stitches are endless. I spend long hours with my swatches, trying everything I can think of as I listen to the yarns tell me how they want to be crocheted or knitted. I want to create things I can be proud to wear and use, both functional and fashionable.
lacy shoals
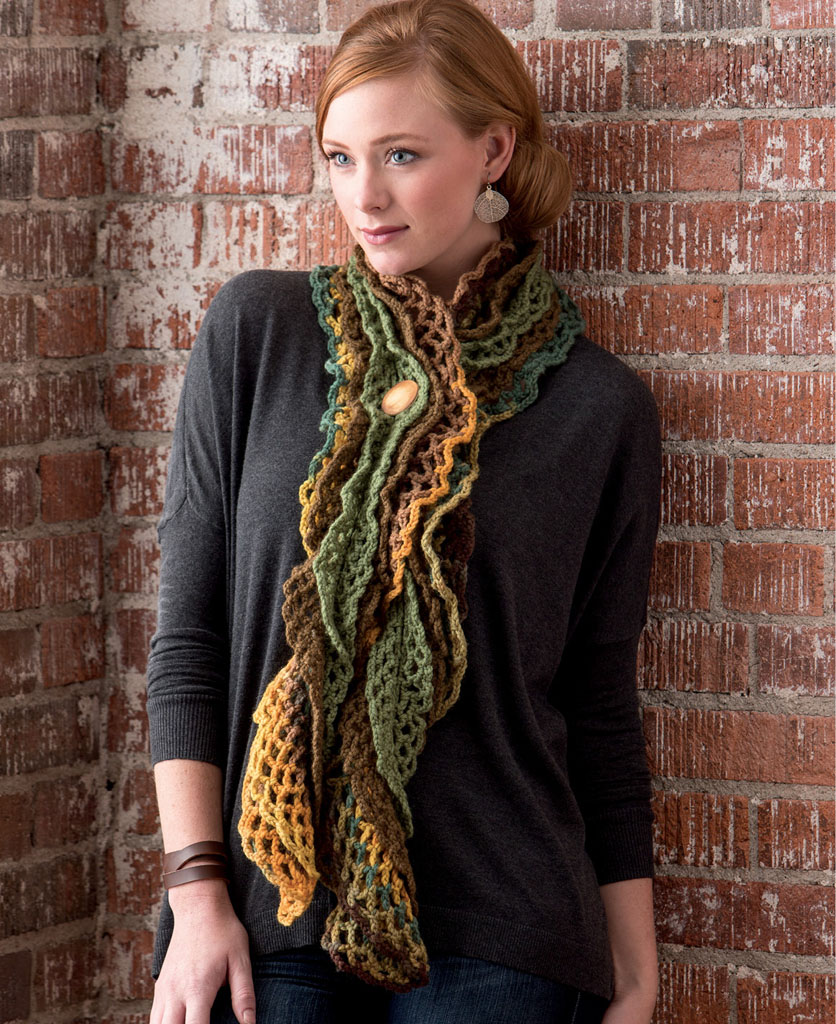
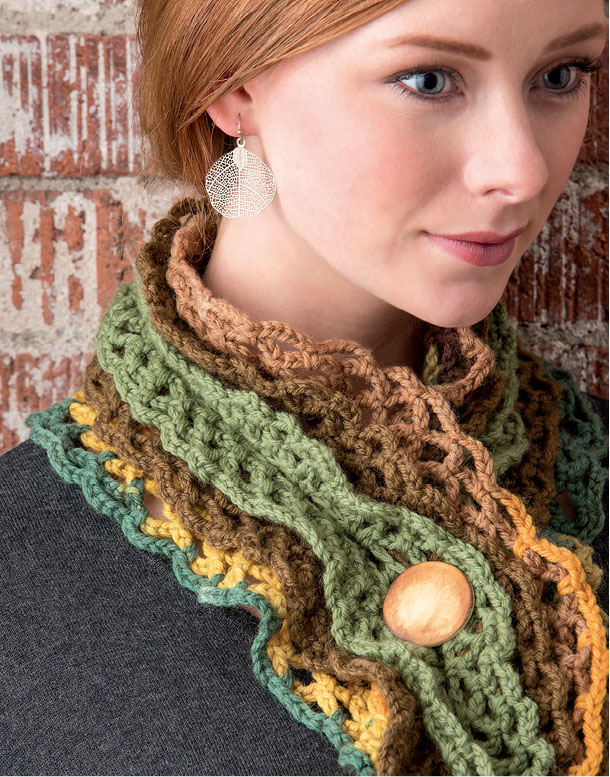
While organizing my fabric stash, I found myself creating piles with larger pieces at the bottom and smaller pieces on top. That is how I came up with this design. This three-tier scarf is joined together as you go, so there are no seams to sew at the end. If you want to experiment, try combining different fibers, textures, colors, and weights of yarn to create your own unique version of this fun pattern.
Finished Size
6" (15 cm) wide and 60" (152.5 cm) long, unstretched.
Materials
yarn
Worsted weight (#4 Medium).
shown here: Universal Yarn Deluxe Worsted (100% wool; 197 yd/100 g): #12183 City Turf (A) and #12181 Bronze Brown (B), 1 skein each.
Universal Yarn Deluxe Worsted Long Print (100% wool; 197 yd/100 g): #03 Autumn Equinox (C), 2 skeins.
hook
J/10 (6.0 mm). Adjust hook size if necessary to obtain correct gauge.
notions
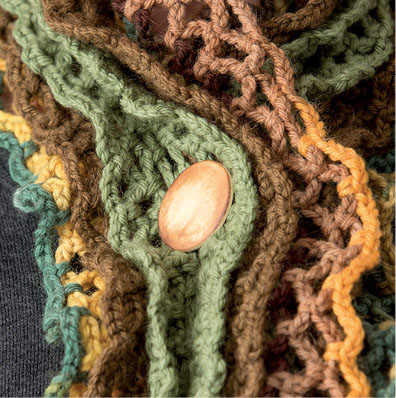
One 1" (3.8 cm) diameter button; 41 stitch markers; darning needle.
Gauge
Ch 25 and work strip stitch pattern for 4 rnds. Swatch should measure 9 (23 cm) wide and 4 (10 cm) deep.
Note
At first, make a base strip for the middle layer, then make smaller and larger strips that join to the middle layer as you work the Set-up Rnd.
stitch guide
Strip Stitch Pattern
(starts with a multiple of 5 ch sts, plus 10 ch sts)
Set-up Rnd: Ch 210, sc in the 10th ch from hook, place a marker around sc, *ch 4, sk next 4 ch, sc in next ch, place a marker around sc; rep from * across to last 5 ch, ch 4, sl st into last ch40 markers.
Rnd 1: Sc in next ch-5 sp, place a marker in first st of rnd, [ch 4, sc] twice in the same ch-5 sp, ch 4, (sc, ch 4, sc, ch 4) into each ch-4 sp across to end ch-9 sp, (sc, [ch 4, sc] 4 times) in end ch-9 sp, (sc, ch 4, sc, ch 4) into each ch-4 sp across to last ch-4 sp, (sc, ch 4, sc) in end ch-4 sp, ch 1, dc in first sc of rnd instead of last ch-4 sp. Remove marker from first sc.
Rnds 2 and 3: Sc in first sp, place a marker in first st of rnd, (ch 4, sc) in each ch-4 sp around, ch 1, dc in first sc86 ch-4 sps. Remove marker from first sc.
Rnds 4 and 5: Sc in first sp, place a marker in first st of rnd, (ch 5, sc) in each ch-sp around, ch 1, dc in first sc. Remove marker from first sc.
Rnd 6: Sc in first sp, place a marker in first st of rnd, (ch 5, sc) in each ch-5 sp around, ch 5, join with a sl st in first sc. Remove marker from first sc. Fasten off.
Instructions
Base Strip
This will be the middle layer of the scarf. With B, work in strip stitch pattern (see ), ending after Rnd 4. To complete a strip ending with Rnd 4, end last rnd with ch 5, sl st in sc at beg of rnd instead of ch 2, dc in first sc.
Smaller Strip
With right side of base strip facing up, with A, make and join smaller strip to base strip as foll:
Joining Rnd: Ch 5, sc around first marked sc st on the base strip, *ch 4, sc around next marked sc st on the base strip; rep from * across to last marker, (sc, ch 9, sc) around last marked sc, working in opposite direction across base strip, *ch 4, sc around next sc st on the base strip; rep from * across last marker, ch 4, sk next 4 ch, sl st in last ch of beg ch-5.

