FURTHER INFORMATION
Suggestions for Further Study
Much of the direct anatomical information in this book is founded on the work of Paul Richer in his landmark book Artistic Anatomy.
Scott Eatons work in developing in-depth training in artistic anatomy is also a source of much valuable information, and his on-line courses are highly recommended to those seeking to study further. For further information, visit his website www.scott-eaton.com.
The London Atelier of Representational Art (LARA) is also due acknowledgement for the rigorous instruction they offer in the specific approach to sight size drawing.
Other Recommended Reading
Robert Beverly Hales books Anatomy Lessons from the Great Masters, Drawing Lessons from the Great Masters, and Masterclass in Figure Drawing are full of useful information.
Anatomy for the Artist by Eliot Goldfinger is another key work, as is Die Gestalt Des Menschen by Gottfried Bammes, whose drawings are valuable even if one cannot read German.
Andrew Loomis various books on drawing and illustration are clear and exceptionally comprehensive.
CHAPTER 1
THE BASICS
Materials
There is a whole world of materials available for drawing: many kinds of papers, many sorts of pencils, pastels, charcoals and chalks, all with their varying densities, qualities and quirks. It is easy to get lost in amongst all of this, or even to suppose that certain materials might almost guarantee certain results. It is also easy to put too much emphasis on superficial effects that are not in themselves central to the conceptual processes of illusionistic drawing. Often the matter of surface refinement and manual dexterity is prioritized too soon. So whilst materials and tools are crucial, they perhaps turn out not to matter in quite the way that we may imagine when starting out. The range and function of the materials outlined here are set out with simplicity and flexibility as the aim. With this in mind, it is worth noting that despite the variety of examples, ordinary cartridge paper and pencils would be just fine for working through the majority of ideas in this book if budget and space are limited.
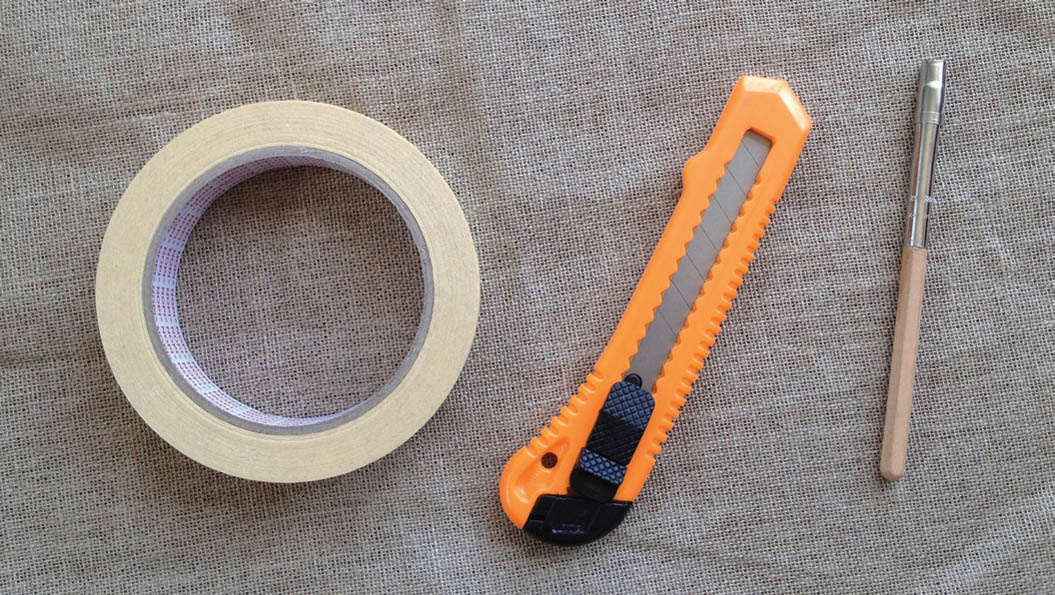
Fig. 1 Basic drawing supplies masking tape, cutting knife and pencil extender. Having basic supplies in good condition and ready to hand means you can concentrate on just drawing.
Some basic materials and accessories that you may need are shown in shows a paper stump for blending charcoal, a plastic eraser, a kneaded eraser (or putty rubber), and some white pastel ordinary white chalk can be used as well.
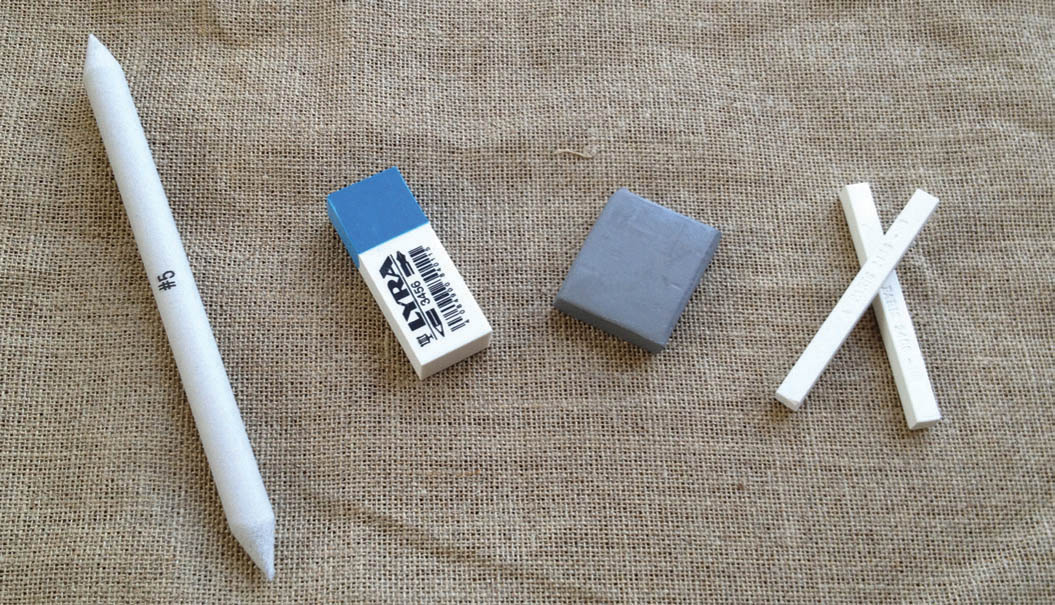
Fig. 2 The tools shown here offer various ways of extending and manipulating drawings. Blending stumps and erasers are as much positive drawing tools as they are for the correction of mistakes. White chalk can be used with charcoal on a mid tone paper for a different relationship to value.
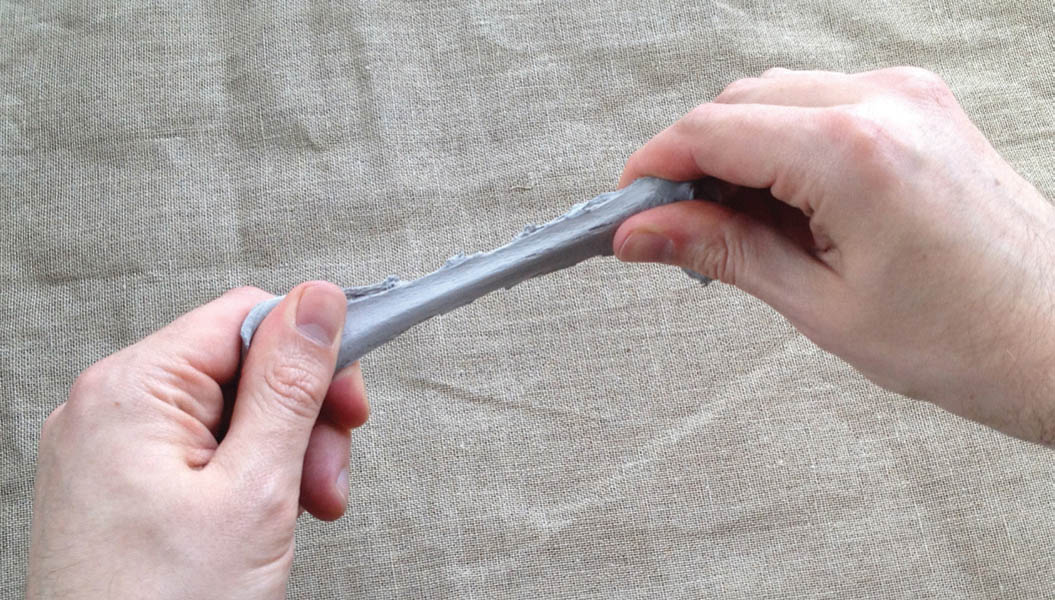
Fig. 3 Stretching a kneaded eraser.
Plastic erasers are used for general removal and correction of lines. They are also a valuable drawing tool that can be used to pick out light shapes from patches of charcoal, for instance. Kneaded erasers require some getting going, and should be rolled and stretched in the hand until they are warm: doing this cleans the eraser, and also means that it can be shaped in different ways. Twisting to a point will allow you to pick out very small areas of tone, while pinching to an edge will allow you to remove tone in a controlled way, up to a sharp line.
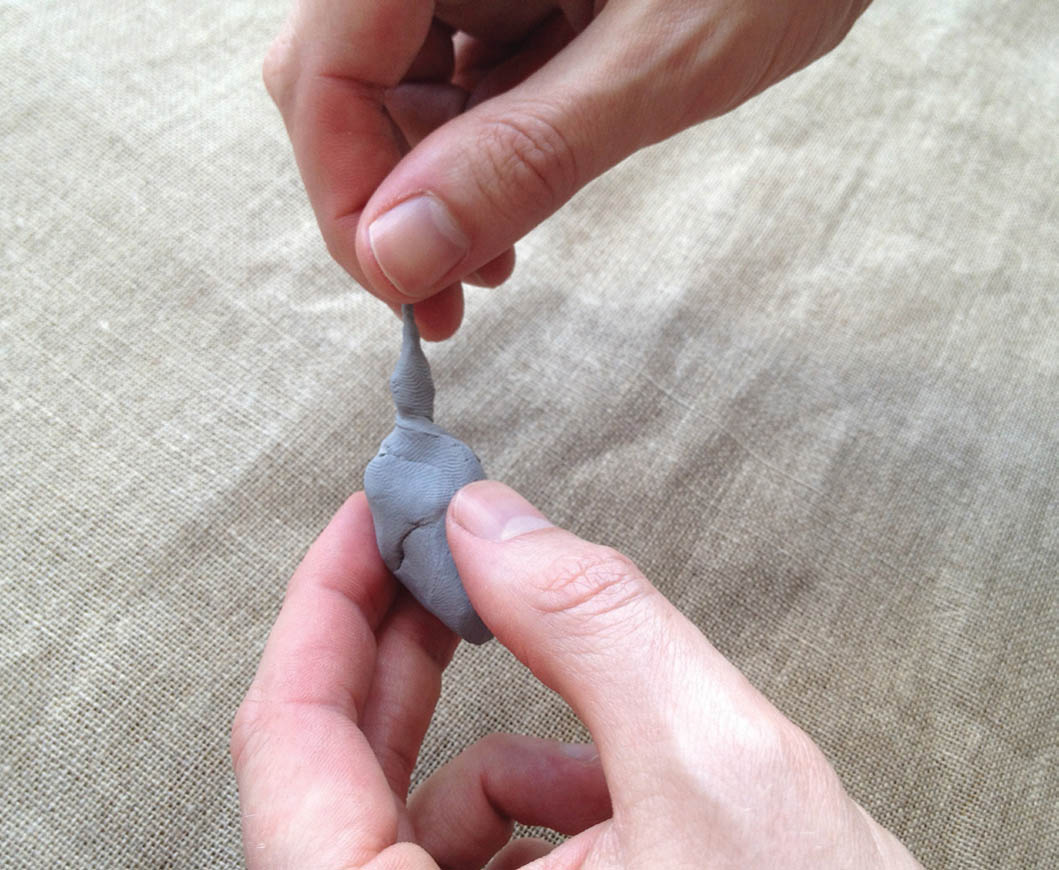
Fig. 4 Shaping a kneaded eraser into a point for fine detail work.
Paper
Newsprint
Newsprint is one of the cheapest papers available. It is excellent for quick charcoal studies and working drawings, and is recommended for short drawings, warm-up exercises, and the general working out of ideas. Cheap and disposable, it has almost no grain to speak of, and so is very smooth. While this means that charcoal can easily be pushed around its surface, it also means that it will not take any building up of tone, and drawings produced on this surface are vulnerable and hard to fix. It should also be noted that this paper is not archival it will yellow and become brittle with age. Basic A4 printer or copier paper is also useful for quick daily exercises or warm-up drawings.
Cartridge Paper
Cartridge paper is a good general purpose paper with a smooth surface, available in a variety of weights: 130 gsm is a good choice however, as with all these materials, experiment to find your personal preference.
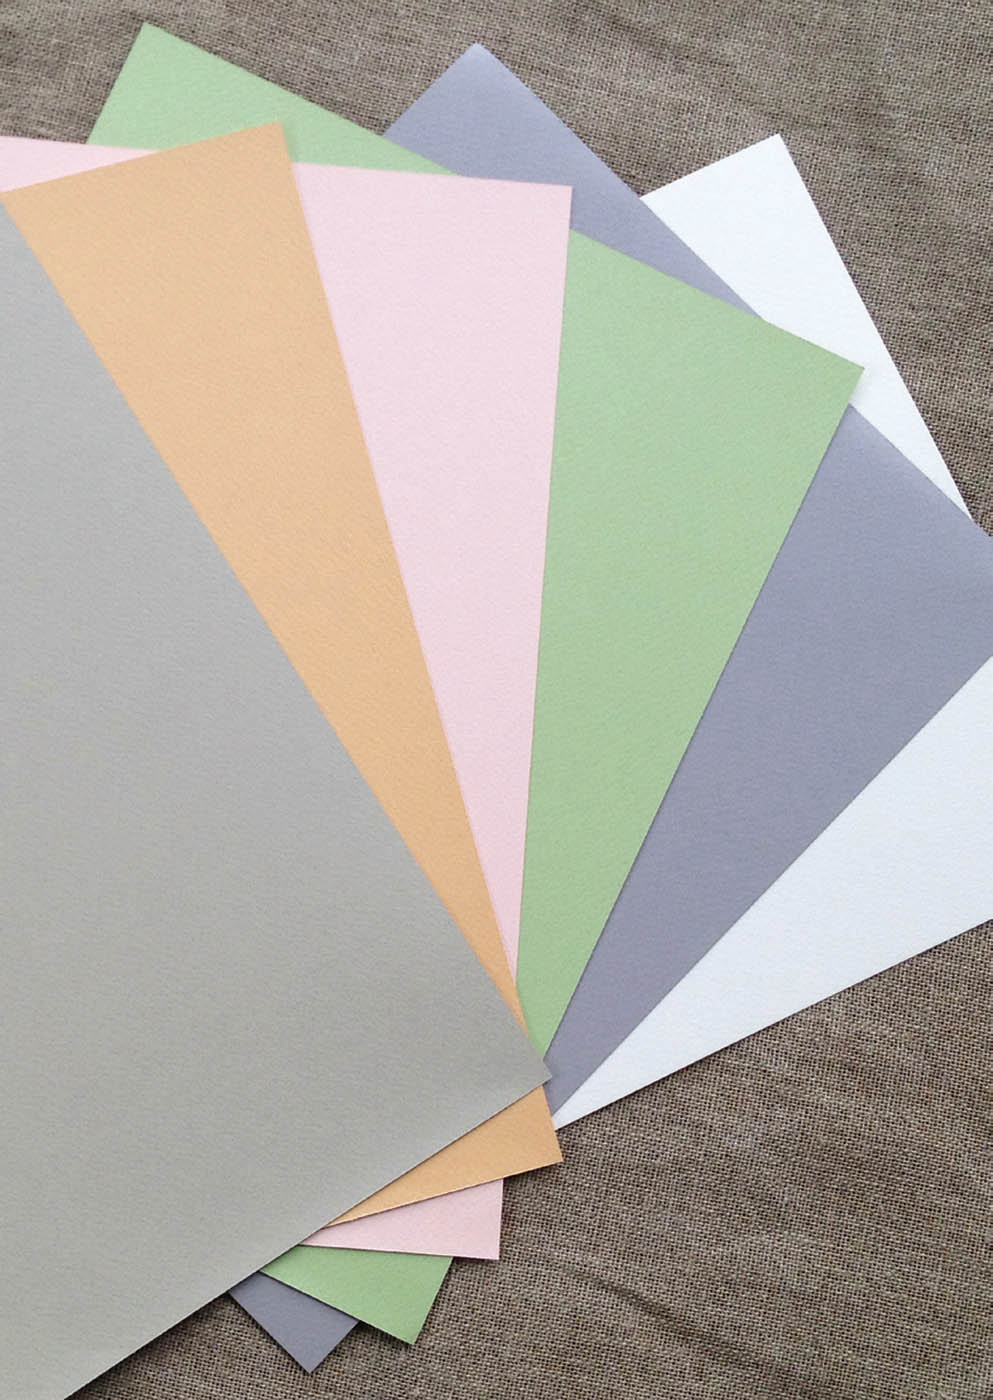
Fig. 5 Canson brand drawing paper.
Pastel or Charcoal Paper
Pastel or charcoal papers are generally of higher quality and so are more expensive. They are more substantial, and have a more pronounced and characterful grain, and this means that drawings made on these surfaces can be reworked and brought to a high finish if desired. However, it takes time to become familiar with the way these papers behave, and what they can take.
It is common to make a working drawing on cartridge paper and transfer it to higher quality paper for a highly finished rendering, in much the same way that an artist might transfer a sketch to canvas for painting. Despite it being possible to erase and redraw many times on these papers, the surface can be damaged if one is not careful. If marks are made too heavily, the paper can become scored, creating a mark that can be hard to work around. It is also good advice to make sure one has clean hands, as grease from skin can create patches that will not readily take charcoal or chalk.
Toned papers of this sort allow for the introduction of white chalk into a drawing, in combination with charcoal. A different register of light effects is possible with this sort of technique. The paper in this case stands for a mid-tonal value. All colours and darknesses of paper are available. Again this is a matter of preference, but in the beginning, highly saturated colours can be distracting in terms of understanding how to render light and shade, and papers that are too dark ask for too much work to be done with the white chalk, which can be hard to control. Canson drawing paper is a popular example, as is what is known as Ingres paper. It is recommended that you use neutral colours and relatively light-toned paper at first, but as always, try different types and see what works for you.
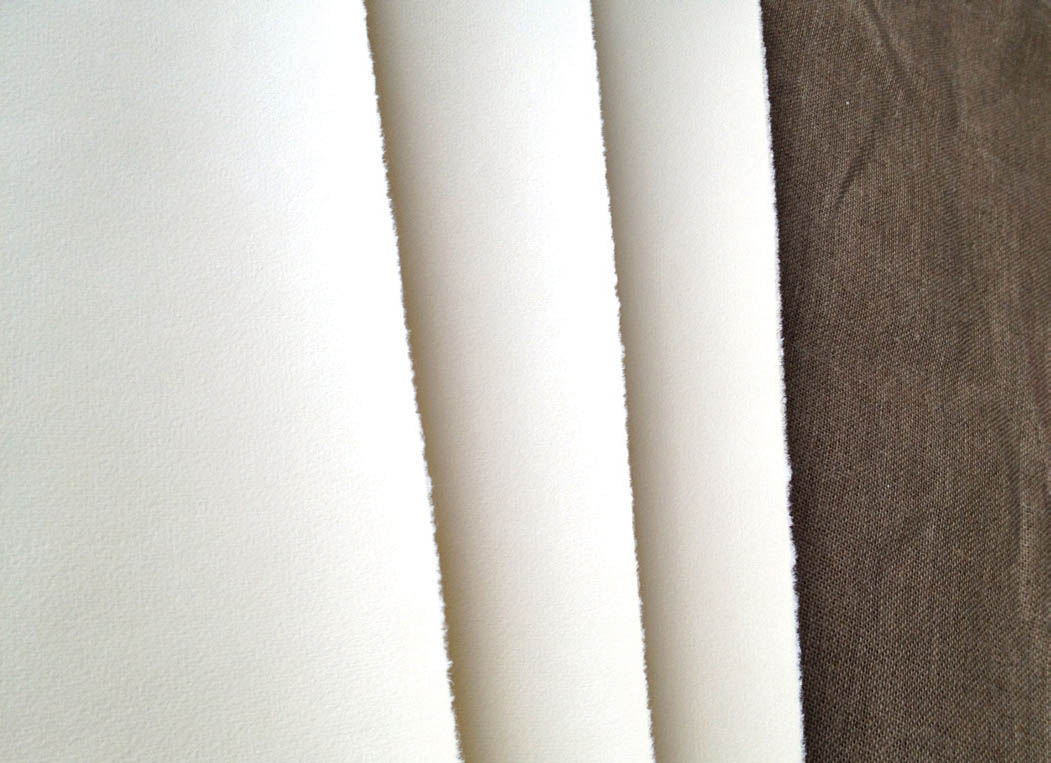
Fig. 6 Ingres drawing paper.
Drawing Media
Pencils
Graphite pencils come in a wide variety of grades. The work using graphite in this book will be made with grades 2B, HB and 2H. It is best to buy better quality pencils as they will be made of superior wood, making it easier to sharpen them. Coloured pencils consist of pigment with various sorts of binder some are waxy, some are close to chalk in texture, others are somewhere in between. It is a matter of personal preference and experimentation as to which you use. Coloured pencils can have a very different feel to graphite pencils, which beginners can sometimes find hard to control, despite their being the most common drawing tool.
Next page
