7 Step Method to Abstract Painting
By
Andy Morris
Smashwords Edition
Copyright 2016
www.andymorrisart.com
All rights reserved
Table of Contents
Introduction
The 7 Step Method to Abstract Painting isa unique strategy I came up with while struggling with a difficultgeometric abstract.
It simply refused to cooperate, howeverafter much wrangling I managed to whip it into shape. Since thereception was favorable and many students were asking about theprocess, I decided to show them.
I should warn you there's a great deal offlexibility, and spontaneity in this process and I'm sure thepaintings you create will be spectacular but they might not lookexactly like mine, and that's a good thing. Let your creativejuices flow!
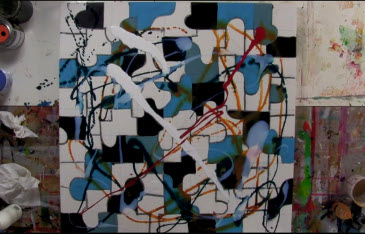
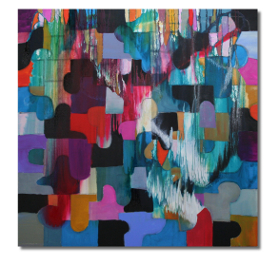
Both this eBook and the Udemy Course of thesame title will cover the Step by Step Process thoroughly and allowyou to create Abstract Paintings similar to the painting below.
If you decide to enroll in the Udemy CourseI've provided a link in the resource section.
Supply List
Two Canvases the same size, or alternatelyyou can use watercolor paper although I haven't tried it
Colored Pencils Light Blue and LightGreen
Applicator Bottles about 4 of them, they canbe found at Beauty Supply Stores alternately you can useCondiment Bottles, often you'll find new ones in baking goods aisleat your grocers
Golden Fluid Acrylic Paints in the followingcolors, Turquoise, Quinacridone Gold, Quinacridone Red, CadmiumYellow (medium shade) White Paint, I like to use Liquitex BasicsGesso as my white, and some black paint, tube paint is best anybrand
A palette to mix paints on, get creative, Iuse pieces of plastic I repurpose from supplies I order, butplastic plates work just as well, and I've seen others use recycledtake out containers
A bucket for water
Paint Brushes, house painting brushes, orfoam brushes work just fine you don't need expensive brushes forthis technique
Squirt Bottle full of water, I like to mistmy paints on the palette from time to time to keep them from dryingout
Everything on this list is only mysuggestions and every time I do a painting like this I'll probablygrab different supplies.
It's not the supplies that will make thedifference. So don't sweat it if you can't find exactly the samematerials that I use. However, that said when it comes to pouringand dripping the paints, you'll find that if you use thick tubepaints that you thinned down, they will most likely have lumps inthem. It's really hard to get them to thin out a lot without a fewlumps, so if you can use Fluid Acrylics even if it's not GoldenBrand.
Step 1
In this first step you'll be drawing thegrid, a framework for the subsequent steps.
Now I chose two 36x36 inch canvases but youmight be selecting a different size. Try to choose a size that'seasily divided by 4 inches or 3 inches, like 24x24 or 24x36 or youcould use 18x24 and then use 3 inch squares.
Start by measuring and marking the edgeswith the size of grid you chose. In my example since I'm using the36x36 canvases, with 4 inch grid pattern, I'll measure and markevery 4 inches along the edges all the way around on bothcanvases.
Then I'll take a straight edge, I just use aboard, and draw lines across the canvases with my Light Bluecolored pencil, making 4 inch grid pattern.
Extend the lines around the sides, you'llwant to paint the sides also later on, to give it a moreprofessional look.
I suggest you use a light colored pencil sothe grid won't show up very much in the final painting. I choseLight Blue because I intend for my composition to have an overallCool Color Dominance.
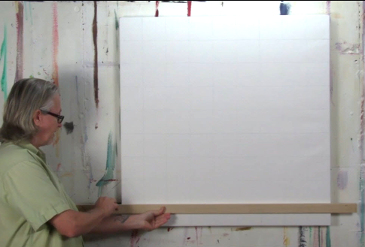
In the next section you'll be rendering youpuzzle shapes, and you'll notice I'm using charcoal. I do notsuggest you use charcoal but instead use another colored pencilmaybe Light Green. The only reason I chose charcoal was so thePuzzle Shapes would show up well in the images and video.
Step 2
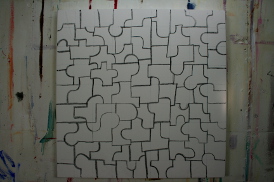
You want to create some Puzzle Shapes nowworking off of your Grid Pattern, forming interlocking shapes thatare similar (but not exactly the same) across the canvases.
You might decide to draw yours differentlythan mine and that's OK just try to keep them relating to oneanother by making every area of the canvas similar, you don't wantany one area to stand out too much at this point.
Here's how I did mine, remember I only usedcharcoal so you could see the shapes easier. You'll want to usecolored pencil for yours.
Step 3
In this step you'll be establishing somedark values and starting to set up the underlying structure foryour abstract painting.
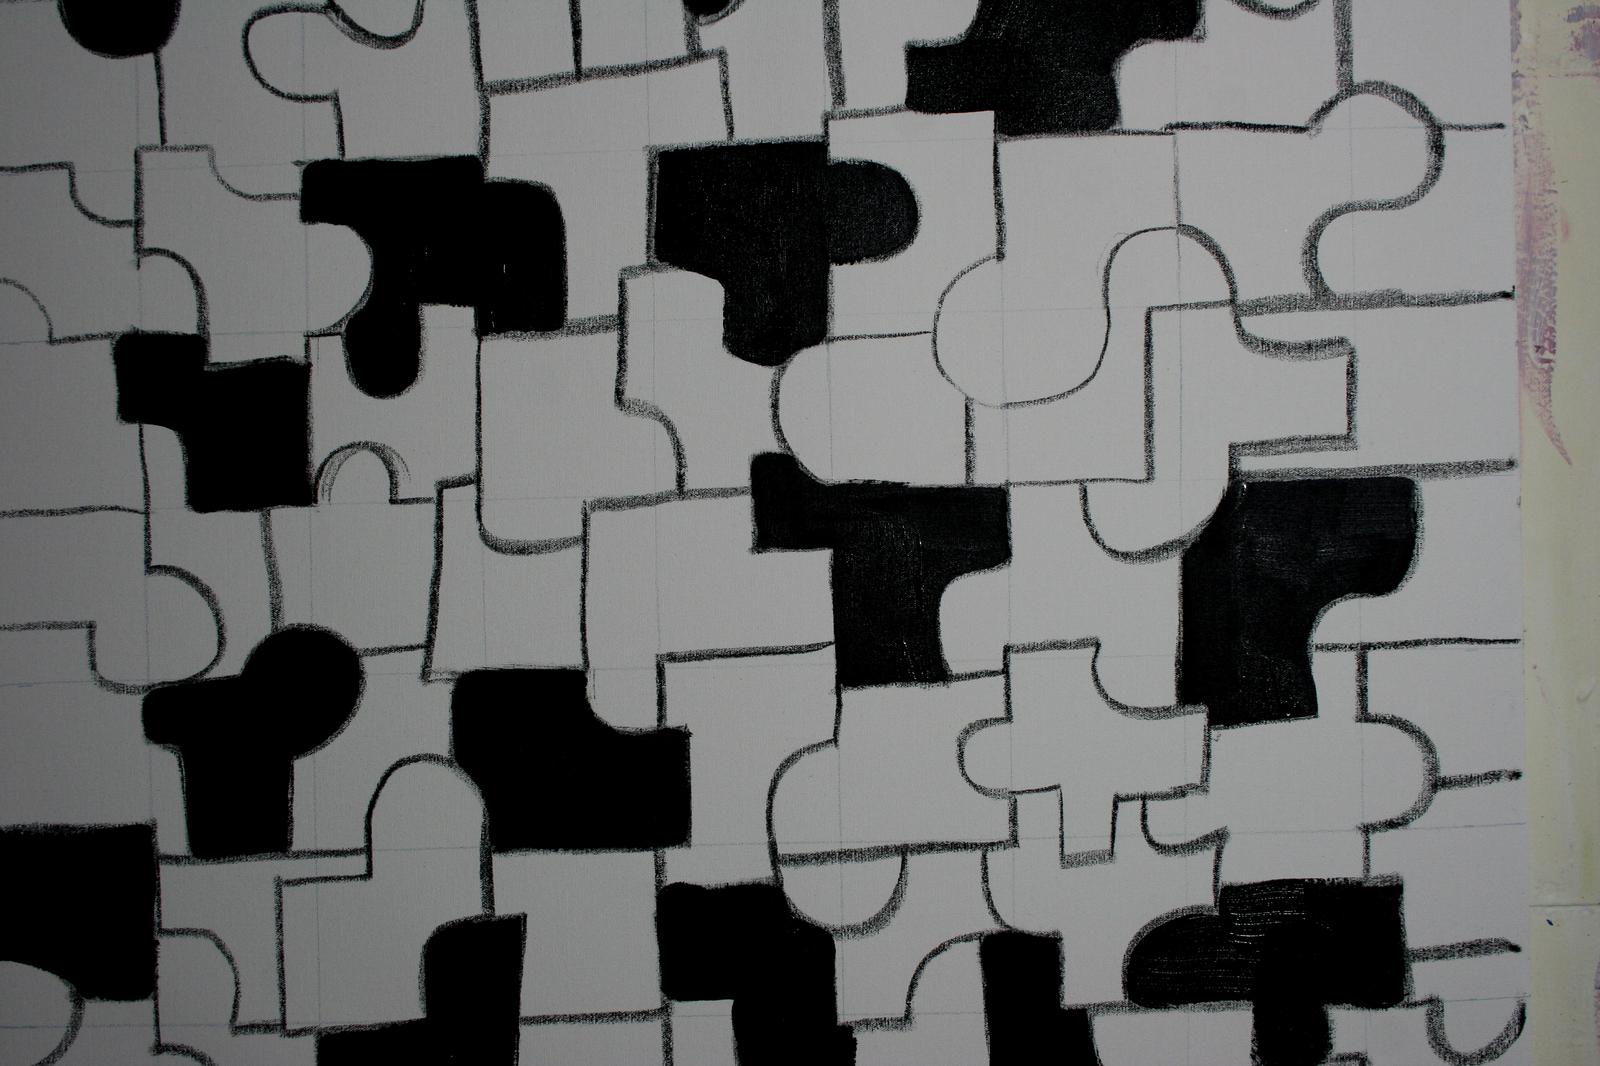
Grab your Black Paint and fill in about1/4th of the shapes, making sure to scatter themsomewhat uniformly around the canvas. You can always add more darkslater if needed, but for now just do it like I have in the imagebelow.
Step 4
Now that you have your dark shapes painted,the next step is to establish some Mid-Tones.
I've chosen a very grayed down (neutral)blue, in 2 shades. One slightly darker than the other. You'll wantto continue with the cool color theme at this point.
So mix up some grayed down mid-tone bluesand paint about 1/3rd of the shapes, as I've done in theimage below
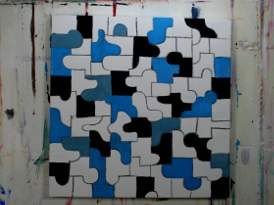
In the next step you'll get to loosen up abit, slinging and splashing paint around.
Step 5
Alright, now you get to go crazy! Firstyou'll want to lay one of the canvases flat on a table or thefloor. Make sure to lay plastic drop cloth down first so you don'tget paint on your carpet or table top.
Then using your Squirt Bottles (applicatorbottles) fill them with diluted paints, but not too thin. Just abit thinner than they start out. If you're using the Golden FluidAcrylics you can try using some of them straight out of thebottles. If you're using tube paints you'll need to thin them outquite a bit. I suggest adding small amounts of water at a timeuntil you get them thin enough.
You want them thin enough to run when thecanvas is upright but not as thin as milk.
Now what I've done in this step on mine issquirted some of the Turquoise, Quinacridone Gold and QuinacridoneRed, then added a splash of Gesso and some Gloss Medium that I alsothinned only slightly.
I just drizzle some of the gloss mediumacross the canvas in a few areas. It will create a bit morerandomness to the design.
Have FUN! There's no way you can ruin it,just use your poured paints sparingly.
