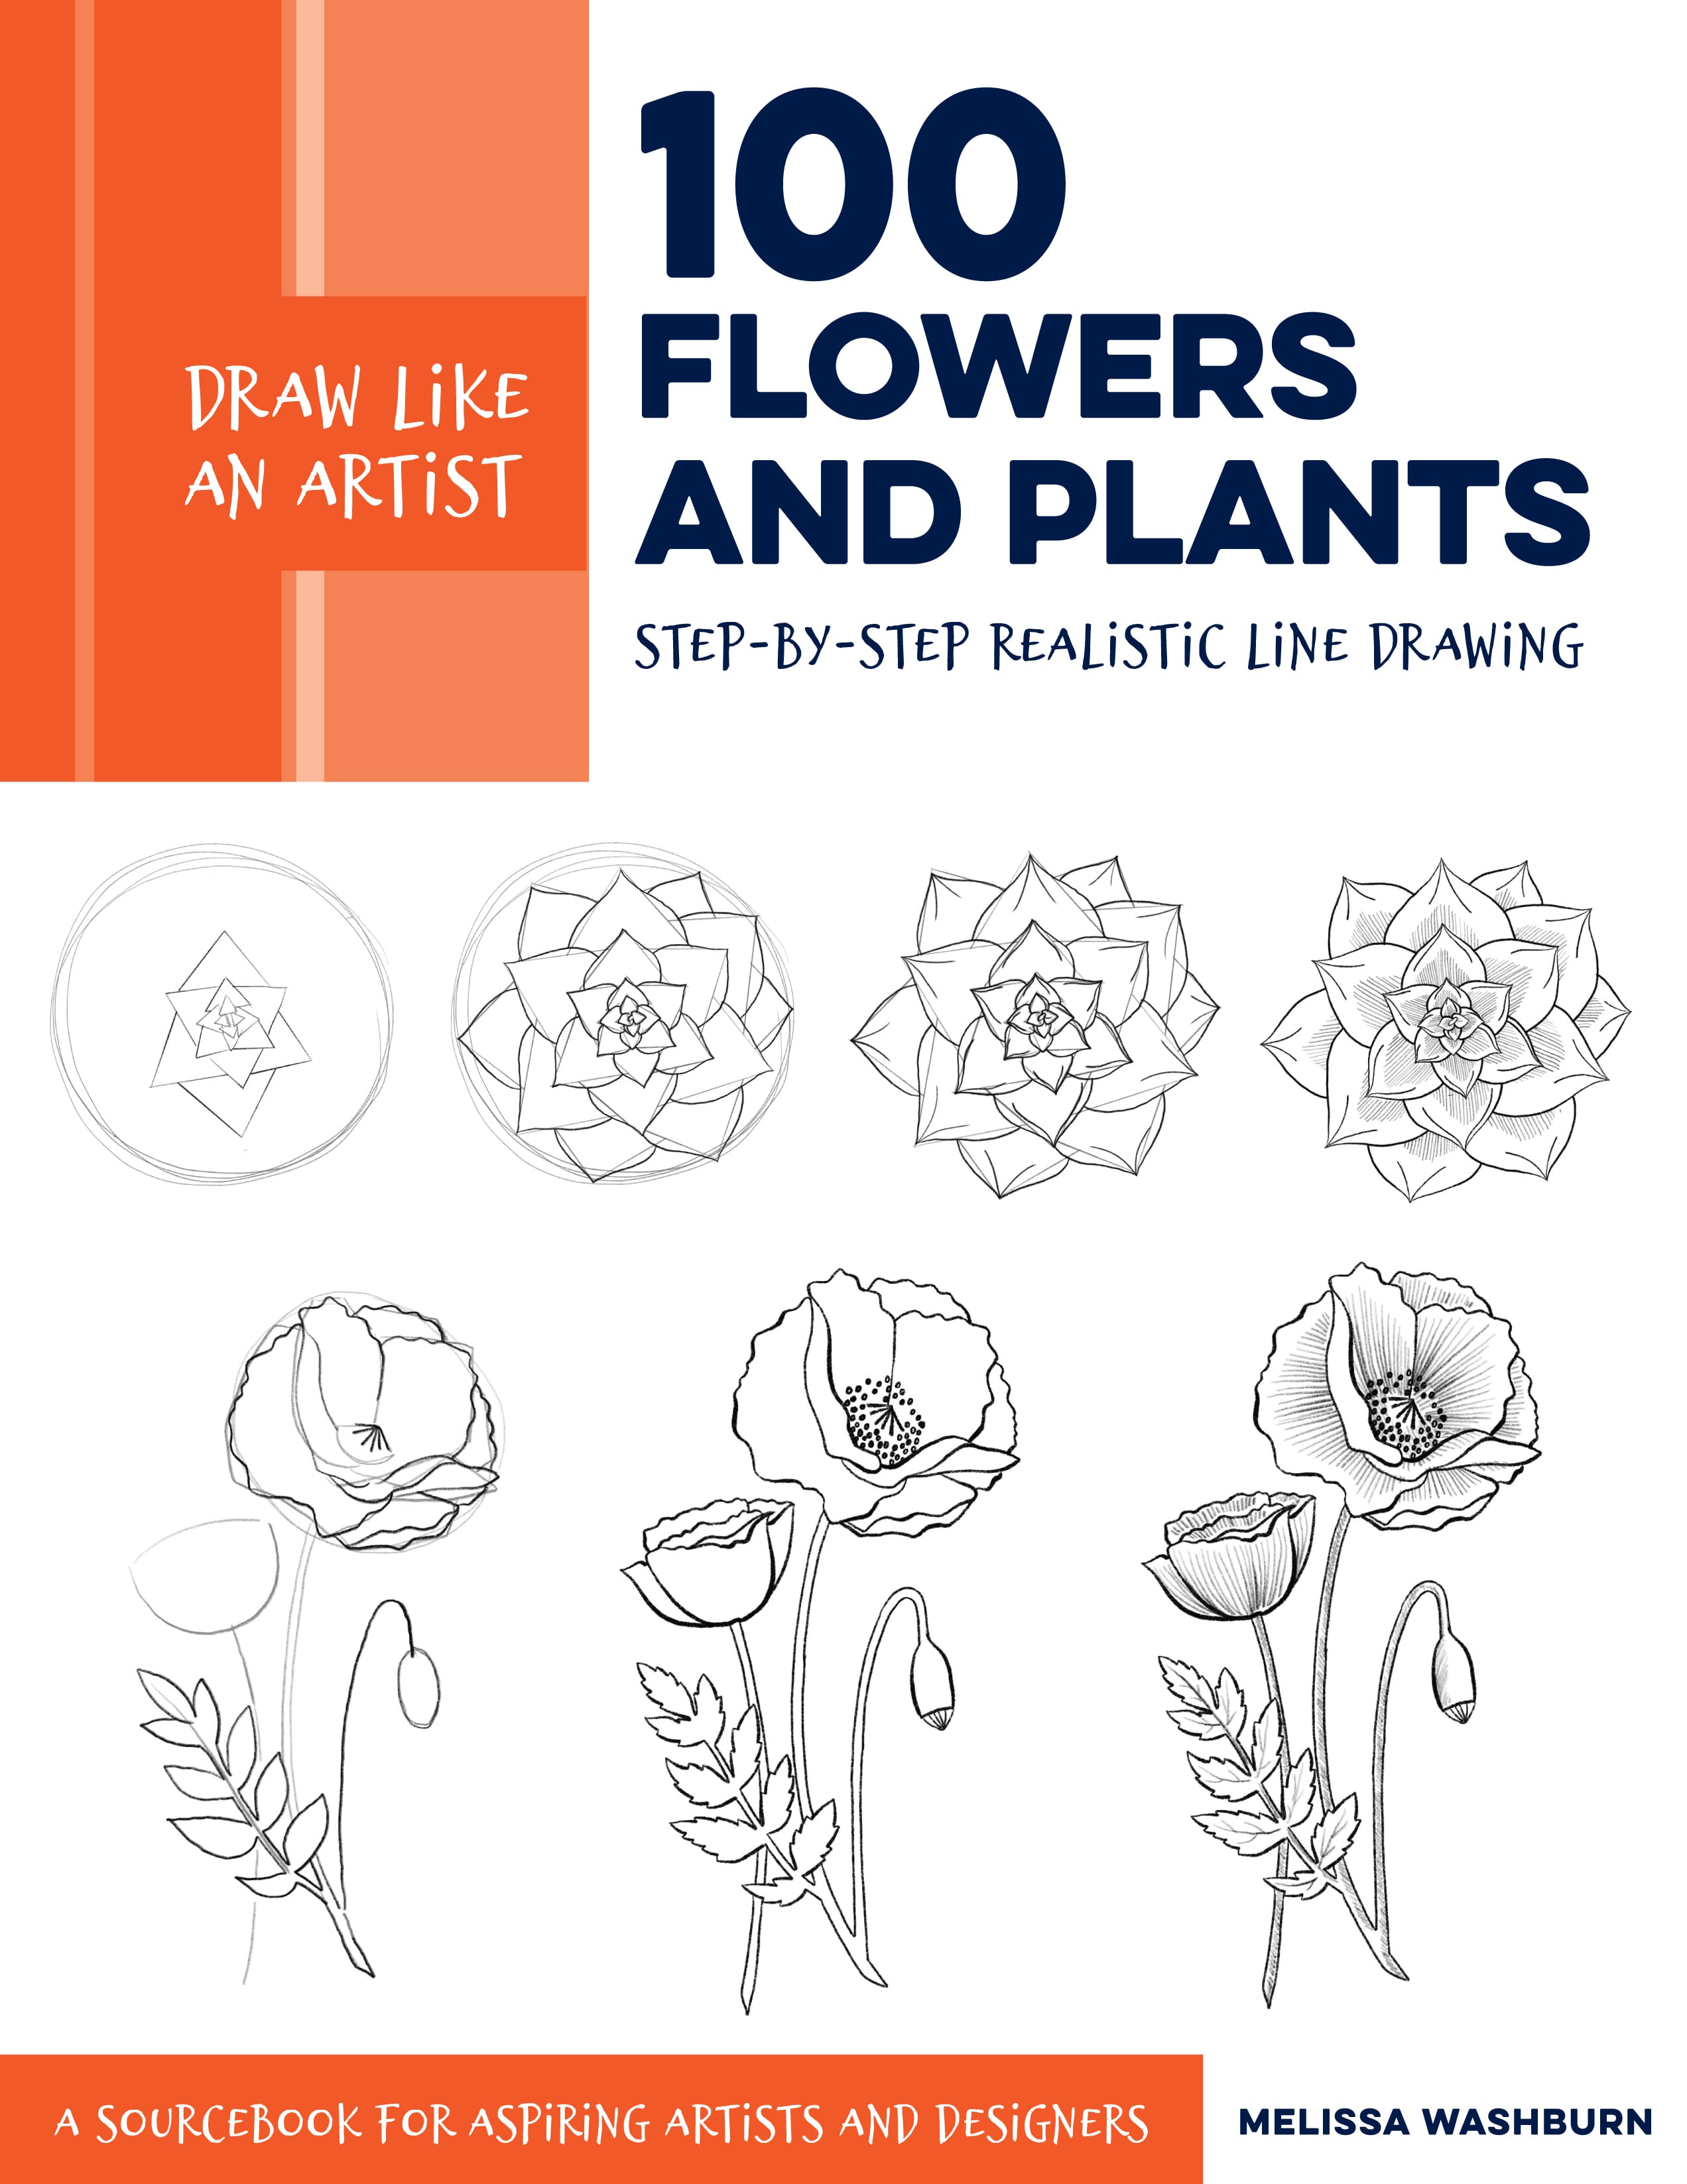
Draw Like an Artist
100 Flowers and Plants
Step-by-Step Realistic Line Drawing A Sourcebook for Aspiring Artists and Designers
MELISSA WASHBURN

INTRODUCTION
My fascination with the natural world started in my childhood in the Adirondack region of upstate New York. Ive always needed to know the name, characteristics, and life cycle of the plants, insects, birds, and animals around me, so it seemed natural (no pun intended) that these subjects would become a major theme of my work as an artist and illustrator.
The best teacher for drawing plants and flowers is nature itself. While plants and flowers can seem very tricky and complex at first, careful observation will show that, for the most part, they are composed of simpler shapes repeated in a few common patterns. Spirals, radials, and other symmetrical arrangements are evident everywhere you look, from the radiating pattern of daisy petals and the spiral arrangements of succulent leaves to the opposing leaf pairs of a milkweed plant. Knowing what to look for will help you master the drawing of plants.
For example, flowers such as daisies have petals that are all the same shape while irises and orchids have an arrangement of pairs or triads of differently shaped petals. Honeysuckle and trumpet vine have long, tube-like blossoms made of fused petals. Aside from the shapes and symmetry of stems, leaves, and flowers, it is also important to note the pattern of the veins on leaves, as there are several different arrangements depending on the type of plant. Some veins all radiate out from a central point at the base of the leaf, some branch alternately from a central vein, and some are paired symmetrically moving from the base to the tip of the leaf. The veins are generally either slightly lighter or slightly darker than the leaf itself.
Ive organized the exercises in this book not by scientific classification but rather by the more commonly recognized types and shapes that a general audience will be familiar with. Scientific botanical illustration follows a more specific set of conventions and level of detail, and there are a number of excellent references available on the subject for the interested student.
This book is divided into three main sections: flowers and flowering plants; vines, leaves, and trees; and other plants (including succulents, herbs, and grasses). You will probably find that as you get to know how certain plants are constructed, those forms will apply to other species with similar forms (for example, the basic parts of a daisy are very similar to the basic parts of a black-eyed Susan or echinacea/cone flower blossom). Youll also find that, like snowflakes, no two flowers or leaves are identical. Its the little flaws, quirks, and differences that give depictions of plant life their character and realism.
Once you understand the general symmetry and basic shapes found in common plants and flowers, you can begin working with them in perspective, in multiples, and as elements in larger compositions. I hope that this book will introduce you to the basics and get you more comfortable and familiar with some of the plant life we see all around us.
HOW TO USE THIS BOOK
There are many tools, media, and styles in which to draw flowers and plants. This book uses some techniques I have learned over the years and will show you the methods I have found most useful for understanding the basics of drawing realistically. The figures and steps can be copied directly to achieve a finished drawing, and the process and method can be used for drawing many other subjects, whether plants, animals, or anything else.
Suggested Materials
Graphite pencil: At a minimum, you should have a standard HB pencil, but harder pencils (2H, 4H, etc.) are useful for making lighter lines and underdrawing, while softer pencils (2-6B) are helpful for more dramatic lines and shading.
Felt tip pens or brush pens
Smooth paper, at least 80 lb
Eraser: I recommend a kneaded eraser, which erases very cleanly without smudging and doesnt leave crumbs on your paper.
Basic Drawing Process
Begin the drawing with your harder pencil so your lines will be light and easy to erase. Once you are satisfied with your shapes and basic contour, you can go over the drawing with your soft pencil or drawing pens. You can then erase your lighter pencil lines for a clean, finished drawing.
Negative Space
In order to draw an accurate contour line for complex leaves and petals, sometimes it is more helpful to look at what isnt there than what is. This is called drawing the negative space. In the example of the maple leaf below, start by drawing elongated diamond shapes for the segments of the leaf. Then, to accurately describe the leaf margin or edge, youll subtract areas to follow the contour of the leaf edge.
It is often easiest to start with a simpler shape (triangle, diamond, teardrop) and then subtract the negative space to arrive at the correct form for the plant part you are drawing.

Constructing the Image
Once you establish the basic shapes and symmetry of the flower or plant, you can start to establish the more detailed contours of the leaves, petals, and other parts. The middle steps (generally steps 3 and 4 or 4 through 6) are the construction steps. In this stage of the drawing, you are establishing the three-dimensional quality of the plant.
In the clematis example below, step 4 begins to show the proper position and angles of the leaves and petals. The ruffled edges of the petals and the parts of the center of the flower are articulated in steps 5 and 6.

Adding Details and Cleanup
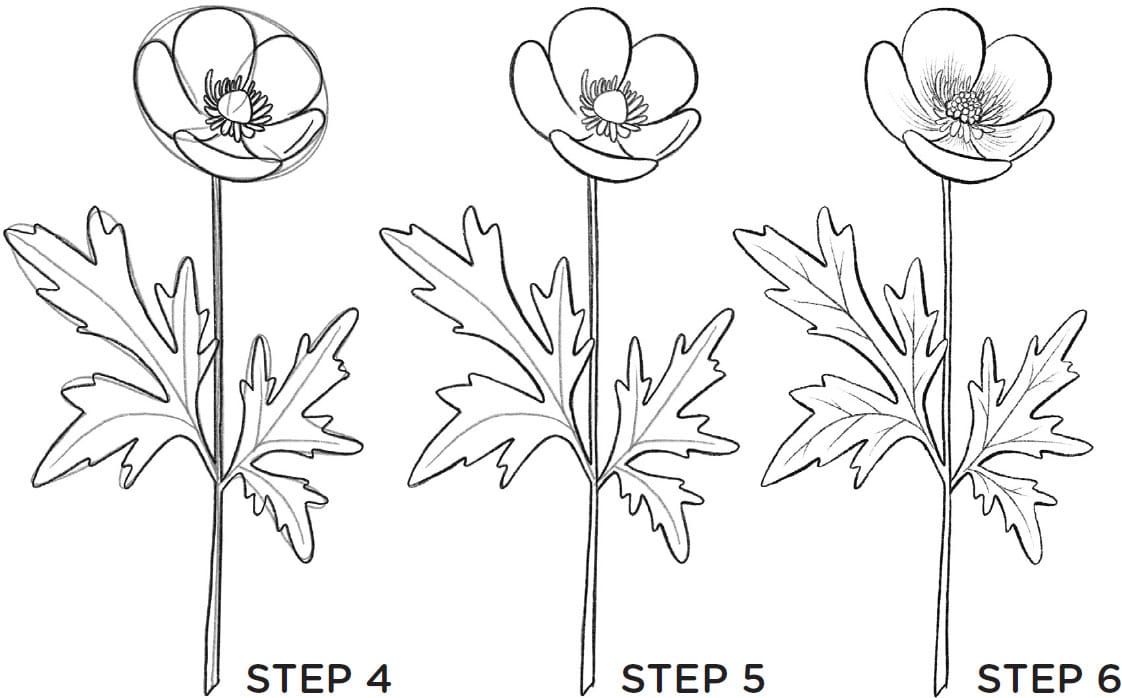
Final lines and small details come last. Here you add things like patterns and markings, veins and creases, and a little bit of shading. Once youre happy with your work, go over your contour lines with a pen and add more detail. Finally, erase your pencil lines. In step 4 of the buttercup drawing here, you can still see the light pencil lines of the general shapes we started with. In step 5, I begin to erase those lines, and in the finished drawing in step 6, you can see the final shading, flower detail, and leaf veins added.
If you are new to drawing plants, you can copy the steps in this book exactly. As you become more advanced in your drawing practice, you can apply these steps and techniques to other plants you observe and to entirely different subjects.
TIPS FOR BETTER LINE CONTROL
All of the drawings in this book are line drawings. Even though we are only using lines to create realistic flowers and plants, with good line control your drawings can be more polished and life-like. Here are some tips and tricks to make your lines smoother and more controlled.
TIP #1: DRAW WITH MORE THAN JUST YOUR HAND AND WRIST


