Flask Web Development from Scratch
Flask Web Development from Scratch
Introduction
Flask is a lightweight web application framework with Python.

The Flask feature allows applications to be created in a single file. This is called a microframework. On top of that, it has the scalability to build large applications.
This book is about building applications from scratch. I wrote it so that you can learn all the necessary technologies.
It is based on the experience of actually operating the application developed in Flask. I think there are a wide range of situations where the knowledge obtained here can be applied.
Policy in This Book
The following points have been made into a policy for the organization of this book.
- Read through and cover the basics of creating web applications with Flask
- Finally, youll have a working blog application
- Organized into one chapter on one topic for future reference
System Environment
Heres my system environment for reference.
Sample Code
Sample code is available at:
https://github.com/chaingng/flask_tutorial_en
Feedback
We would appreciate it if you could send us any typos or feedback. We will update as much as possible.
takatomo.honda.0103@gmail.com
Completed image of the blog application
In this book, you create a blog application from scratch. The completed image is as follows:
When you access the top page, the login screen appears.
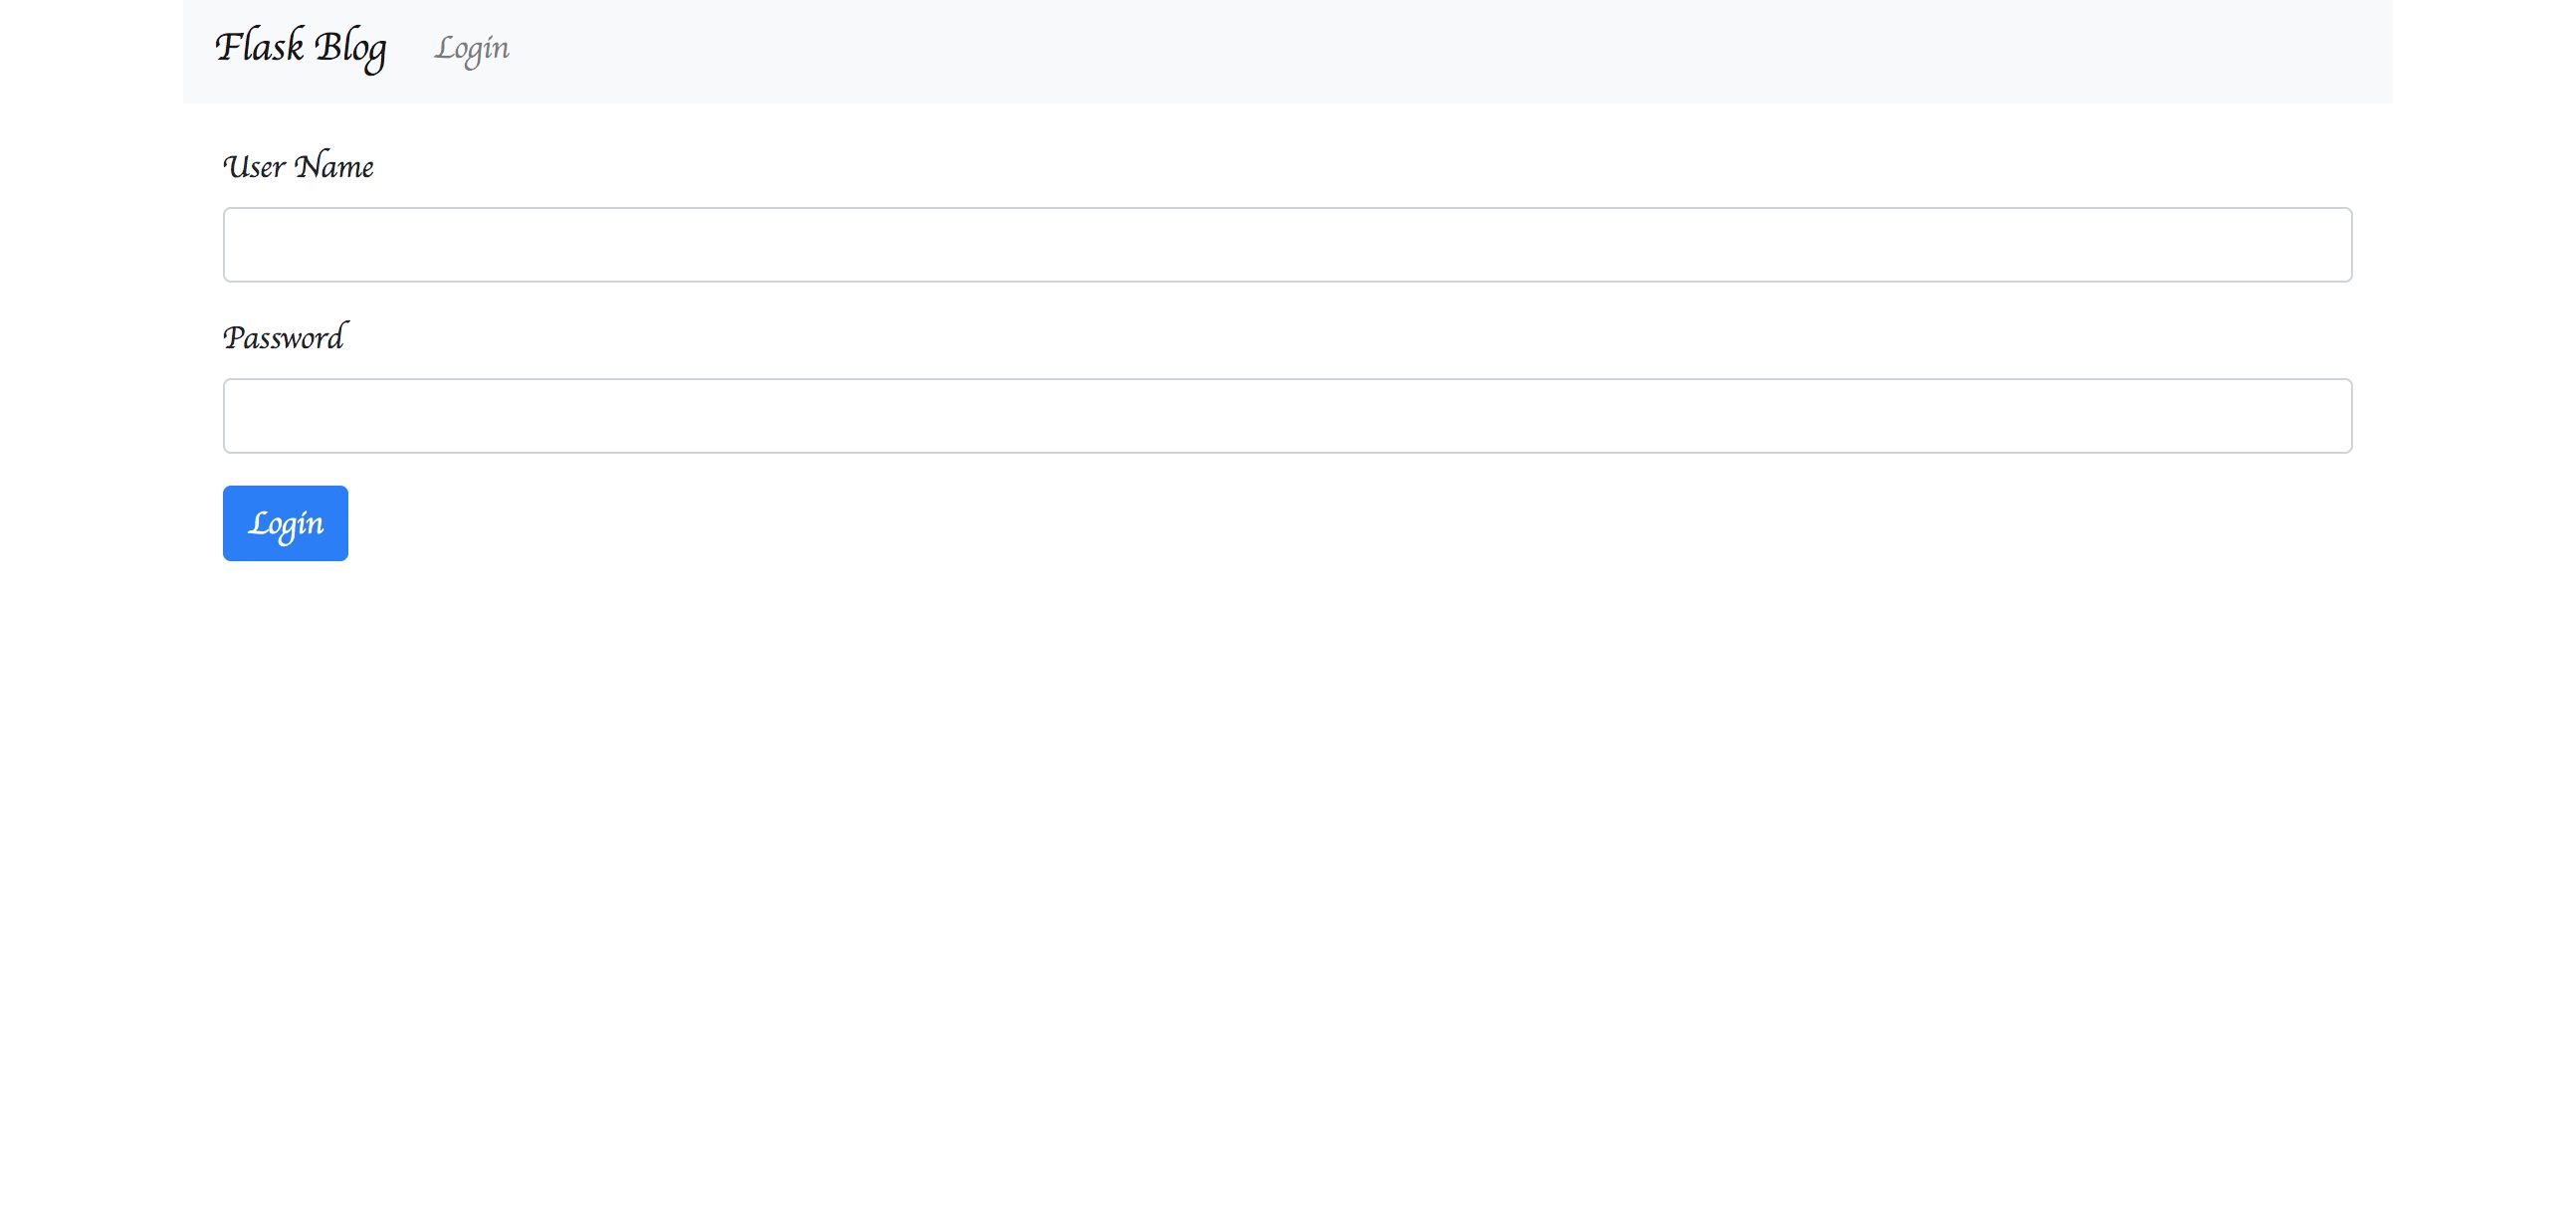
After you enter your login ID and password, the blog list screen appears.
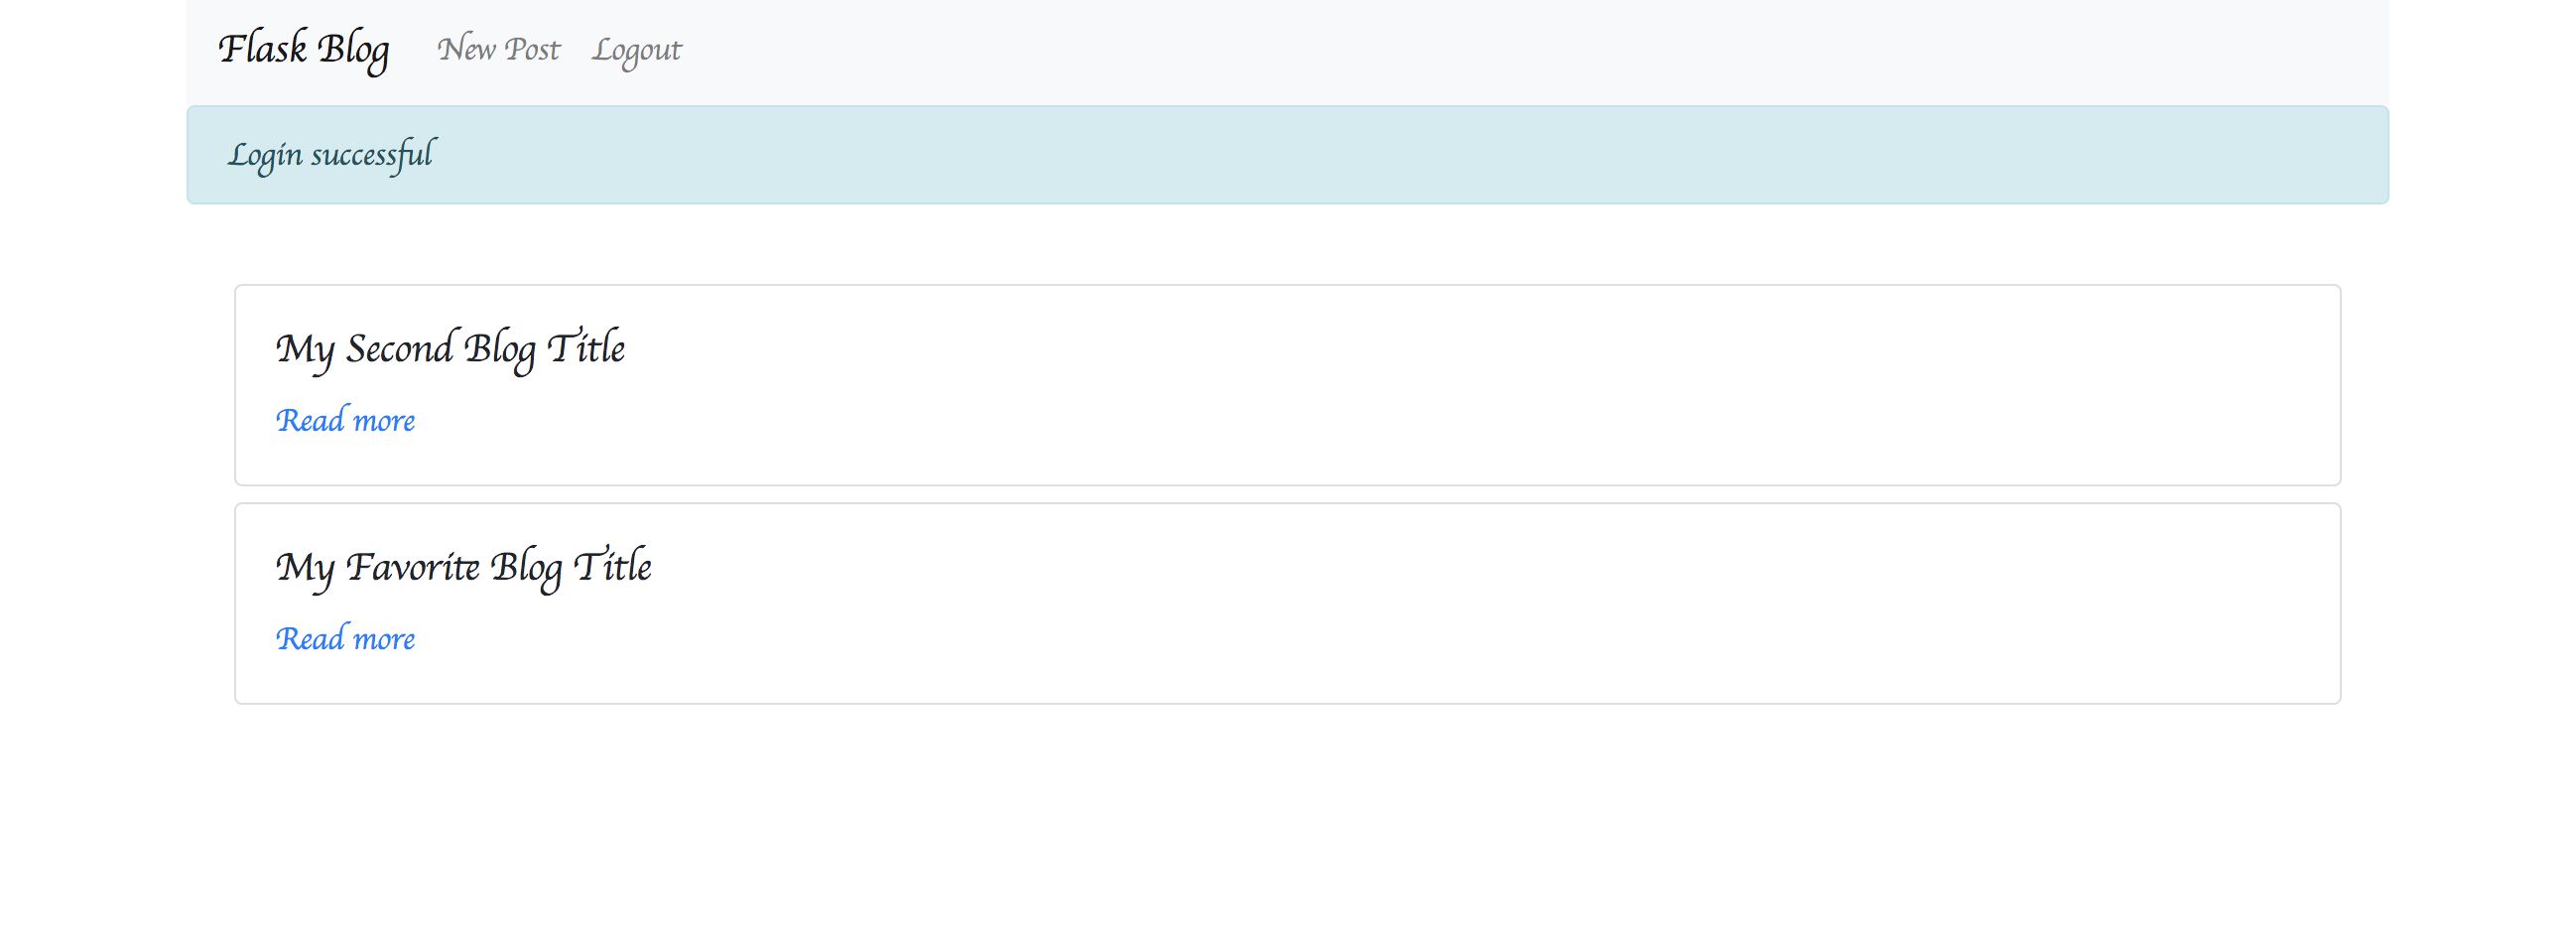
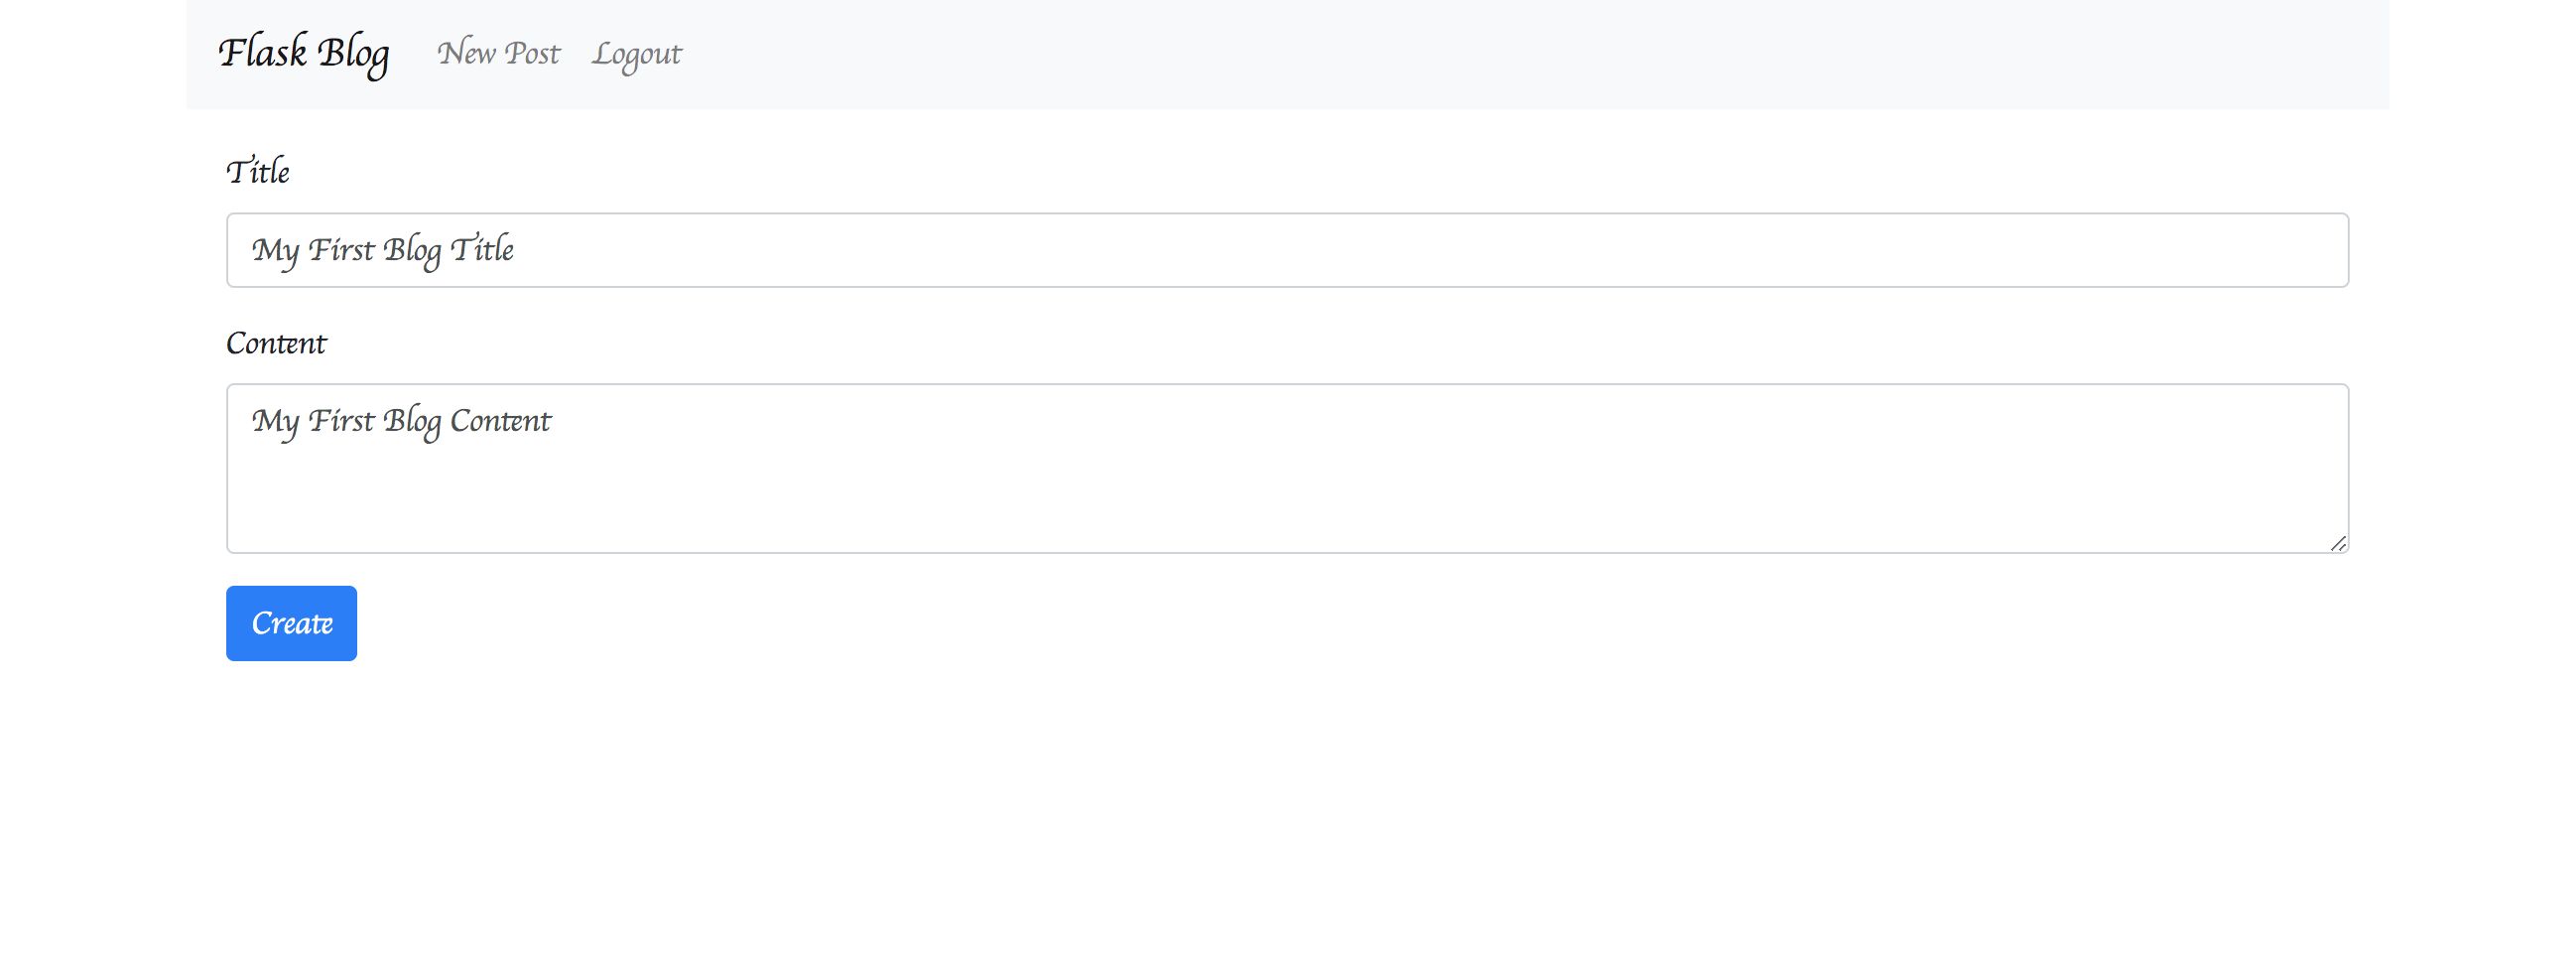
Click New Post to open the Post screen and create a new article.
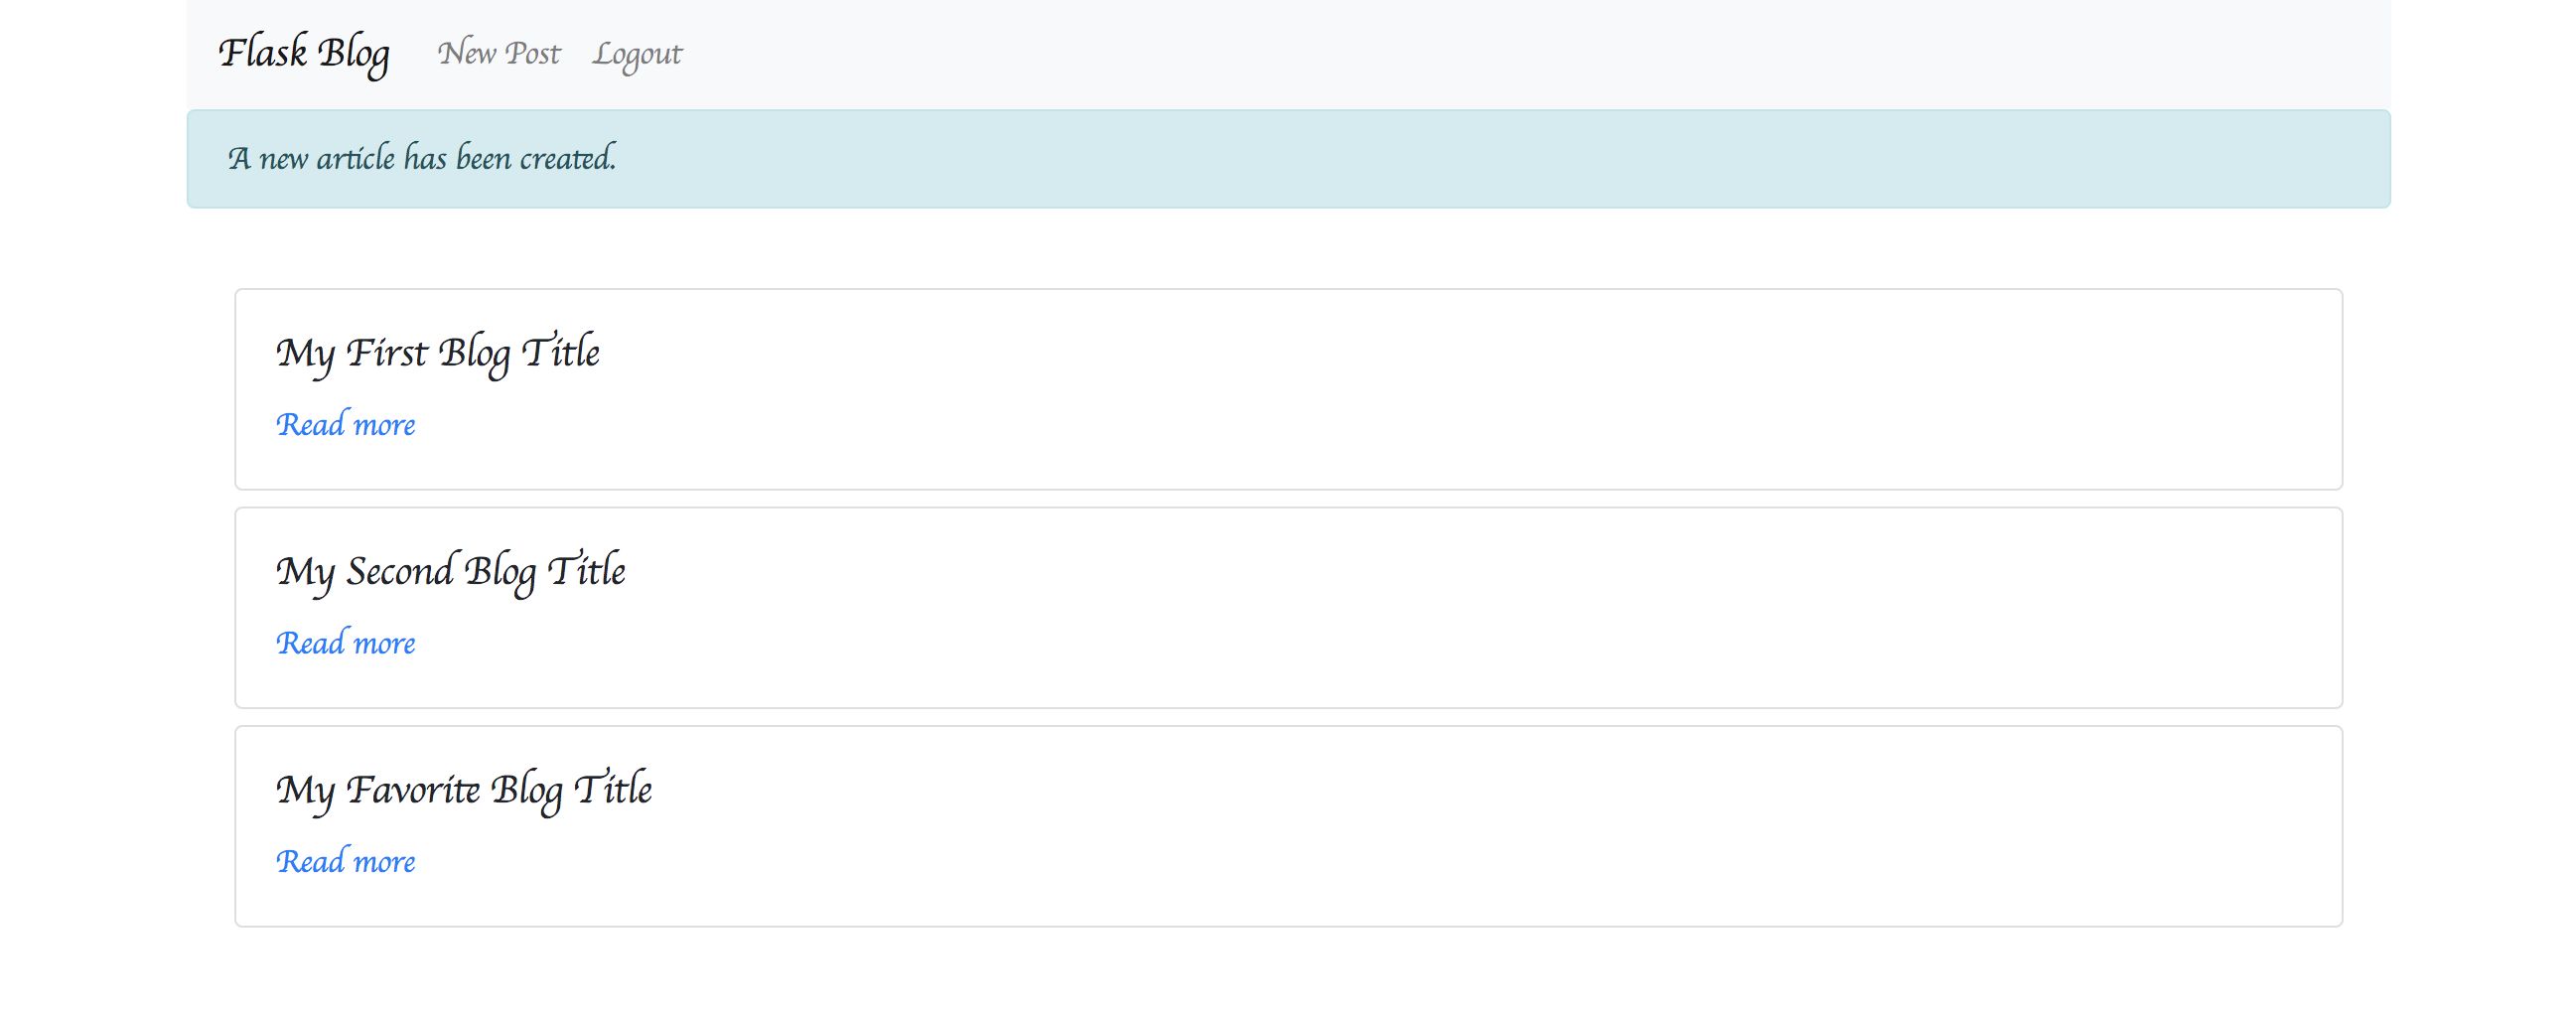
Click an article from the blog list screen to display the article details. You can also edit and delete articles from this screen.
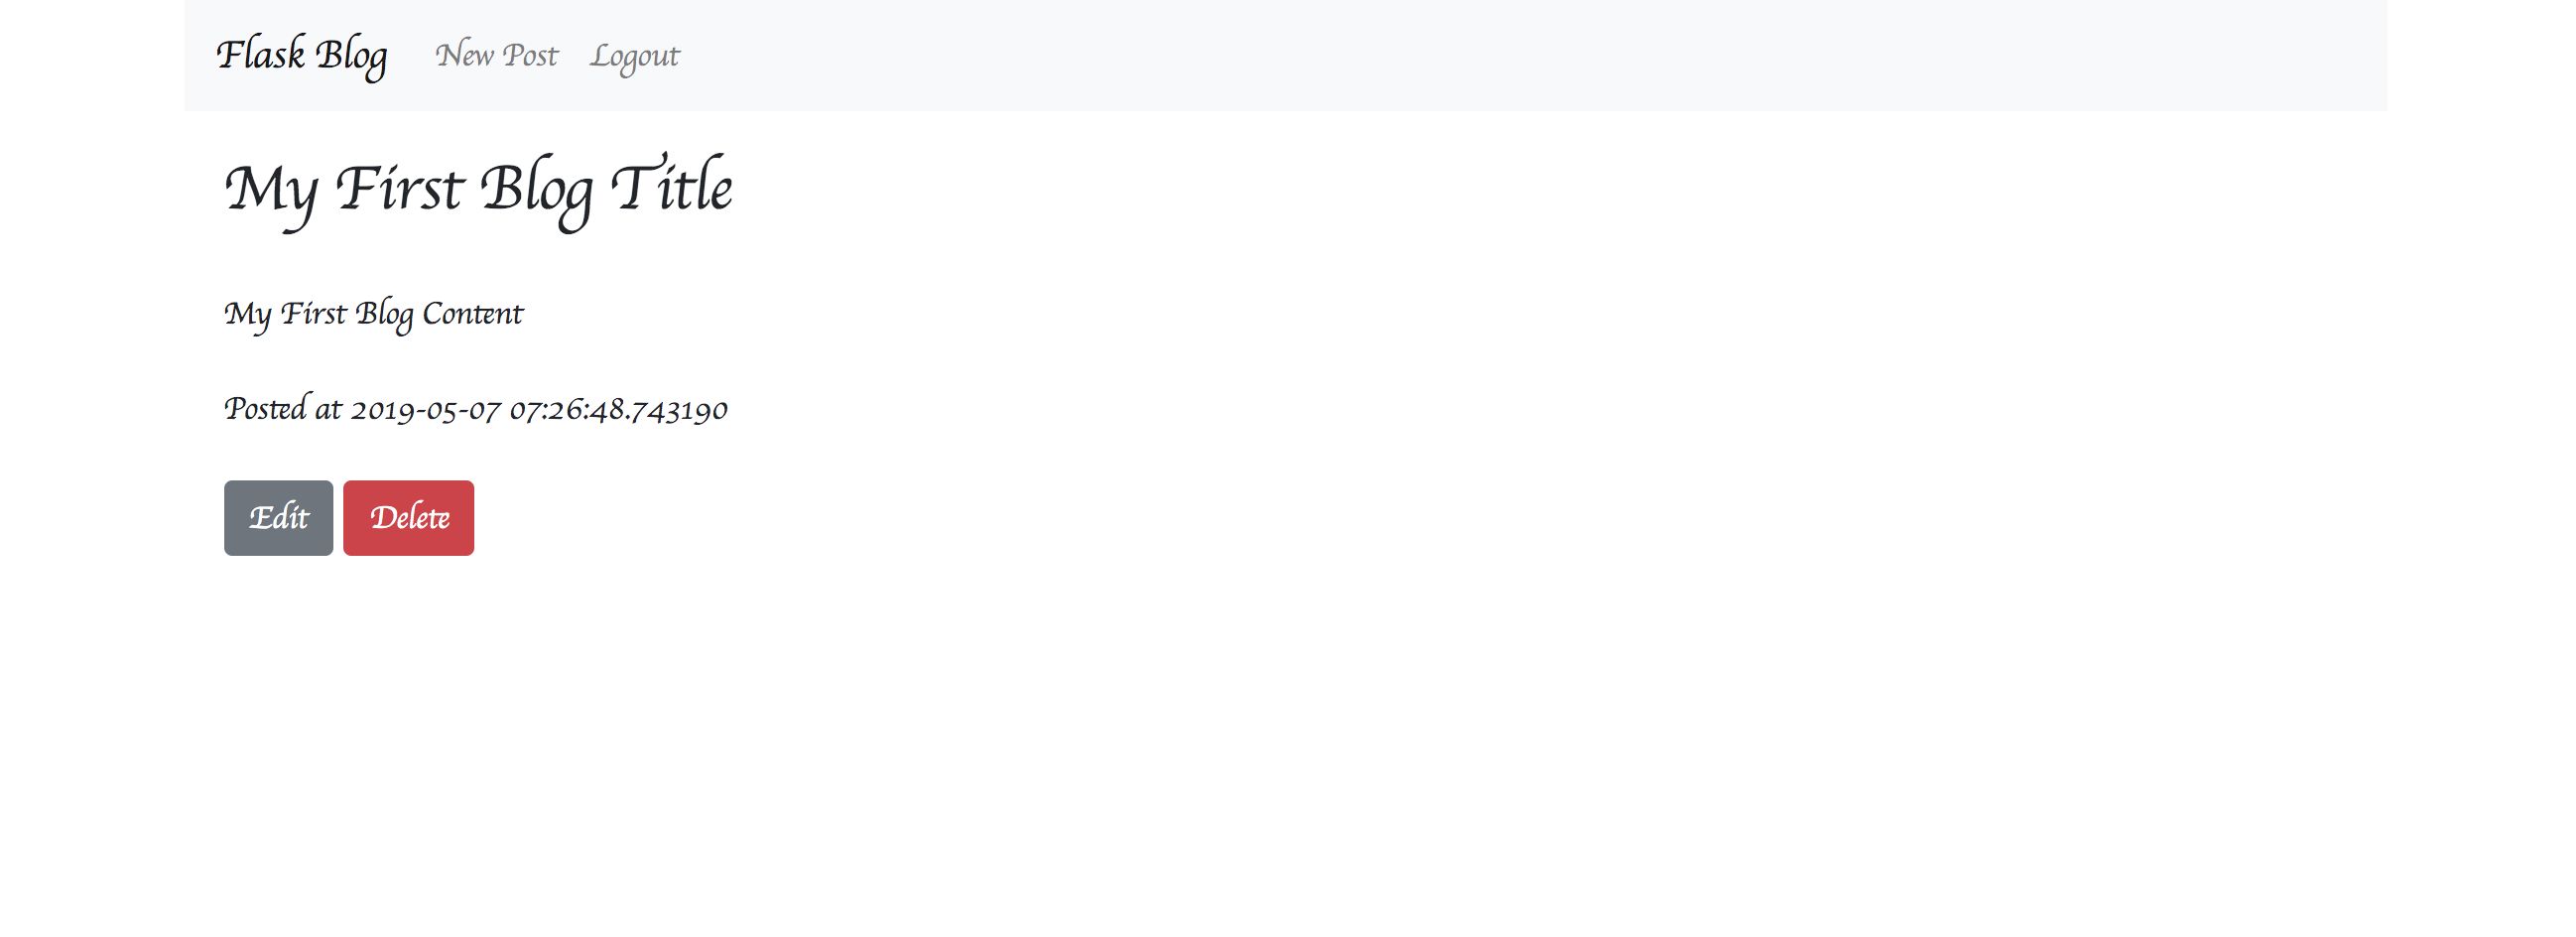
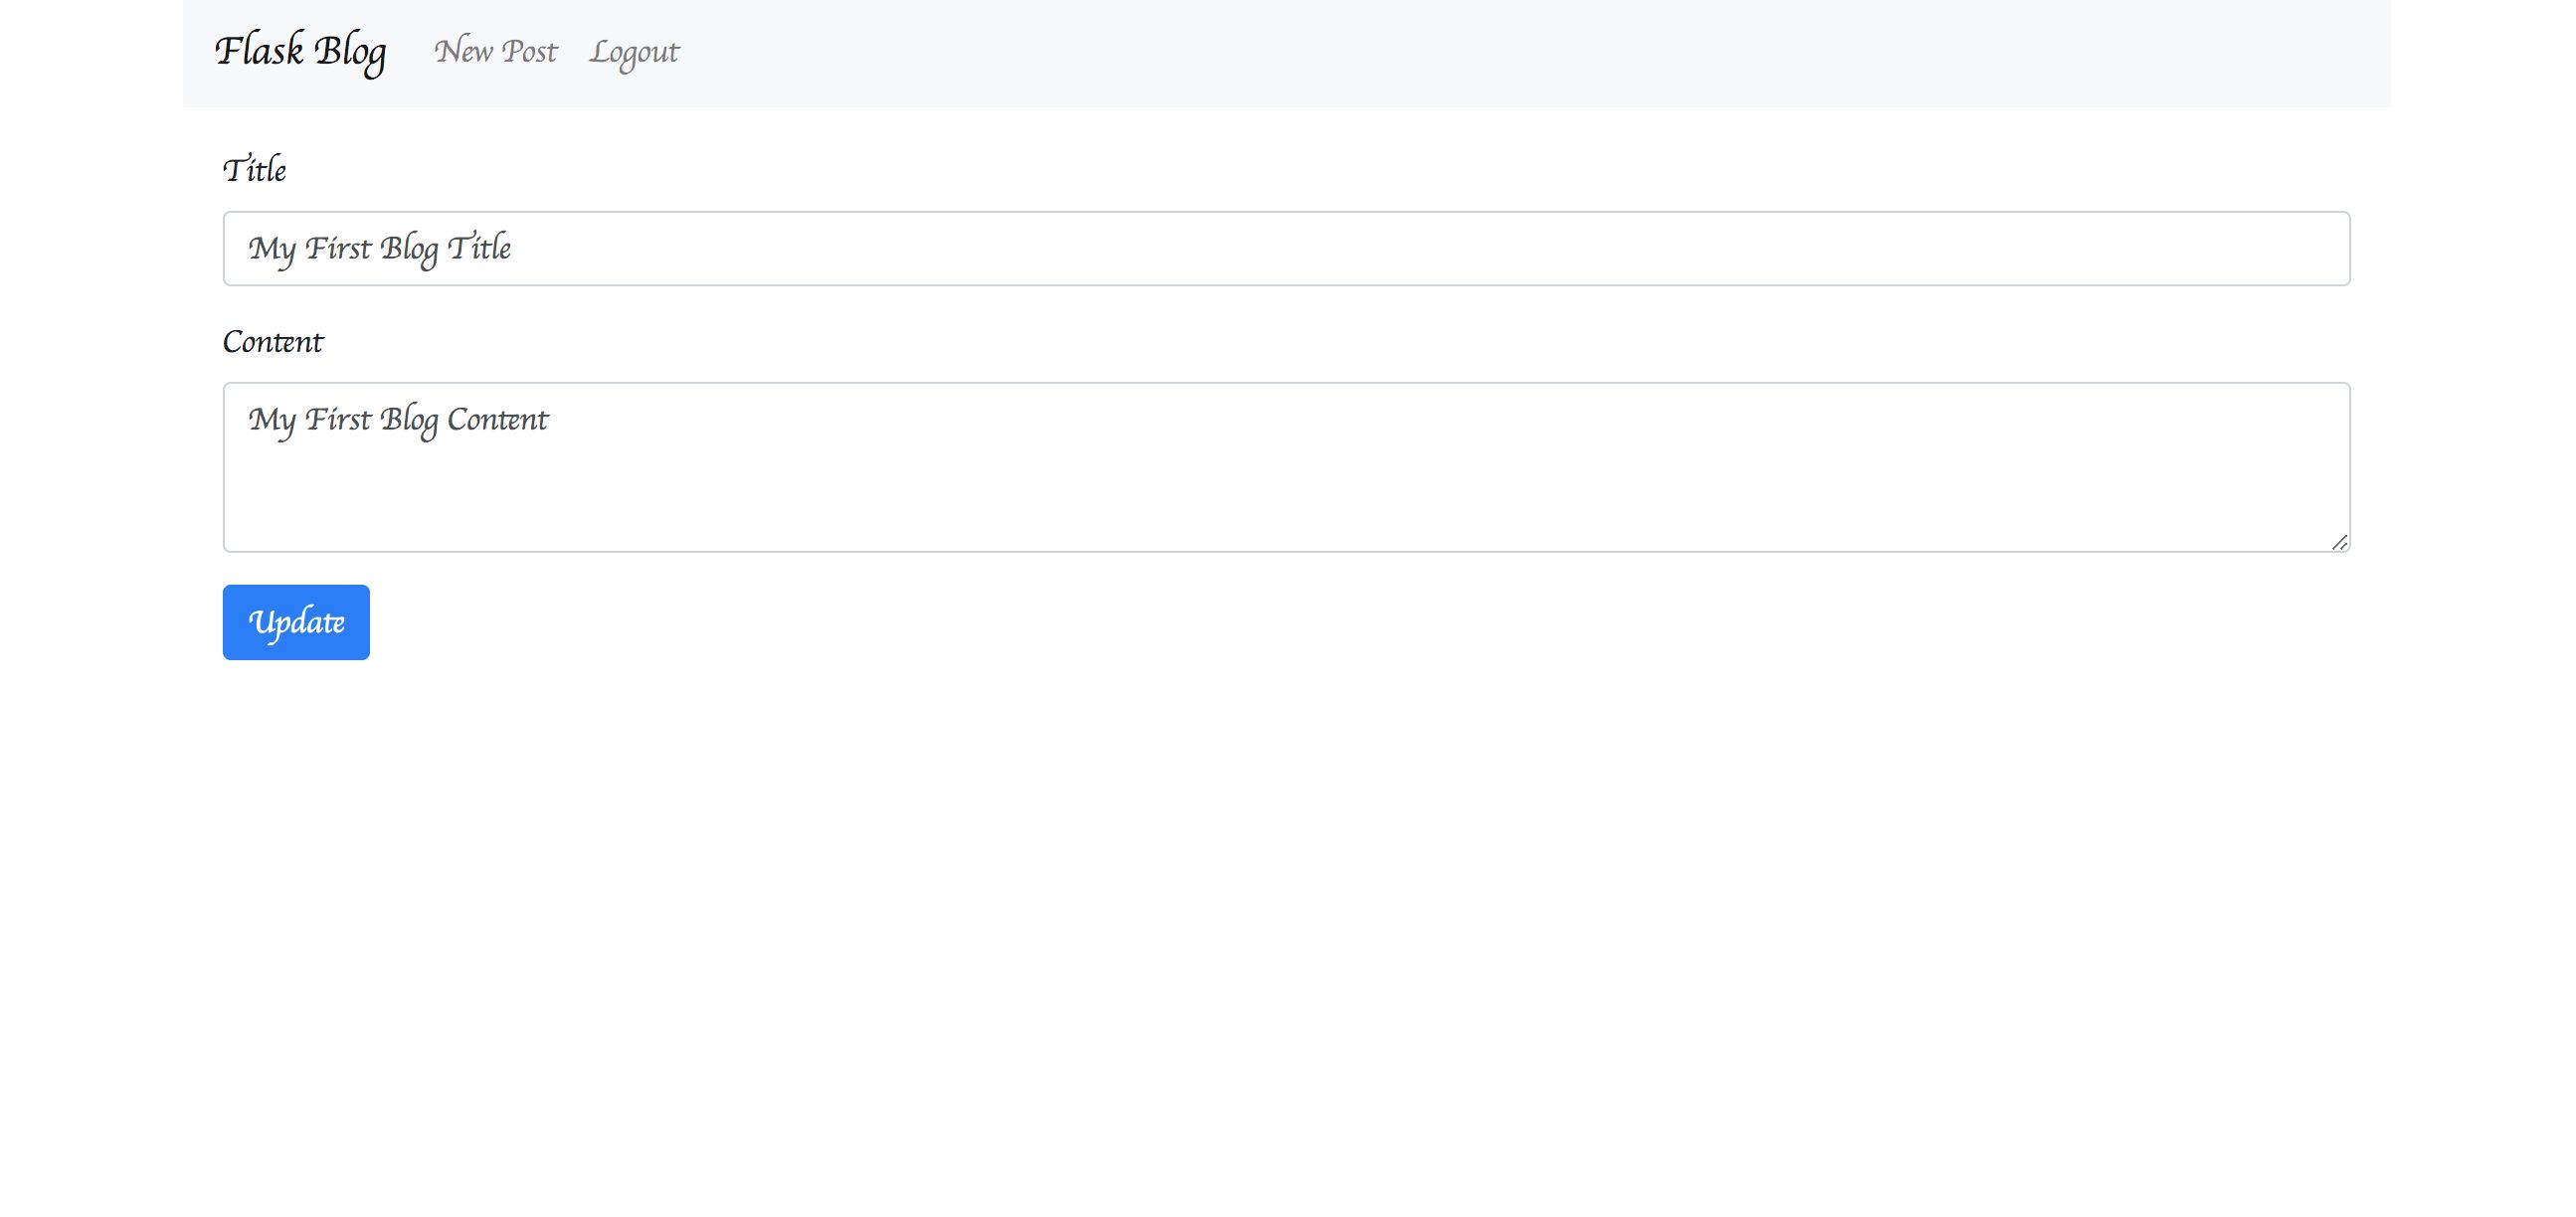
If you press the edit button, you can edit the article.
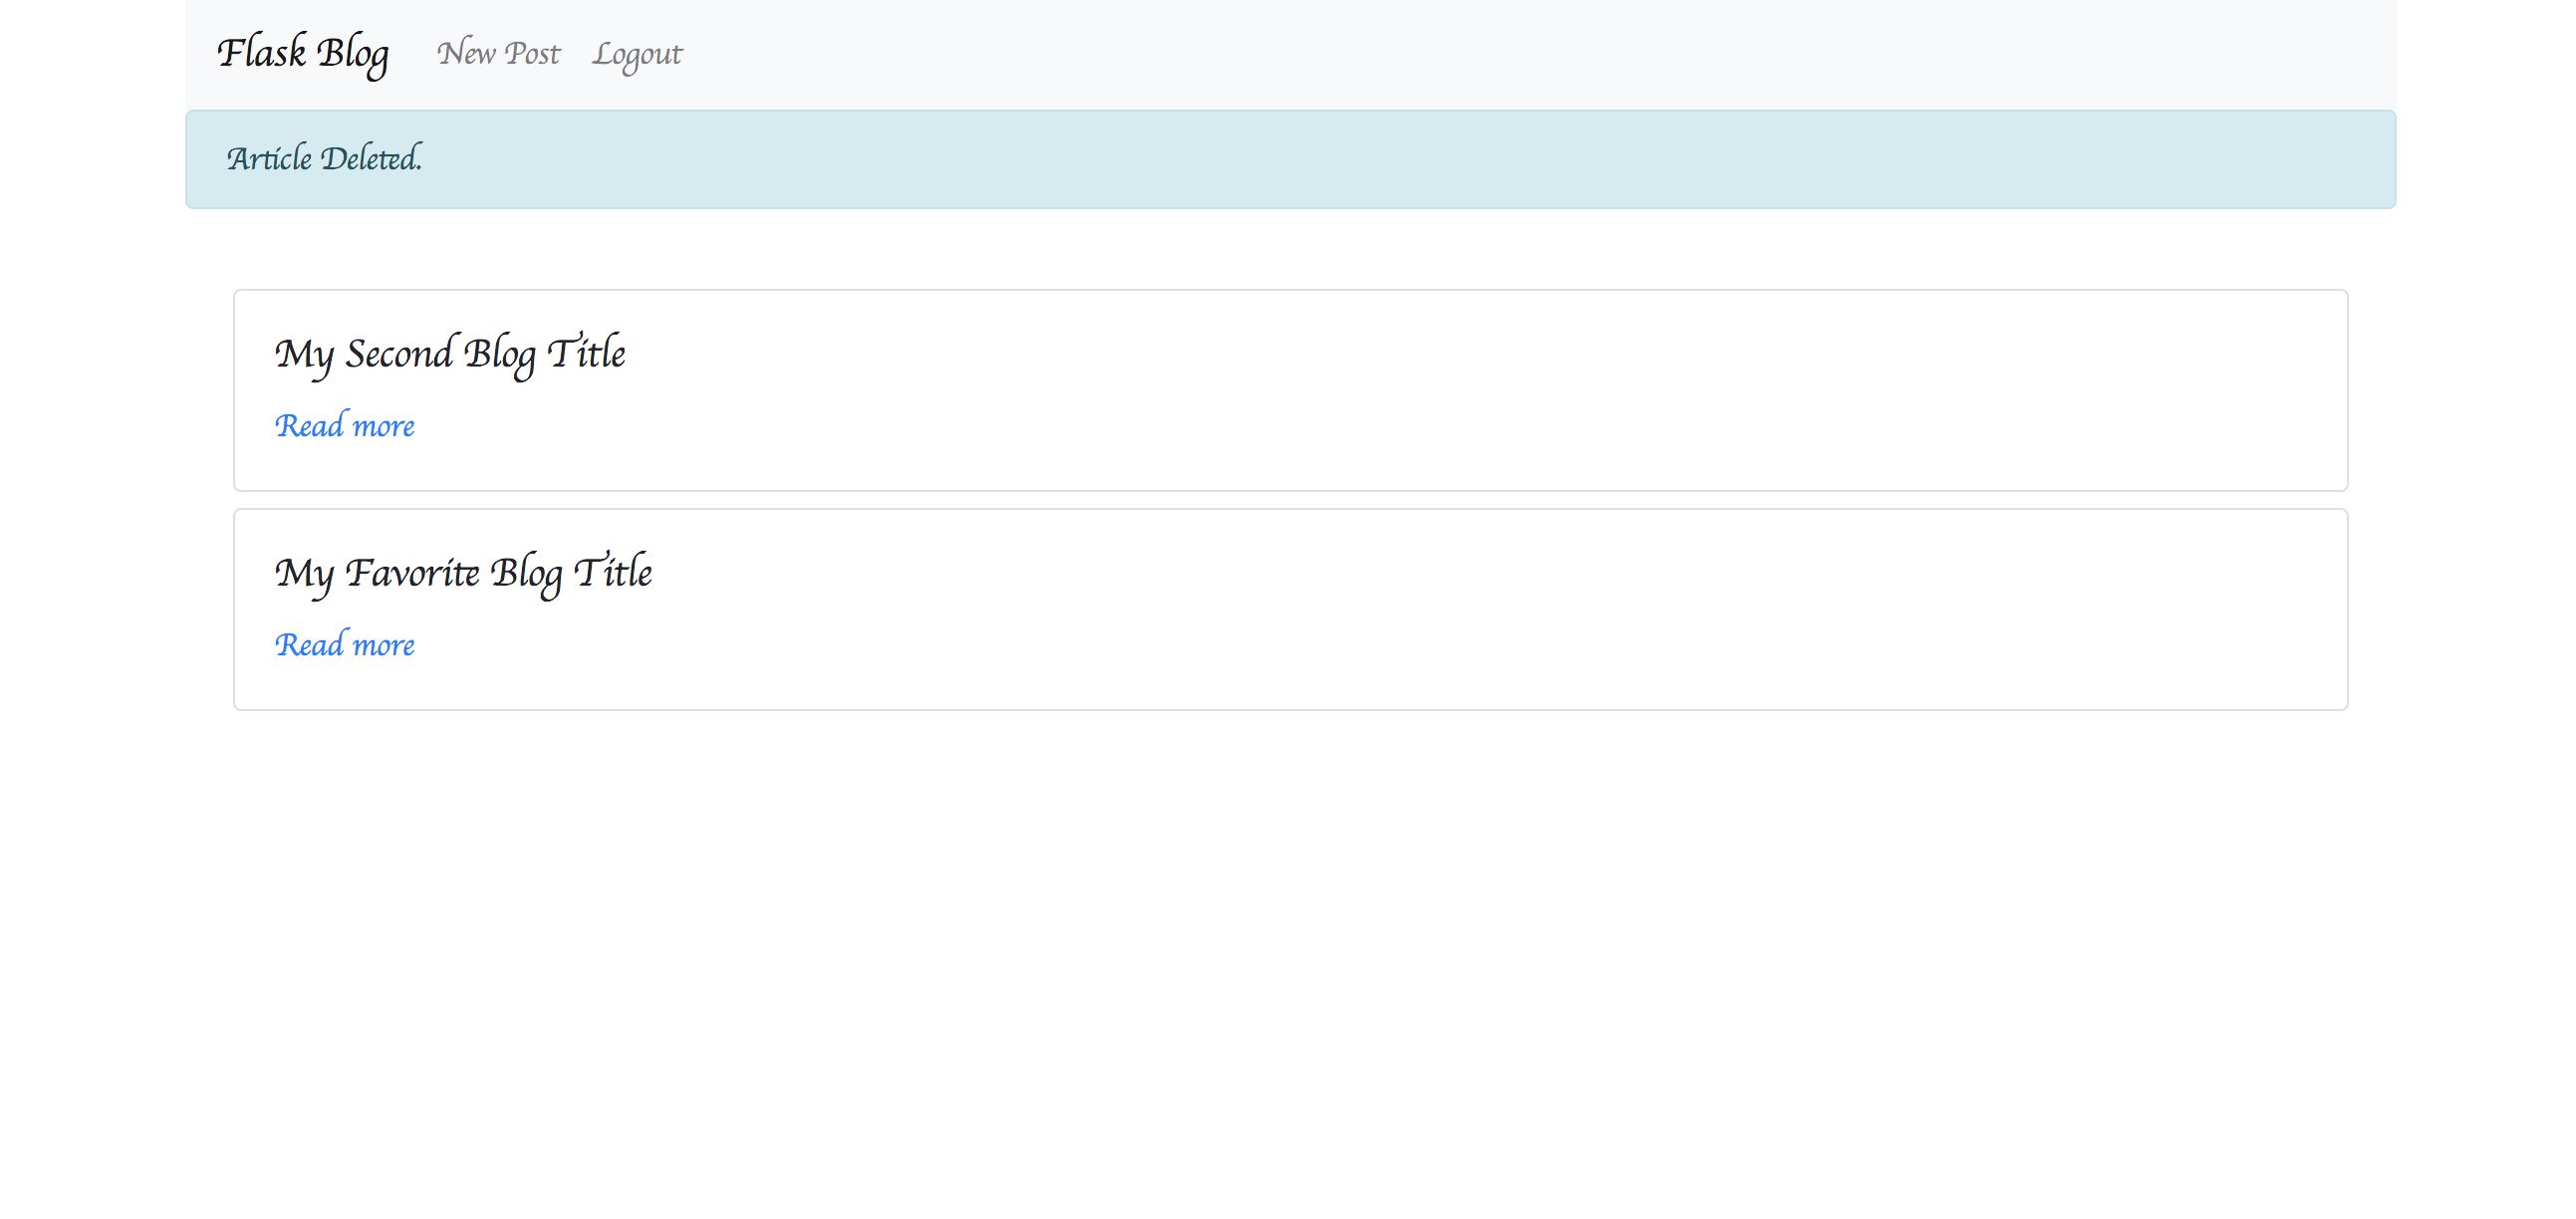
Press the delete button to delete the article.
Installing Python
Installing on MacOS
On latest version of MacOS, Python is installed by default. If you type python --version and the version information appears, you dont need to install it.
If not, install it using the brew command.
If you dont see the version information after typing brew --version, install brew as follows:
Installing brew
Install the Xcode command-line tools.
xcode-select --installInstall brew.
/usr/bin/ruby -e "$(curl -fsSL https://raw.githubusercontent.com/Homebrew/install/master/install)"Verify that brew is installed.
brew --versionHomebrew 1.5.14Homebrew/homebrew-core (git revision 26ca1; last commit 2018-04-02)Installing Python
Finally, install python using brew.
brew install pythonOn Linux
On Linux, python is also a standard installation. If not, install it as follows:.
On Ubuntu
sudo apt install pythonOn Redhat, CentOS
sudo yum install pythonIf python --version displays version information, the installation is successful.
Installing pip
pip is a package management system for managing external packages in Python. With pip, you can easily install and use useful packages, including Flask itself, in your applications.
In Python 3.4 and later, pip is installed by default, so no installation is necessary.
If not, you can install it by running the following command:
curl -kL https://bootstrap.pypa.io/get-pip.py | sudo pythonType pip --version and the version number is displayed.
$ pip --versionpip 9.0.1 from /Users/hondatakatomo/.pyenv/versions/3.6.3/lib/python3.6/site-packages (python 3.6)Try running the application in a single file
Install Flask using the pip described in the previous chapter.
pip install FlaskMake a file named hello.py with the following contents:
# hello.pyfrom flask import Flaskapp = Flask(__name__)@app.route('/')def hello_world(): return "Hello World!"if __name__ == '__main__': app.run()From the console, type:
$ python hello.py * Running on http://127.0.0.1:5000/ (Press CTRL+C to quit)The application is now up and running. Go to http://127.0.0.1:5000/.
If it looks like this, it is successful.

You have now created a Flask application with just one file.
Next, youll create a blog application in Flask. Create a folder for the application. Name it application.
Installing Pipenv
What is Pipenv?
Pipenv is a library that allows you to automatically create your own environment (Virtual environments) for each project and manage packages for each virtual environment.
In particular, we used the pip command to install and manage python packages on an entire PC. Pipenv allows you to create your own environment for each project (In other words, for each folder you create).
Typically, if you have multiple projects on one machine, it is difficult to separate the environments for each project.
On the other hand, Pipenv allows you to create your own environment without affecting other projects.
Installing Pipenv
To install Pipenv, run the following command:
pip install pipenvType pipenv --version and the version number will indicate a successful installation.
$ pipenv --versionpipenv, version 9.1.0Now that you have Pipenv installed, Ill use it all from now on without using pip.
Initial application settings
Then go to the application folder you created earlier and execute the following command:
pipenv --threeNow, under the application folder, you have a dedicated virtual environment for projects running Python3.
At the same time, a file named Pipfile/Pipfile.lock is created that contains the package information.
Lets actually go into a virtual environment.

