the
finer edge
Crocheted Trims, Motifs & Borders
Kristin Omdahl

I dedicate this book to my Shark Hunter. You are my inspiration to be the best person I can be, to work hard and smart, and to always have fun and smile. I love you with all my heart and soul.
I wish to recognize Jaime Guthals for suggesting I write this book. We were in the green room taping Knitting Daily TV a couple of seasons ago, and Jaime was admiring some segments I produced for the show on crochet edgings. She asked me to consider writing my next book on it. Thanks for the great idea, Jaime! Thank you to the talented photographer and stylist for bringing my excitement and enthusiasm for this book to vivid life through gorgeous photos.
Thank you to the incredibly talented team of people I collaborate with at Interweave, including Annie Bakken, Allison Korleski, Kim Werker, Karen Manthey, and Meghan Sommer.
C o n t e n t s


a n d A r o u n d t h e E d g e
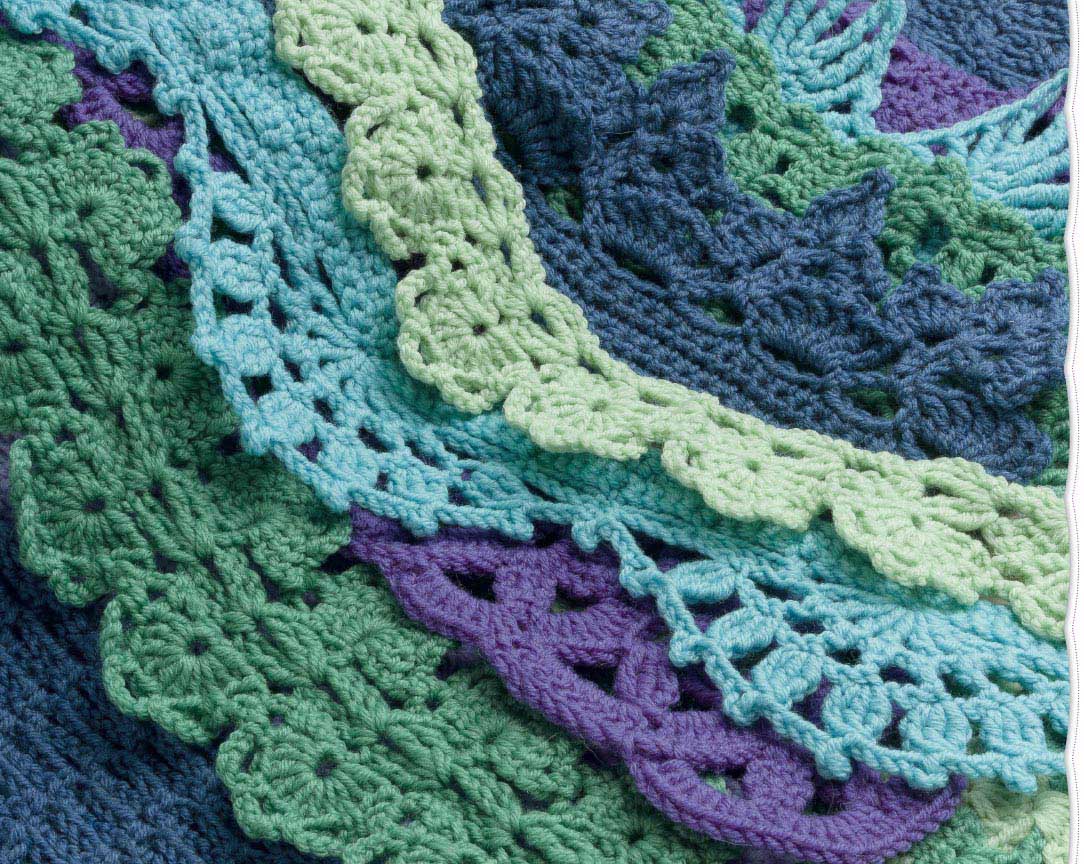
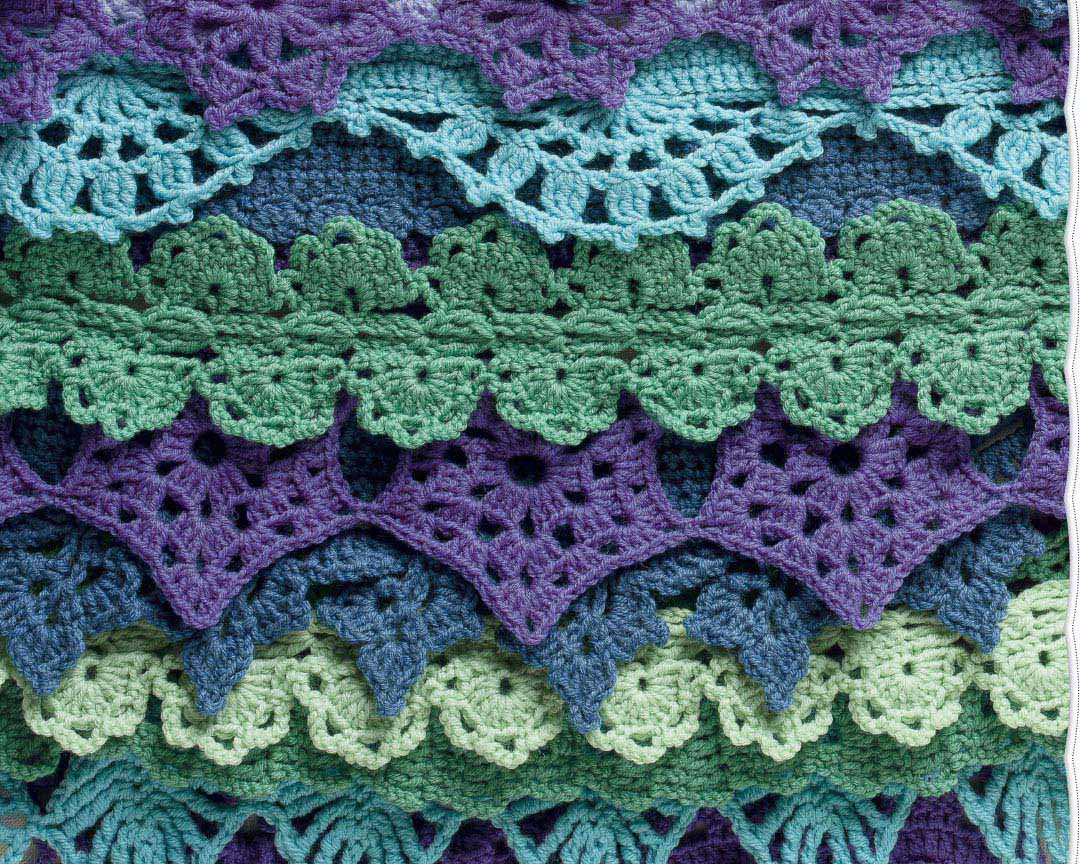
Adding an edging is a great way to spruce up and decorate your crochet projects. In this collection, I created edgings in all types of construction: top-down, bottom-up, side to side, motifs, and more. In addition, I thought of unusual ways to apply the edgings beyond the traditional framing of a project. We will make fabric from edging, make 3-dimensional projects from edging, create twisted fabric, and much more.
How to Use the Dictionary
The edgings in this dictionary are organized by construction. The first sections edgings are worked side to side (or parallel to the edge of the fabric you will join it to). The next section contains edgings worked top-down from the edge of the existing fabric to the end of the edging. The third sections edgings are worked bottom-up, from the beginning of the edging to the fabric edge. In the fourth section, Ive included miscellaneous edgings that dont fit precisely into these categories. Experiment by applying different edgings to swatches youve made until you find a great match, keeping in mind that most edgings require a certain multiple of stitches for their pattern repeat, and you may need to adjust your base-fabric pattern accordingly.
To mix and match the edgings within a project, again take note of the multiple of stitches required for each patterns repeat. Its simplest to mix and match patterns with the same number of stitches in the repeat. If the required number of stitches is close but not exact, you can add or subtract to achieve the correct count in your first row of stitches (increase or decrease accordingly to ease into the correct stitch count). Generally speaking, if you are less than 10% off on the stitch count, you should be fine making minor adjustments to accommodate your desired edging patterns.
Note: If you encounter an abbreviation that's unfamiliar to you, check the .
Edging Around the Corner
There are a couple of ways to turn corners in a rectangular piece when applying an edging. In any case, you need to take into account that it takes more stitches to turn a corner with the edging remaining flat than it does to work the edging in a straight line, so you almost always need to work increases at the corner and/or on either side of it.
The most straightforward way to add fullness in a pattern involving a stitch repeat is to increase for a full additional repeat on either side of the corner on the first row or round of the edging. For example, lets say your edging-stitch repeat is 5 stitches. I would work a round of single or double crochet and increase at the corners to accommodate an additional repeat on either side. You can do this one of two different ways:
Work 3 stitches each in the 2 stitches on either side of the center corner stitch and in the center corner stitch for a total of 15 stitches (increasing by 2 full pattern repeats).
Or, for the 5 stitches before and 5 stitches after the corner, work 2 stitches in each stitch for a total of 20 stitches (4 repeats of the 5-stitch repeat of the edging on the subsequent rows/rounds).
Once this set-up row is established, you are ready to work the edging rows or rounds in pattern without needing to alter for corner fullness.
Alternatively, you can insert an extra repeat little bits at a time at the corners to eventually create a full extra repeat of the stitch pattern. This works well if the edging consists of multiple rows or rounds, but I suggest sketching the edging chart to figure out how to gradually add stitches to replicate the growth of an additional stitch pattern repeat.
One final approach is to increase in simple stitches at the corner rather than in the pattern stitch, but it will stand out as a wedge against the rest of the edging pattern; that said, it could add a welcome decorative touch.
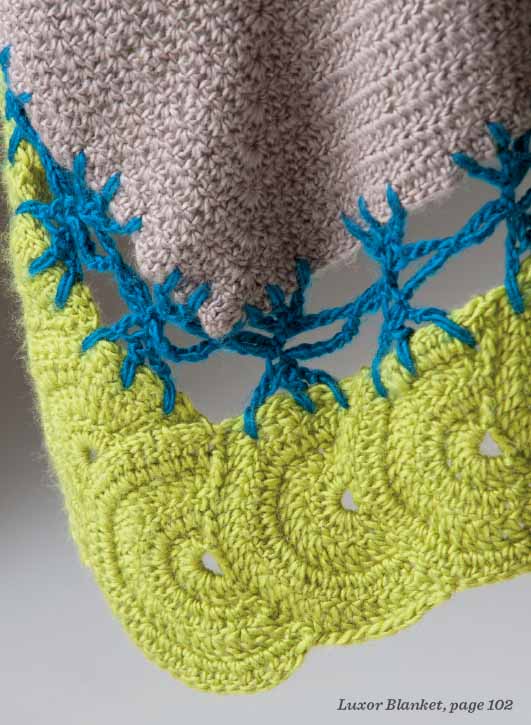
If you are making the edging separate from the fabric to apply later, you could even gather or pleat the edging to create the fullness required for turning the corner. In the case of the , we change direction on the stand-alone edgingby 90 or 270 degrees to create the corners to wrap around the completed afghan.
E d g i n g s

Birch Scallops
 Multiple of 30 + sts.
 Swatch: (30 3) + = 91 sts.
Ch 92 for swatch as shown.
Row 1: Sc in 2nd ch from hook and each ch across, turn91 sc.
Rows 23: Ch 1, sc in each st across.
Edging
Row 1 (RS): Ch 1, sc in first sc, *[ch 4, sk 4 sts, sc in next st] 2 times, ch 1, sk next 4 sts, (tr, ch 1) 7 times in next st, sk next 4 sts, sc in next st, [ch 4, sk 4 sts, sc in next st] 2 times; rep from * across, turn.
Row 2: Ch 1, sc in first sc, *ch 4, sk next ch-4 sp, sc in next sc, ch 2, [tr in next tr, ch 2] 7 times, sk next ch-4 sp, sc in next sc, ch 4, sc in next sc; rep from * across, turn.
Row 3: Ch 1, (sc, ch-3 picot, sc) in first sc, * [ch 3, ch-3 picot, 3-tr cl in next tr) 7 times, ch 3, sk next ch-4 sp, (sc, ch-3 picot, sc) in next sc; rep from * across, turn.
Fasten off.

Download the diagram for this project here.

Next page





 Multiple of 30 + sts.
