First things first, we need your computer setup for Angular development. Please follow online resources and get the following in place before you continue:
NodeJS is the best way to get NPM, which is a package manager. Angular CLI is the recommended way to develop on Angular. It also generates code that meets all recommended standards / conventions.
Please refer to online help on NPM and Angular CLI in case of any issues.
Star Rating Component
Lets use the Angular CLI (Command Line Interface) to create our first Angular application and the star rating component.
Run the following command to create the new star-rating app:

This will create a new folder named star-rating and will ready all the necessary plumbing for your new application. It would take some time to finish off so please be patient.
Once done, open the folder that the CLI created and run the following command to see if all worked OK:

This command builds and deploys your app locally. The open option automatically opens the browser for you. If you forget to set this option, you will need to open http://localhost:4200/ manually to see the application.
Angular CLI |
Please visit https://github.com/angular/angular-cli/wiki for more details on Angular CLI commands. |
Keep both the terminal and the browser open henceforth. Any change you make to code will automatically refresh in the browser.
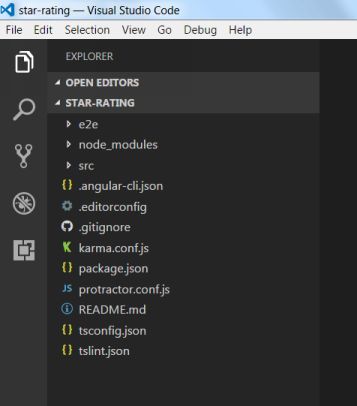
Open the folder in Visual Studio Code before proceeding. You should see a file structure similar to below:
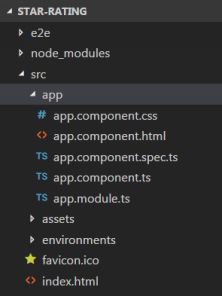
Digging deeper, we see that the Angular CLI has created the default App component for us:
Lets add a new component for our star rating. To do so run the following command:

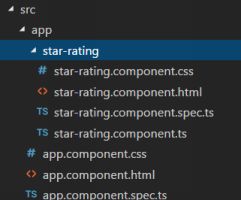
You should now be able to see a new folder and new files under the same for our new component:
Now that we have all the plumbing in place, thanks to Angular CLI, we can get coding.
Angular CLI |
For more details on generating various items using the CLI, please see https://github.com/angular/angular-cli/wiki/generate |
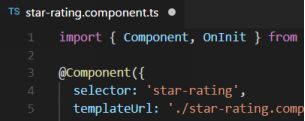
Open up the star-rating.component.ts file and rename the selector to star-rating:
Now, open up the app.component.html and replace all text with below:

It would be intuitive to pass the rating value as an input, thus the above code. Now lets start work on the star rating component.
Add a new input properly for the rating value in the StarRatingComponent class (star-rating.component.ts file):

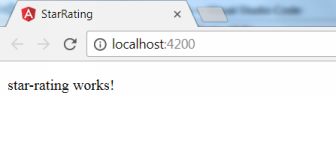
Lets see what we have accomplished for now. Simply switch to the browser and it should have automatically refreshed after you have saved all your changes:
Replace all existing text in the star-rating.component.html with:

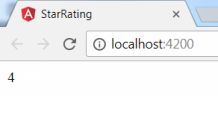
Switching to the browser, we now see our passed rating value:
Now, this is a very good example to use Angular Pipes. Pipes basically formats / converts a value from one form to another thats more suitable to display. In our case, we need to convert a number to show stars.
To show a filled star, we can use ★ and to show an empty star use ☆ html names / codes. So lets add a new pipe to our component. Make sure you are in the star-rating component folder before creating the pipe by using the below command, else the pipe will be created under the app component:

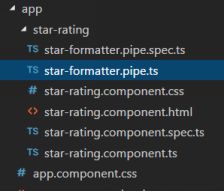
You should now see the new pipe created under the star-rating component:
Replace the existing transform method with the below (star-formatter.pipe.ts file):
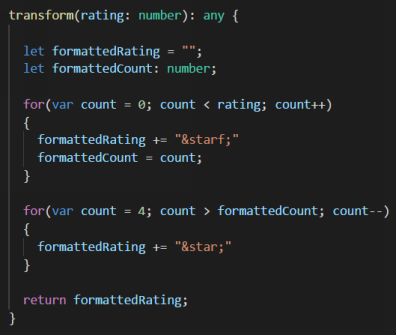
You could use a more optimal logic to do the same. Basically we are taking in the rating value and returning back those many filled stars appended with any empty stars so that total stars are always 5.
We need to update the star rating components html to use this new pipe, like so:


