Horses
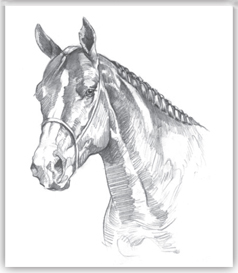
From the earliest cave drawings to the modern masters, artists have long been inspired by the horse as a subject. Horses have an elegance and spirit that were naturally attracted to and intrigued by. With their fluid lines, powerful muscles, and graceful motions, its no wonder that these extraordinary creatures have frequently been celebrated by artists throughout the ages. And now you can learn to draw horses too, even if youve never picked up a drawing pencil. In this book, youll find the basics of horse anatomy and correct proportion, as well as special tips for drawing facial features, ears, hooves, and manes. Youll also learn how to render these beautiful and expressive animals in exciting action posesracing, jumping, and galloping. Just follow the simple steps in this book, and soon youll develop your own style for drawing these magnificent animals.

1989, 1997, 2003, 2010, 2011 Walter Foster Publishing, Inc. All rights reserved. (Previously titled Drawing Horses.) Walter Foster is a registered trademark.
This book has been published to aid the aspiring artist. Reproduction of the work for study or finished art is permissible. Any art drawn or photomechanically reproduced from this publication for commercial purposes is forbidden without written consent from the publisher, Walter Foster Publishing, Inc.
Digital edition: 978-1-61059-848-4
Softcover edition: 978-0-92926-172-0
CONTENTS
Getting Started
Drawing is just like writing your name. You use lines to make shapes. In the art of drawing, you carry it a bit further, using shading techniques to create the illusion of three-dimensional form.
Only a few basic tools are needed in the art of drawing. The tools necessary to create the drawings in this book are all shown here.
Pencils
Pencils come in varying degrees of lead, from very soft to hard (e.g., 6B, 4B, 2B, and HB, respectively). Harder leads create lighter lines and are used to make preliminary sketches. Softer leads are usually used for shading.
Flat sketching pencils are very helpful; they can create wide or thin lines, and even dots. Find one with a B lead, the degree of softness between HB and 2B.
Although pencil is the primary tool used for drawing, dont limit yourself. Try using charcoal, Cont crayons, brush and ink, or pastelsthey can add color and dimension to your work.
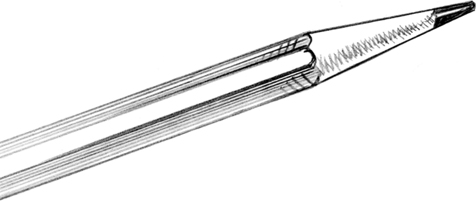
ROUND 2B PENCIL
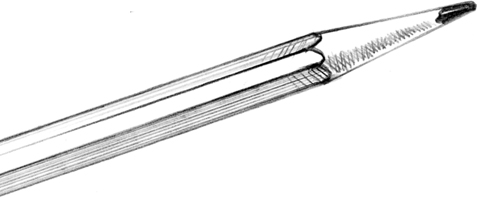
ROUND HB PENCIL
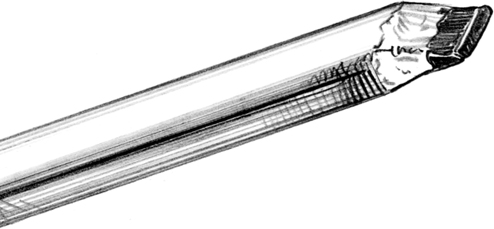
FLAT SKETCHING PENCIL
Erasers
Erasers are not only useful for correcting mistakes, they are also fine drawing tools. Choose from several types: kneaded, vinyl, gum, or rubber, depending on how you want to use the eraser. For example, you can mold a kneaded eraser into a point or break off smaller pieces to lift out highlights or create texture. A gum or rubber eraser works well for erasing larger areas.

KNEADED ERASER
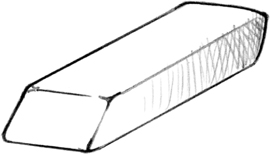
RUBBER ERASER
Paper
Paper varies according to color, thickness, and surface quality (e.g., smooth or rough). Use a sketch pad for practice. For finer renderings, try illustration or Bristol board. As you become more comfortable with drawing techniques, experiment with better quality paper to see how it affects your work.
Other Helpful Materials
You should have a paper blending stump (also known as a tortillon) for creating textures and blends in your drawing. It enhances certain effects and, once covered with lead, can be used to draw smeared lines.
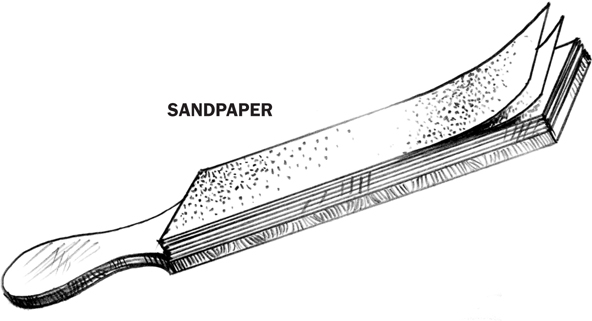
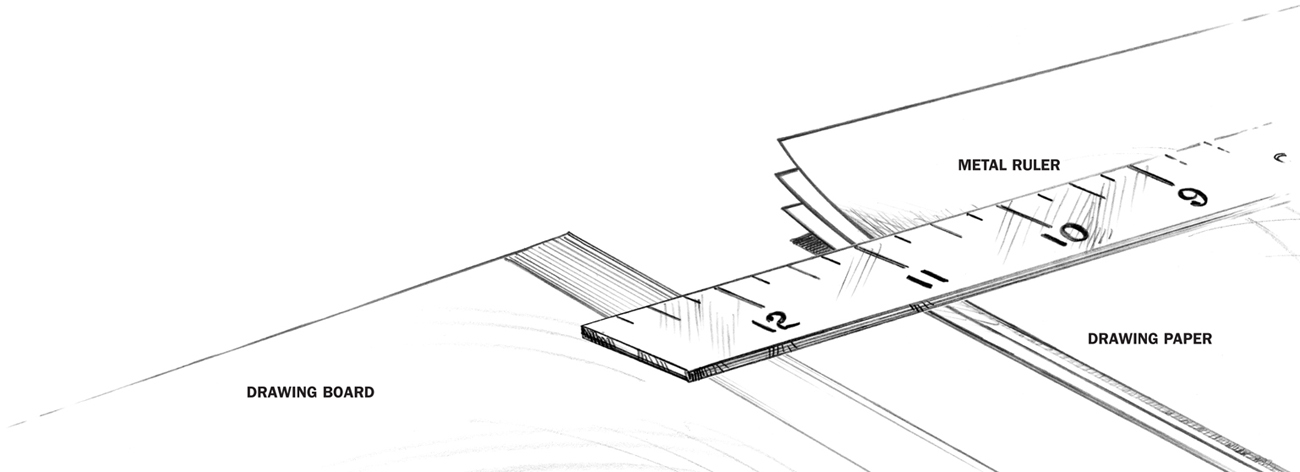
In order to conserve your lead, have some sandpaper on hand so you can sharpen the lead without wearing down the pencil. You may want to buy a metal ruler as well, for drawing straight lines. Finally, a sturdy drawing board provides a stable surface for your drawing.
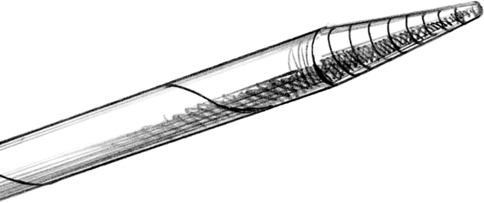
PAPER STUMP/TORTILLON
Final Preparations
Before you begin drawing, set up a spacious work area that has plenty of natural light. Make sure all your tools and materials are easily accessible from where youre sitting. Since you might be sitting for hours at a time, find a comfortable chair.
If you wish, tape the paper at the corners to your drawing board or surface to prevent it from moving while you work. You can also use a ruler to make a light border around the edge of the paper; this will help you use the space on your paper wisely, especially if you want to frame or mat the finished product.
As you read through this book, carefully note how the words shape and form are used. Shape refers to the actual outline of an object, while form refers to its three-dimensional appearance.
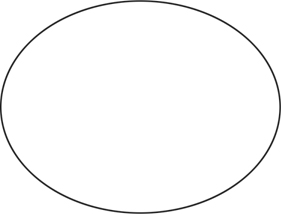
This is an ovalshape.
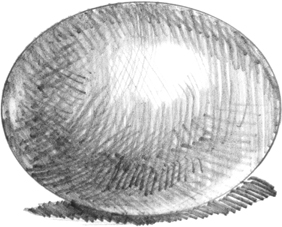
This has a three-dimensional, ball-likeform.
Shading Techniques
The drawing tools described on the previous page will allow you to shade skillfully and effectively, giving your subject form and texture. Shading creates the illusion of depth and form of an object through the use of variations in valuesthe relative lightness or darkness of a color or of black.
You can also create different textures by varying the kind of strokes, tools, drawing surfaces, and techniques you use. A pencil sharpened to a chisel point will create thick strokes, and one with a sharp point will produce narrower strokes. The side of the lead can be used for large, broad shading, and the point for fine details. Choose a softer lead and add more pressure for the dark areas, and leave lighter areas for contrast.
Use an HB pencil for the first steps of your drawing, when you block in the basic shapes of the horse. Softer lead pencils are good for shading. Brush and India ink is another option. Experiment with your tools and materials to see what kinds of textures and effects you can produce.
Next page

