Crasbercu - My Rag Doll
Here you can read online Crasbercu - My Rag Doll full text of the book (entire story) in english for free. Download pdf and epub, get meaning, cover and reviews about this ebook. year: 2014, publisher: F+W Media, genre: Home and family. Description of the work, (preface) as well as reviews are available. Best literature library LitArk.com created for fans of good reading and offers a wide selection of genres:
Romance novel
Science fiction
Adventure
Detective
Science
History
Home and family
Prose
Art
Politics
Computer
Non-fiction
Religion
Business
Children
Humor
Choose a favorite category and find really read worthwhile books. Enjoy immersion in the world of imagination, feel the emotions of the characters or learn something new for yourself, make an fascinating discovery.
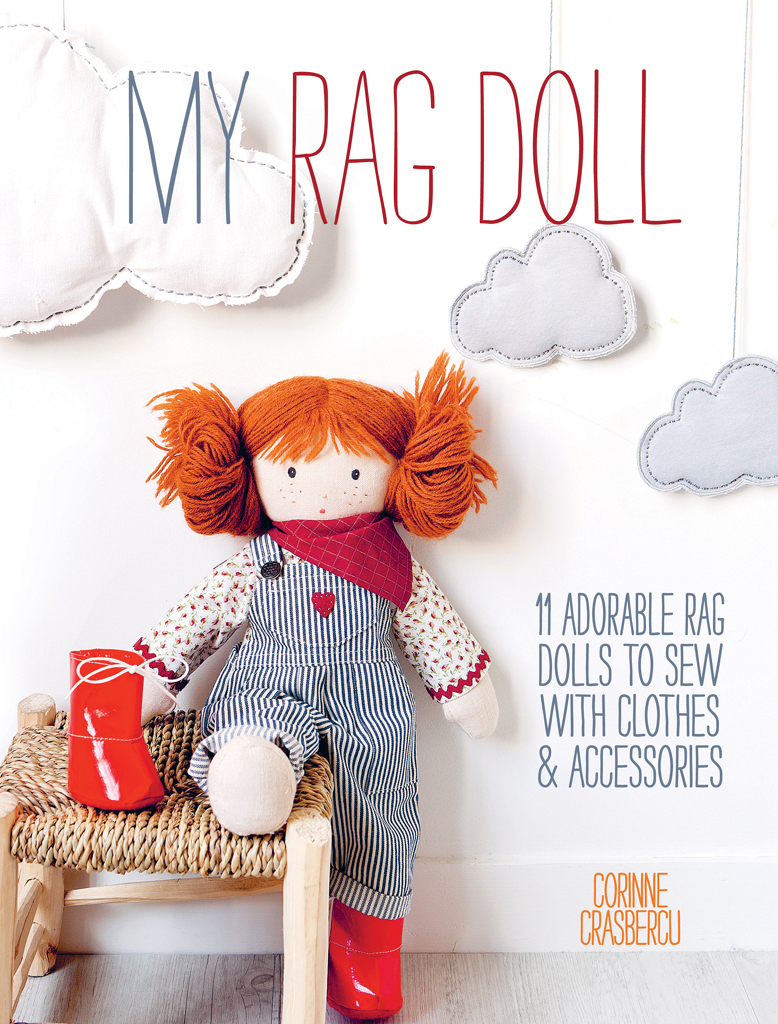
- Book:My Rag Doll
- Author:
- Publisher:F+W Media
- Genre:
- Year:2014
- Rating:4 / 5
- Favourites:Add to favourites
- Your mark:
My Rag Doll: summary, description and annotation
We offer to read an annotation, description, summary or preface (depends on what the author of the book "My Rag Doll" wrote himself). If you haven't found the necessary information about the book — write in the comments, we will try to find it.
Crasbercu: author's other books
Who wrote My Rag Doll? Find out the surname, the name of the author of the book and a list of all author's works by series.


My Rag Doll — read online for free the complete book (whole text) full work
Below is the text of the book, divided by pages. System saving the place of the last page read, allows you to conveniently read the book "My Rag Doll" online for free, without having to search again every time where you left off. Put a bookmark, and you can go to the page where you finished reading at any time.
Font size:
Interval:
Bookmark:

When I was little, I used to spend hours dressing my dolls and playing with them, and before long, as soon as I learned how to knit, embroider and sew, I began to make them. For this, I owe thanks to my mother and father (master of the old Singer machine!) as well as my grandmother.
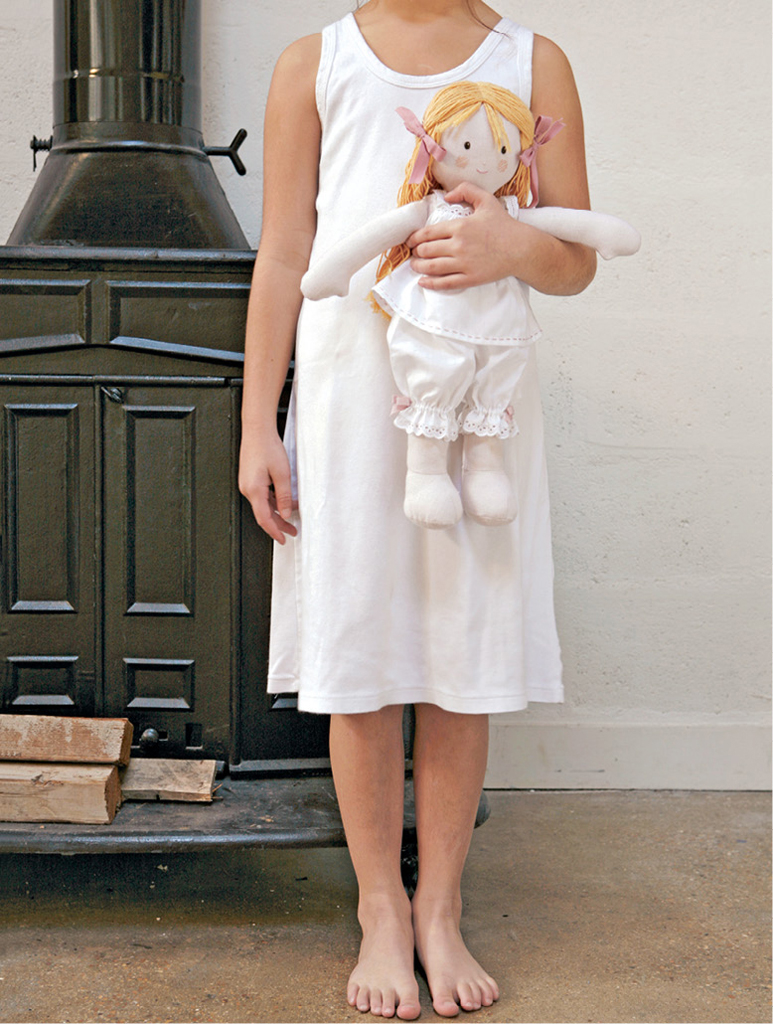
Inspired by the world of Sarah Kay and Beatrix Potter, I used to unearth old sheets and scraps of fabric, lace and ribbons from the bottoms of trunks in the attic to make my dolls, especially their clothes... dresses, skirts, little tops and all kinds of little accessories.
That was how my passion for sewing, clothing and fashion began and how it became my career!
Let me help you discover a world where the magic of childhood is still alive. A world that is well within your reach!
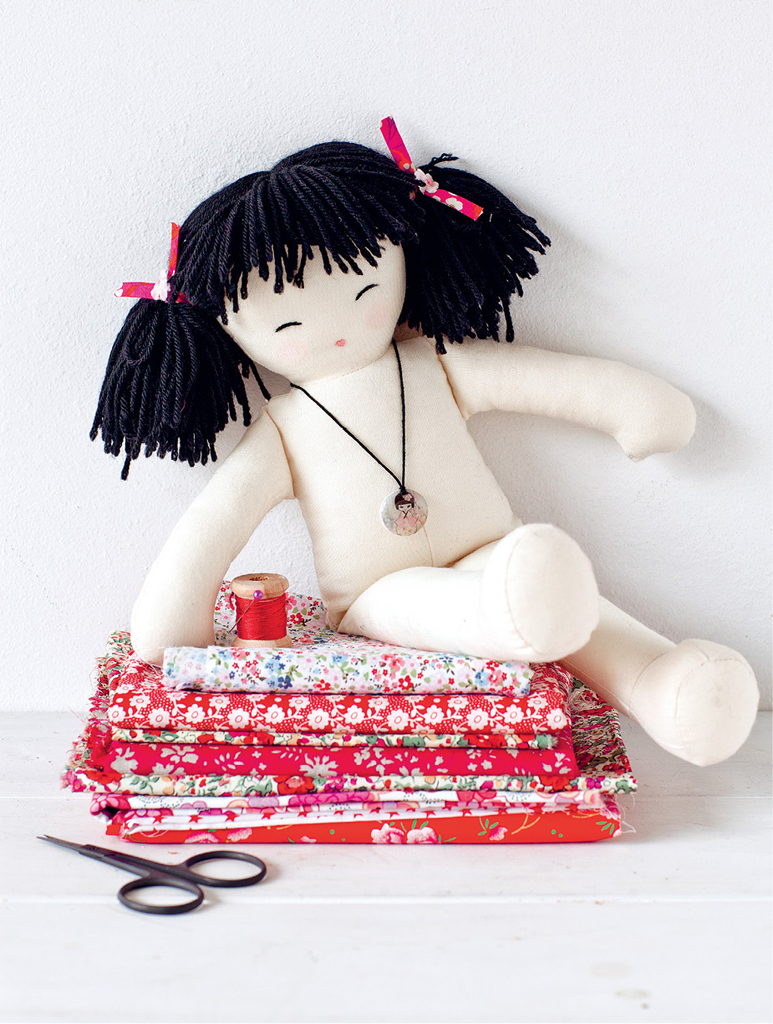
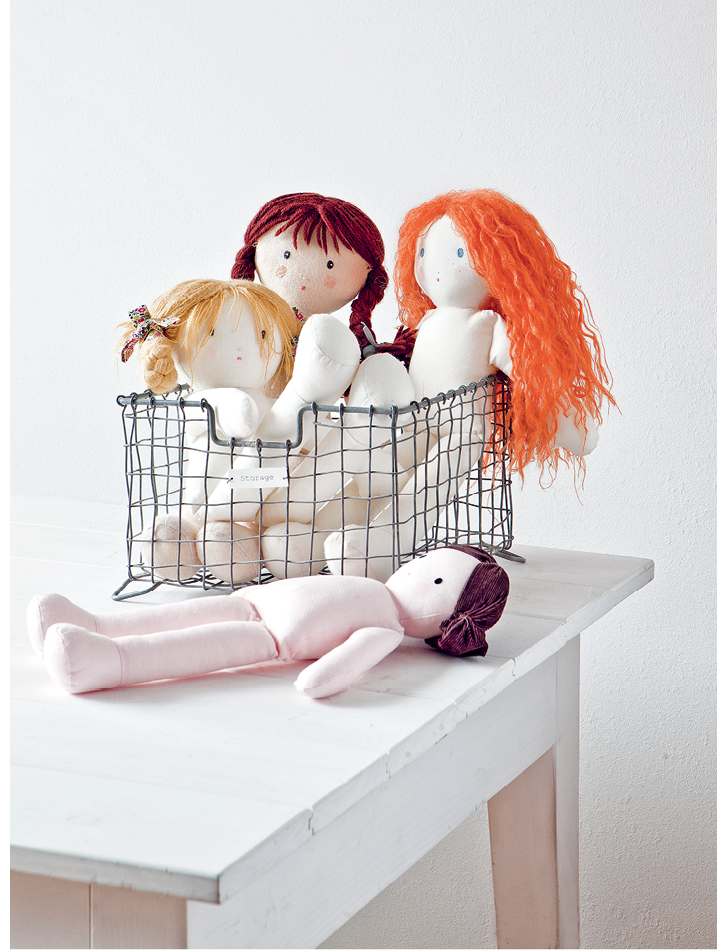
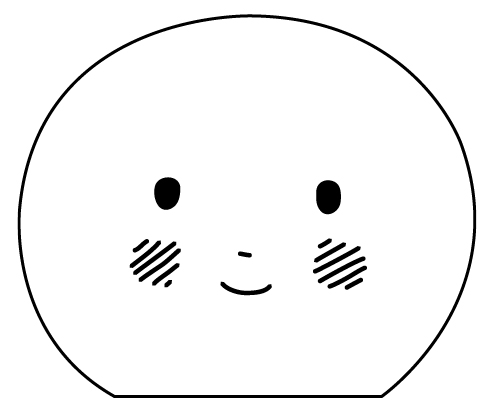
All the dolls are made from the same pattern (see to create the faces. Enlarge the faces using a photocopier or take inspiration from the different models to make your own unique doll.
Doll
Old sheet dyed with tea, 40 60cm (16 21in)
Polyester wadding (batting)
Pins
Sewing and embroidery needles
Tacking thread
Sewing thread, beige
Enlarge the pattern pieces for the doll by 140% using a photocopier, and cut out. Cut out the pattern for the arms and legs twice in mirror image.
Fold the fabric in half and, ensuring the arrows are sitting on the grainline, pin all the pieces onto the fabric, with the centre of each leg placed along the fold to obtain a single piece. Only the back and front of the head are pinned to a single thickness of fabric. Cut out all these pieces with a 1cm (12in) seam allowance. Insert pins to mark the notches.
Start by reducing the back of the head. Gather the top of the head between the notches, so that the back and the front of the head are the same size.
Using a sewing machine, join the two half-fronts of the body along the centre and attach the front of the head to the top, at neck level. Do the same with the two half-backs and the back of the head, but leaving a large opening in the centre of the back seam. Position these two pieces on top of one another, right sides together, and sew along the sides, shoulders and all around the head, leaving an opening to insert the arms. Turn the body of the doll right side out.
Place the two pieces of fabric that form the arms on top of one another, right sides together, and sew all the way around, leaving one side open. Turn the arms out and fill with wadding (batting).
Join the top of the feet to the bottom of the legs, ensuring that the right and left feet are in the correct position, and close up the darts. Fold the fabric in half, right sides together, and sew along the length. Attach the bottom of the foot to the top of the foot using tacking thread, and then sew by machine. Turn the legs right side out and fill with wadding (batting), ensuring they are filled equally. Fit the legs and arms into the openings on the body, and attach them with a line of machine stitching along the inside edge.
Fill the head of the doll with wadding (batting), then the body, and close the back seam with small, invisible stitches.
For the Ballerina doll and the Little Fairy doll, enlarge the pattern pieces by 120%.
Cotton yarn, vanilla
DMC Moulin Stranded Cotton 819 (powder pink),
3031 (chocolate brown), 3771 (peach pink), 3833 (petal pink) and Ecru
Tissue paper
Adhesive tape
Make 11 skeins each of 15 strands of vanilla yarn, 50cm (20in) long, cutting their ends. Arrange nine skeins flat, side by side, across a width of 18cm (7in), and tape them in the middle (on top and underneath). Place a strip of tissue paper under the adhesive tape and machine stitch down the middle before removing the paper and the adhesive. Fold in half along the line, adjust the hair on the head, 1cm (12in) behind the seam, and sew using small stitches. Fold the hair down well at the back, apart from a little lock that you can let fall freely on each side. Secure the hair on the back of the head using backstitch, level with the ears.
Lay the two remaining skeins flat, side by side, across a width of 6cm (212in), and tape them in the middle (on top and underneath), to form a parting. Place a strip of tissue paper under this parting, sew a line of stitching on top by machine and remove the paper. Position this hair on the dolls forehead, allowing it to overlap the hair at the back by 1cm (12in). Stitch to the head using little stitches along the parting. Attach the two locks of hair either side of the head using a few stitches level with the ears and tie them together at the back with a strand of cotton thread.
Embroider the eyes using stem stitch with two strands of brown stranded cotton (floss). Start at the centre and embroider in a circle to the desired size. To give them sparkle, make a little French knot from ecru stranded cotton (floss). The mouth is made from a curve embroidered using stem stitch, with two strands of petal pink stranded cotton (floss). The nose, just above, is made from a bullion knot, with two strands of powder pink stranded cotton. For the cheeks, embroider two circles using satin stitch, with two strands of peach pink stranded cotton (floss), spacing out the stitches.
, large
Wool, chocolate brown
Blue cotton ribbon, 2 15cm (6in)
DMC Moulin Stranded Cotton Ecru, 413 (stormy grey), 3771 (peach pink) and 4200 (red/orange colour variation)
Tissue paper
Adhesive tape
Make seven skeins of 12 strands of chocolate brown wool, 60cm (2312in) long, and cut their ends. Make another consisting of eight strands, 10cm (4in) long.
Place the large skeins of wool flat, side by side, and tape them in the middle (on top and underneath), to form a parting. Place a strip of tissue paper under this line, machine stitch line on top then remove the paper and adhesive.
Do the same for the little skein that will act as the fringe. Fold this in half and sew by hand using little stitches at the top of the dolls forehead. Place the scalp of hair on top, centering the parting and allowing the hair to come over the fringe to disguise where it starts. Attach to the head using little stitches along the parting, then plait the hair and tie with a piece of ribbon. Sew a few stitches in chocolate brown wool on either side of the head, level with the cheekbones, to hold the braids in place.
Embroider the eyes using stem stitch with two strands of stormy grey stranded cotton (floss). Start at the centre and work in a circle to the desired size. To give them sparkle, make a little French knot in each eye in ecru stranded cotton (floss). The mouth is made from a little circle of satin stitch with two strands of red/orange stranded cotton (floss). Create a nose with a bullion knot in two strands of ecru stranded cotton (floss). For the cheeks, use satin stitch and two strands of peach pink stranded cotton (floss), spacing out the stitches.
Font size:
Interval:
Bookmark:
Similar books «My Rag Doll»
Look at similar books to My Rag Doll. We have selected literature similar in name and meaning in the hope of providing readers with more options to find new, interesting, not yet read works.
Discussion, reviews of the book My Rag Doll and just readers' own opinions. Leave your comments, write what you think about the work, its meaning or the main characters. Specify what exactly you liked and what you didn't like, and why you think so.