Faces
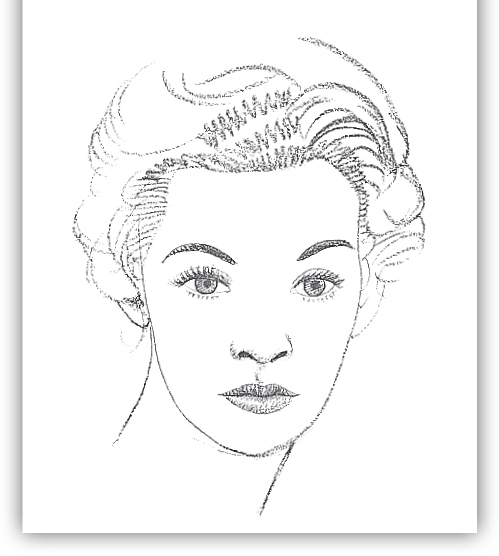
The unique qualities of individual faces, as well as the emotions they convey, make them some of the most fascinating subjects to draw. And becoming comfortable with drawing the face will give you the confidence to go on to draw the full human figure. This book presents the basic principles of drawing the human face, including proportion and perspective. Youll learn how to render the face from a variety of views, the differences between adult and child proportions, and how to draw individual features, as well as simple shading techniques that will add realism to all your drawings of faces. And if you study and practice the easy-to-follow lessons in this book, youll soon be on your way to developing your own unique drawing style.

CONTENTS
Getting Started
Drawing is just like writing your name. You use lines to make shapes. In the art of drawing, you carry it a bit further, using shading techniques to create the illusion of three-dimensional form.
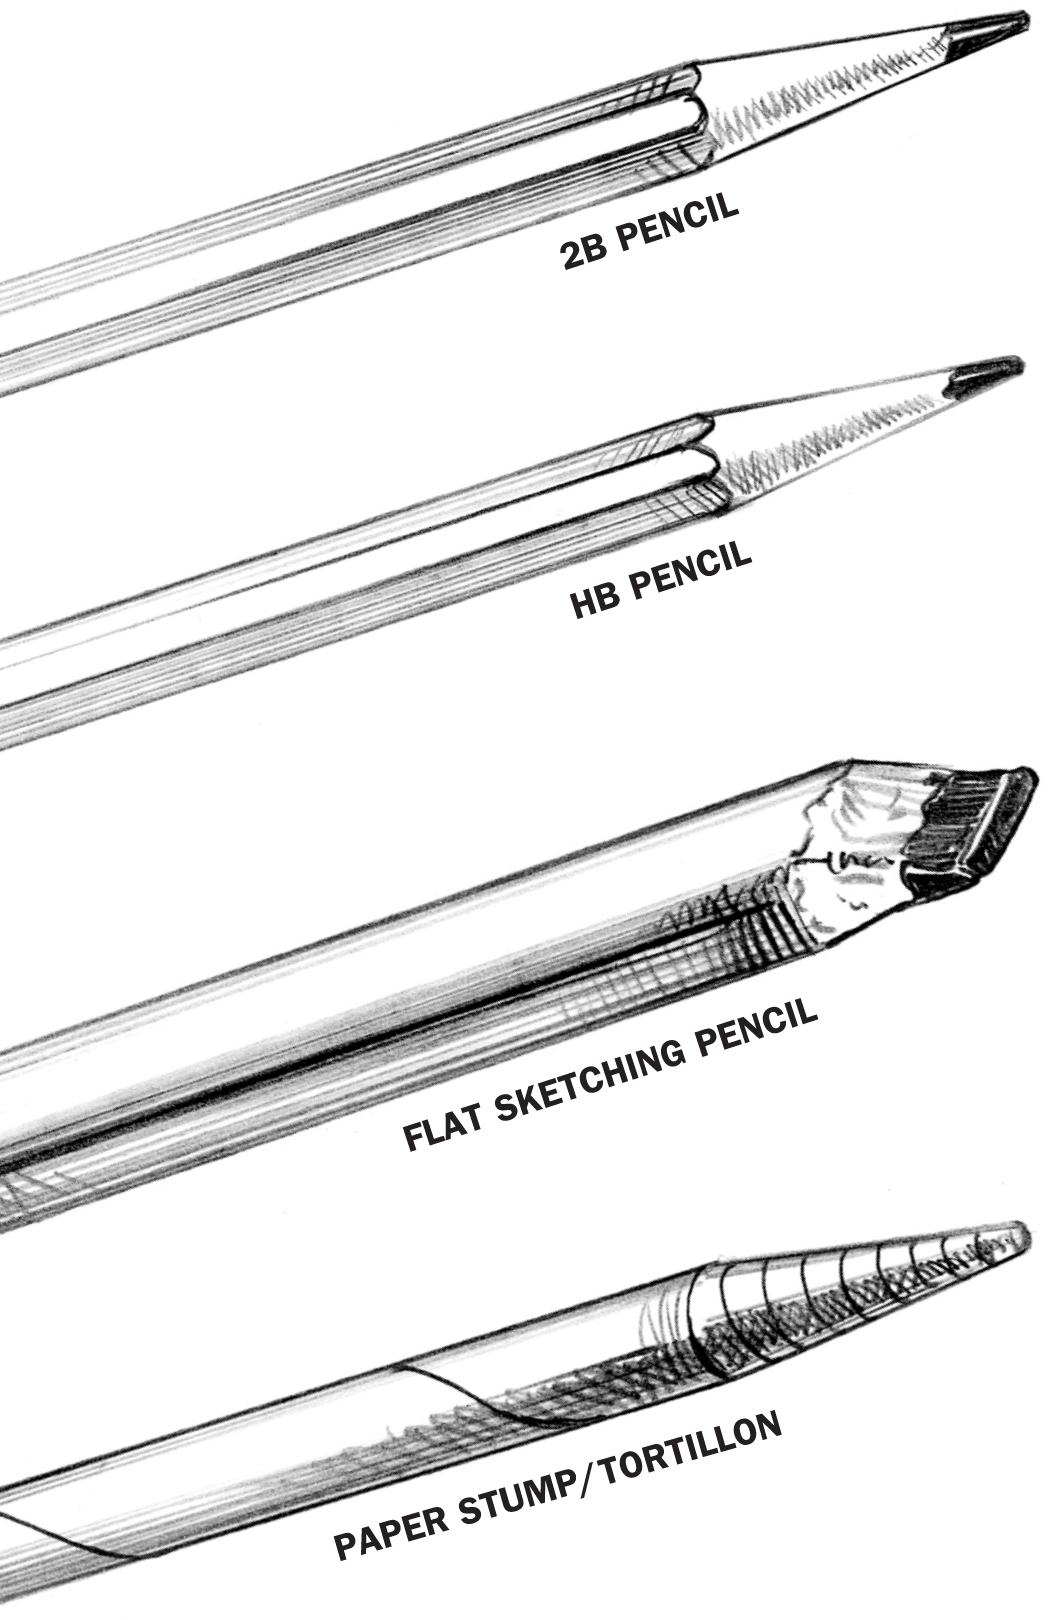
Only a few basic tools are needed to draw. All the tools necessary to create the drawings in this book are shown here.
Pencils
Pencils come in varying degrees of lead, from very soft to hard (e.g., 6B, 4B, 2B, and HB, respectively). Harder leads create lighter lines and are used to make preliminary sketches. Softer leads are usually used for shading.
Flat sketching pencils are very helpful; they can create wide or thin lines and even dots. Find one with a B lead, the degree of softness between HB and 2B.
Although pencil is the primary tool used for drawing, dont limit yourself. Try using charcoal, colored pencils, crayons, and pastelsthey can add color and dimension to your work.
Erasers
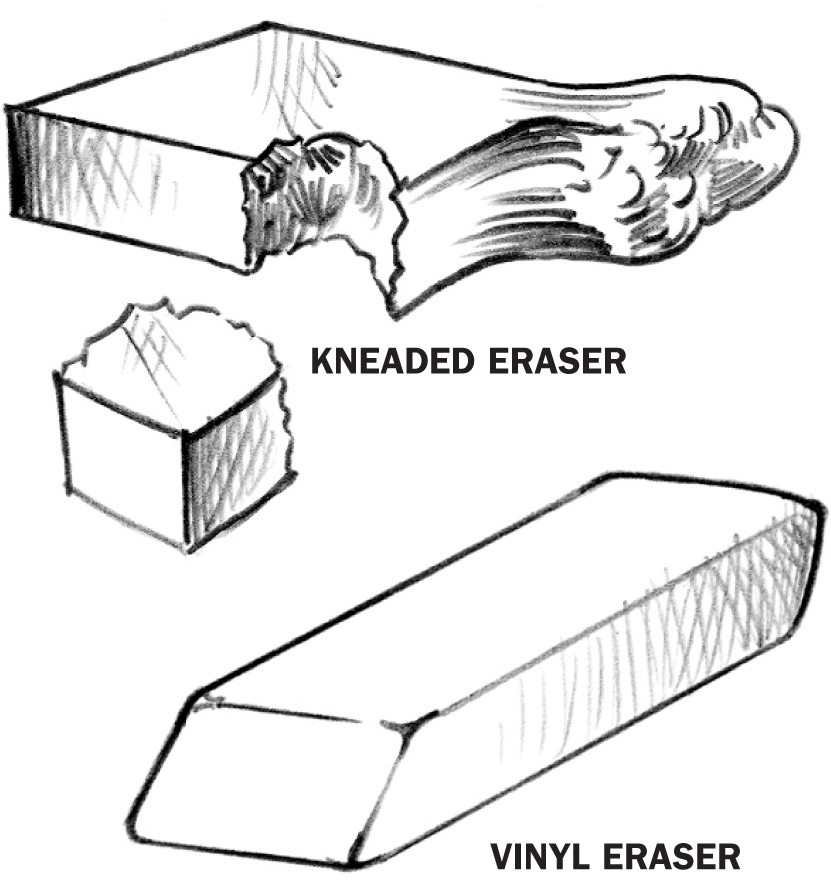
Erasers not only help correct mistakes but also are fine drawing tools. Choose from several types: kneaded, vinyl, or rubber, depending on how you want to use the eraser. For example, you can mold a kneaded eraser into a point or break off smaller pieces to lift out highlights or create texture. A vinyl or rubber eraser works well for erasing larger areas.
Paper
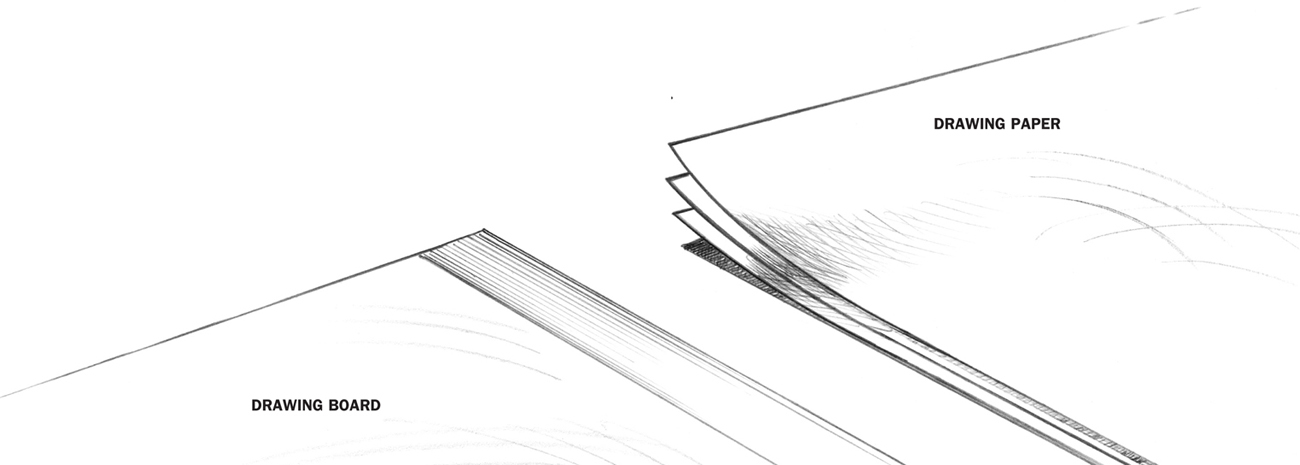
There are many types of paper that vary according to color, thickness, and surface quality (e.g., smooth or rough). Use a sketch pad or inexpensive bond paper for practice. For finer renderings, try illustration or bristol board. Bristol board is available in plate finish, which is smooth, or vellum finish, which has more tooth. As you become more comfortable with drawing techniques, experiment with better quality paper to see how it affects your work.

Other Helpful Materials
You should have a paper stump (also known as a tortillon) for creating textures and blends. The paper stump enhances certain effects and, once covered with lead, can be used to draw smeared lines.
To conserve lead, purchase a sandpaper pad to sharpen the point without wearing down the pencil. You may also want to buy a regular hand-held sharpener and a metal ruler. Lastly, a sturdy drawing board provides a stable surface for your drawings.
Final Preparations
Before beginning to draw, set up a spacious work area that has plenty of natural light. Make sure all the tools and materials are easily accessible from where youre sitting. Because you might be sitting for hours at a time, find a comfortable chair.
Tape the corners of the paper to your drawing board or surface to prevent it from moving while you work. Use a ruler to make a light border around the edge of the paper; this will help you use the space on your paper wisely, especially if you want to frame or mat the finished product.
Shading Techniques
Shading enables you to transform mere lines and shapes in your drawing into three-dimensional objects. As you read through this book, note how the words shape and form are used. Shape refers to the simple outline of an object, while form refers to the objects three-dimensional appearance. See the examples below.

Value is the relative lightness or darkness of a color or of black. For example, on a scale from white through various shades of gray to black, white is the lightest value and black is the darkest value.

Gradual blends can be created using the side of a 2B pencil. Shade in one direction to make the vertical finish on the left. On the right, see that two blend angles produce a smoother finish. Start lightly and increase pressure as you work to the right.
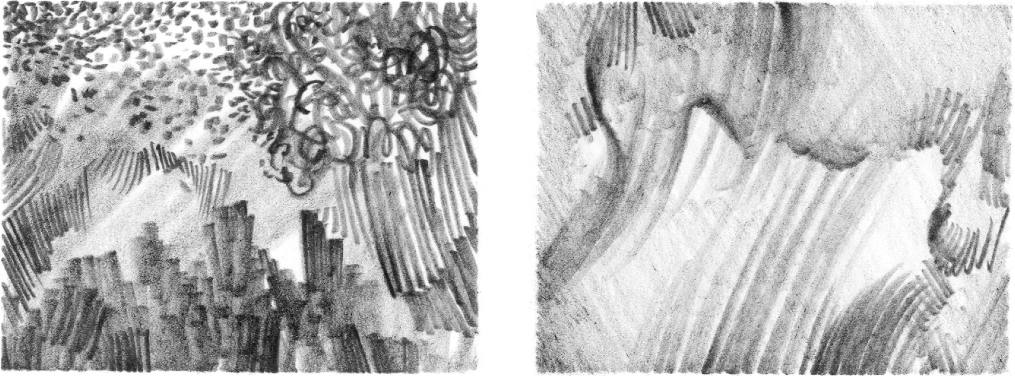
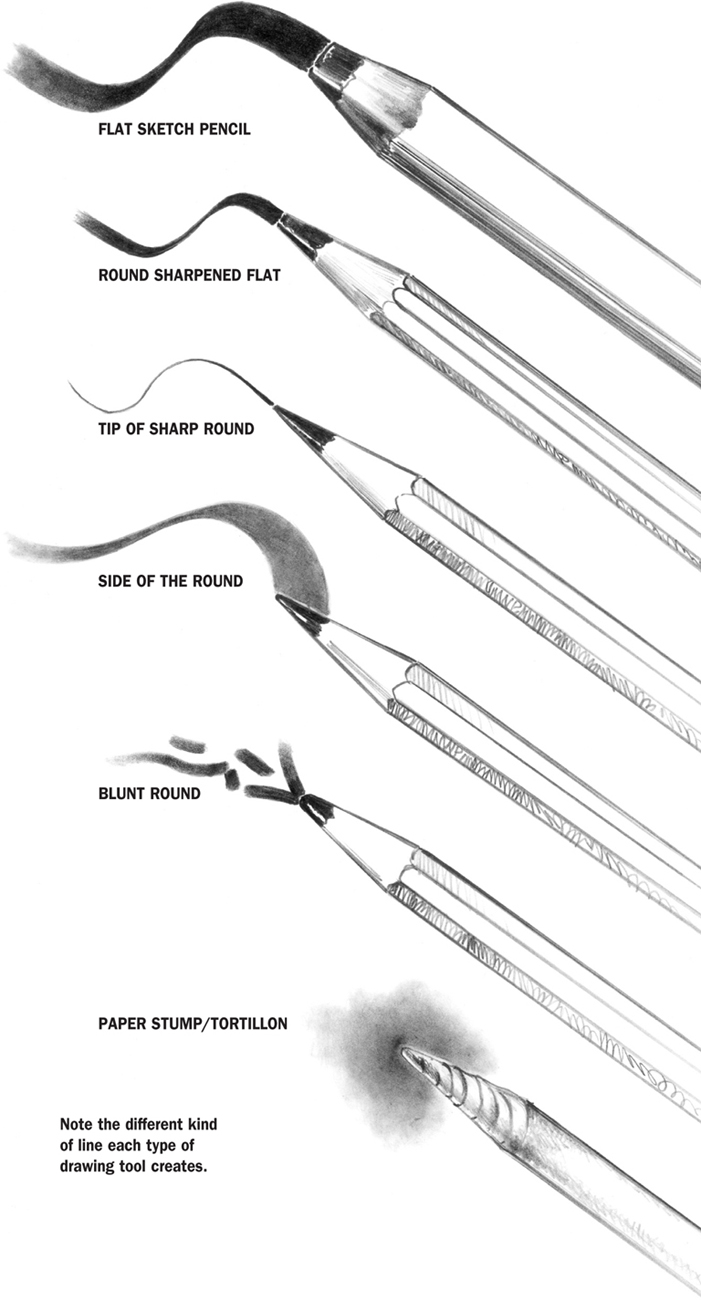
Make patterns using the side, rounded tip, and sharpened point of an HB pencil. Shade the backgrounds first; then draw patterns over them. Pressing harder creates darker effects.
Pencils can be used with sharp, round, flat, or blunt points, and several techniques can be combined on one surface. The paper stump helps smear the lead, making a blend softer. Experiment to see what kinds of textures you can create on your own.
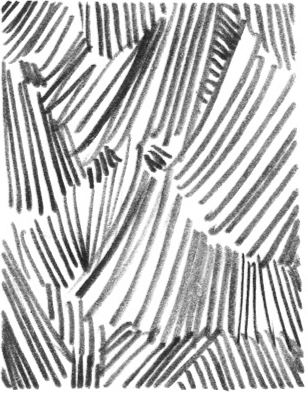
Use a sharp-pointed HB pencil to draw this line pattern.
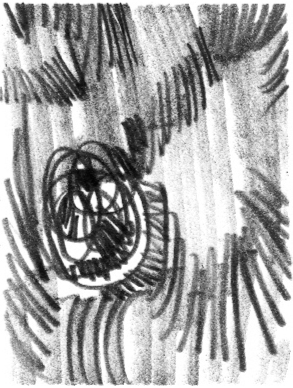
Shade a light background with a round-pointed HB pencil. Then use a sharp-pointed one to draw the darker, short lines over the background.
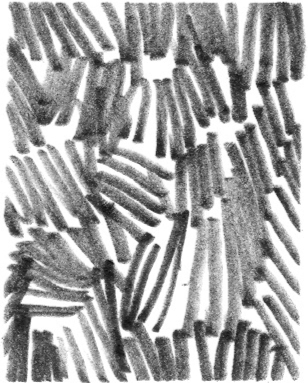
Draw groups of randomly patterned lines using a round HB lead.
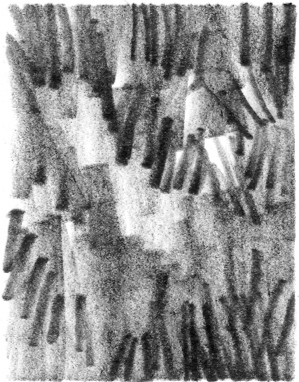
Use the side of an HB to shade the background, blend with a paper stump, and then add patterned lines over the background.
