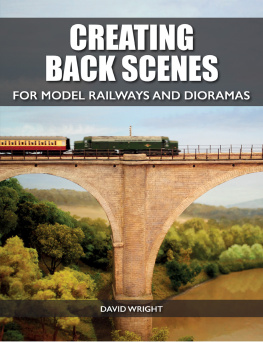
CREATING
BACK SCENES
FOR MODEL RAILWAYS AND DIORAMAS
INTRODUCTION
My interest in model railways was re-kindled over twenty-five years ago. In this time, I have seen a host of model railway layouts at exhibitions and model railway clubs. They have been built to all the modelling scales and depicted many different periods of the British railway scene, and a good number have represented scenes away from British shores.
The standard of the layouts has for the most part been very high, especially with regard to the locomotives and rolling stock. Some even go as far as operating the layout to a prototypical timetable. I have, however, often been a little disappointed when it comes to the scenic elements, particularly in terms of the back scene that has been provided, or, in some cases, the complete lack of a back scene. Surely, if a modeller is prepared to go to great lengths to replicate detail and achieve realism on certain areas of the layout, this should be carried through to the scenics and especially the back scene. There is nothing worse, especially at the exhibitions, than seeing unsightly equipment and the belongings of a layout operator lying behind the layout in full view of the public.
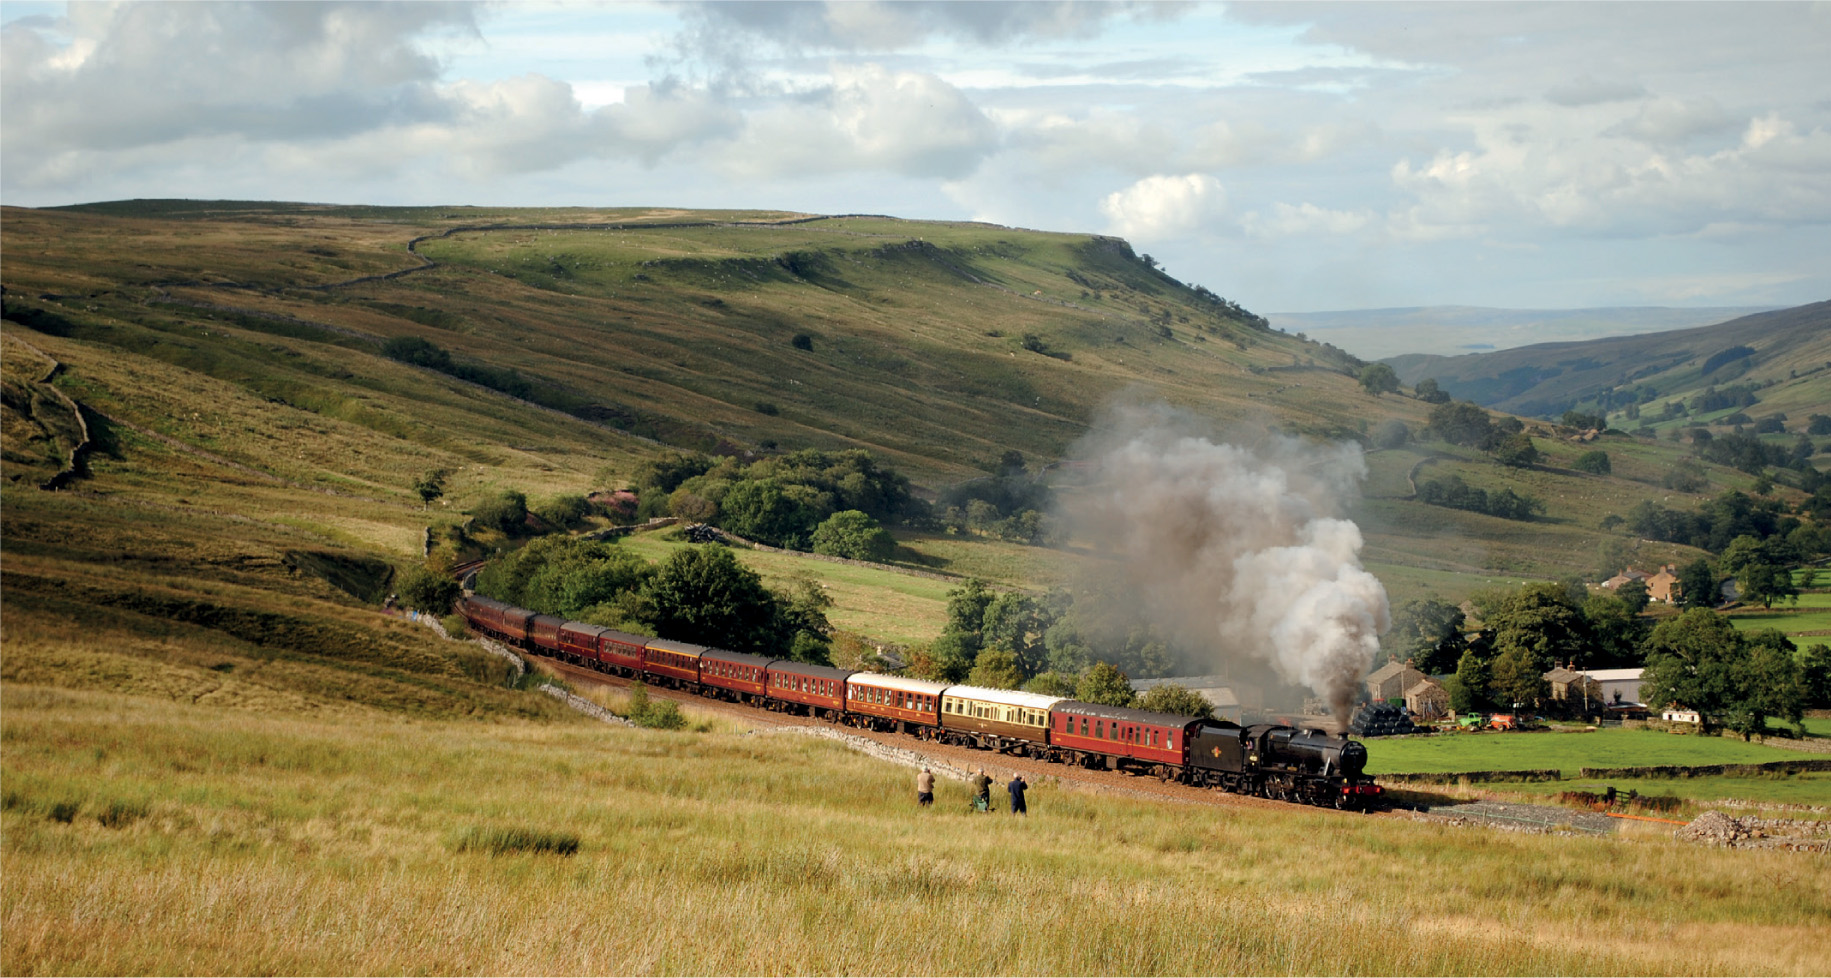
The perfect image of a steam train set in the British landscape. The rural background of the Pennine fells puts the train into perspective, working a special on the Settle & Carlisle line. The models would be set off to the best advantage with the addition of a back scene.
Anyone attempting to build a model railway will need to try their hand at a number of different skills; in fact, it is this aspect that makes the hobby so diverse. No one can be expected to be a master of every craft involved, but it is worth having a go, and can lead to great satisfaction. Many modellers instinctively claim to be no artist when it comes to creating a back scene, and may wonder why they should bother when pre-printed back scenes are easily available from model suppliers. I hope to change the minds of these sceptical modellers, and show that a reasonable back scene can be achieved, even by someone with limited artistic skills. For a number of reasons, it is not wise to rely on those pre-printed back scenes. Most of the early ones on the market are crude and far too bright, while others, including the new photographic samples, tend to create a repetitive-looking back scene. Hopefully, this book will inspire you to produce your own individual back scene to suit your own personal requirements. It also aims to help those who are completely new to the hobby, who might be starting a layout for the first time.
My intention is to guide both the novice and the more experienced modeller towards considering the back scene as an integral part when planning a layout. It is always important to consider the layout as a whole. A more haphazard approach will tend to result in disappointment and possibly a total loss of interest in the hobby. Using this book, both beginners and experienced modellers with little faith in their artistic ability should be able to execute a back scene that will give that finishing touch to a layout.
Scenic modelling, which includes the back scene, can also play a vital role in the creation of dioramas that have no connection with model railways. The same artistic elements of the hobby will apply to creating, for example, dioramas to set off military models and war gaming sets. Those interested in the dolls house and the miniature world will also benefit from advice about how to provide a realistic back scene.
It is always worth thinking about how to present models that may have taken many hours to produce. Like actors on a stage, models need to be provided with a set. A stage is dressed in such a way as to represent a location in which the actors can perform. The same principles apply to model layouts or dioramas: trains will enter and leave from the wings and perform on the stage set, and the back drop will always be an important factor, giving the audience visual information about the location.
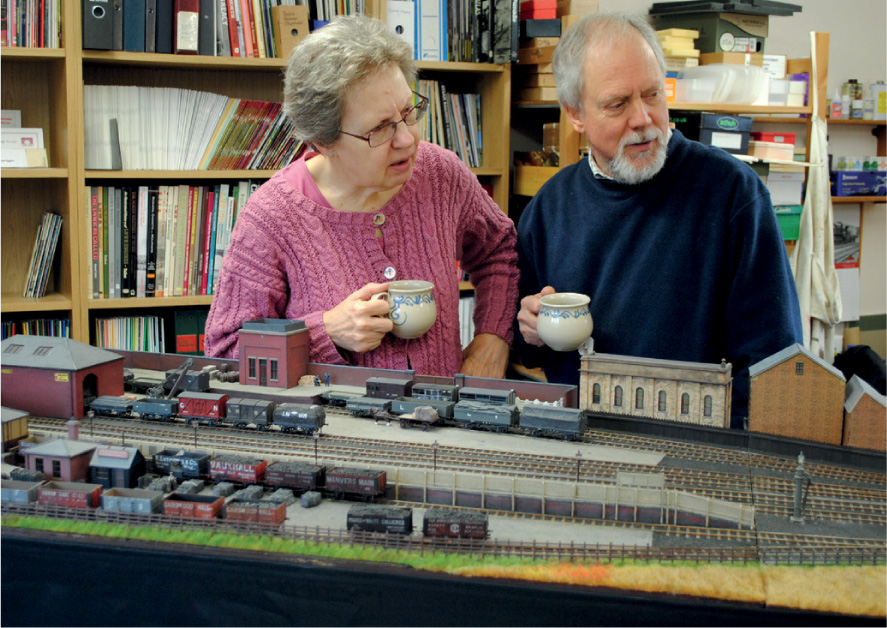
Martin Nields pre-grouping Eccleston layout. With the back scene boards removed at the station end of the layout, the operators are in full view, along with anything in the background. This creates a distraction away from the model, but it is the way a great number of layouts are presented at exhibitions. The layout looks unfinished, but the problem could easily be remedied by installing a back scene.
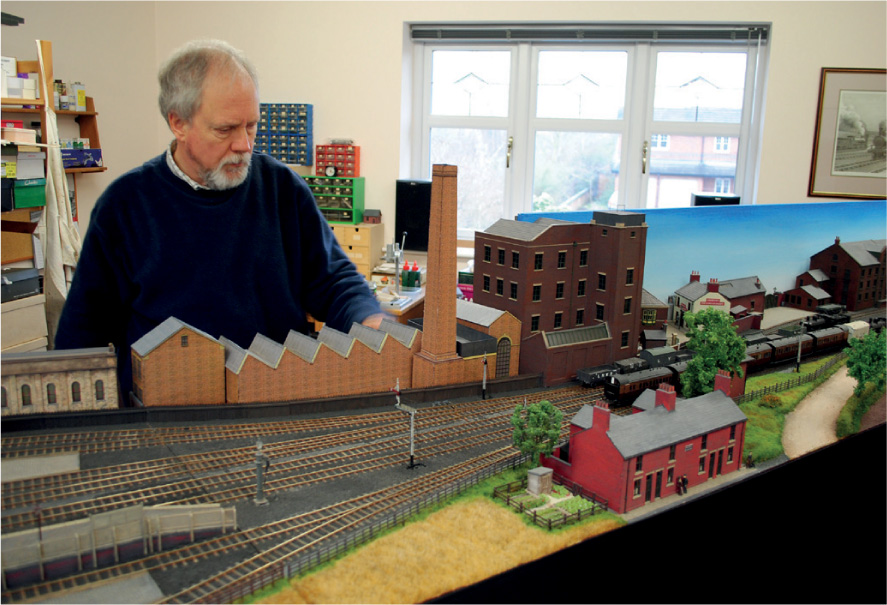
All layouts will benefit from having a back scene. Martin Nields Eccleston layout is greatly improved on the right-hand side with the back scene boards reinstated.
This book will examine both rural and urban landscapes, and will take a look at various skies. It will show how to execute a back scene using paint, but, before any painting is done, there are choices to be made regarding the different materials on which the scene can be created. The various paint mediums will also be examined before advice is given on how to apply the paint on to the background material in order to achieve the best results. Further chapters will take a look at projects, where paint mediums have been used to execute both rural and urban back scenes. One chapter will cover the use of photography as an alternative medium. With recent advances in technology this has become a more viable option, with its own particular advantages and disadvantages. A few ready-made photographic back scenes have begun to creep on to the market, and these will be assessed too.
A subsequent chapter will examine the important area of transition, where the three-dimensional modelling needs to blend with the two-dimensional back scene. The information will cover both the rural and urban scene, along with the successful treatment of low- and half-relief buildings. It will also consider perspective modelling, and the ways in which this can improve any model, extending from the model on to the back scene. The execution of different scaling within the model will also be covered; this is something that has been overlooked on the majority of model railway layouts. Finally, there will be a detailed look at how colour will recede, and how this should be extended when it comes to modelling.
The final chapter of the book will look at how to light both the back scene and the model. This is very important, especially in terms of the temperature of the light, which must be correct in order to give the best, most authentic results.
In producing this book, I hope to inspire you as a modeller to have a go at producing a back scene. I am sure that your time and effort will not be wasted, and you will be rewarded with a worthwhile addition to your model railway or diorama.
Happy Modelling!
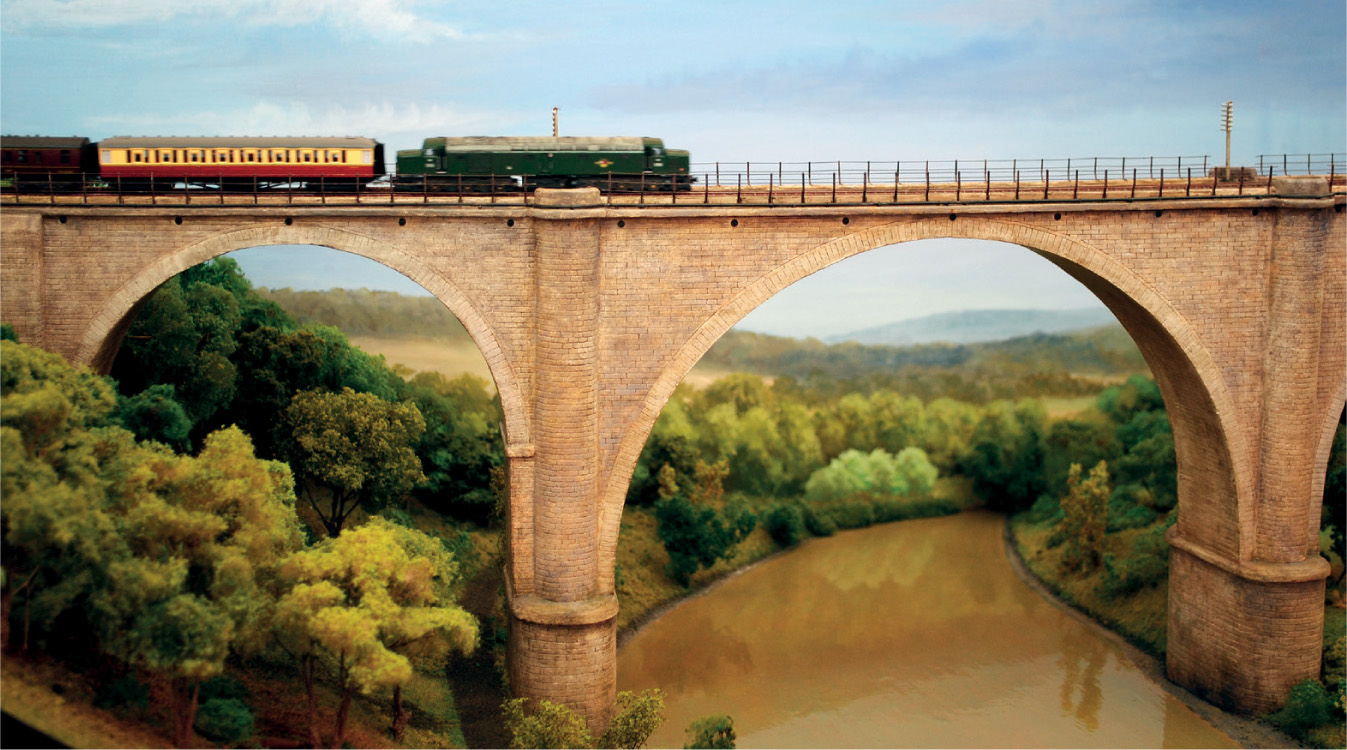
This photograph, taken at the 2015 DEMU exhibition and depicting the 2mm model Fencehouses, perfectly illustrates the benefits of a well-executed back scene. The artwork was painted by Mike Raithby and blends superbly with the modelled landscape running up to it
Next page
