Contents
Guide
Techniques > Projects > Adventure
ALESSANDRA HAYDEN

DEDICATION
I dedicate this book to my husband, Rob. Thank you for your patience and constant support that enabled me to work on this huge, time-consuming project. Also, thank you to my kids, Lucas and Sophiayou guys are the most wonderful things I have ever created. You are my daily inspiration and the daily motivation I need to keep going.
CONTENTS
INTRODUCTION
I first learned to crochet when I was eight years old. My mother had recently passed away, and I was spending a lot of time with my grandma, who was an amazing crafter. Her ability to make something out of seemingly nothing captivated me. She taught me to crochet as a means to keep me busy, and despite the fact she started me on a tiny steel hook with frustratingly slippery silk thread, I stuck with it. My first project was a cozy for a wooden hanger, and before long, I had a closet full of colorful hangers.
Over the years, crochet stayed with me. In high school, I continued crocheting as a hobby and even stitched my own clothes. In 2008, after suffering a personal loss, crochet became my therapy and, eventually, my career. Counting stitches kept my mind busy, and using bright, colorful yarn helped me feel happy. I started selling my projects and receiving inquiries about patterns, and the rest is history!
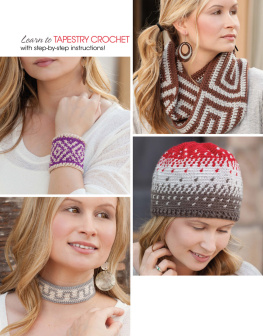
My fascination with tapestry crochet stemmed from a desire to incorporate color and pattern into crochet. Ive always been drawn to bright, vibrant colors and greatly admire the colors and patterns associated with Fair Isle knitting. Though I am comfortable with the basics of knitting, I never hit the same rhythm with it that I have with crochet. Tapestry crochet allows me to create intricately colored pieces reminiscent of Fair Isle designs, while still working with a single hook. The technique I use is relatively simple, and once you try it, Im confident youll be crocheting beautiful colorwork in no time!
Happy Crocheting!

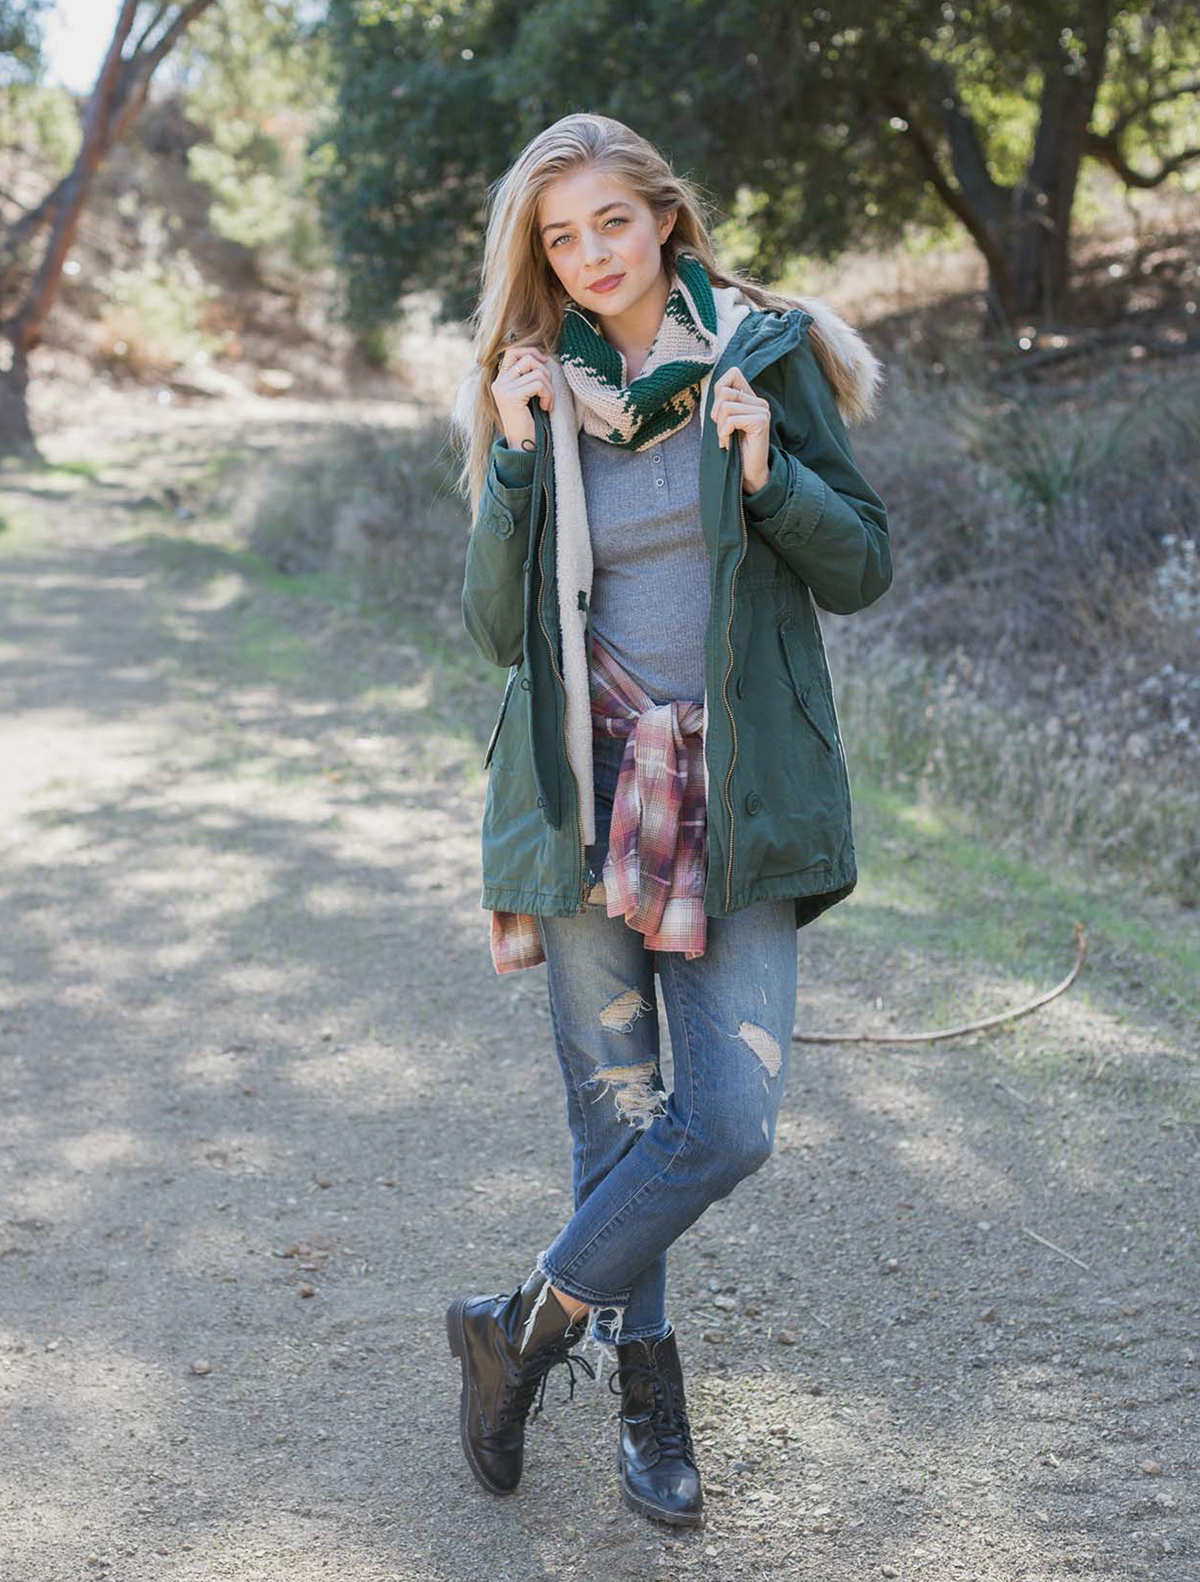
MATERIALS & TOOLS
THE BEST THING ABOUT TAPESTRY CROCHET IS THAT IT REALLY DOESNT REQUIRE ANY SPECIAL TOOLS, ALL YOU NEED IS A CROCHET HOOK AND SOME YARN, AND YOURE READY TO GO! I HAVE DEVELOPED SOME PREFERENCES OVER THE YEARS, WHICH ILL COVER IN THE FOLLOWING PAGES, BUT FEEL FREE TO EXPERIMENT TO DETERMINE WHAT WORKS BEST FOR YOU.
YARN
Any yarn can be used for tapestry crochet. I prefer to work with natural fibers because they are more easily blocked. I also tend to stick with medium-weight yarns (DK, sport, worsted, and aran) when working tapestry crochet. Since this type of crochet requires you to always crochet over at least one thread of yarn, I find bulkier yarns tend to result in a fabric that is too thick and stiff. And if the yarn is too fine, the design doesnt show as well as I like.
In the end, its important to choose your yarn depending on the item you are making. Lighter-weight yarns are fabulous for crocheting delicate items, and medium weight and heavier are great for bags and winter accessories. Just remember: Natural fibers can be blocked and shaped better than acrylics.
illustration by Netkoff
TOOLS
As Ive mentioned, you dont need any fancy tools to create beautiful tapestry crochet. As long as you have some good basics, you will be all set.
Crochet hook. Youll need your favorite crochet hook in the appropriate size to get gauge for the pattern in question () .
Stitch markers. These are good to have on hand for marking rounds and pattern repeats () .

Scissors. Any basic snips will do for trimming loose ends () .
Tapestry needle. This is essential for weaving in loose ends.
Needle & thread. The bag projects in this book do require some sewing to attach the straps and handles or a zipper. I prefer handsewing all of these elements, but if you prefer using a sewing machine, please do () !
illustrations by Netkoff
TECHNIQUES
TAPESTRY CROCHET IS REALLY A VERY SIMPLE CONCEPT, AND WITH A FEW GOOD PRACTICES UNDER YOUR BELT, YOULL SUCCESSFULLY PRODUCE BEAUTIFUL RESULTS.
THE BASICS
At a fundamental level, tapestry crochet is a technique for changing colors within a row or round while carrying and crocheting over the color thats not in use. This simple trick prevents floats, or strands of yarn that stretch across the wrong side of your work as you switch back and forth between colors. By hiding the floats within the stitches, you create pieces that look good on both the right and wrong sides, and that are less likely to catch and snag () .
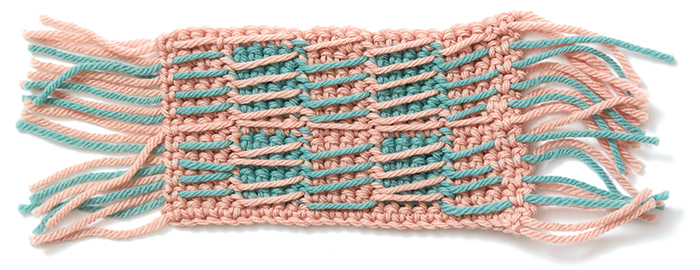
Crochet with floats on the back.
As in traditional Fair Isle knitting, I only ever work two colors in a single row, as do all the projects in this book. It is possible to use more than two colors, but this makes the resulting fabric very dense.
Its important to note that even when a row or section of your project calls for only one color, carry a second yarn strand to crochet over, preferably the same color as your main color. This will keep your gauge even throughout the project.
WORKING THROUGH THE BACK LOOP ONLY
Given the nature of crochet, it can be tricky to get your stitches to align perfectly in straight columns, from one row to the next. They always look a little skewed when you crochet through both loops () .

