Contents
Guide
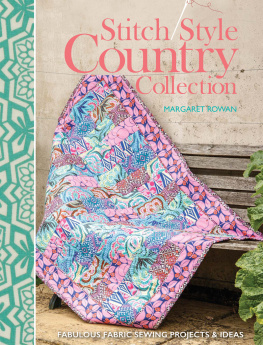
Stitch Style
Sweet Dreams
FABULOUS FABRIC SEWING PROJECTS & IDEAS
MARGARET ROWAN

www.stitchcraftcreate.co.uk
CONTENTS
PROJECTS
INTRODUCTION
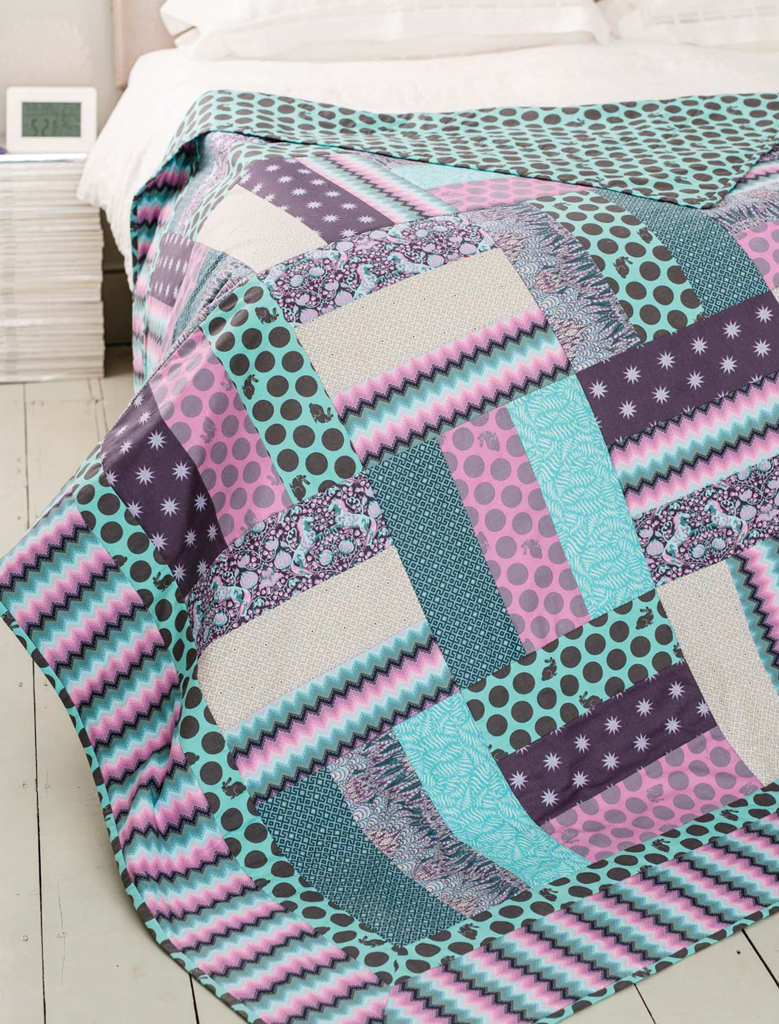
Welcome to Sweet Dreams, where you will find stunningly gorgeous fabrics by Tula Pink and Tim Holtz. Every new collection they produce brings another cornucopia of inspiring designs to use to decorate your home.
Tula Pink now delights us with her lovely Foxfield Collection, which hides all sorts of surprises amongst the flora. Take a close look Foxtrot, used to make the Sweet Dreams Duvet Set: at first glance you see a wonderful balance of flowers and leaves, but take a closer look is that a rabbit? And over there, a shy fox? You will never tire of looking at Tulas fabrics.
CHANGE YOUR STYLE!
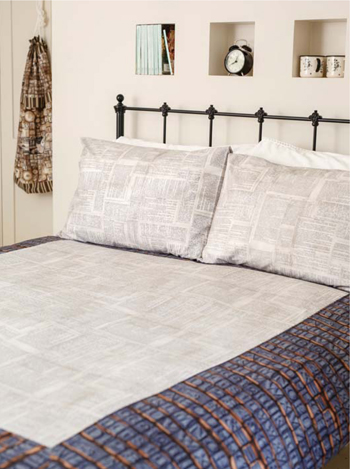
Check out the Change Your Style! pages of the book to see how you can create a completely different look and feel with the same project but using an alternative material. Tim Holtzs Eclectic Elements fabric collection provides a fantastic mix of timeless tonal hues and typography, together with collections of clock faces, labels and other nostalgic ephemera. Now you can read in bed without getting covered in newsprint!
Sweet Dreams is all about comfort and cosiness, and also about creating your own style by making home accessories with your chosen fabrics rather than ready-made shop-bought items.
The projects require a range of different skills, from creating simple patterns to adding finishing touches such as a zipper and covered buttons and ruffles. The snuggly quilt is made from large rectangles of fabric, so it pieces together very quickly. It is easily made in a day and is a great introduction to quilting.
I hope you gain as much enjoyment from making these projects as I did, and that you will have your very own special projects to curl up under, put on display or wear very soon.
Margaret Rowan
SWEET DREAMS DUVET SET
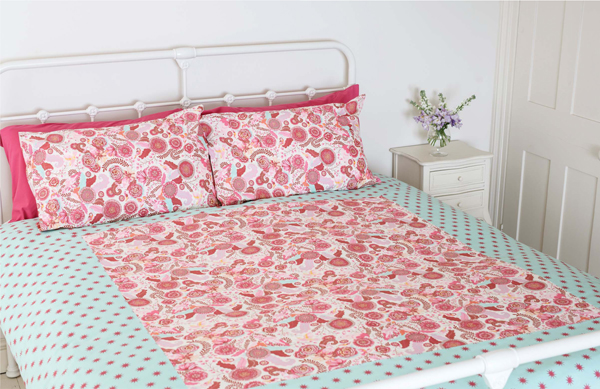
SWEET DREAMS DUVET SET
A well-dressed bed is the crowning glory to any beautifully decorated bedroom, and by making your own duvet set you can ensure yours reflects your own personal style.
This project combines Tula Pinks Vintage Stars and Foxtrot fabrics to create a subtle but decorative shabby-chic look and, once you get used to handling large swathes of fabric, its so simple to make youll be dressing every bed in the house!
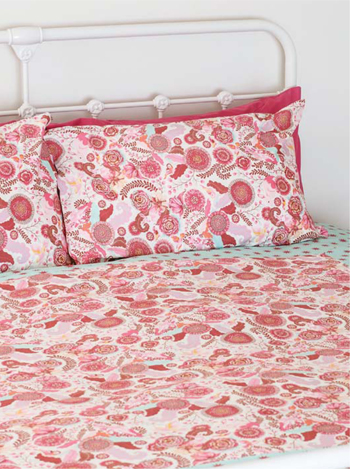
YOU WILL NEED
Makes one double duvet cover, 190 x 198cm (75 x 78in), and two pillow cases, 48 x 70cm (19 x 2712in)
Duvet Cover
- 250cm (9812in) of Foxtrot in Sunrise
- 420cm (16513in) of Vintage Stars in Sunrise
- 19mm (34in) buttons x 9
- Coats cotton thread no. 2427
Pillow Cases
- 170cm (67in) Foxtrot in Sunrise
- Coats cotton thread no. 2427
Other
- Sewing machine buttonhole attachment.
Preparation time
112 hours
Sewing time
4 hours
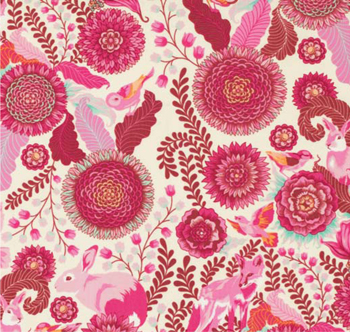
Foxtrot
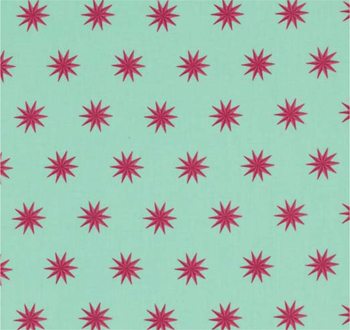
Vintage Stars
PREPARING YOUR FABRIC
Cutting the fabric
There is a 1.5cm (58in) seam allowance included on the pattern
Duvet Cover
- For the Front and Back Panel, cut two full width lengths of 120cm (47in) from Foxtrot.
- For the Front and Back Border, cut four 43 x 200cm (17 x 7834in) strips from Vintage Stars, cutting the ends at 45 degrees (to mitre).
- Cut four 43 x 214cm (17 x 8414in) strips from Vintage Stars, cutting the ends at 45 degrees (to mitre).
- For the Button Band, cut two 165 x 7cm (65 x 234in) strips from Vintage Stars.
Pillow Cases
- Cut two 51 x 167cm (20 x 6534in) from Foxtrot.

MAKING THE DUVET SET
Duvet Cover
Place a dot on the wrong side (WS) at each corner of the centre panel, 112cm (58in) from each edge. Pin the borders to the centre panel, right sides (RS) facing and within the dots. Stitch in place and press the seams towards the border ().
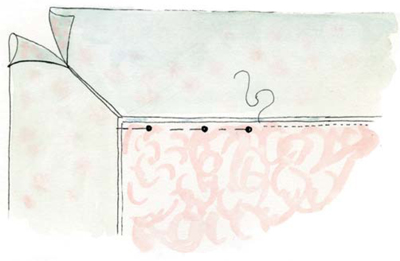
Fig. 1
At the corners, pin the mitred seams together, stitch and press open. Repeat for the other half of the duvet. Pin and stitch the sides and top edges of the duvet cover ().
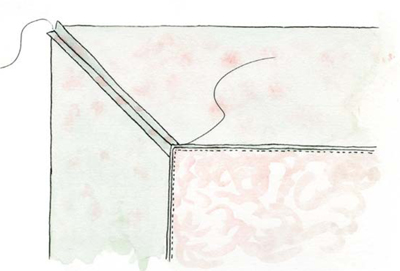
Fig. 2
Attaching the button band
Pin each of the button bands centrally to each of the lower edges, RS together, 112cm (58in) in from the short end, to within 112cm (58in) from the far end. Stitch in place ().
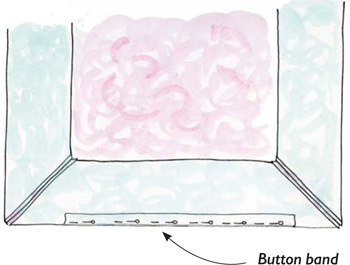
Fig. 3
Turn under a 5mm (14in) hem on the long, raw edges of the button bands. Fold the band in half so that the crease of the hem lies on top of the seam. Fold in the raw edges on the short ends. Pin and edge stitch from the RS.
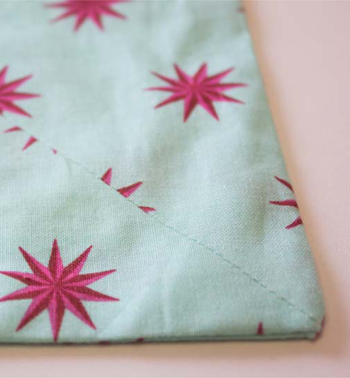
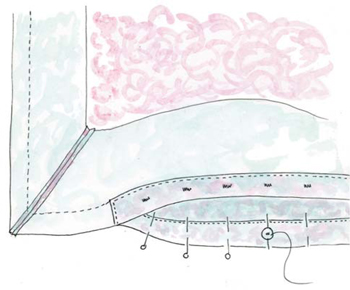
Pin and sew the short section of the seam, either side of the button band (). When you get to the button band, leave the needle down, raise the presser foot and turn the work to continue onto the side of the button band. Zigzag the raw edges on the other three sides.
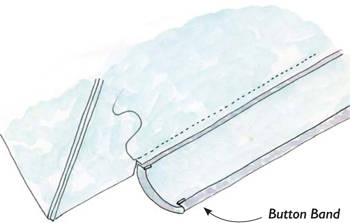
Fig. 4
Mark the position of nine buttonholes on the button band, approximately 16cm (614in) apart and stitch using your buttonhole attachment. Carefully cut the buttonholes.
Mark the position of the buttons at the centre of each buttonhole and stitch in place ().
