Publisher: Amy Marson Creative Director: Gailen Runge Editors: Liz Aneloski and Katie Van Amburg Technical Editor: Ellen Pahl Cover/Book Designer: April Mostek Production Coordinator: Tim Manibusan Production Editor: Jennifer Warren Illustrator: Kirstie L. Pettersen Photo Assistant: Mai Yong Vang Hand Model: Kristi Visser Style photography by Laura Webb and instructional photography by Diane Pedersen of C&T Publishing, Inc., unless otherwise noted Published by C&T Publishing, Inc., P.O. Box 1456, Lafayette, CA 94549 DEDICATION To my parents, Charles and Christine Miller, who led me to a deep, abiding faith in the Lord and introduced me to the treasures of our American ancestors.  ACKNOWLEDGMENTS A book such as this really is a group effort to produce. There are so many involved in the process, both on my end and at C&T Publishing. I would like to mention those who have added so much to this publication.
The Lord has set my path, for which I am grateful. My husband, Bruce, is my constant support and partner in all of this. Our daughters, Kelsey, Karly, and Tessa, are a big part of everything I do, and I couldnt keep it up without them. My dear friend Andrea spends precious time with me in the studio, making good use of scissors. Thank you doesnt even begin to cover how grateful I am to all of my friends who have given much encouragement just when I needed it. To everyone who enjoyed the first book and asked for a second, it really meant a lot, and I appreciate hearing from so many of you either in class, by email, or in passing.
Thank you! Once again, Laura Webb took the beautiful staged photos for each project. She has an amazing eye both in front and behind the camera. She really captures each piece. Every part of this book has been carefully compiled by a talented group at C&T Publishing. Roxane Cerda was a great acquisitions editor and always had great ideas. Liz Aneloski, my developmental editor, had the job of getting all of the different parts of this book from me and making sure all was complete.
Ellen Pahl acted as my technical editor again and was so patient with me. She really has a way of discerning what I am trying to convey in the instructions and making things very clear. Jennifer Warren, the production editor, wrapped up all of the important parts of the book. I really appreciate her diligence and organizational skills. As the production coordinator, Tim Manibusan had the important job of pulling the manuscript together, making sure the photos and illustrations were correct, and reviewing the design and layout. A very integral part of this book of projects were the flat shots of the finished piecesDiane Pedersen was the photographer for these shots, along with her assistant, Mai Yong Vang.
Thank you, ladies, for a fantastic job! Kirstie L. Pettersen created all of the beautiful illustrations; I appreciate her attention to the details. Finally, April Mostek did an amazing job with the design of the book. She is so nice to work with, and she really understands the look of my work. They were a great team, and I am so grateful for all of the hard work they put into this book. INTRODUCTION E ach season of the year holds its own special delight for me.
Inspiration comes from all of the sounds, smells, colors, and light that the seasons allow us to enjoy. The turning of the seasons can enable us to cultivate our own creativity and share with others how we see the beauty that surrounds us. In this book I wanted to branch out and fill the pages with projects that are not only lovely to look at but have a unique functionality for different times of the year. The projects have their own seasonal qualities and have been a large part of my life as the writing and stitching have come together. As you take the time to browse through these pages, know that I appreciate how precious time is and am thrilled that you chose to spend it here. 
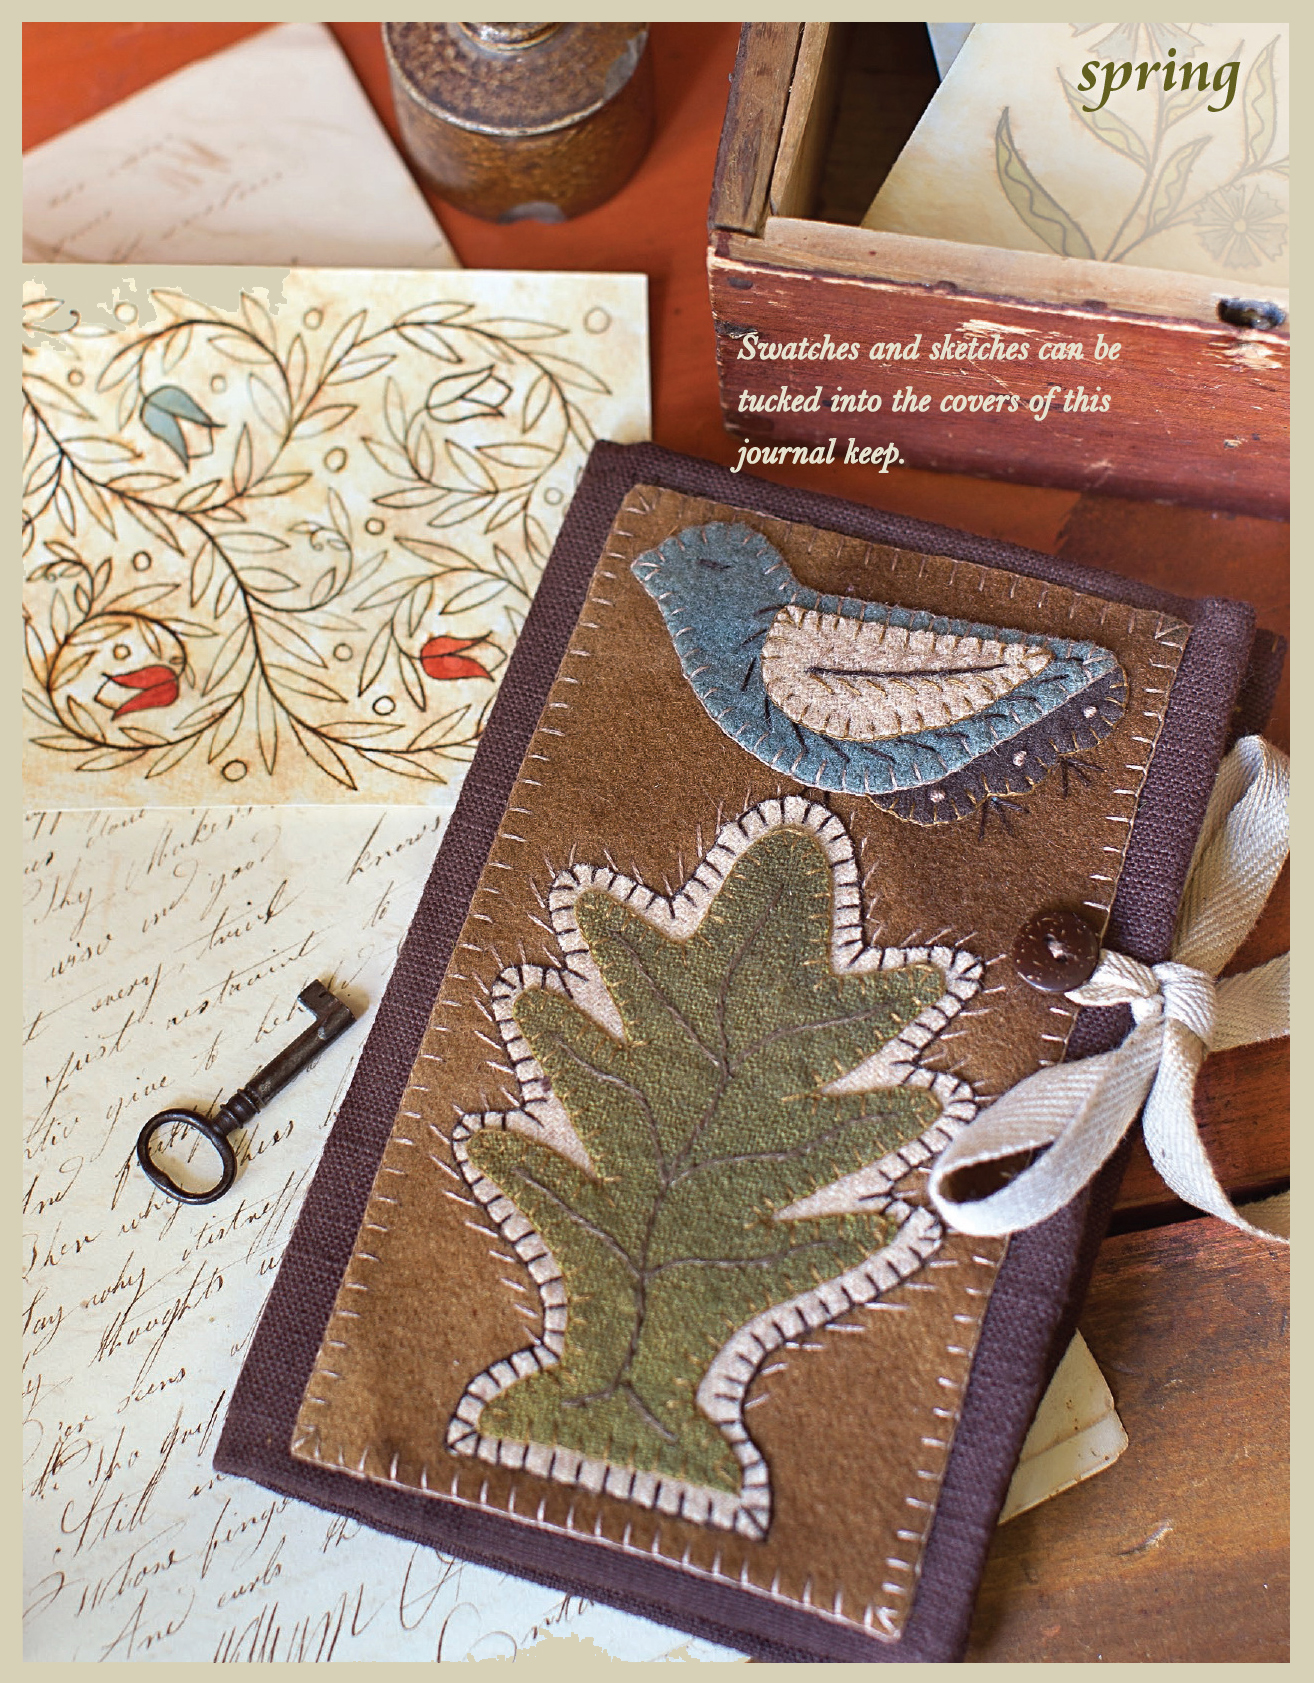 MARCH MUSINGS Finished journal cover: 5 8 closed10 8 open A s spring approaches in my neck of the woods, I start to feel the pull to look through seed catalogs and spring fabric swatches and find out what the latest fashions for warmer weather will be.
The main ideas that begin to sprout, though, are the new designs and pieces I will work on in the coming year. My winter work is almost behind me, and I want to start on new projects and allow them to grow and thrive. 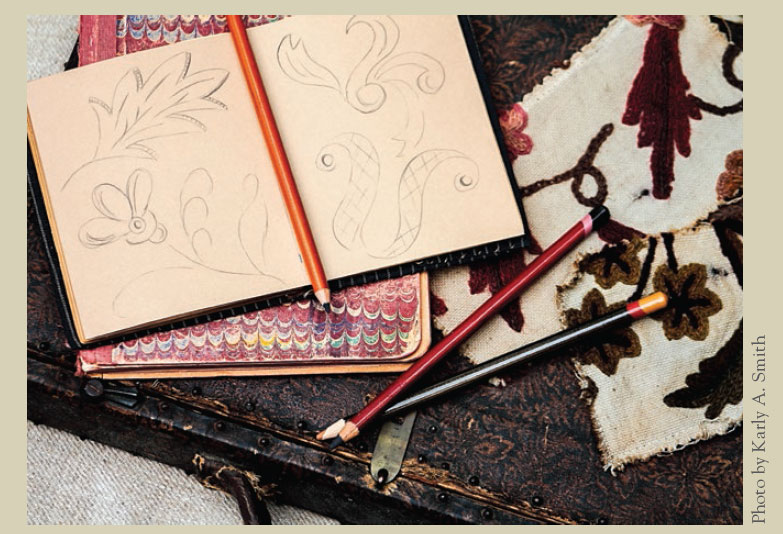 Keeping a sketchbook and pencils at hand is a must, as inspiration comes from many places. My first approach to developing new designs is to keep lots of notes and sketches. Its important to always have something to write on, as inspiration can come from anywhere at any time. This cover for a journal or sketchbook is a great way to keep track of ideas, because they can go as easily as they come.
Be sure to tuck in color swatches and other bits and pieces that motivate your creativity as well. The lovely appearance of your functional objects can be an inspiration in itself. I find I am attracted to and more likely to use a tool if it has its own beautyand a journal or sketchbook is one of my most important tools. MATERIALS Fabrics note This cover fits a 5 7 journal. 1 piece of brown linen or heavy cotton 9 11 for cover 2 pieces of light blue linen or cotton 4 7 for flaps 1 brown wool rectangle 8 11 for backgrounds of cover, pencil pocket, and square pocket 1 blue wool rectangle 4 5 for inside pocket and bird 1 tan wool square 6 6 for tree, bird wing, and feather 1 green wool rectangle 3 5 for tree 1 dark brown wool square 3 3 for inkwell and bird tail 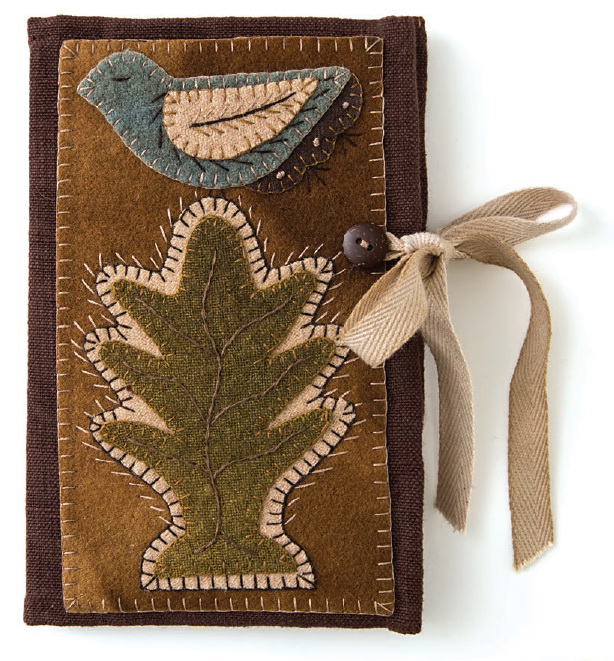 Other materials Embroidery floss: 1 skein each of dark brown, antique white, and mustard 5 7 journal* 2 buttons, diameter yard of beige -wide cotton twill tape Pinking shears (optional) *See Resources.
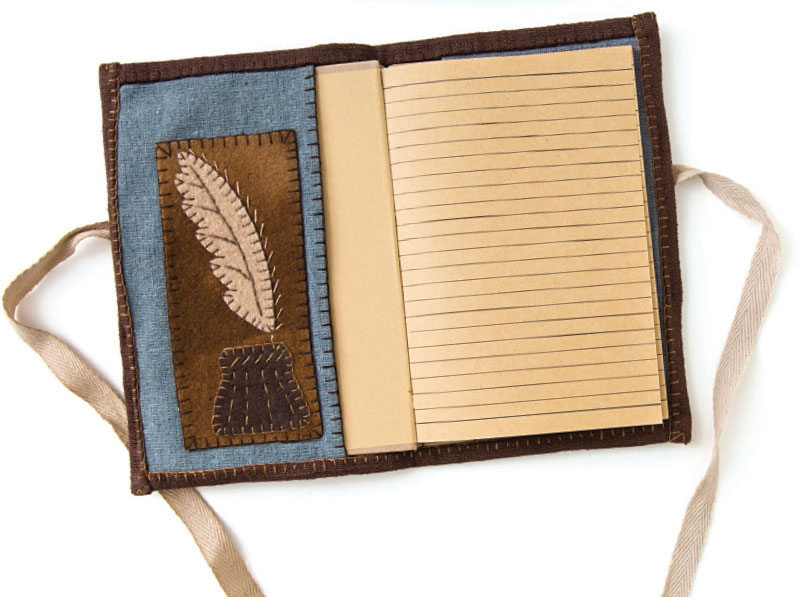 GETTING STARTED Refer to Preparing the Wool Pieces as needed for additional details on these steps. Cut out the wool appliqu pieces using the patterns. I cut the inner square for the back pocket with pinking shears, but if you dont have pinking shears you can use a small, sharp pair of scissors to cut it as desired.
Lay out the whole project to be sure you have all of the wool pieces. SEWING FUN Refer to Stitching Your Project for details on the blanket stitch and embroidery stitches. Using the blanket stitch, appliqu the front cover wooly and both pockets for the flaps. Add the embellishment stitches. Using a steam iron on the wool setting, press each finished piece on the wrong side. Position and pin the finished piece for the front cover on the brown linen or cotton background, as shown, and appliqu it in place using a blanket stitch. 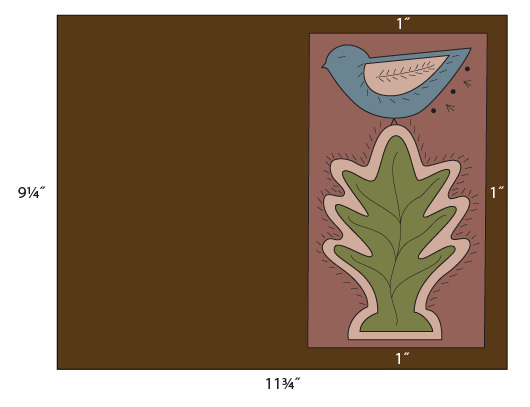
Next page







 ACKNOWLEDGMENTS A book such as this really is a group effort to produce. There are so many involved in the process, both on my end and at C&T Publishing. I would like to mention those who have added so much to this publication.

 MARCH MUSINGS Finished journal cover: 5 8 closed10 8 open A s spring approaches in my neck of the woods, I start to feel the pull to look through seed catalogs and spring fabric swatches and find out what the latest fashions for warmer weather will be.
 Keeping a sketchbook and pencils at hand is a must, as inspiration comes from many places. My first approach to developing new designs is to keep lots of notes and sketches. Its important to always have something to write on, as inspiration can come from anywhere at any time. This cover for a journal or sketchbook is a great way to keep track of ideas, because they can go as easily as they come.
 Other materials Embroidery floss: 1 skein each of dark brown, antique white, and mustard 5 7 journal* 2 buttons, diameter yard of beige -wide cotton twill tape Pinking shears (optional) *See Resources.
 GETTING STARTED Refer to Preparing the Wool Pieces as needed for additional details on these steps. Cut out the wool appliqu pieces using the patterns. I cut the inner square for the back pocket with pinking shears, but if you dont have pinking shears you can use a small, sharp pair of scissors to cut it as desired.