BAOFENG UV-5R
A Complete, Quick Reference Guide to Programming and Operating the Radio
Willie M. Scott
Copyrights 2020 by Willie M. Scott
All rights reserved.
This books contents may not be reproduced, duplicated, or transmitted without direct written permission from the author or publisher.
No blame or legal responsibility will be held against the publisher or author for any damages, reparations, or monetary loss due to the information contained in this book. Whether directly or indirectly.
Disclaimer Notice:
Please note that the information within this document is for educational purposes only. All efforts have been made to present reliable and complete information. No warranties of any kind are implied or declared. Do not transmit with a radio or allow anyone else to transmit with a radio unless you have the appropriate licenses to do so. I have done everything I can to make sure the information is legal, accurate, and will cause no harm to your radio. If in doubt, consult an attorney or representative from the FCC.
CONTENTS
INTRODUCTION
The UV-5R is an easy-to-use handheld radio that can be quickly programmed to transmit on emergency frequencies. It is fairly easy to use and will grant you access to quick, secure, and reliable communication. Whatever your purpose of purchasing a Baofeng UV-5R, you have made a great choice.
However, remember that transmitting without a radio license is illegal under normal circumstances. Dont broadcast without a license unless its an emergency.
Like all items, the Baofeng UV-5R requires a bit of a learning curve to truly master, but you dont have to worry because you shall master it in no time at all with this books help.
From the basics to the more advanced topics, this book got you covered.
Jump to the first chapter, lets explore different frequencies!
CHAPTER 1: GETTING STARTED
Unboxing
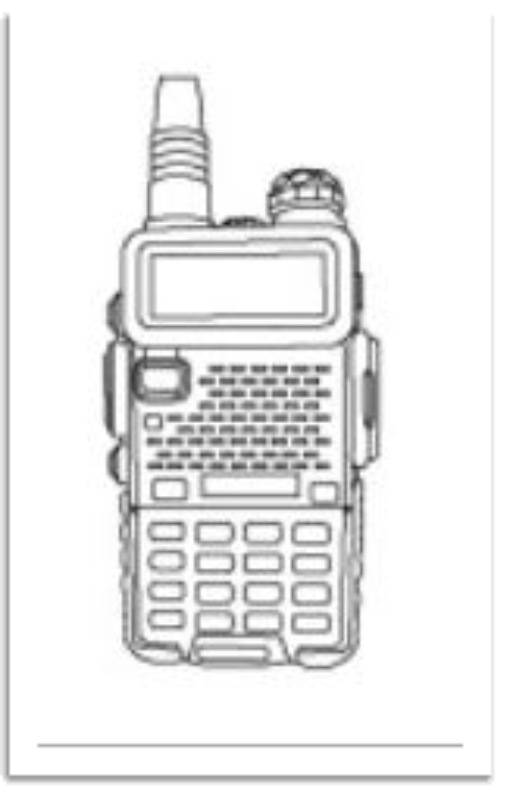
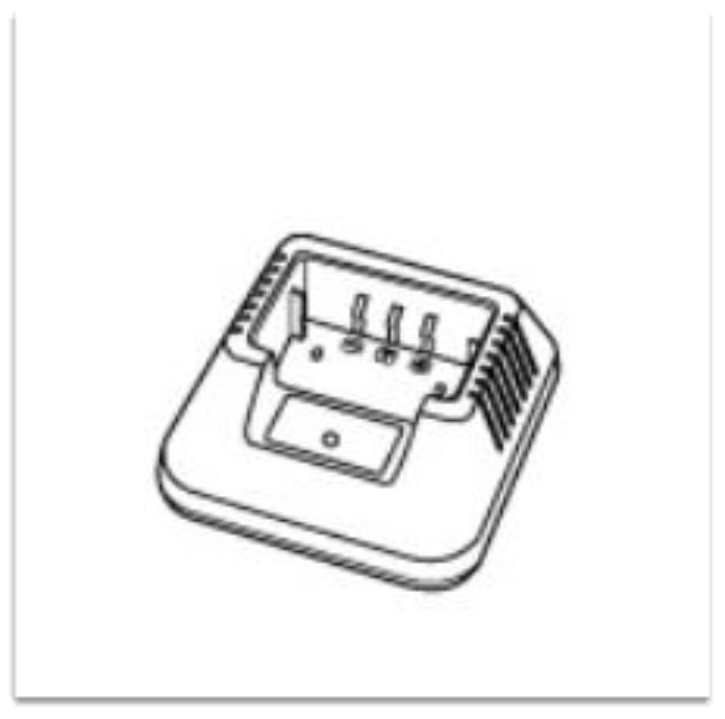
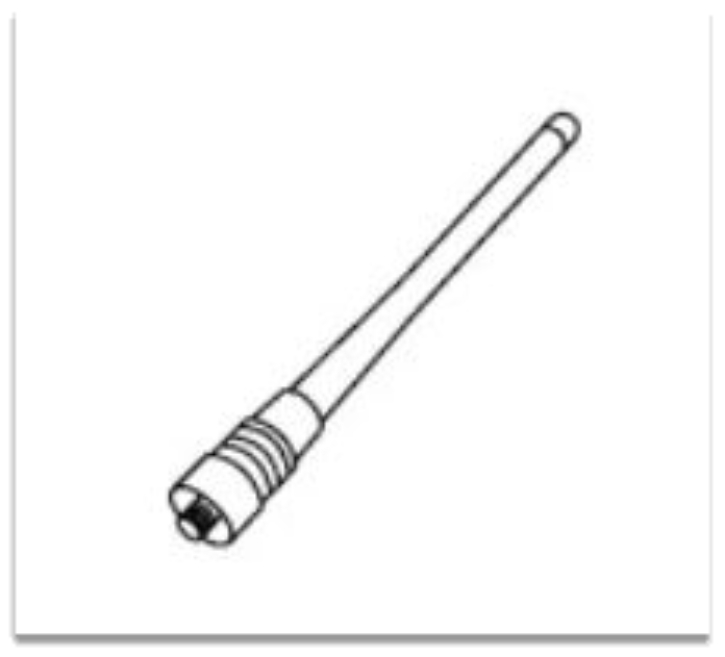
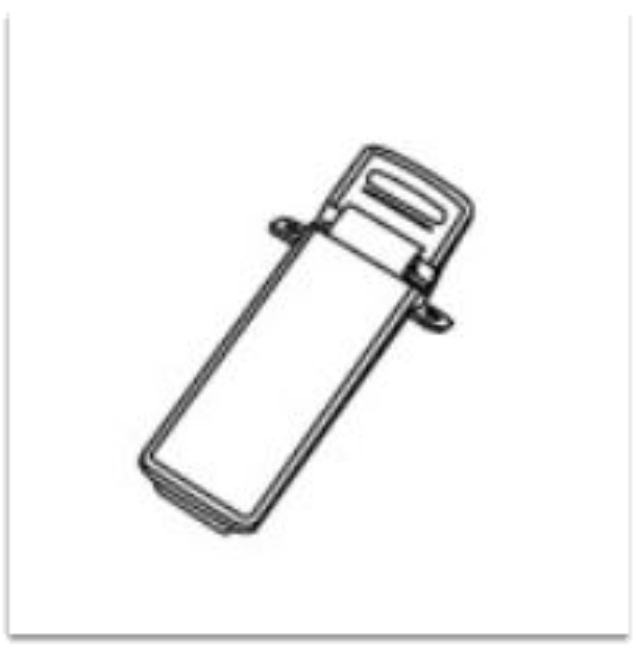
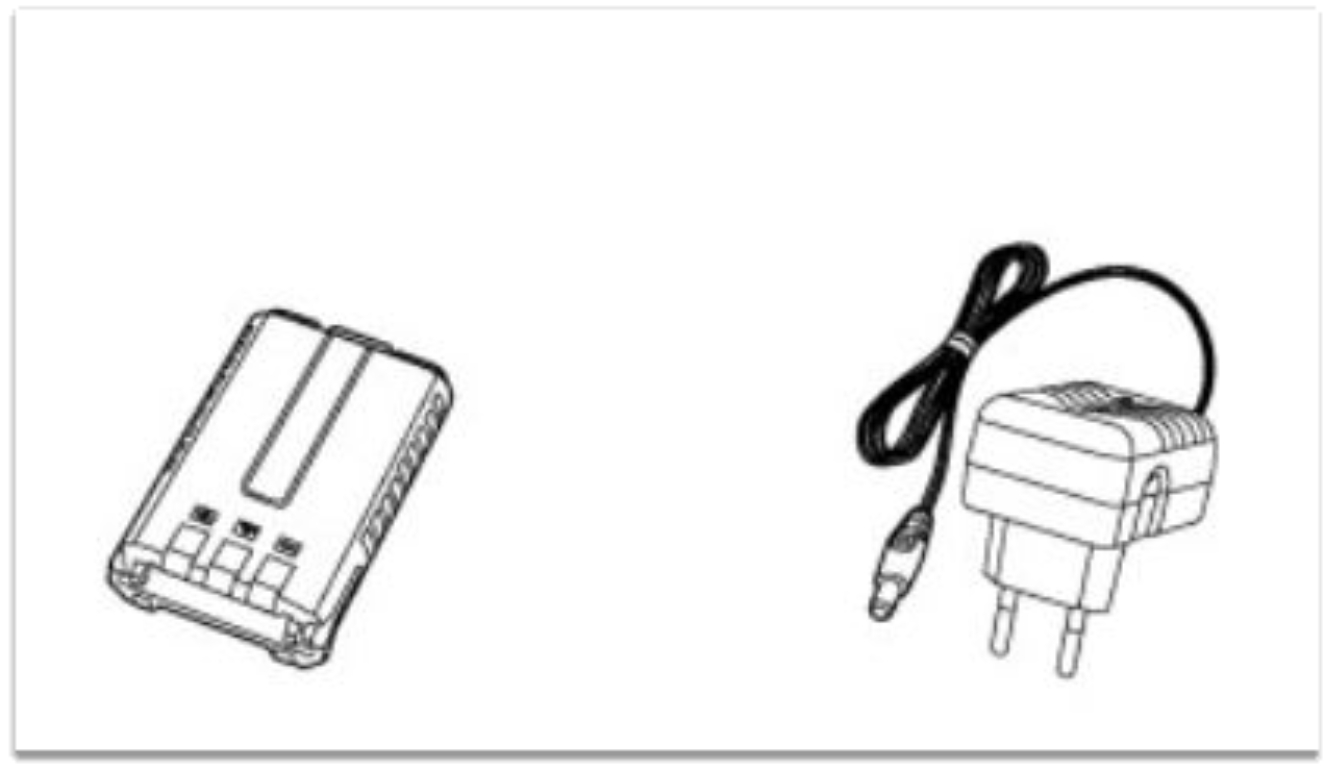
The package comes with:
Note : Items included in the package may differ depending on the country of purchase.
Installing the Accessories
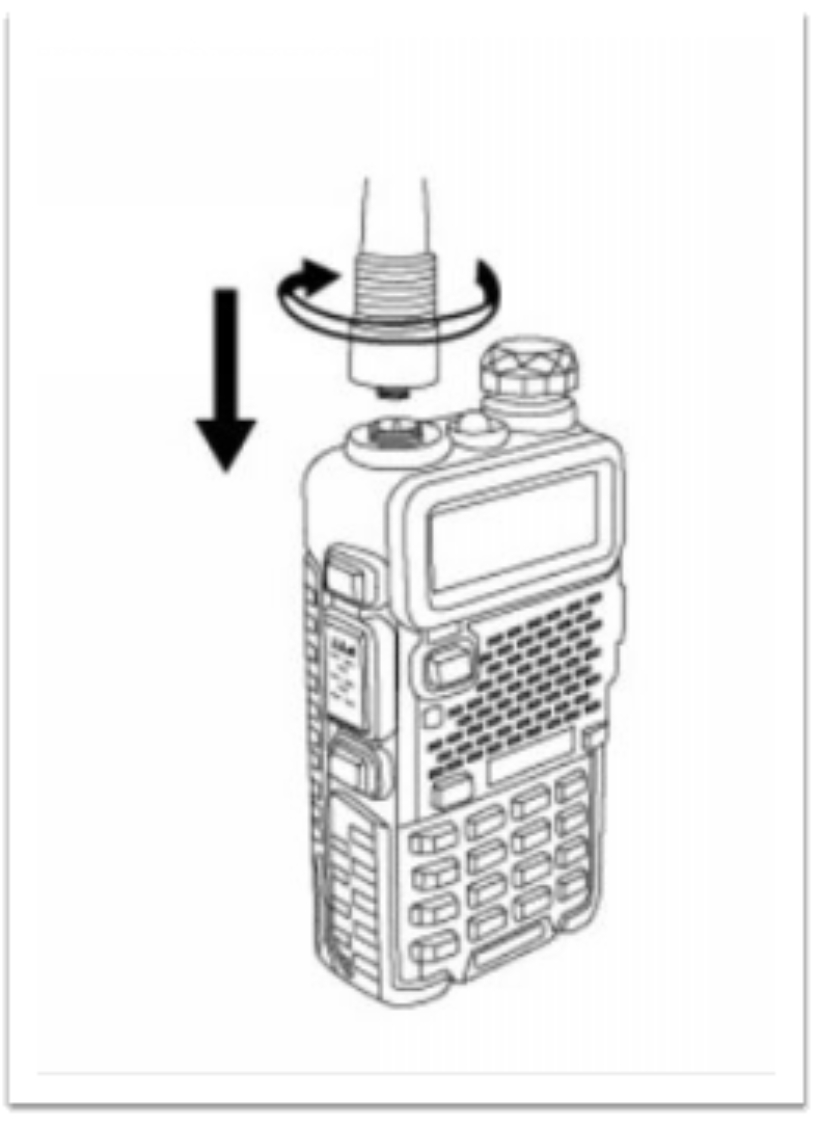
Antenna:
Install the antenna by putting it in place and turning it clockwise until it stops. Check the image below.
Caution:
Battery:
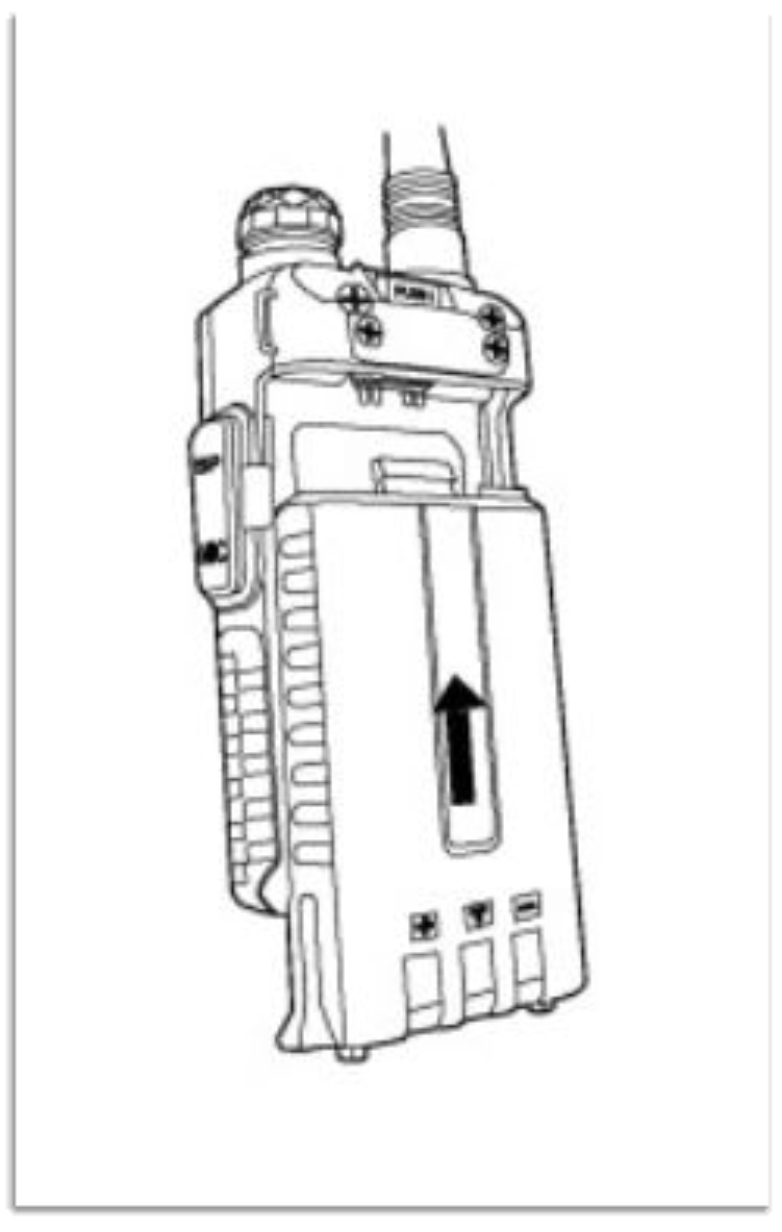
Putting the battery
Ensure that the battery is parallel and in good contact with the aluminum chassis of the radio. Let the bottom of the battery be about 1-2 centimeters below the bottom of the radios body.
Align the battery with the guide rails on the aluminum chassis and slide it upwards until you hear a click.
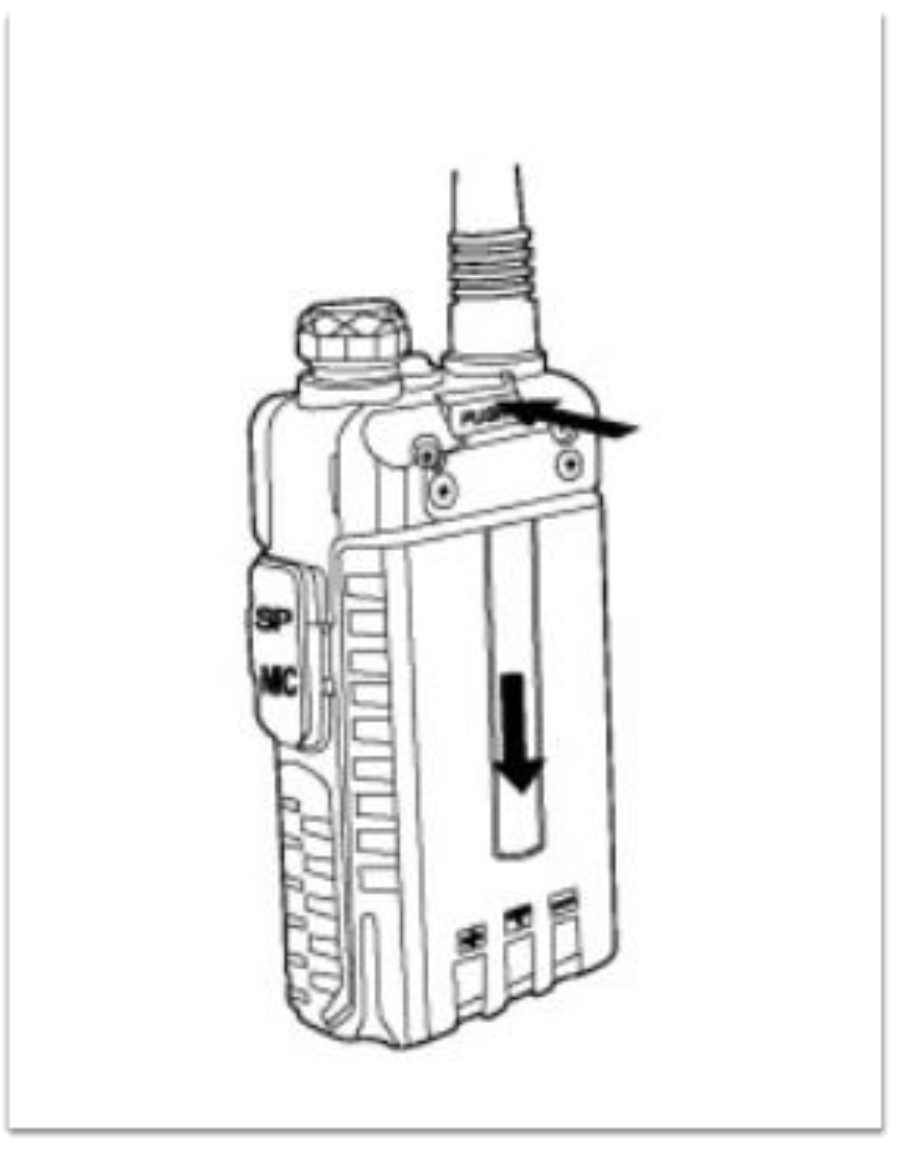
Removing the battery
- Always switch the radio OFF before removing the battery.
- Slide the battery latch, at the bottom of the radios body in the direction
- indicated by the arrow in the image below.
- Slide the battery down about 1 - 2 centimeters, and then remove it from the radios body.
Belt Clip:
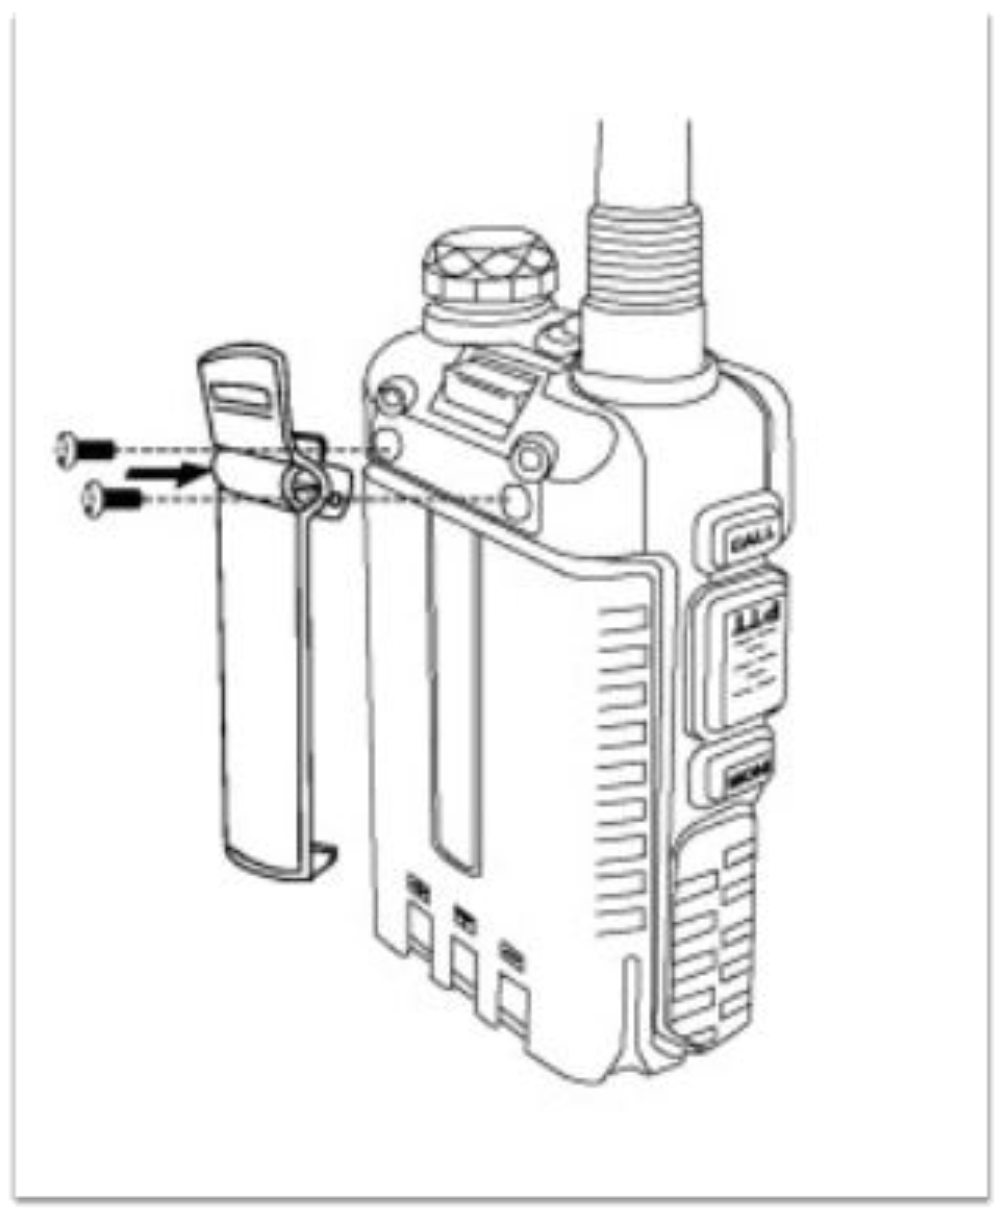
Fix the belt clip at the back of the battery compartment cover, as shown in the figure below.
To avoid damaging the battery casing, never use any glue to fix the screw on the belt clip.
Headset:
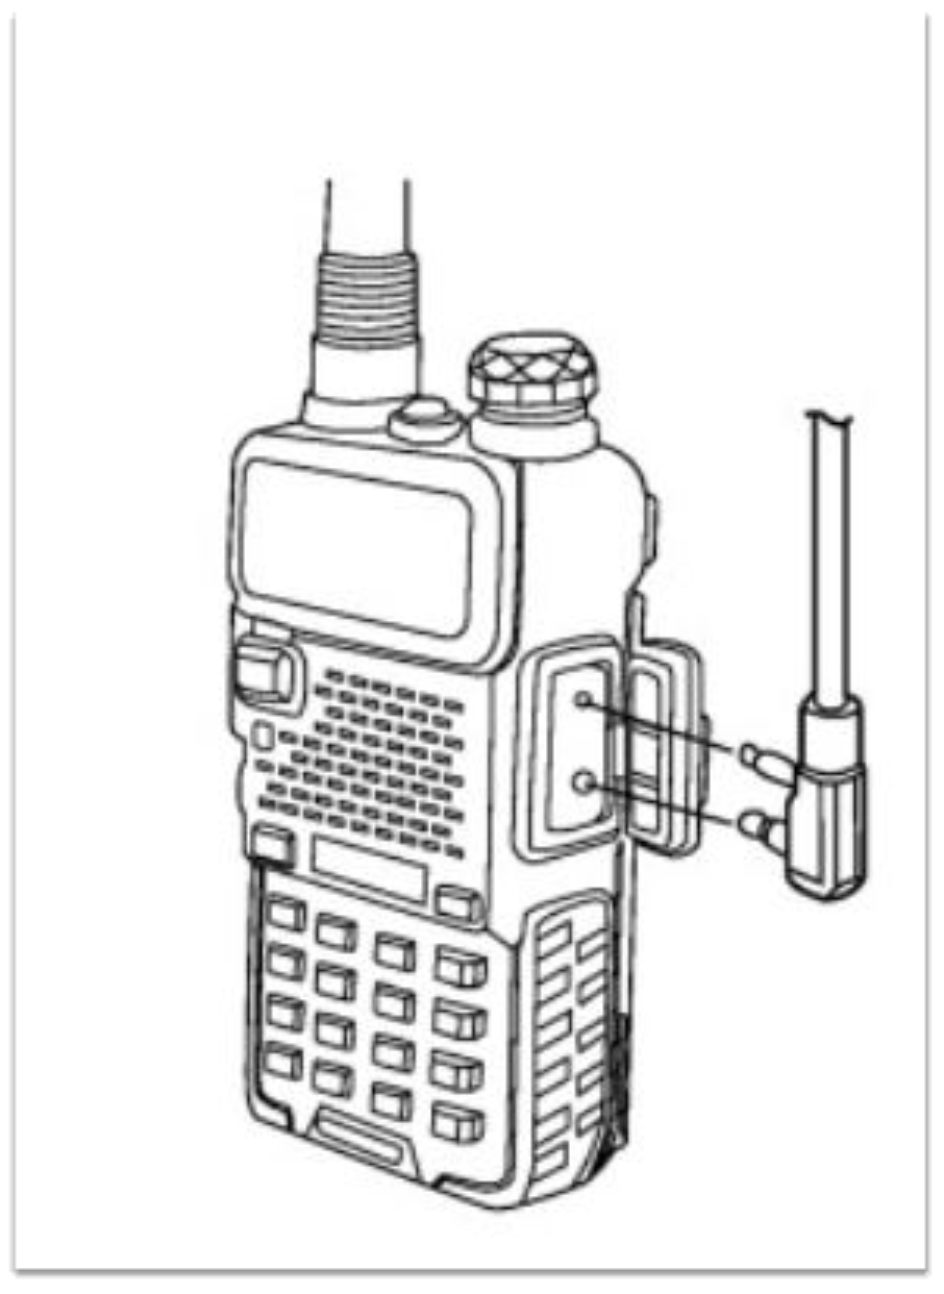
Plug the external micro-headset connector into the jack of SP. &MIC of your device, as shown in the figure below.
Charging Your Battery
Charge a new battery for five hours before initial use because new batteries are shipped uncharged. Always recharge your battery whenever it runs low.
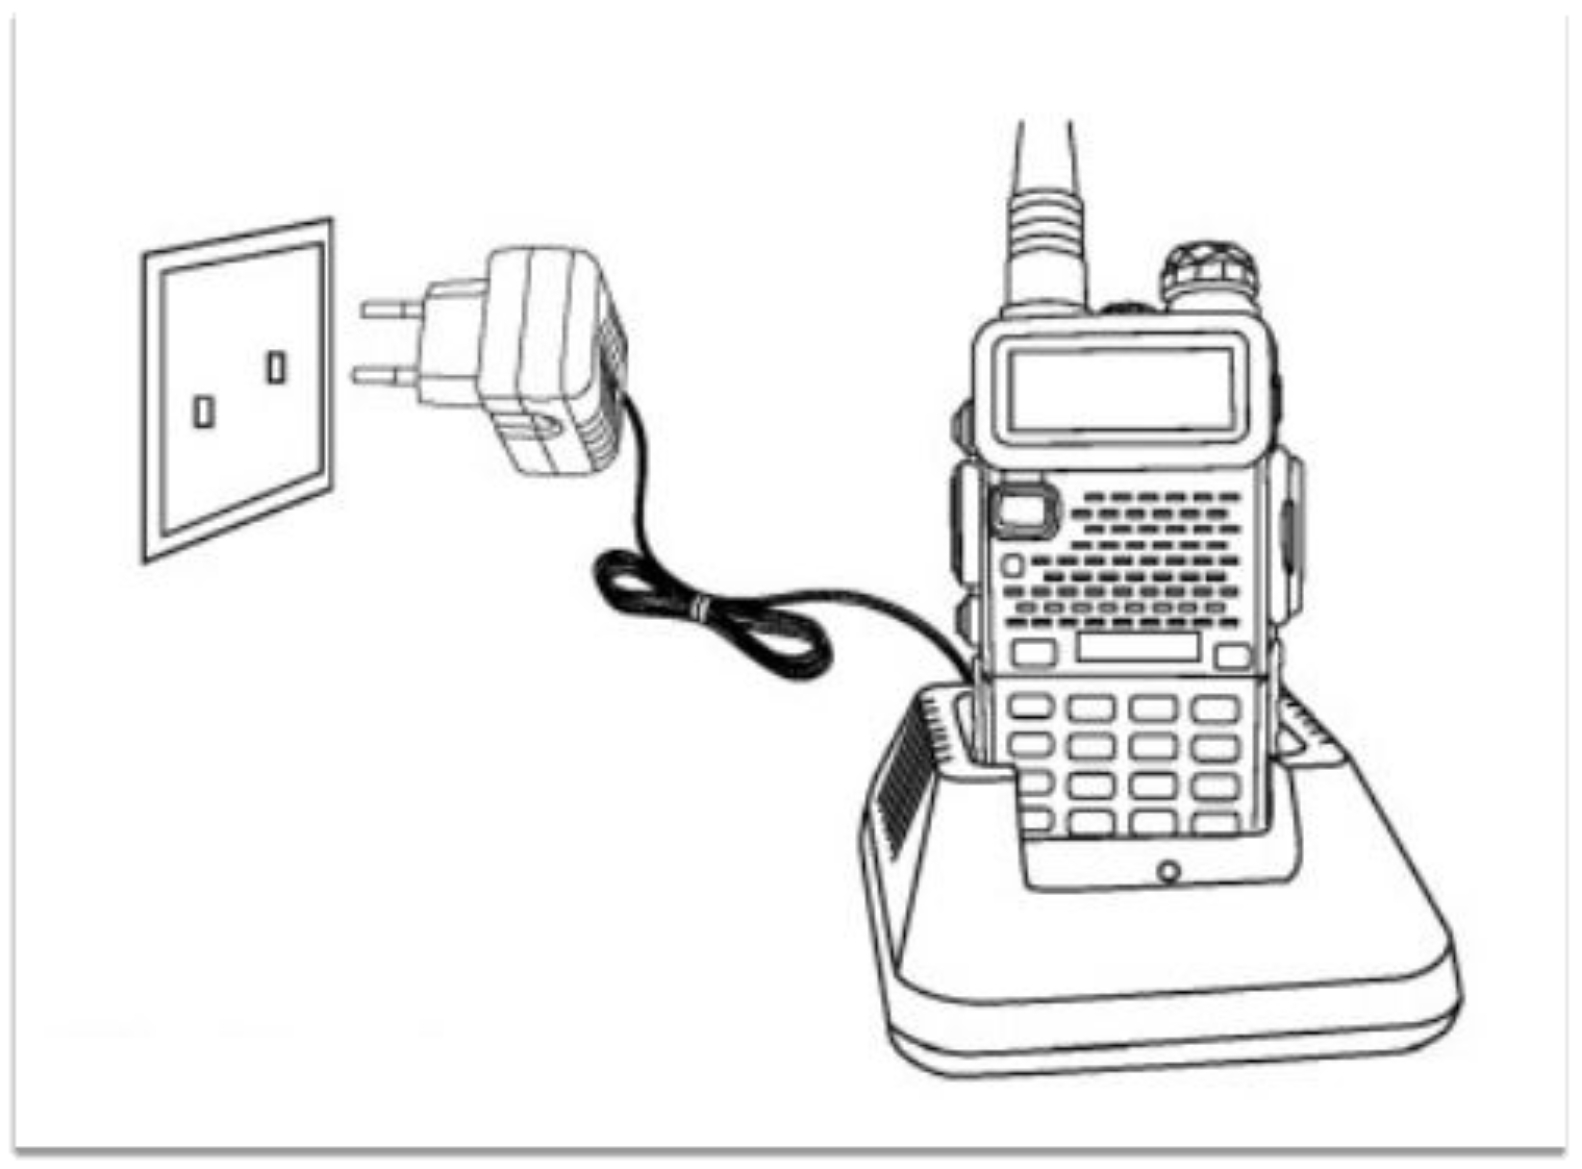
- Plug the power cord into the adapter
- Plug the AC connector of the adapter into the AC outlet socket.
- Plug the DC connector of the adapter into the DC socket on the back of the charger.
- Place the radio with the battery attached, or the battery alone, in the charger.
- Ensure the battery is in good contact with the charging terminals. The charging process initiates when the red LED lights.
- The green LED lights about 4 hours later, indicating the battery is fully charged. Remove the radio with the battery attached or the battery alone from the charger.
Below are the chargers LED indicators of the charging progress:
- Standby (no-load): Red LED flashes, while Green LED glows
- Charging: Red LED solidly glows
- Fully Charged: Green LED solidly glows
- Error: Red LED flashes, while Green LED glows
CHAPTER 2: PARTS OF THE RADIO
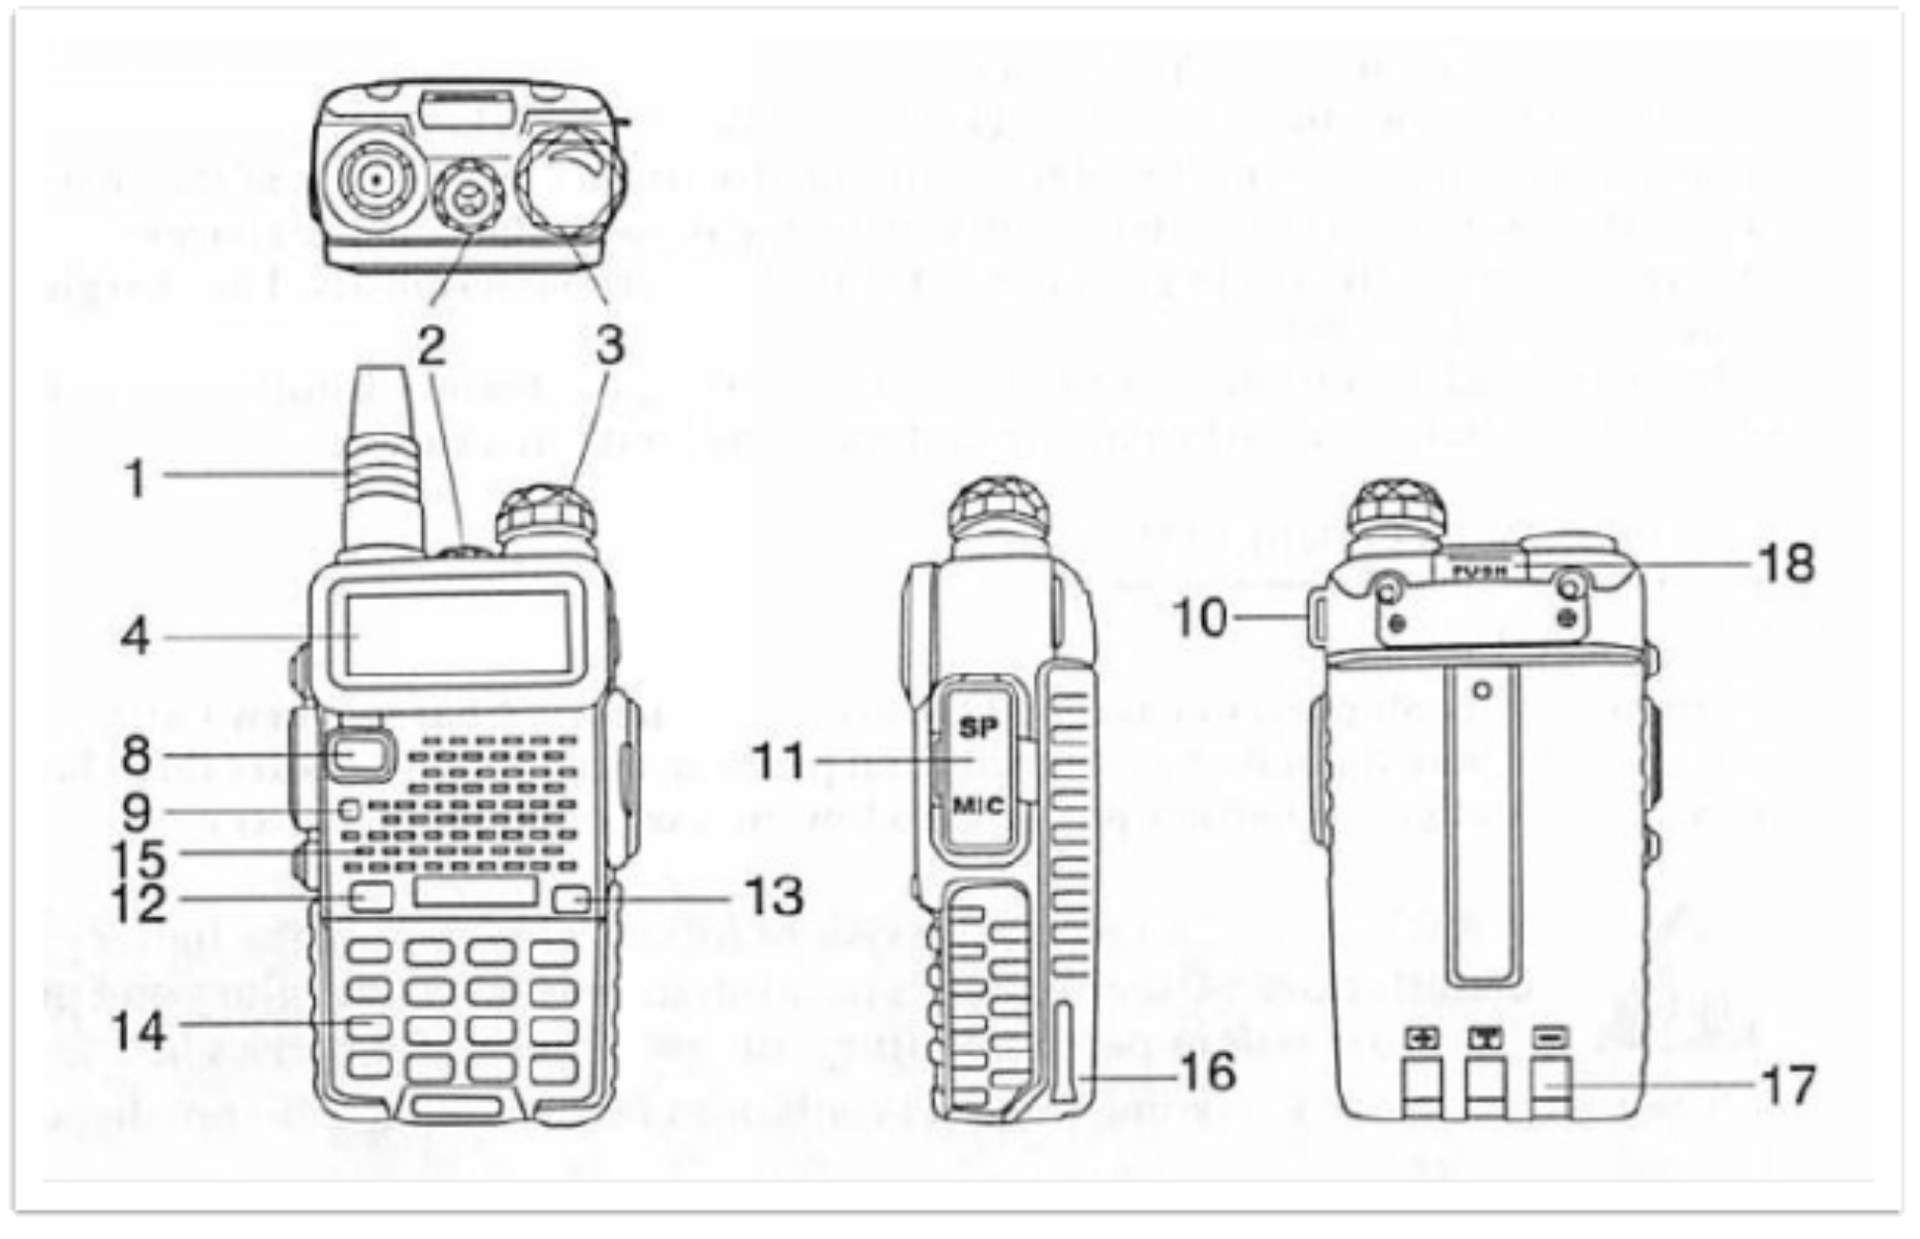
Identification of The Parts
1. The antenna
2. flashlight
3. knob (ON/OFF, volume)
4. LCD
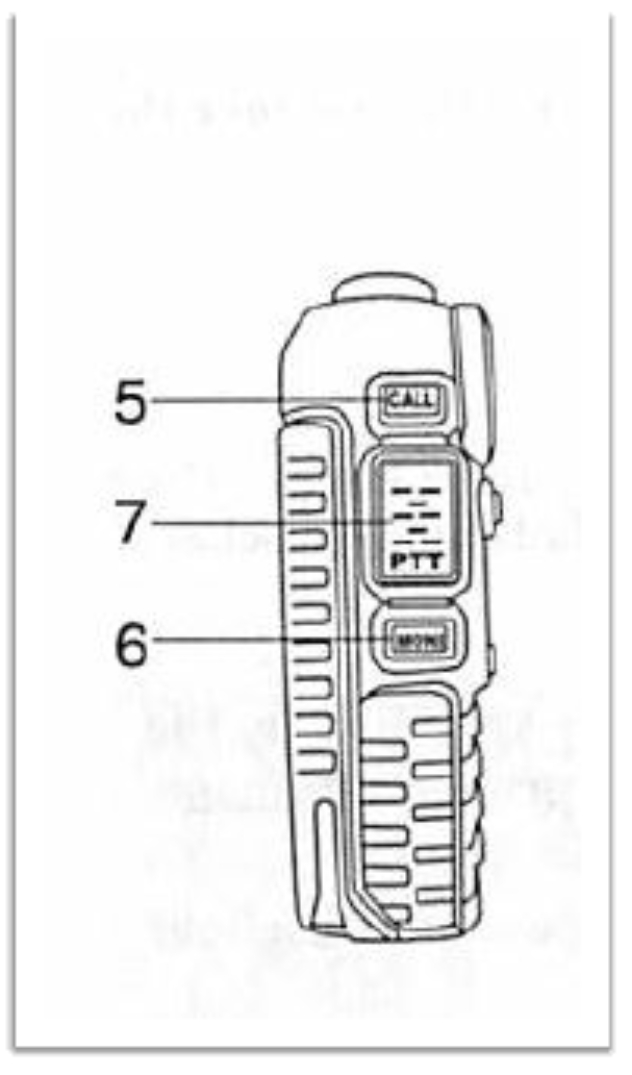
5. SK-side key1/CALL (radio, alarm)
6. SK-side key2/MONI (flashlight, monitor)
7. PTT key (push-to-talk)
8. VFO/MR (frequency mode/channel mode)
9. LED indicator
10. strap buckle
11. accessory jack
12.A/B key (frequency display switches)
13. BAND key (band switches)
14. keypad
15. SP.&MIC.
16. battery pack
17. battery contacts
18. battery remove button
Key Functions
PTT (PUSH-TO-TALK):
Press and hold down the [PTT] button to talk to someone; release it to receive.
SK-SIDE KEY1 (CALL button):
Press the [CALL] button to switch ON the FM Radio; Press it again to switch OFF the FM Radio.


