I am so lucky to have a wonderful editor, Candi Derr. Thank you, Candi, for all your hard work and your vision! Also, thank you so much to the entire team at Stackpole Books/Rowman & Littlefield, especially Patricia Stevenson, Julie Marsh, Caroline Stover, and Wendy Reynolds.
Thank you so much to Jane Patrick at Schacht Spindle Company for supporting this book in so many ways, including the looms and special anniversary yarn. Thank you also to Peggy-Jo Wells and the lovely people at Brown Sheep Company for the beautiful yarns that are featured in this book. Thank you to Molly Hamilton at Folkwear PatternsIve been a devotee of Folkwear Patterns for more than four decades! Thank you to Lyn Michel McNeese of Champagne Faire for the wonderful wooden Hedeby bag handles. Thanks so much to Teresa and Darren Griffith for the big bag of alpaca fluffiesit was the source of so much inspiration!
T he most basic of the basic techniques are covered in the instructions that come with your loom, so they arent addressed in this chapter. The basics given here will give you some extra information for the weaving techniques that are used in this book.
EQUIPMENT AND TOOLS
If you dont have a weaving hook (a long crochet hook like a Tunisian or Afghan hook), you can easily carve one from a chopstick. You will need a sharp craft knife (dull knives are very dangerousthey can slip and inflict nasty cuts, so dont use them!), some sandpaper (a nail file will do), and a bamboo or wooden chopstick (a flat-ish one works best). Then go to this YouTube link, where I show how to make your own weaving hook: www.youtube.com/watch?v=N8PMpc5aDk8
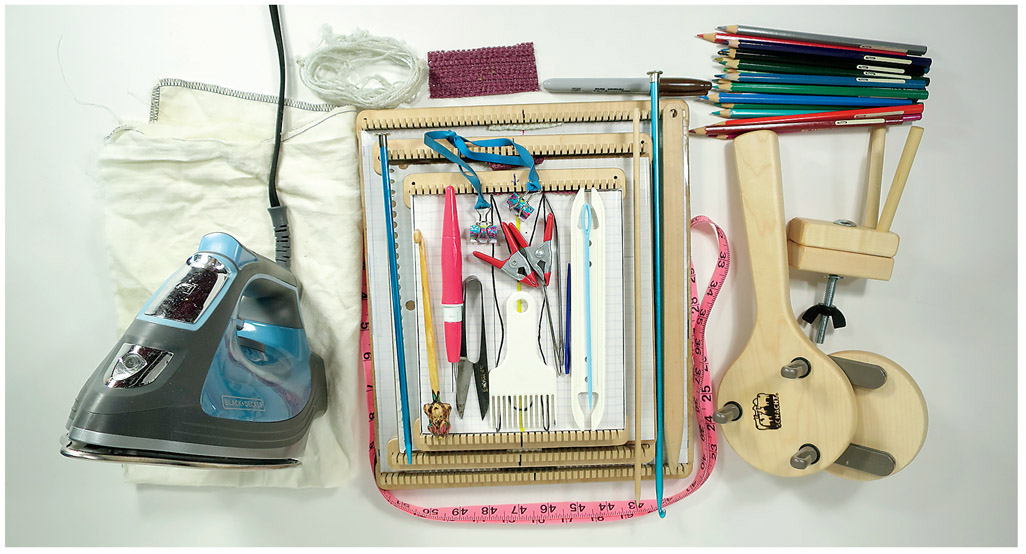
These are the tools and equipment used for the projects in this book. Some are optional, depending on the project or techniques being used.
- frame loom
- 2 shed sticks
- weaving hook
- beater comb
- crochet hook
- cardboard or Masonite backing board (shown in place on the looms; see the next column for instructions on how to make the backing board)
- a piece of plastic (also shown in place on the loom; use a page protector or trim a recycled plastic box to size)
- scissors
- 2 large binder clips or 2 small spring clamps and rubber bands to make a tensioning device (see )
- several sizes of knitting needles
- permanent fine-tip marker
- ruler or tape measure
- darning and weaving needles
- a snippet of fabric to act as a wedge to hold the backing board to the loom
- rubber bands
- shuttle
- string to make heddles
- graph paper
- pencils
- pencil crayons
- felting needles
- Schacht Incredible Rope Machine
Note: Why are 2 shed sticks needed? They have different jobsone is the permanent shed stick (a dowel works fine in this role), and the other is the pickup shed stick. The pickup shed stick should be smooth and flat and at least 3/4 in./2 cm wide and not very thick. The weaving stick that comes with the Easel Weavers is used as the pickup shed stick in all the project photos.
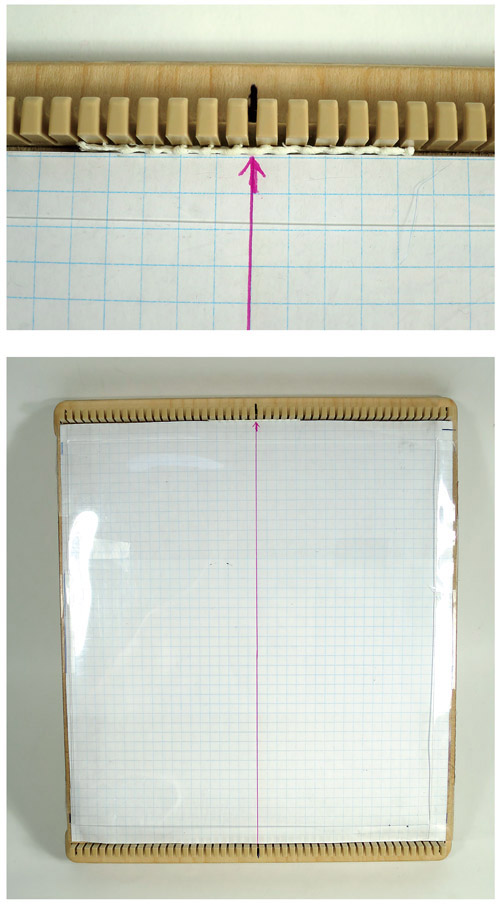
PREPARE THE LOOM WITH A CARDBOARD OR MASONITE BACKGROUND BOARD
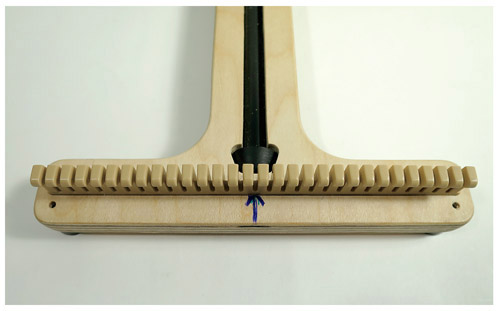
First, mark an arrow at the center of the top and lower edges of the loom.
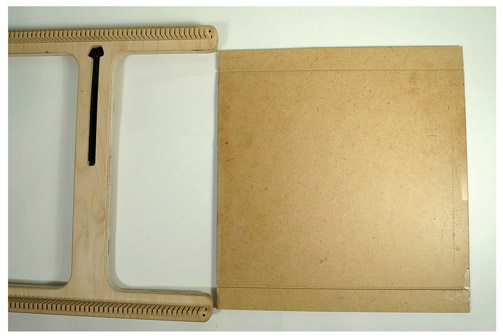
Measure the width of the loom, slightly past the pegs and the height of the loom inside the pegs.
Cut the Masonite or cardboard carefully to the measurements.
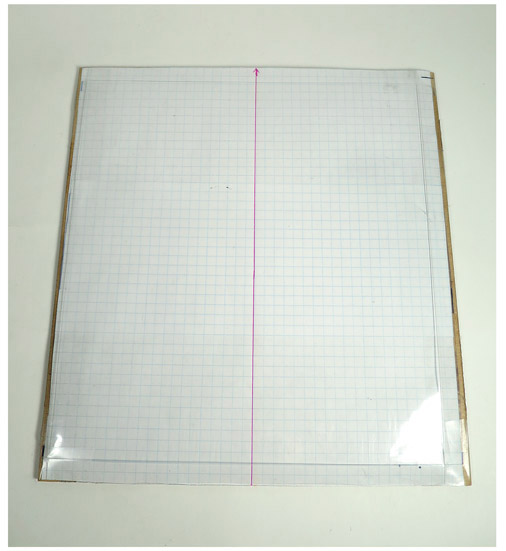
Tape -inch graph paper to the background board.
Draw a line in the center of the graph paper.
Cut a sheet of plastic (use upcycled plastic or a plastic page protector) to fit the loom.
Place the plastic on the graph paper and tape it to the background board.
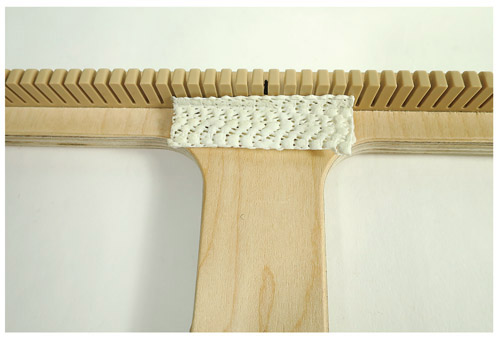
The backing board needs to fit the loom very snugly so it doesnt wander around while you are weaving and drive you crazy. A little scrap of paper or snippet of fabric can be wedged in between the edge of the backing board and the loom to hold the backing board firmly in place.
Push the backing board into the loom and line up the center of the graph paper with the arrows in the center of the loom.
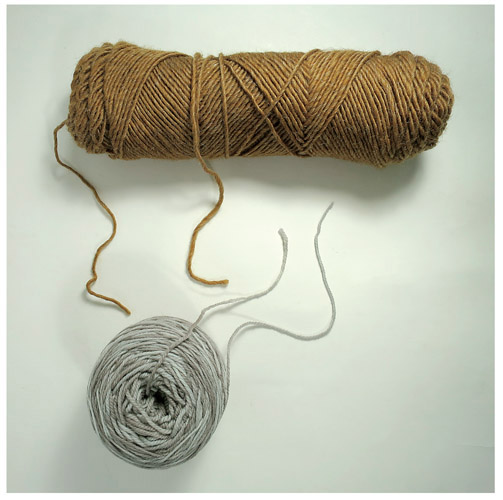
WORK WITH 2 STRANDS OF YARN FROM THE SAME BALL
Take one end from the center of the ball or skein and one end from the outside of the ball or skein. Hold them together and work with them as if they are a single strand.
FINISHING
Chaining the Edges
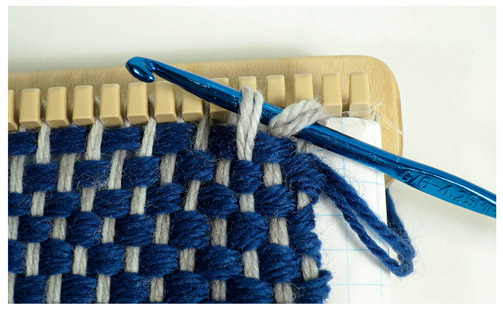
Chaining an edge that has regular-sized loops:
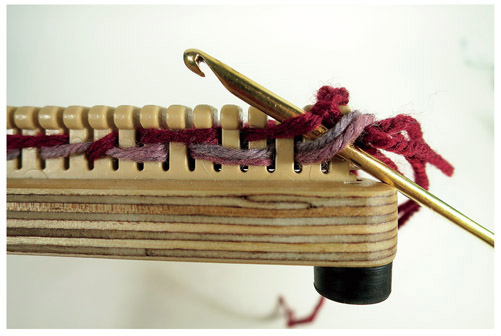
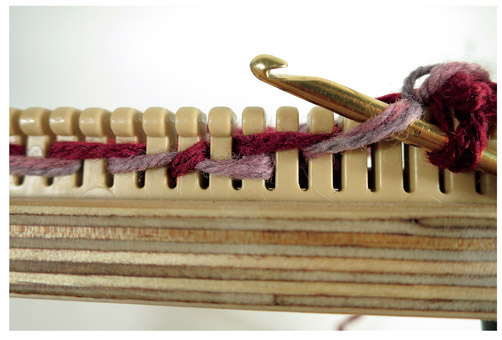
At the right-hand corner, lift the 1st 2 sets of warp loops off the loom and pass the 1st loop over the 2nd one.
Continue to lift the loops off, one by one, chaining (passing the loop on the hook over the newly lifted loop) as you go.
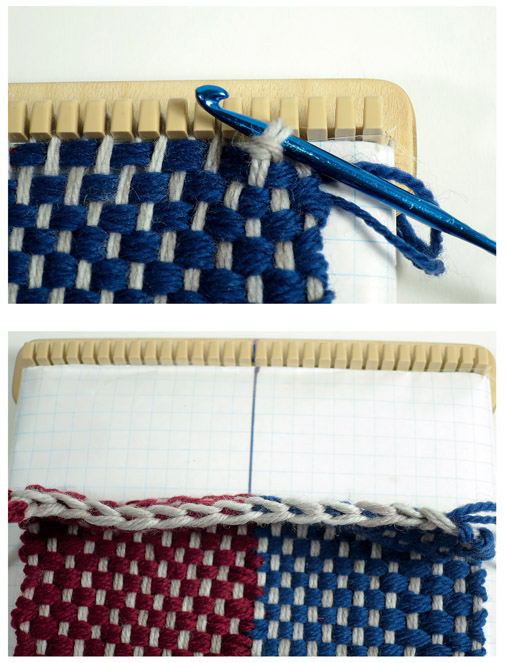
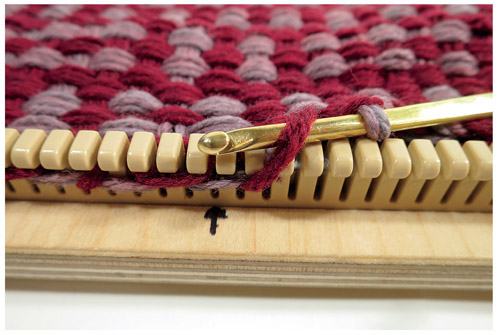
Chaining an edge that has long loops:
When an edge has long loops, they are chained off as if they were regular-sized ones. You may need to tweak them a little to make them more uniform.
Insert a crochet hook into the 1st 2 loops and lift them off the loom.
Pass the 1st loop over the 2nd one and pick up the next loop.
It looks like this as you are chaining along.
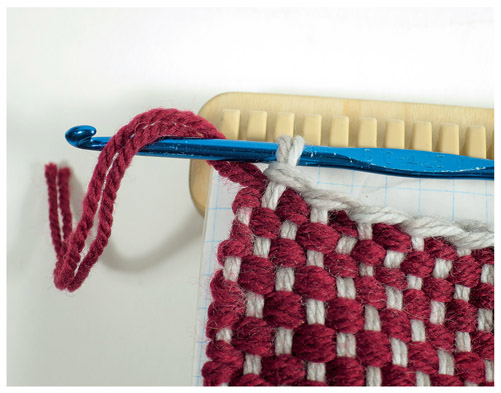
At the corner, pull the yarn ends through the last loop on the hook.
Weaving in Yarn Ends
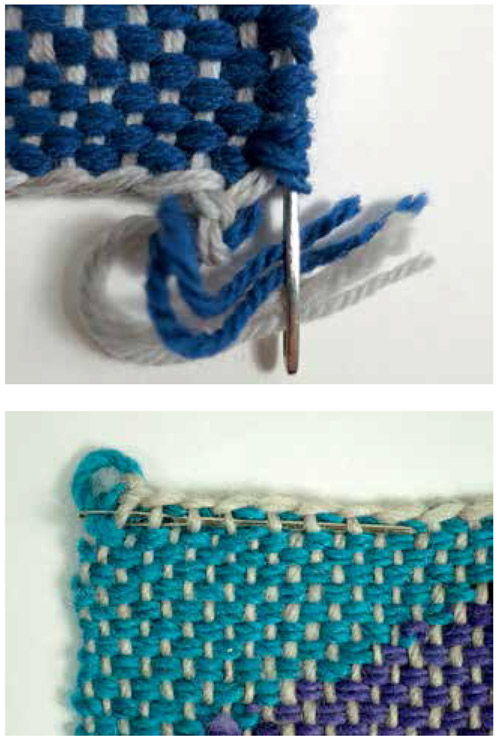
To hide your yarn ends, thread the tails into a darning needle and take them up the side edge or into the weft strands:


