Contents
Guide
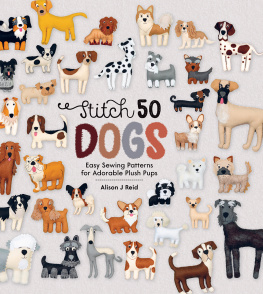
Stitch
DOGS
Easy Sewing Patterns for Adorable Plush Pups
Alison J Reid

www.davidandcharles.com
CONTENTS
I dedicate this book to my Dad, also known as Pops.
Introduction
I initially came up with the idea for this book while my partner and I were having building work carried out downstairs in our house. To escape the sound of drilling, and the dust that filled the air, I found myself hiding away in a room upstairs.

In there, I discovered a box of felt scraps and began to sort through the colours. The previous day I had been working on some quick sketches of dogs, so decided to marry up the felt and the sketches. Within a couple of hours, the first puppy was born!
I have always loved to be creative and enjoy making. My favourite fabric is felt, and it has always featured heavily in my work. Felt has endless possibilities it can be cut without fraying, provides a solid base on which to sew and felt, and is available in a broad palette of colours.
Putting this book together has been a wonderful experience, and I have had so much fun creating these little characters. The lengthiest part of the process was coming up with the initial sketches for the patterns. Getting the features right was crucial. Once that part was complete, I chose which colours of felt to use and started to make the dogs. Then, as I added their eyes, the little dogs literally came to life before mine!
I hope that you have as much fun stitching the dogs as I had when designing them. Make them for yourself or friends young and old whoever receives these little pups will treasure them always.
LET THE DOGS OUT!
Once you have stitched your adorable dogs, here are a few ideas for creating gorgeous gifts and showing them off.
- Make your dog into a brooch by sewing it onto a brooch back or safety pin. Fasten him onto your hat, jumper or coat.
- Transform your dog into a bag charm. Simply double over a length of ribbon, wrong sides facing, and secure to the back of your dog using a few small stitches.
- Create an appliqu patch by sewing the top layer of your dog only (you don't need the backing or stuffing). Then, use nylon invisible thread and a running stitch to attach it to a surface such as a scarf or t-shirt.
- Cherish and display your dog by placing him in a box frame. Write your pup's name on a label and attach it underneath as the perfect personalised touch.
- Go big! Scale your dogs up to make plush toys. Enlarge the template on a photocopier or scanner, then make bigger dogs in exactly the same way as you would create their mini-me.
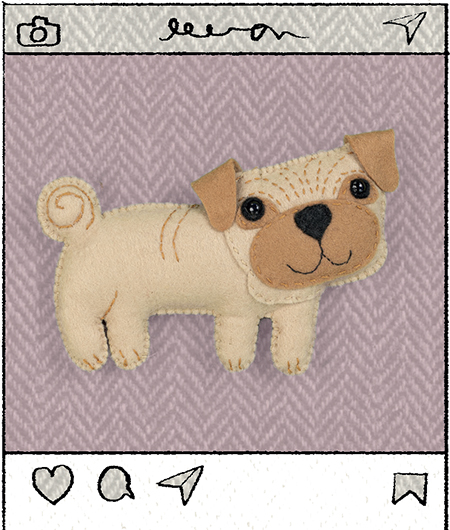
Have fun and dont forget to share photos of your finished pooches online. Use the hashtag #stitch50dogs and tag @dandcbooks and we can all enjoy our crafted canines. I look forward to seeing them!
Materials & Equipment
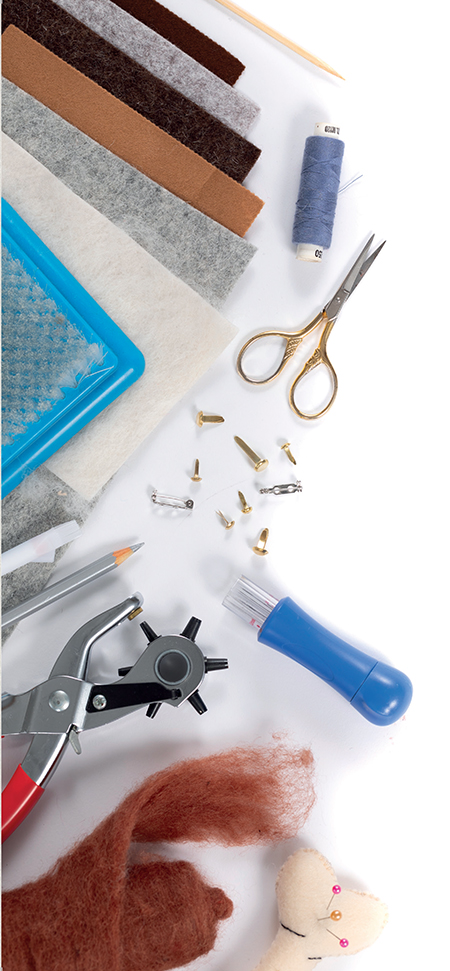
The beauty of these little dogs is in how simple they are to create, using very little in the way of tools and materials. The basic items you will need are covered below.
Acrylic Felt
There are lots of felt fabrics on the market, as well as a vast array of colours. For the dogs in this book, I chose acrylic felt for several reasons: the fibres are held together more firmly than wool, it is easy to sew and, when the dogs are stuffed, the felt does not stretch. 100% wool felt is lovely to work with, but it's a lot softer than acrylic and can easily distort when the item is stuffed.
I have named the colours needed in each You Will Need list, indicating the relative tones required. For example, dark brown, mid brown, light brown. As long as you achieve this range of tones, you will create the desired effect. Of course, you can change the colours however you like. There is also a variety of mottled felts available that create a fantastic effect.
MAKE IT PERSONAL
To recreate your own dog, look at their markings, and use the template as a guide to sketch them out. Then when you are shopping for felt, refer to a photograph to match their colours in terms of tones.
Sewing Thread
I used basic 120s polyester thread. Strong and easy to handle, it is readily available at stores and online, and perfect for hand and machine sewing. I like to use colours that do not match exactly for a unique and quirky finish.
Brads
Split pins used for securing sheets of paper, brad fasteners come in a variety of sizes and colours. I have used them as eyes, making a hole in the felt to allow for easy insertion. Brads come in a range of sizes, so use whichever best suits the dog you are making.
LIGHT BULB MOMENT!
Coloured brads can be expensive, so I improvised with gold brads in different sizes, painting them with black nail polish.
Stuffing
With a pack of 50 dogs to make, I used a big bag of supersoft polyester stuffing. If you are only making a few dogs at first, you could use cotton wool balls, or recycle stuffing from an old cushion, instead.
Wool Roving
Roving is fleece that has been cleaned, dyed and combed, perfect for needle felting (a technique I describe on the next page). I have used sheep's wool roving on some of the dogs to add particular details and texture to their bodies.
Basic Tool Kit
You need very simple equipment to make the dogs:
- Tracing paper to trace the templates
- Chalk pencil in white or contrast colour to transfer the templates to the felt
- Sharp scissors for cutting the felt
- Embroidery scissors for cutting detailed shapes and trimming threads
- Sharp hand-sewing needles to use with the thread (keep spares close to hand!)
- Fabric glue to secure the felt details as you sew (optional)
- Darning needle to create holes in the felt for brads
- Dressmaking pins to secure front and back body pieces as you sew
- Bamboo skewer or similar tool to help push the stuffing into smaller corners and spaces
- Needle felting tools, if you are using wool roving. You need a needle-felting handle holder with seven needles, and a brush-like needle mat. Keep your fingers well away from these very sharp needles.
Using The Design Guides
Each dog has its own unique templates and Design Guide. The Design Guide indicates which stitches to use, along with other construction and design features. Tips on using these guides are on the following pages.
Sewing the Dogs
The dogs are made using the templates at the size provided. To transfer the templates to your felt, begin by tracing them onto tracing paper. Label each template with its name, felt colour and quantity of pieces required, then cut them out.
To transfer each template to the felt, position it on the appropriate colour and secure with dressmaking pins. Use a white (or contrasting color) chalk pencil to draw around the edge, marking the felt. This will be your cutting line. Repeat as needed.

