 Easy Sculpted Foam for your home
 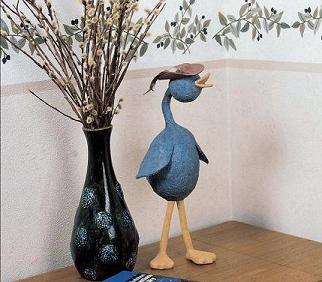 Koren Russell 2003 by Koren Russell
All rights reserved. No portion of this publication may be reproduced or transmitted in any form or by any means, electronic or mechanical, including photocopy, recording, or any information storage and retrieval system, without permission in writing from the publisher, except by a reviewer who may quote brief passages in a critical article or review to be printed in a magazine or newspaper, or electronically transmitted on radio or television. Published by  700 East State Street IoIa, Wl 54990-0001
715-445-2214 888-457-2873
www.krause.com To place an order or obtain a free catalog, please call 800-258-0929. Library of Congress Catalog Number 2003110461
ISBN 0-87349-599-3
eISBN: 978-1-4402-2027-2 Edited by Christine Townsend
Designed by Donna Mummery
Photography by Robert Best Dedication To my family and friends for encouraging, sharing, tolerating, and listening. Contents 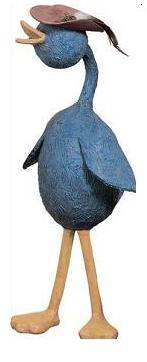 Introduction I had always envied clay sculptors. I was drawn to their booths at art shows, gazing in awe of what they could create.
Sometimes, when my budget would allow for it, I bought clay pieces to admire at home. But it wasnt enough. I wanted to do what they could do. I can do this, I said to encourage myself, and I had a plan of attack: I would start by creating a round clay ball. Hours later, I still didnt have anything that resembled round. I am lopsided through and through.
Form wasnt my only difficulty. There was the problem of countless supplies, including a cost-prohibitive kiln. There are shops in the area that would have fired my pieces, but this brought out another flaw of mine: impatience. 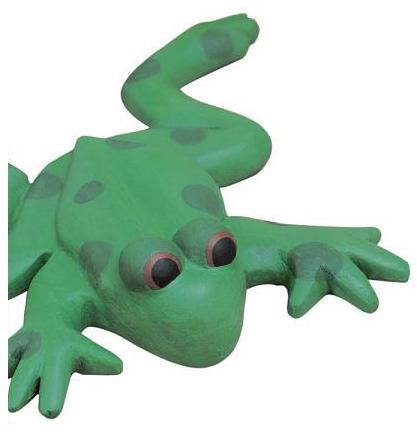 This flaw also prohibited the long process of learning about different glazes, clays, and techniques. A technique was needed that used some of the knowledge I already had general crafting and painting. Could these skills relate to sculpting? One day, a challenge came my way, along with a bit of a miracle.
I needed a large, chunky candleholder to show off a candle wrap in a magazine photo. Since I couldnt afford what I found, or get what I could afford quickly enough, I was forced to create something. As miracles go, I had a package of Creative Paperclay on hand. It was laying in a drawer waiting for a moment such as this. My kids had some foam left over from a project. (Thats how I had always looked at foamas a kids project.) With only the supplies of a bread knife, paperclay, and stolen foam, the playing began.
And the result was the discovery of a whole new world of fun and endless possibilities. Using this Book The first chapter explains the details needed to create the sculptures. I would suggest reading through it before starting your first creation. You will find things there that arent detailed in the individual instructions. Each project chapter starts with easier projects and winds up with the more difficult. The projects are rated as Easy, Medium, and Advanced.
To be rated as Easy, the project needs to have simple techniques in both the shaping of the foam and covering it. With a Medium project, either the shaping or the covering will take a bit more skill. When rated as Advanced, both the shaping and covering are more skilled. The more advanced the project, the more time it is going to take. Even the easy projects cant be considered quick and easy. Sculpting is a form of art; it should be a fun and enjoyable experience, not hurried along.
I built in natural starting and stopping points in each project: First, the foam is shaped. If glue is needed, the creation has to be set aside for a bit. Then the form is covered. You can stop this part at any time and set it aside for later. Once it is covered, you can take another break while it dries. Any sanding is completed and, lastly, the creation is painted.
It is nice to be able to create in a leisurely fashion. But if leisurely just doesnt fit your schedule, the shortest drying times are listed, as well as ways to hurry the process along. Dont be afraid of the Advanced projects. Just work through a few of the simpler projects to get some experience. Or, if you are adventurous, dive right in. None of these creations are meant to be perfectafter all, they originated from a lopsided person! Think of imperfections as personality, signs of the hand-made touch.
Dont be afraid to do some mixing. Would you like to see the Cow Herd painted like Drake the Dinosaur? Just follow the painting instructions for Drake. How about making one of the Cow Herd as big as Colonel Sanders? Simply enlarge the patterns and start with a bigger ball. A Gallery appears at the end of this book, where creations are pictured for inspiration. There arent instructions for these pieces, but if you look through the book, you will find similar creations to use as a guide. 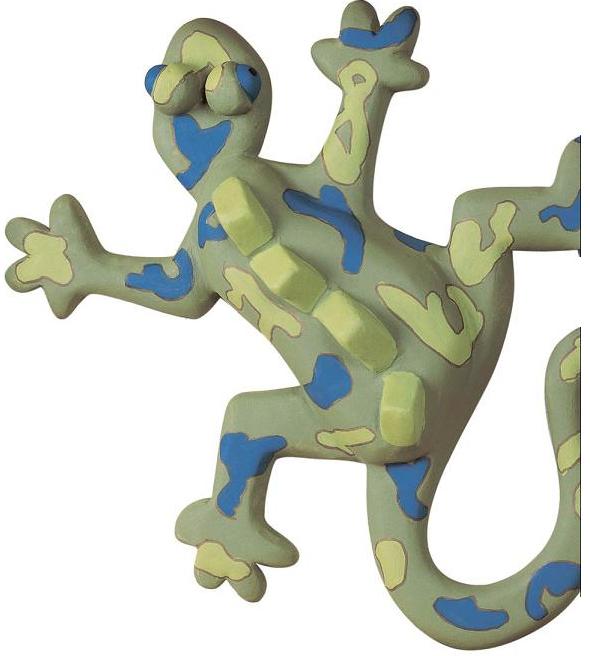 Chapter 1
DesignBasics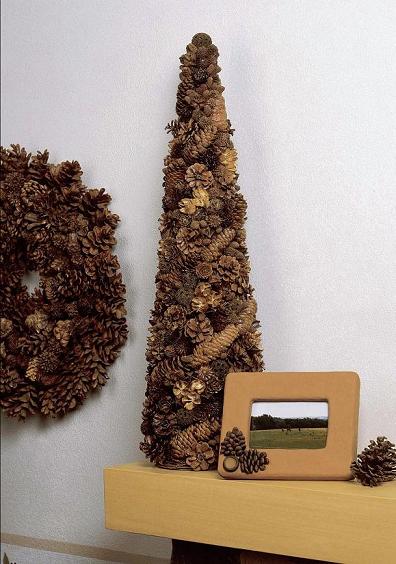 Start here to learn everything you need to know about sculpting foam treasures for your home.
Just having this book can entice the eyes and brain, but without the proper tools and supplies, hands cant begin to experience the fun. Listed below are the products, techniques, and tools needed to create these pieces. Some tips and thoughts will be found only in this section, not in the individual instructions. Brand recommendations will be listed for some supplies and tools. These are the main products I use to create the projects and they have proven to work well. You can find more information on supplies in the back of the book under Sources.
A large cutting mat is recommended for all steps. It protects the worktable, supplies a cutting base, and makes measuring very handy. Foam Foam is the perfect base for creating. Easily shape it by cutting, sanding, compressingand you can attach additional shapes. Shaping is the start of all projects. Once the cover is put on the foam, the shape is difficult to change.
Take your time in the beginning stages of the project, and the final outcome will be great. The same features that make foam easy to shape, however, also make it easy to mis-shape. Store foam where it wont be bumped or broken. Suggest to those playful ones in your household that foam doesnt have a hidden desire to be used as a projectile! I recommend STYROFOAM brand foam for all the projects. This crisp, firm foam can be shaped easily without falling apart. Using lower-quality foam can turn a fun creation into a frustrating experience.
Patterns Before most shaping begins, pattern or cut lines are marked. To create paper patterns, either copy the desired pattern on a copier, enlarging if necessary, or trace it from the book. Cut out the pattern and place it on the foam. Trace around the pattern with a black permanent marker. If there are internal pieces on the pattern, trace and cut the main pattern first, then you can cut and trace the internal pieces on to the foam. 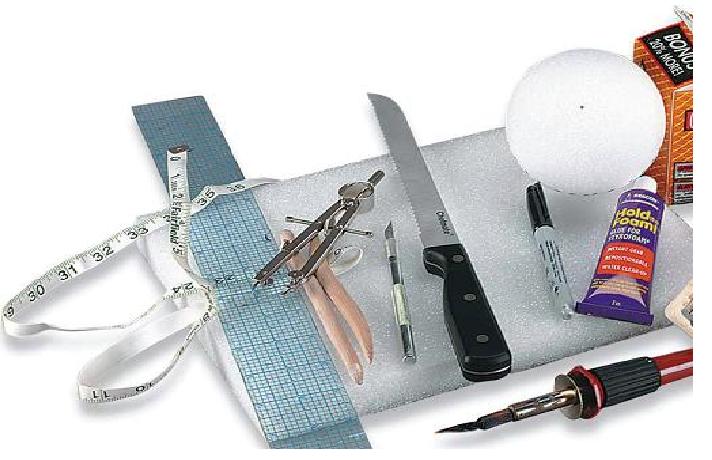
Next page



 Easy Sculpted Foam for your home
  Koren Russell 2003 by Koren Russell
 700 East State Street IoIa, Wl 54990-0001
 Introduction I had always envied clay sculptors. I was drawn to their booths at art shows, gazing in awe of what they could create.
 This flaw also prohibited the long process of learning about different glazes, clays, and techniques. A technique was needed that used some of the knowledge I already had general crafting and painting. Could these skills relate to sculpting? One day, a challenge came my way, along with a bit of a miracle.
 Chapter 1
 Start here to learn everything you need to know about sculpting foam treasures for your home.