This book is a collection of the Chicago Tribunes popular feature, Life Skills, a step-by-step guide to practical and whimsical everyday tasks.
BASICS
Arrange Flowers
Before launching her fearlessflowers.com, Annie Vanderwarker commissioned a survey. It found that 68 percent of people who bought cut flowers at the grocery store were afraid to arrange them. They just plunk them in something without even trying to arrange them, she says. But with a little forethought and effort, a merely adequate arrangement can become a real eye-catcher. And Vanderwarker is willing to help.
Step #1: Planning
Before you snip your first stem, think it out. What is this arrangement for and where is it going?

Placement
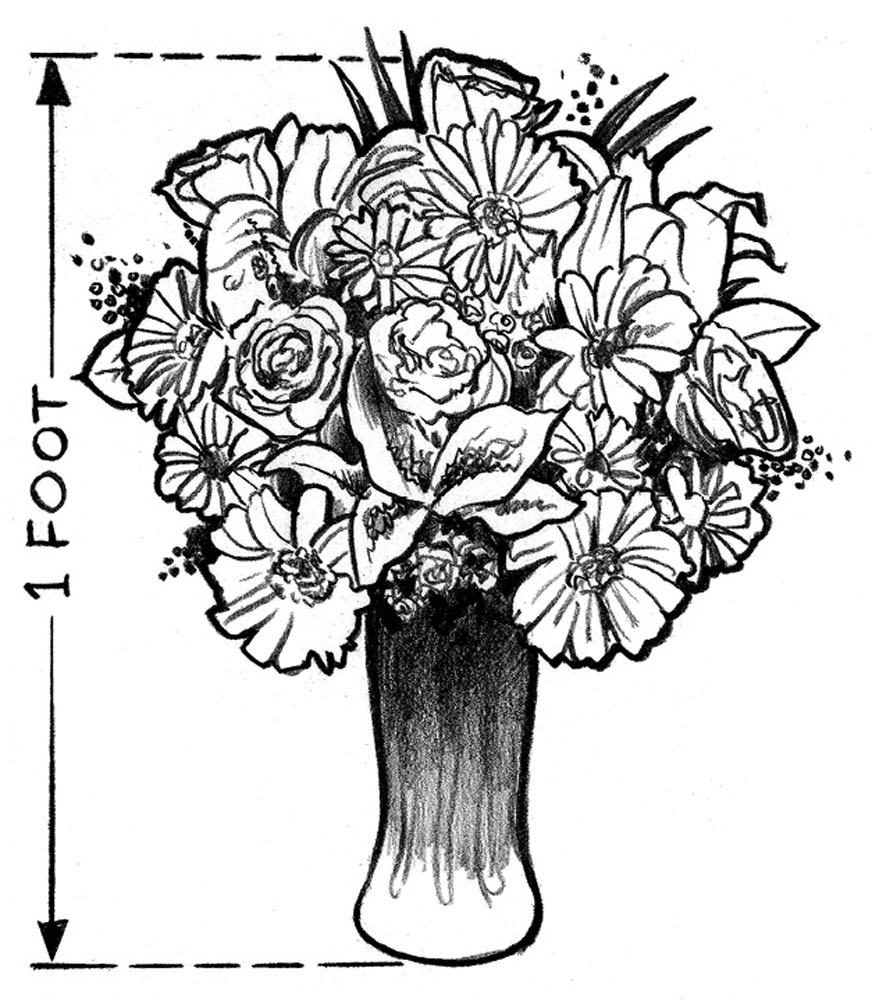
If its a centerpiece at a dinner table: Dont exceed 12 inches in height; you dont want guests having to peer through a jungle to see the person across the table. If the arrangement will sit against a wall, flowers face outward, in one direction. No need to put on a 360-degree show.

Container
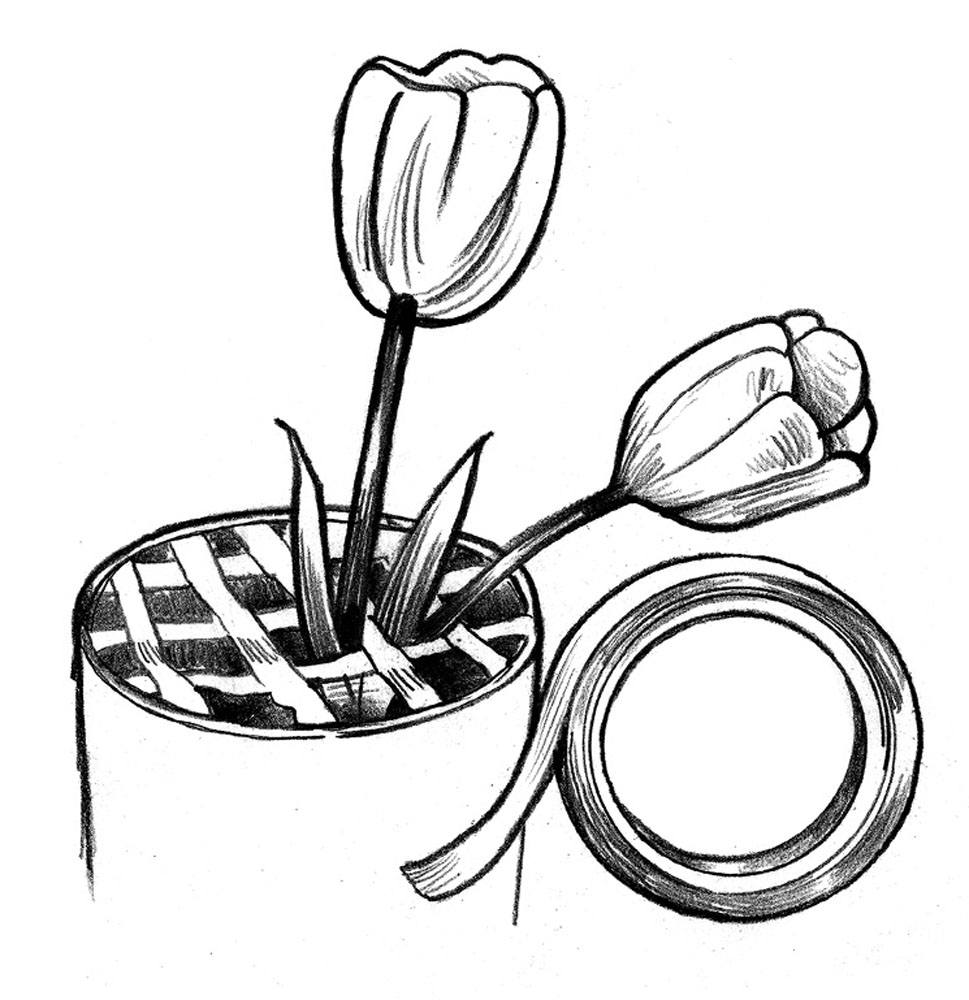
First, choose between glass and ceramic. If youre worried about how your stems will look and dont want to incorporate them in the finished work, go ceramic. There are vases in every size and shape. If youre worried your flowers wont stand at attention, create a grid across the top of the vase using tape (florists tape or even scotch tape will work).

Steps #2 & 3: Selecting & Cutting
Selecting
If youre cutting your own, do it early in the morning because they dont like to be cut during the heat of the day. But flowers from a grocery stores floral department this is what most people have easy access to, Vanderwarker points out will work just fine. There is a huge variety to choose from. The most popular are roses, carnations, tulips and gerbera daisies, she says. And you dont need a lot; An attractive arrangement can be made with three to five flowers.
For an interesting change, there are some flowers that do well underwater and can last more than a week. Hydrangea, tulips, orchids and anything else with a kind of a waxy surface will work. Making it more interesting: The flowers get magnified by the glass container.
Flowers that last longer include alstroemeria, tulips and sunflowers. Two points to remember: Tulips will continue to grow after youve put them in a container, and you can eliminate the awkwardness of tall sunflowers everybody loves them but not everyone knows how to make them look good by cutting the stems or by weaving them together.
As for colors, its up to you.

Cutting
Trim an inch or two off every stem with a clean cut. If its a woody stem hydrangea, for example split the stem at the bottom. Itll help the absorption of water.
Vanderwarker suggests some overnight prep work on the garbera daisies. She puts a bakers cooling rack over a bucket of water and stands the daisies in the water, up to their necks. The additional water pulled up by the flower will make it stand up better.
Step #4: Arranging
If its a tight arrangement or if youve got a tape grid across the top, put the water room temperature in the vase first. If its a loose arrangement, the water can go in afterward.
I usually try to add flower food, the one that comes one prepackaged at the grocery store, Vanderwarker says, or a couple of drops of bleach. (Bleach kills bacteria, which can inhibit the flowers absorption of water.)
Strip any leaves that would be underwater; theyd just rot and foul the water.
Dont be afraid to shorten the flowers. Many vases are v-shaped to take advantage of a big bunch of flowers. But if the flowers are tall, they can spread over and flop over. Vanderwarker prefers square and rectangular containers. Also remember: The closer the heads are to the edge of the container, the fewer flowers youll need. So shorten them up.
It usually doesnt matter what order to place the flowers in the vase. If Im using (a lot of) flowers, usually I take the ones that have the woodiest stems or ones with the most support structure first (so) I can balance the others with them.
Clean a Bathroom
Its a dirty job but someones got to clean the bathroom. And when its you, whats the most efficient way?
Since most materials used in bathrooms are easy to clean, give it a quick wipe daily, experts advise. Tackle a full clean once a week.
Frequent cleanings mean less work because there will not be weeks of crud to clean, says Cathy Faulcon Bowen, a professor with Pennsylvania State Universitys department of agricultural and extension education. If you have a single bathroom and many users, the bathroom might need to be cleaned more often.
Degree of difficulty: Easy. Less elbow grease than hand-washing your car.
Time: 5 minutes daily; 30 minutes once a week
Tools: Cloth or sponge, rubber gloves, all-purpose cleaner*, baking soda, glass cleaner, long-handled toilet bowl brush, bucket
DAILY
Rinse out sink, bathtub and shower stall after each use.
Remove excess hair from sink or tub.
Flush toilet after each use.
Hang up towels and washcloths.
Remove dirty clothes.
WEEKLY
Step 1: Everything but the toilet
Swab sink/tub/shower stall. Wash these areas with a soapy cloth or sponge and all-purpose cleaner; rinse with clear water.
Clean the space behind water faucet controls and backsplash: Soap scum can accumulate at fixtures edges. To clean this tight area well, you usually have to use an old toothbrush, Bowen says.


