THE LITTLE BOOK OF
ROCK
PAINTING
MORE THAN 50 TIPS AND TECHNIQUES FOR
LEARNING TO PAINT COLORFUL DESIGNS AND PATTERNS ON ROCKS AND STONES

INTRODUCTION
Every rock is a unique canvas, and each three-dimensional shape can be transformed with paint to produce brilliant results. For example, imagine a carrot-shaped rock, with the hint of organic imperfections already on the surface; all you need to make it come alive is to brush on the colors! Follow along as this book demonstrates a number of basic techniques for painting a variety of rocks. Youll also find useful shortcuts and easy ways to create exciting special effects. Once youve begun your journey in rock painting, dont be surprised to find yourself eyeing every rock in sight for possibilities!
TOOLS & MATERIALS
Before you begin painting your stones, you need to have the correct materials and tools. Most of these items can be found at your local art and craft store. In time, as you paint more stones, you can decide which materials work best for you.
Pencils & Erasers
First you need hard lead pencils (at least 2H) to sketch your designs onto the stones. To correct any errors on your sketch, use soft art erasers. You can use a compass for basic circles in mandala designs.
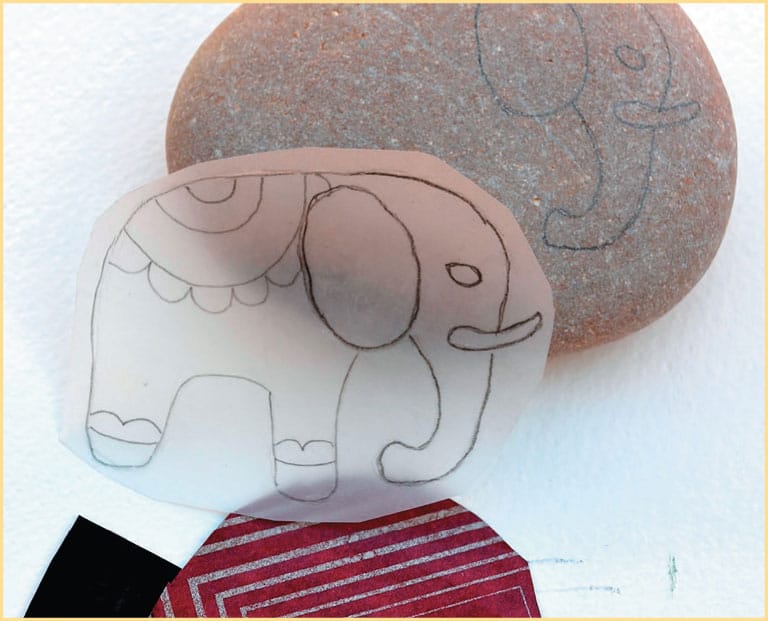
Transfer Paper
There are different levels of transfer paper for light-surfaced stones and dark-surfaced stones. Use them with caution, as it can be difficult to remove transfer lines with an eraser.
Paintbrushes & Sponges
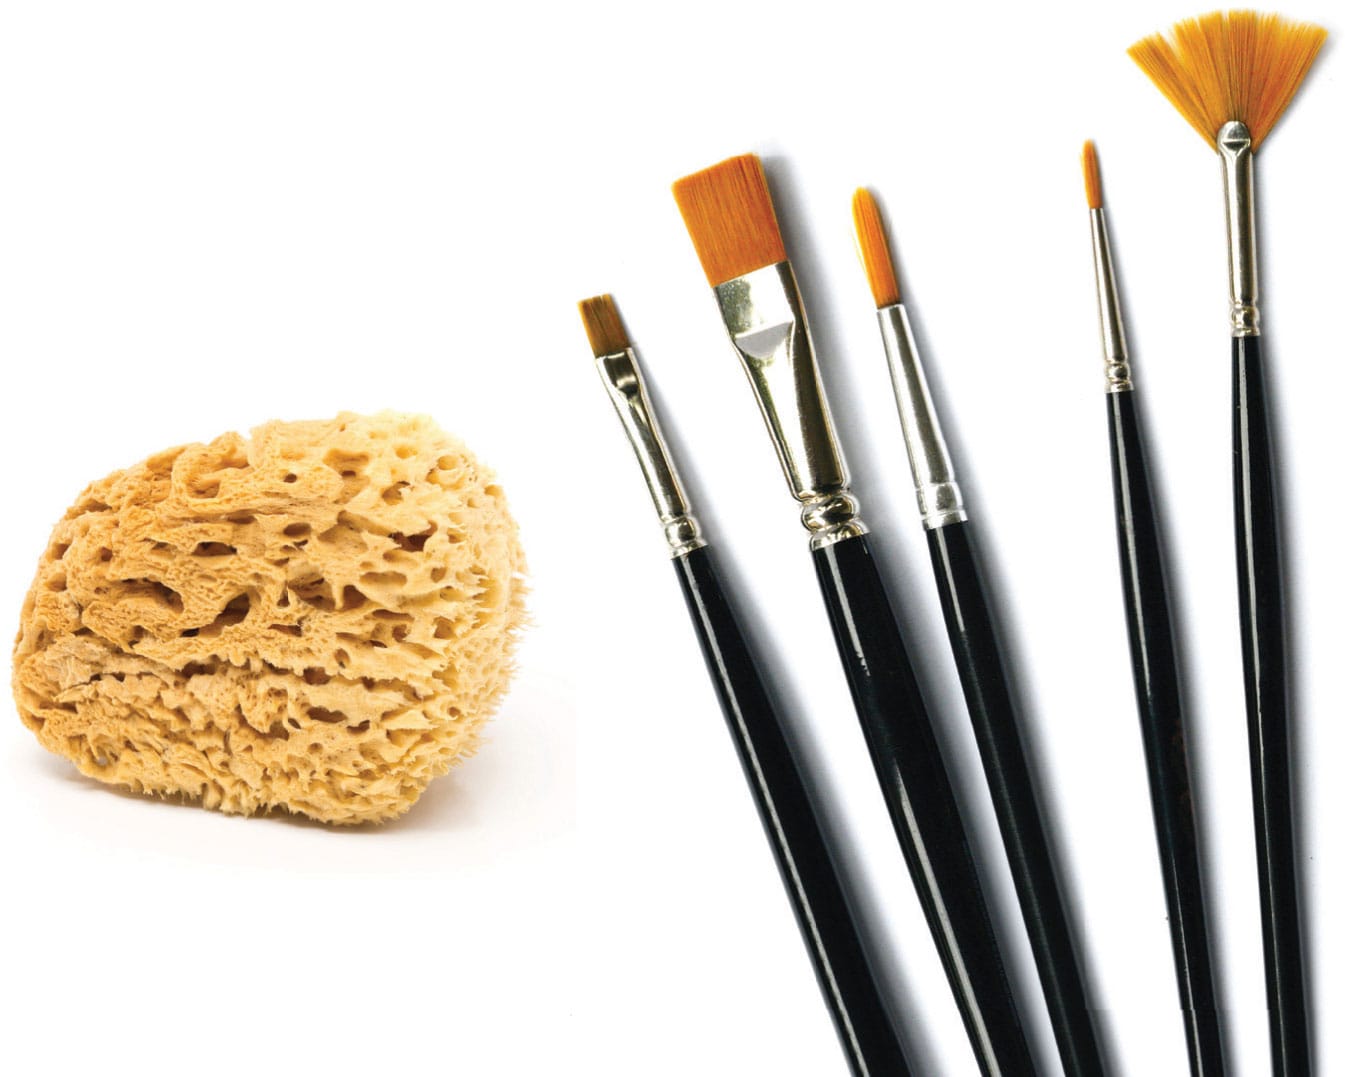
You will need synthetic round brushes with different sizes to begin. Use tiny ones (sizes 0, 00, 000) for details, and sizes 14, 16 for larger areas. Always wash your brushes with soapy water after use. Use sponges to create bright backgrounds and special effects.
Paints
Acrylic paints are the best choice for stone painting. They are easy to apply, have brilliant colors, and cover the surface easily. You can find them in tubes, jars, or plastic containers. These paints dry very quickly, so keep their containers closed when they arent in use. Alternatively, you can use water-based craft colors.
Inks & Dip Pens
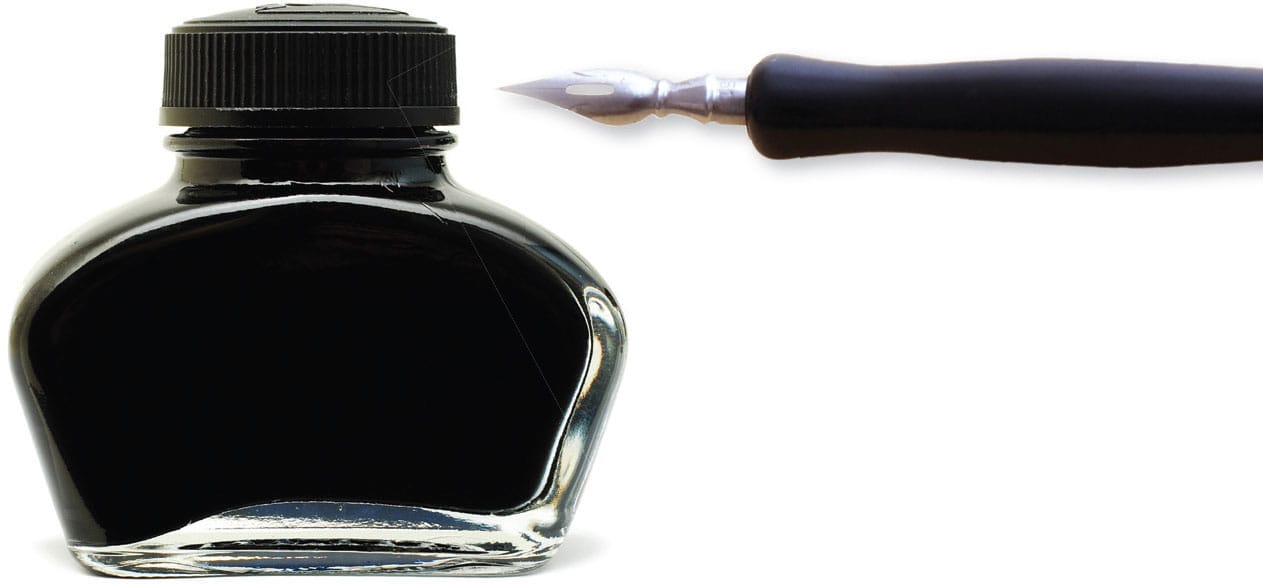
You can use acrylic inks on your stone paintings, as they are highly pigmented and have intense colors. Inks are very good for fine details if you use them with a small brush or dip pen.
Varnishes
Use acrylic varnishes to protect your painted stones. You can use glossy or matte varnish according your taste.
Paint Pens, Markers & Fine-liner Pens
When you want to draw or paint more detailed designs, you can use water-based paint pens and markers. Fine-liner pens are useful when you want to detail designs on your stones or pebbles. They have archival indelible ink, and extra-thin sizes are useful to work with tiny details.
SELECTING & PREPARING ROCKS
When you want to paint rocks as a hobby or for your craft projects, first you need to search for the right rocks. Along the shores of beaches, you can find stones of different sizes, shapes, and forms. Rivers, riverbeds, or lakes are also wonderful places to collect stones; but take care, it is often illegal to remove stones from public beaches, rivers, or lakes. Be sure to ask permission before removing any stones from their natural environment.
As an alternative, a variety of rocks can be purchased from rock suppliers. In these expansive yards, rocks are sorted according to size and type. You can also find flat flagstone in a variety of colors, thicknesses, and textures. Locate a rock supplier by searching your local area for Landscape Supplies.
Size & Shape
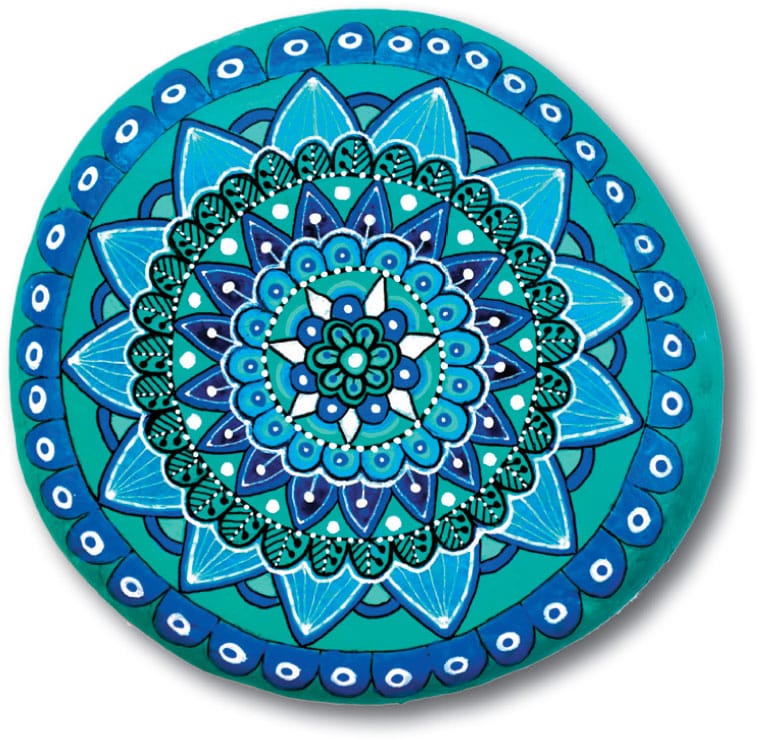
Smooth and flat stones are ideal for working with ink or markers. You can paint or draw directly onto their natural surfaces. Rough and textured stones also work well if they have the desired shape. Try choosing your stones by shape: oval stones for owl or fish designs, round for mandalas, irregular shapes for other bird or animal designs. Stones have different colors that can create special effects when you paint them. For example, naturally dark or black stones are great choices for monochrome designs using white, gold, or silver ink. White, smooth stones are ideal for painting bright colors. Even rough stones with a special shape can look great after applying a few layers of paint to them.
After collecting your stones, leave them in a bowl of water for a few hours to soak off any excess dirt or sand particles. Next clean them with a soft brush and mild soap. After rinsing with running tap water, leave the stones to dry for at least one day out in the sun or in a warm place inside.
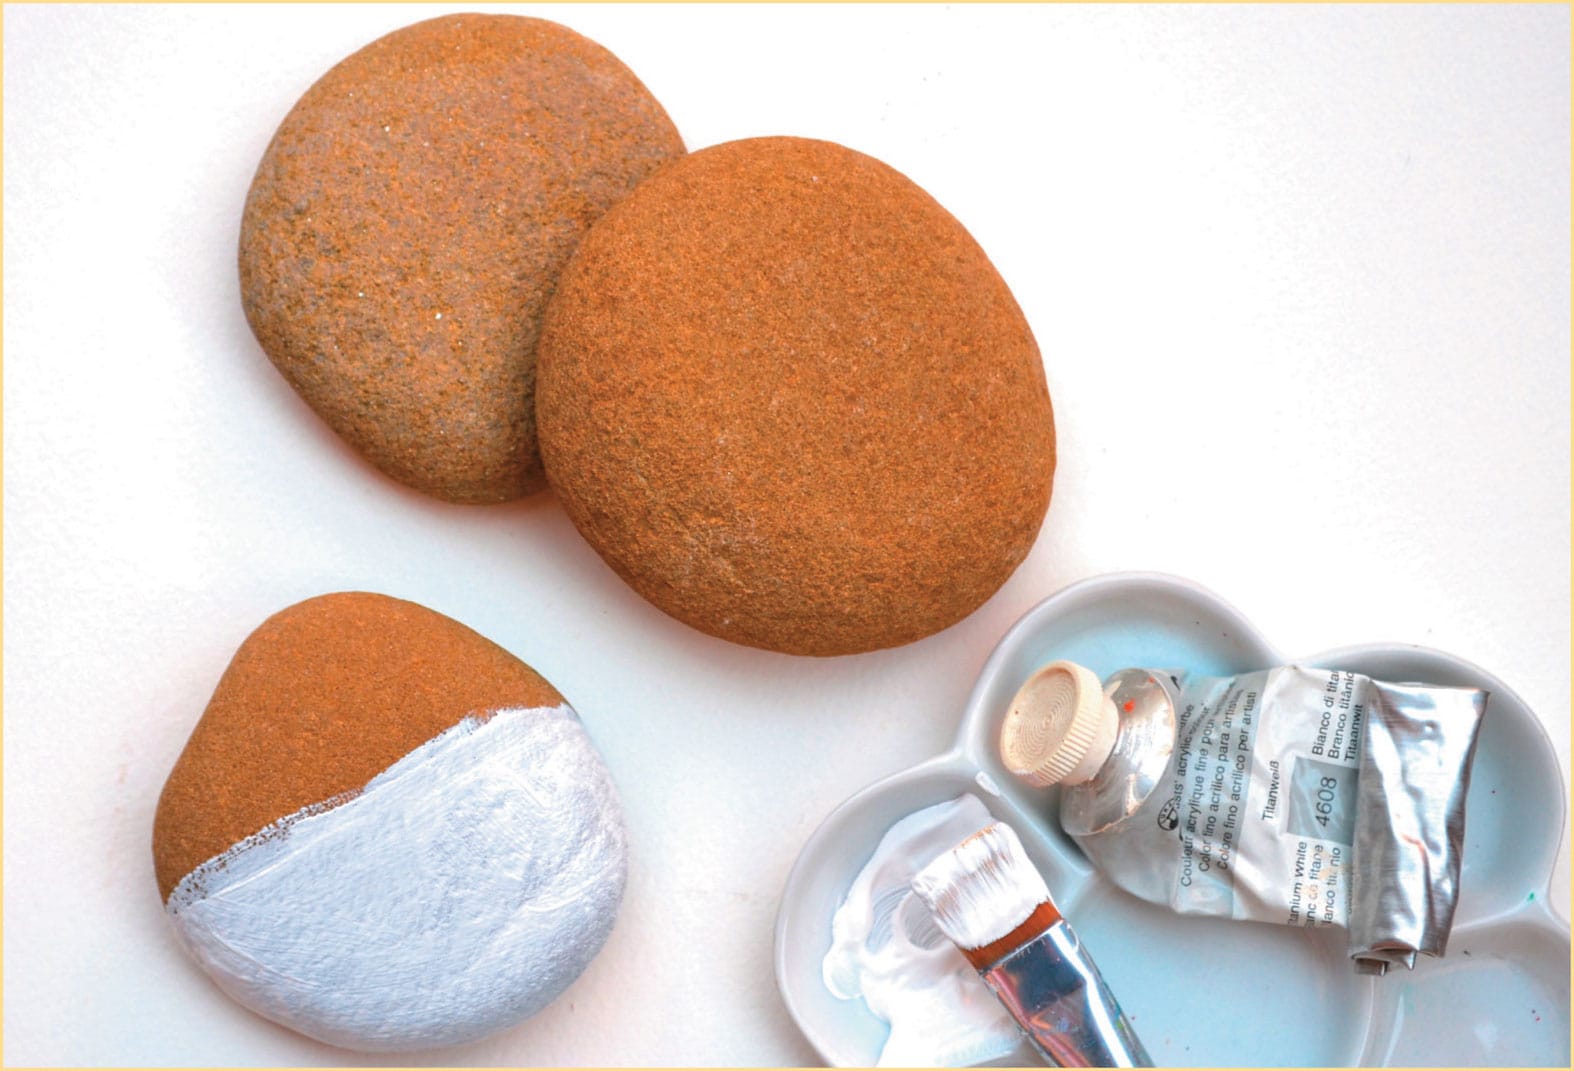
Once completely dry, your stones are ready to paint! If your rocks are rough or porous, you can make them more smooth by adding a few coats of paint. Apply one or two coats of white acrylic paint, and once the paint dries, rub the surface with very fine sandpaper to help smooth the surface for your design.


