Debbie Kachidurian - Accessorize Yourself!: 66 Projects to Personalize Your Look
Here you can read online Debbie Kachidurian - Accessorize Yourself!: 66 Projects to Personalize Your Look full text of the book (entire story) in english for free. Download pdf and epub, get meaning, cover and reviews about this ebook. year: 2016, publisher: Capstone, genre: Home and family. Description of the work, (preface) as well as reviews are available. Best literature library LitArk.com created for fans of good reading and offers a wide selection of genres:
Romance novel
Science fiction
Adventure
Detective
Science
History
Home and family
Prose
Art
Politics
Computer
Non-fiction
Religion
Business
Children
Humor
Choose a favorite category and find really read worthwhile books. Enjoy immersion in the world of imagination, feel the emotions of the characters or learn something new for yourself, make an fascinating discovery.

- Book:Accessorize Yourself!: 66 Projects to Personalize Your Look
- Author:
- Publisher:Capstone
- Genre:
- Year:2016
- Rating:5 / 5
- Favourites:Add to favourites
- Your mark:
Accessorize Yourself!: 66 Projects to Personalize Your Look: summary, description and annotation
We offer to read an annotation, description, summary or preface (depends on what the author of the book "Accessorize Yourself!: 66 Projects to Personalize Your Look" wrote himself). If you haven't found the necessary information about the book — write in the comments, we will try to find it.
Debbie Kachidurian: author's other books
Who wrote Accessorize Yourself!: 66 Projects to Personalize Your Look? Find out the surname, the name of the author of the book and a list of all author's works by series.

Accessorize Yourself!: 66 Projects to Personalize Your Look — read online for free the complete book (whole text) full work
Below is the text of the book, divided by pages. System saving the place of the last page read, allows you to conveniently read the book "Accessorize Yourself!: 66 Projects to Personalize Your Look" online for free, without having to search again every time where you left off. Put a bookmark, and you can go to the page where you finished reading at any time.
Font size:
Interval:
Bookmark:
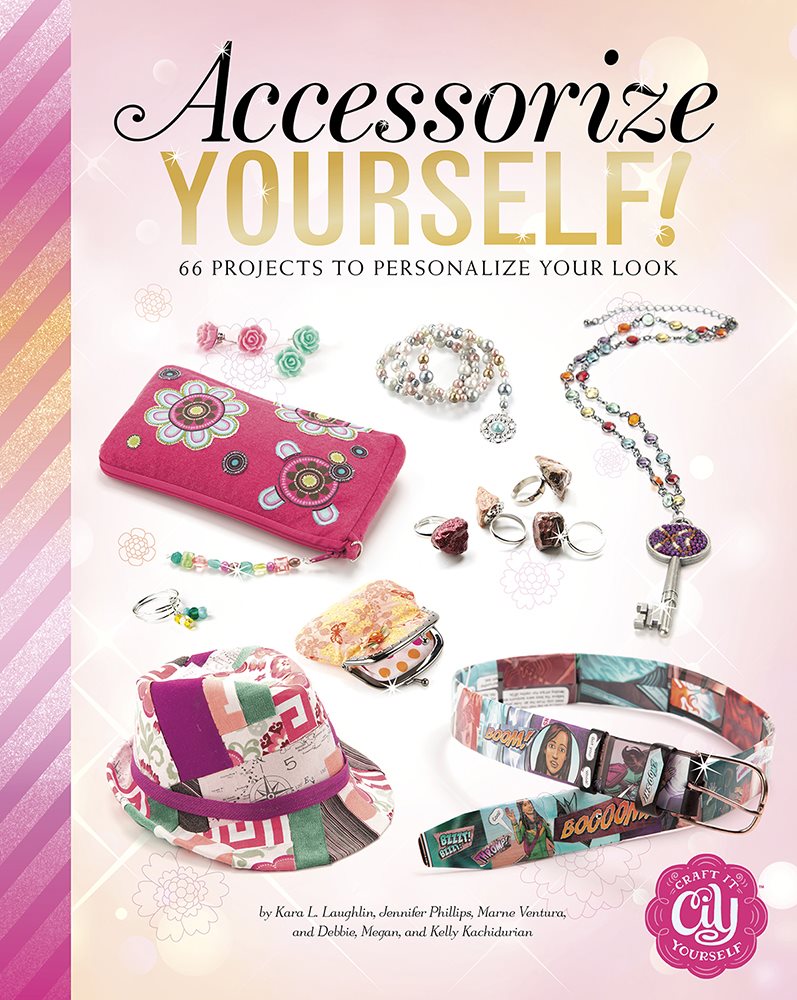

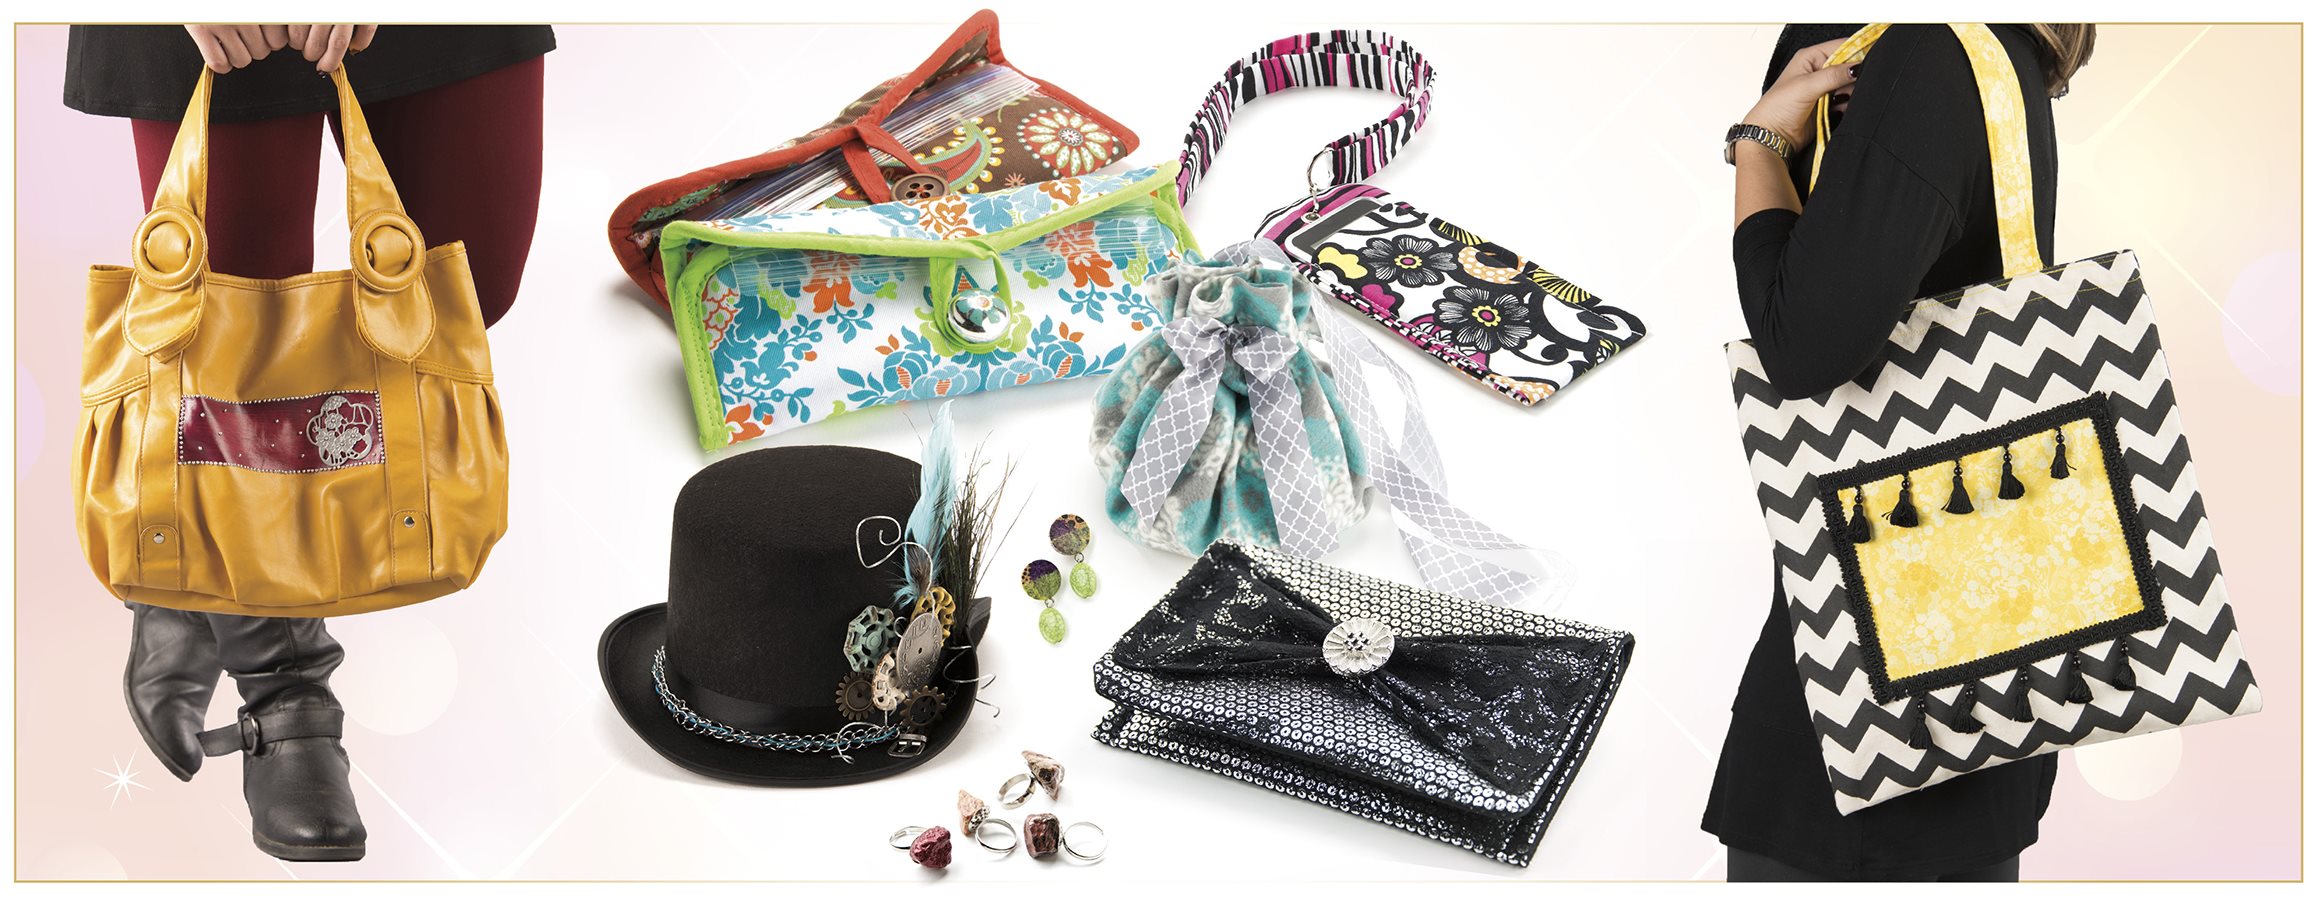
Create jewelry, scarves, bags, hats, and more! You'll have everything you need to make must-have masterpieces. Be inspired to add your own twists to the projects in this book. Make each accessory uniquely yours!

Did you know that most disposable drinking cups are made from shrinkable plastic? Its true! So the next time youre at a picnic or pool party, bring home your cup. No one will ever believe your latest accessory started as a drink holder!
- parchment paper
- baking sheet
- red #6 plastic cup
- permanent markers
- hole punch
- scissors
- empty 16-ounce (0.5-liter) jar
- bamboo skewer
- Preheat oven to 250 degrees Fahrenheit (120 degrees Celsius). Lay a piece of parchment paper on a baking sheet.
- Draw a fun design on the sides of your cup with permanent markers.
- Punch two holes on opposite sides of the cup about 1/2 inch (1.3 centimeters) from the rim.
- Carefully cut away the bottom of the cup.
- Set the cup bottom up on the parchment paper and put it in the oven.
- The cup will collapse into a puffy disk in 3 to 5 minutes. As soon as it does, remove it from the oven. Use a potholder to curve it around the sides of your jar.
- Trim your bamboo skewer to 6 inches (15.2 cm).
- Once the cup has cooled, slide the skewer though the holes. (You may need to re-punch the holes.)
Tip:
Use small, 1-ounce (29.6-milliliter) cups to make a barrette version of this project.
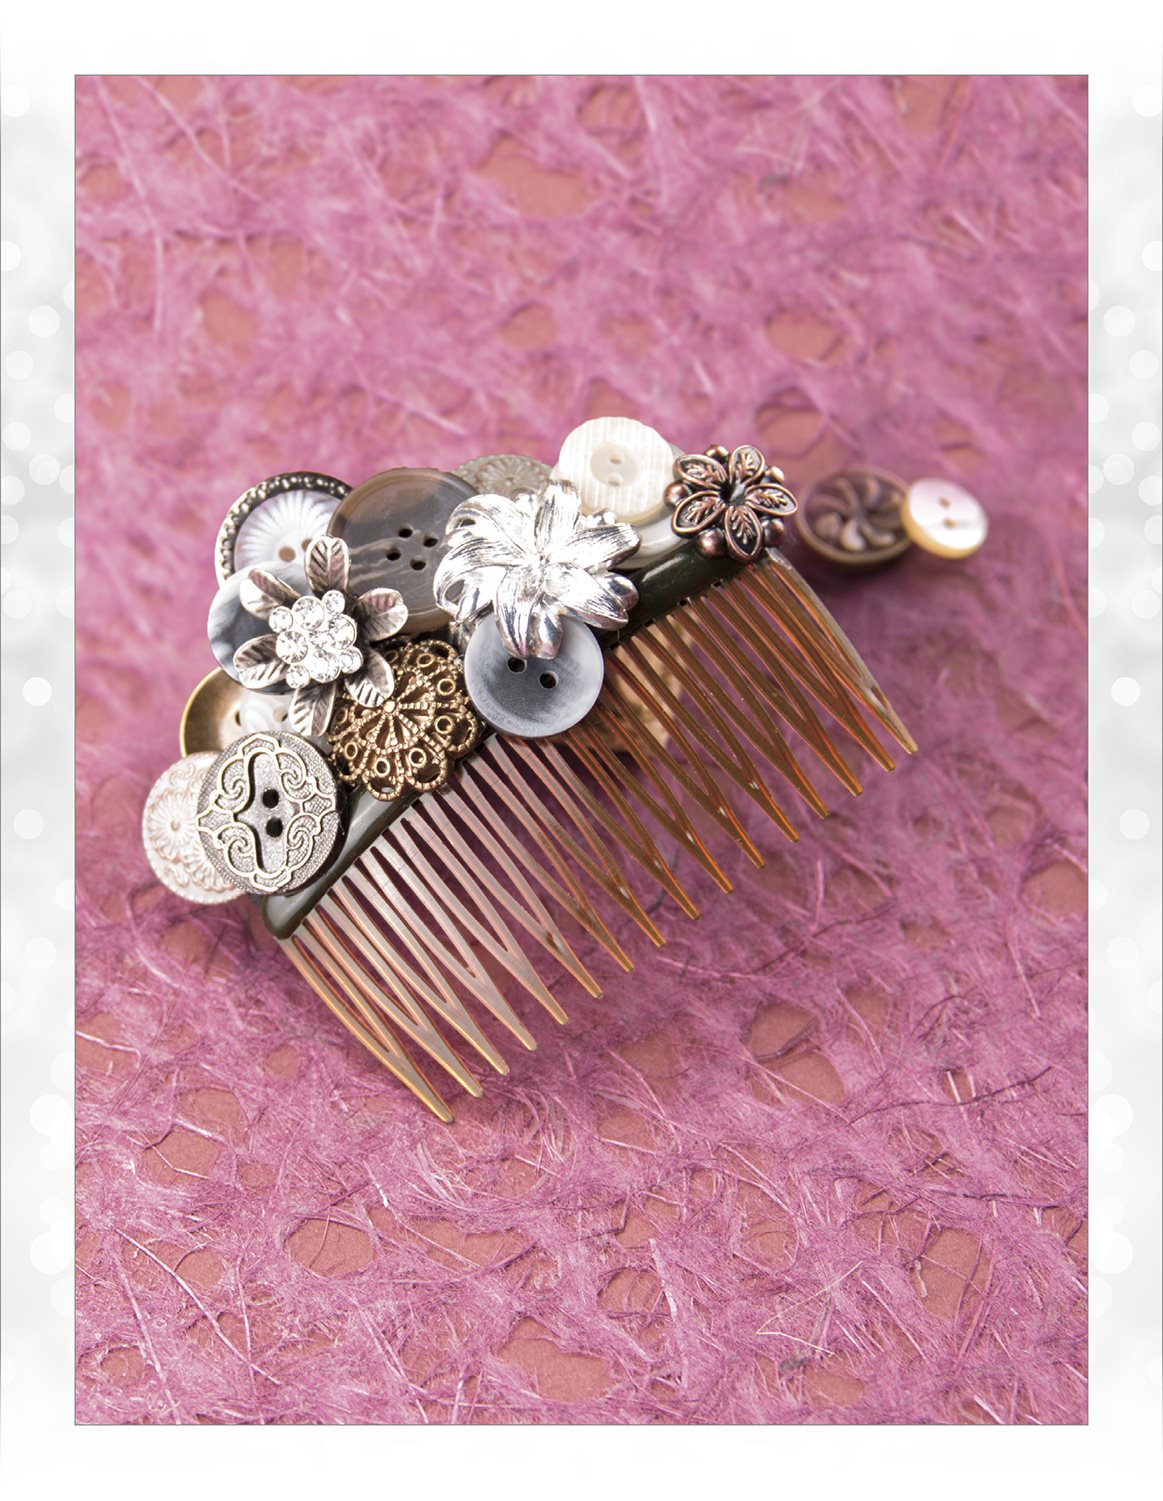
A few pieces of old costume jewelry or vintage buttons can transform hair combs from blah to bling. Search thrift stores and yard sales for your finds. Limit choices to one or two main colors to keep the project glam, not gaudy.
- scissors
- stiffened craft felt
- hair comb
- vintage buttons and jewelry
- felt glue
- needle and clear nylon thread or fishing line
- Cut a piece of stiffened felt the same length as your hair comb.
- Arrange buttons and jewelry pieces in a pattern on the felt. Use felt glue to glue into place. Let dry.
- Cut away the extra felt from around the buttons and jewelry pieces.
- Thread needle with thread or fishing line and secure the knot with felt glue.
- Sew the felt to the comb by wrapping the thread around the top of the comb. Sew all the way across the comb and back to be sure the felt is secure. Knot the thread and cut off any excess.
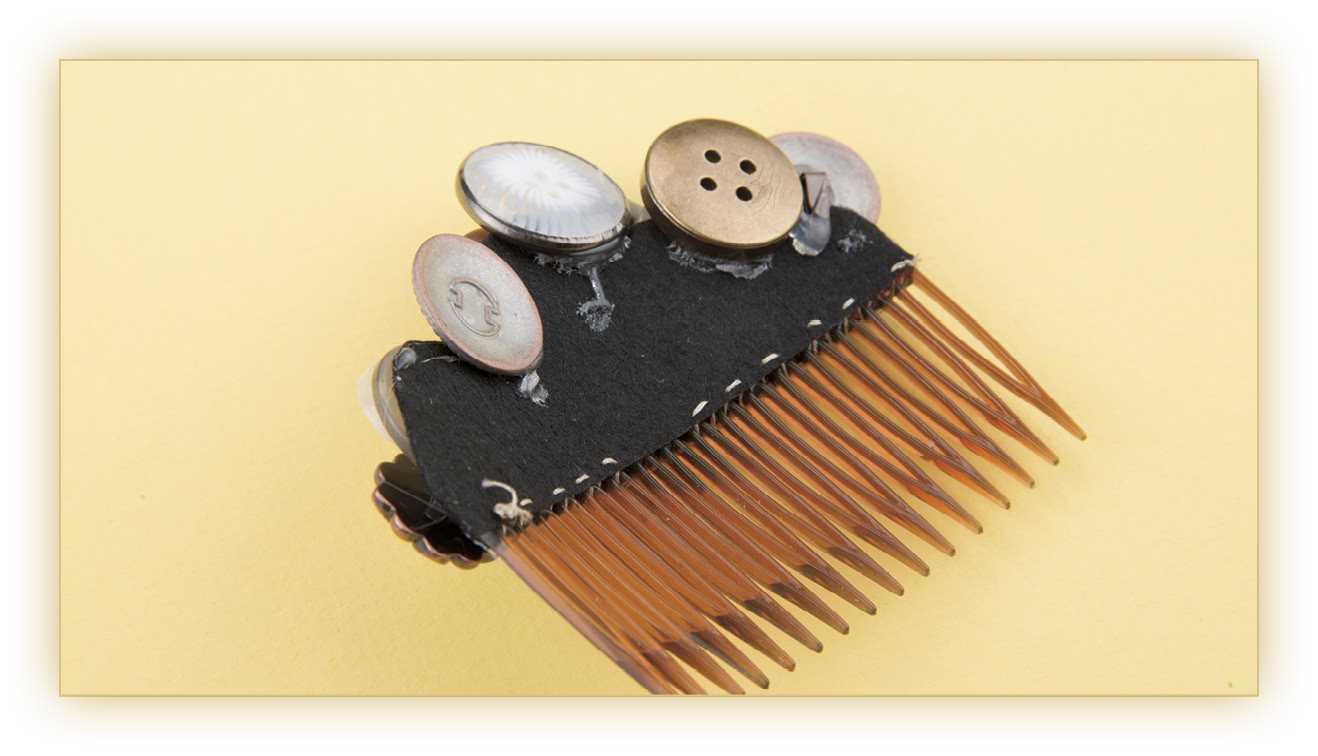
- Lay down a line of felt glue where the felt meets the top of the comb. Let the glue dry before wearing.
Tip:
If combs dont work well in your hair, decorate a headband instead. Sew a loop of elastic to the back of the felt and slide it onto a plastic headband. You can keep it removable or glue it in place.
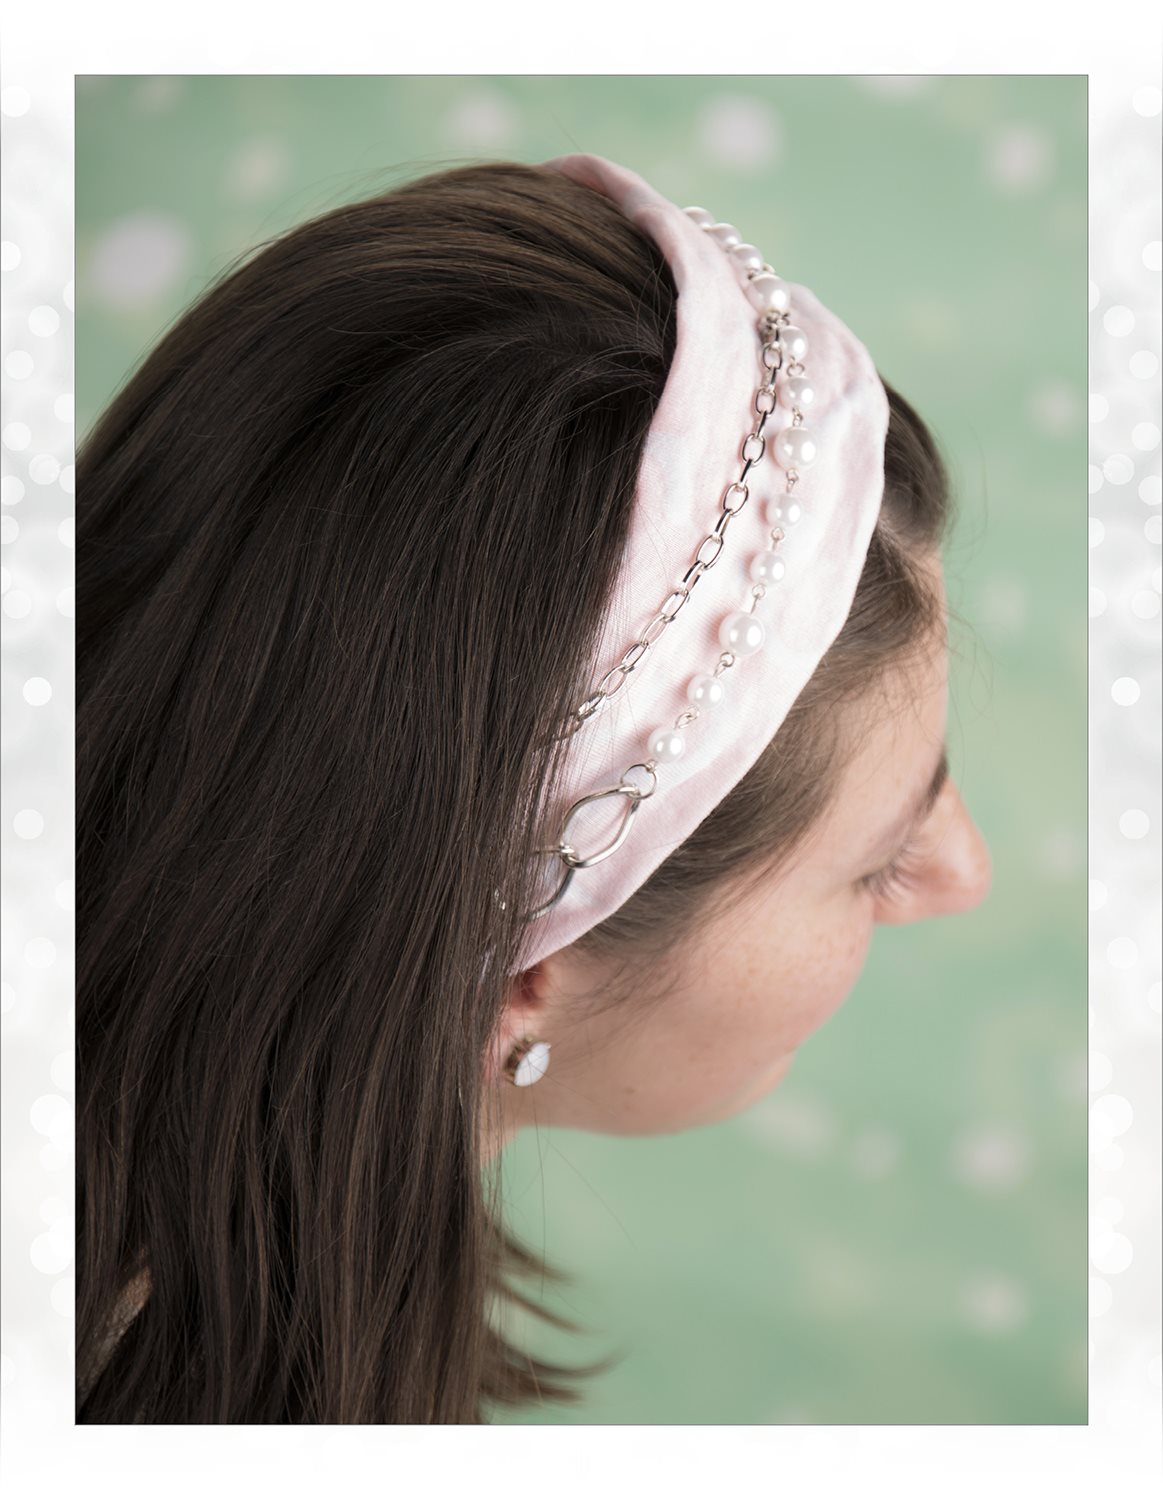
Turban-style hair wraps are super comfy and look great. This one adds to the swag factor with a sparkly chain and fabric you dye yourself.
- tape measure
- wire cutter
- metal chain
- beaded chain
- scissors
- knit cotton fabric
- craft glue
- no-boil fabric dye needle and thread
- Measure the widest part of your head. Use the wire cutter to cut the metal and beaded chains to this measurement. Then cut a piece of cotton fabric, using the measurement for the length and 5 inches (12.7 cm) for the width.
- Spread the fabric out on a work surface and squeeze glue in a fun pattern onto the cloth. Let the glue dry overnight.
- Dye your cloth according to the package instructions. If some fabric puffs up while you're dying, use a wooden spoon or butter knife to push the air pocket to the edge of the fabric. That should release the bubble and let the fabric sink back into the dye. When your fabric is dyed and rinsed, but still damp, peel off the glue.
- Wash the fabric and let it dry completely before sewing.
- Fold your fabric along its length so that the right side of the pattern is on the inside. Sew the edges together lengthwise to make a tube. Turn the tube right-side-out.
- Lay the chains on the fabric in an X. Sew them to the fabric where the chains cross. Sew the ends of the chains to the ends of the fabric inch from the raw edges of the fabric.
- Tuck 1/2 inch (1.3 cm) of one side of the tube into the other. Fold the outside fabric about 1/4 inch (0.6 cm) under and sew the fabric together to make a circle.
Tip:
Dont use the stovetop method to dye the fabric. It could melt the glue.
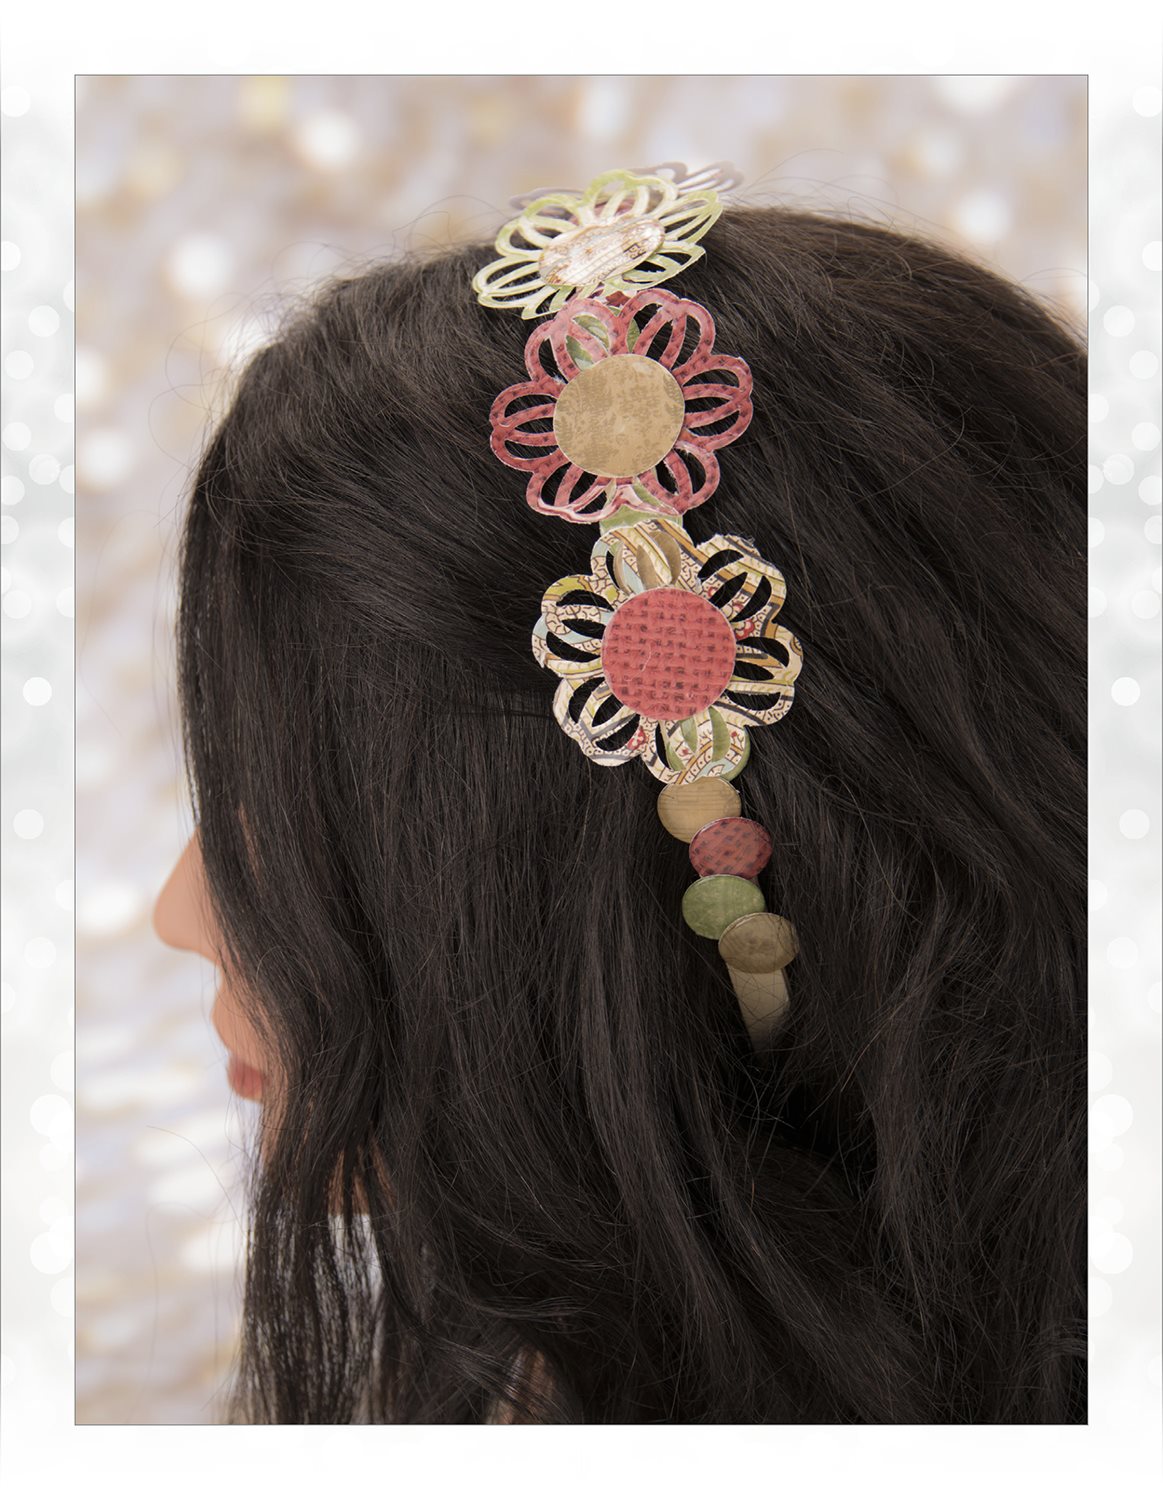
Who knew paper could be this pretty and strong? This is a great everyday headband for when you want to just add a little punch to your do.
- large cooking pot
- serrated knife or craft saw
- 5-inch (12.7-cm) wooden embroidery hoop
- bowl or jar, about 4 inches (10.2 cm) wide
- flower-shaped paper punch
- scrapbooking paper in several contrasting colors
- 1 inch (2.5 cm) round paper punch
- 1/2-inch (1.3-cm) round paper punch
- dimensional decoupage glue
- Fill the pot about halfway with water. Then bring the water to a boil.
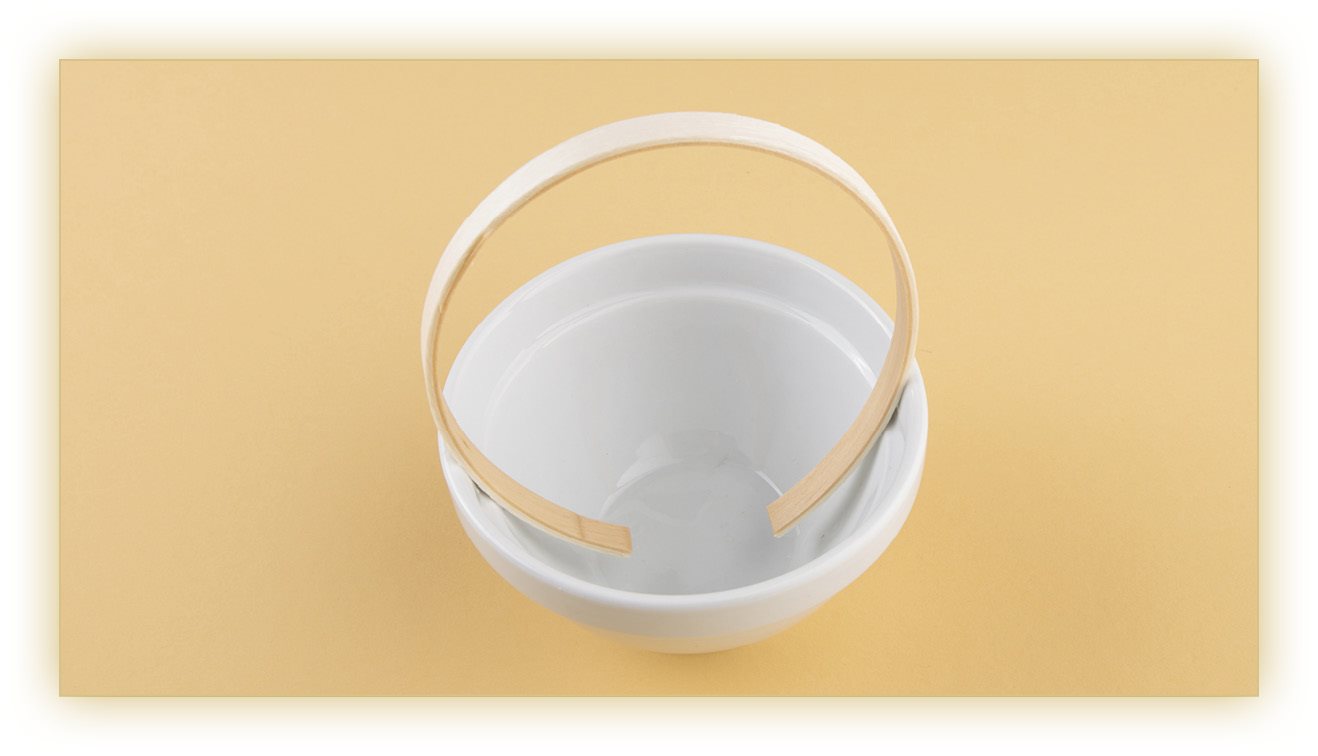
- Cut the metal parts off of the outer ring of the embroidery hoop. Boil the hoop in the water until its flexible, about 20 minutes.
- Use tongs to remove hoop from the water and rinse it in cold water until its cool enough to handle. Bend the hoop and place the ends in the bowl or jar. Leave the hoop in the jar until its completely dry. This could take several hours, or even overnight.
- Punch 6 flowers from each sheet of scrapbooking paper. Set the flowers on a protected work surface. Cover the flowers with dimensional decoupage.
Font size:
Interval:
Bookmark:
Similar books «Accessorize Yourself!: 66 Projects to Personalize Your Look»
Look at similar books to Accessorize Yourself!: 66 Projects to Personalize Your Look. We have selected literature similar in name and meaning in the hope of providing readers with more options to find new, interesting, not yet read works.
Discussion, reviews of the book Accessorize Yourself!: 66 Projects to Personalize Your Look and just readers' own opinions. Leave your comments, write what you think about the work, its meaning or the main characters. Specify what exactly you liked and what you didn't like, and why you think so.