Linda Causee - Learn to Make a Foundation Pieced Quilt
Here you can read online Linda Causee - Learn to Make a Foundation Pieced Quilt full text of the book (entire story) in english for free. Download pdf and epub, get meaning, cover and reviews about this ebook. year: 2018, publisher: Annies, genre: Home and family. Description of the work, (preface) as well as reviews are available. Best literature library LitArk.com created for fans of good reading and offers a wide selection of genres:
Romance novel
Science fiction
Adventure
Detective
Science
History
Home and family
Prose
Art
Politics
Computer
Non-fiction
Religion
Business
Children
Humor
Choose a favorite category and find really read worthwhile books. Enjoy immersion in the world of imagination, feel the emotions of the characters or learn something new for yourself, make an fascinating discovery.

- Book:Learn to Make a Foundation Pieced Quilt
- Author:
- Publisher:Annies
- Genre:
- Year:2018
- Rating:5 / 5
- Favourites:Add to favourites
- Your mark:
Learn to Make a Foundation Pieced Quilt: summary, description and annotation
We offer to read an annotation, description, summary or preface (depends on what the author of the book "Learn to Make a Foundation Pieced Quilt" wrote himself). If you haven't found the necessary information about the book — write in the comments, we will try to find it.
Linda Causee: author's other books
Who wrote Learn to Make a Foundation Pieced Quilt? Find out the surname, the name of the author of the book and a list of all author's works by series.


Learn to Make a Foundation Pieced Quilt — read online for free the complete book (whole text) full work
Below is the text of the book, divided by pages. System saving the place of the last page read, allows you to conveniently read the book "Learn to Make a Foundation Pieced Quilt" online for free, without having to search again every time where you left off. Put a bookmark, and you can go to the page where you finished reading at any time.
Font size:
Interval:
Bookmark:
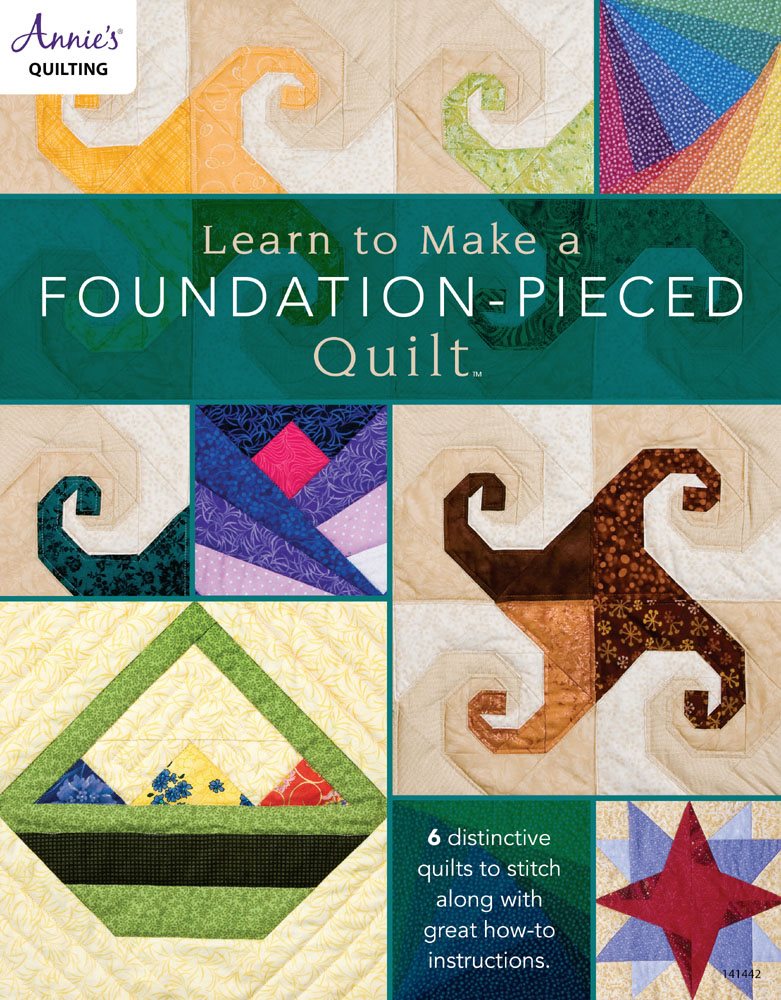
 Introduction Foundation piecing is a quiltmaking method that allows you to create magnificent quilts with exceptional accuracy and ease. This progressive approach to patchwork frees you from the tedium of templates, careful cutting and meticulous measuring. Follow our expert General Instructions to quickly learn the foundation-piecing technique, and then gather up your favorite, fabulous fabrics; then youll be equipped and inspired to create your own quilt. Make any of the six distinctive quilts presented here, or venture on to other projects, with precise, uniform resultseven when matching complicated points and seams. Table of Contents Foundation piecing is the technique of sewing patchwork onto a foundation such as paper, fabric or stabilizer following a numerical sequence. Table of Contents Foundation piecing is the technique of sewing patchwork onto a foundation such as paper, fabric or stabilizer following a numerical sequence.
 The stitching lines are drawn, traced or transferred onto the foundation. The fabric pieces are placed on the unmarked side of the foundation, and then sewn from the marked side. Foundation piecing allows you to piece even the tiniest pieces accurately since all sewing follows drawn lines. This technique can be done either by machine or by hand, so you can take your blocks with you and stitch wherever you go. Foundation Material First, you must decide what type of foundation to use for piecing your blocks. There are several options.
A light-color, lightweight cotton fabric and muslin are popular choices. Either fabric is see-through enough for tracing and will give your blocks extra stability. Of course, a fabric foundation adds another layer of fabric through which you will have to quilt. If you plan to hand-quilt, the extra thickness can make that quilting process a little more difficult. Another choice for foundations is paper. For easy tracing, use any paper you can see through (notebook paper, copy paper, newsprint or computer paper), and then tear it away after sewing.
A third choice is tear-away stabilizer. Like muslin, it is light enough to see through for tracing, but like paper, it can be easily removed before quilting. Preparing the Foundation Tracing the Block Trace the block pattern carefully onto your chosen foundation material. Use a ruler and a fine-point permanent marker to make straight lines and be sure to include all numbers. Draw a line " from the outside edges of the block (Figure 1); cut along outside drawn line. 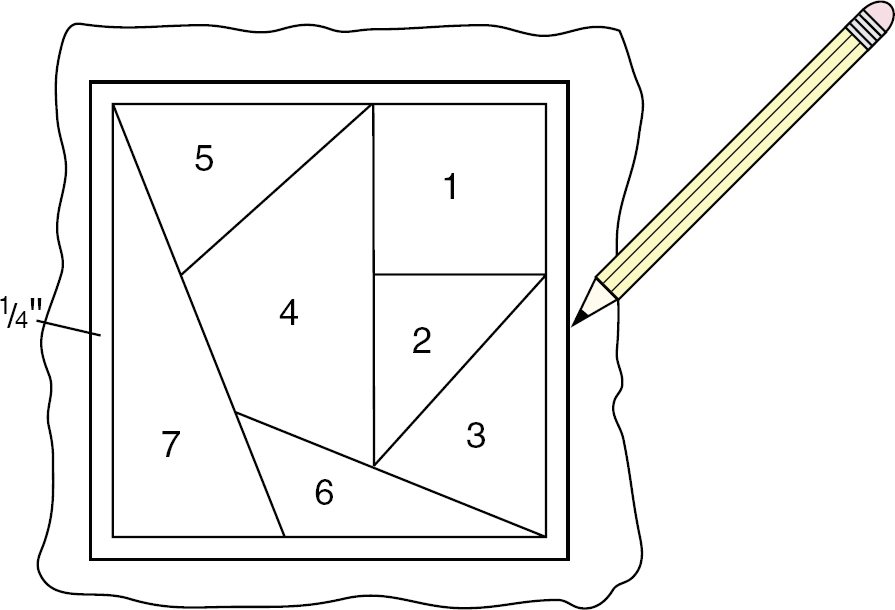 Figure 1 Mirror Images Some of the blocks in this book are not symmetrical and when completed, they will appear as a mirror image of the pattern (Figure 2). Figure 1 Mirror Images Some of the blocks in this book are not symmetrical and when completed, they will appear as a mirror image of the pattern (Figure 2).
You need to keep this in mind when deciding fabric placement. 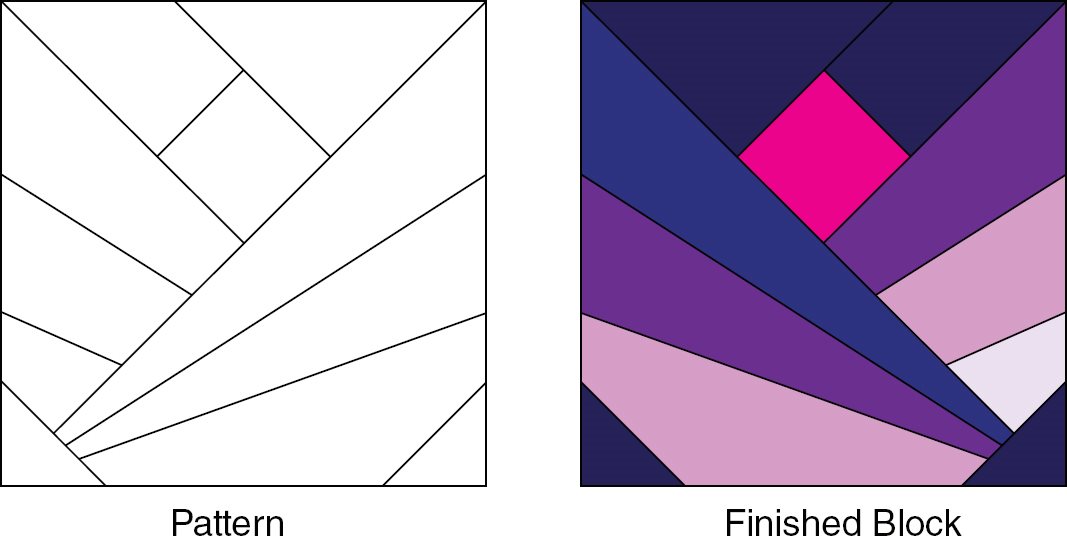 Figure 2 Transferring the Block The block patterns can also be transferred onto foundation material using a transfer pen or pencil. If your block is not symmetrical, trace the pattern onto tracing paper. Turn the paper over so the pattern is facedown (Figure 3 on page 4). You should still be able to see it clearly through the tracing paper; if not, use a light box or tape it to a sunny window. Trace the pattern onto the paper using a transfer pen or pencil.
Then, following the manufacturers directions, iron the transfer onto the foundation material. Write piece numbers on the foundation using a fine-point, permanent marking pen. 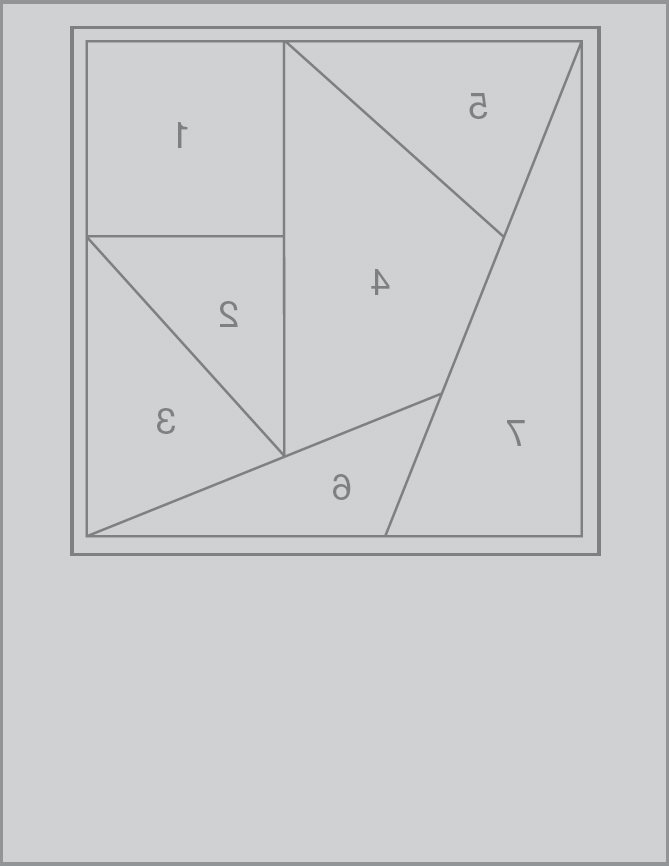 Figure 3Note:If you do not trace the design onto tracing paper before using a transfer pen or pencil, your finished block will be a mirror image of the completed block as shown in Figure 2 on page 3. Fabric Use 100 percent cotton fabric for the blocks. All-cotton pieces stay in place better after finger pressing. If you must use a fabric other than 100 percent cotton, be sure to pin or glue each piece in place after each step. Prewashing fabric is not necessary, but you must test your fabric to make certain it is colorfast and preshrunk (dont trust those manufacturers labels).
Start by cutting a 2"-wide strip (cut crosswise) of each fabric you have selected for your quilt. Measure both dimensions accurately for reference in the shrinkage test. To determine whether fabric is colorfast, put each strip separately into a clean bowl of extremely hot water, or hold the fabric strip under hot running water. If fabric bleeds a great deal, all is not necessarily lost. You might just need to wash all of that fabric until all excess dye has washed out. Fabrics that continue to bleed after they have been washed several times should be eliminated.
To test for shrinkage, take each saturated strip and iron it dry with a hot iron. When the strip is completely dry, measure and compare it to your original measurements. If all your fabric strips shrink about the same amount, then its really no problem. When you wash your finished quilt, you may achieve the puckered look of an antique quilt. If you do not want this look, wash, dry and press all of your fabric before beginning so that shrinkage is no longer an issue. If only one of your fabrics is shrinking more than the others, it will have to be washed and dried, or discarded.
Carefully consider the design in both your fabric and your block before selecting and cutting your fabric and piecing your block. Hold the fabric at various angles and observe the effect on its pattern. Even uniform prints can change appearance when viewed lengthwise, crosswise and otherwise (Figure 4). Because the foundation-piecing method disregards grain line, you must plan ahead to achieve the desired effect. 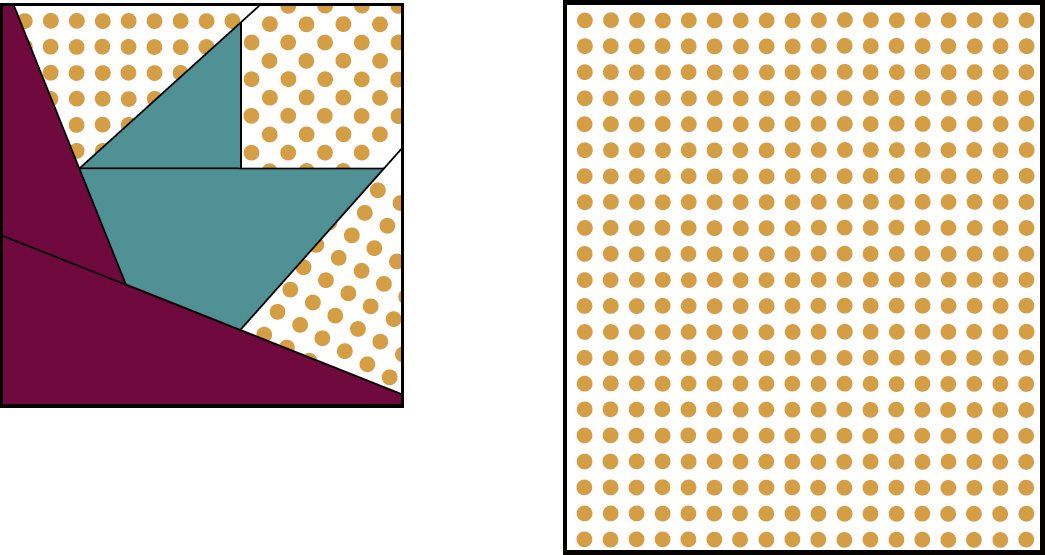
Font size:
Interval:
Bookmark:
Similar books «Learn to Make a Foundation Pieced Quilt»
Look at similar books to Learn to Make a Foundation Pieced Quilt. We have selected literature similar in name and meaning in the hope of providing readers with more options to find new, interesting, not yet read works.
Discussion, reviews of the book Learn to Make a Foundation Pieced Quilt and just readers' own opinions. Leave your comments, write what you think about the work, its meaning or the main characters. Specify what exactly you liked and what you didn't like, and why you think so.