Contents
Guide
2021 RDA Enthusiast Brands, LLC.
1610 N. 2nd St., Suite 102, Milwaukee, WI 53212-3906
All rights reserved. Taste of Home is a registered trademark of RDA Enthusiast Brands, LLC.
Visit us at tasteofhome.com for other Taste of Home books and products.
ISBN: 978-1-62145-696-4
ISBN: 978-1-62145-697-1 (Ebook)
LOCC: 2020945999
Executive Editor: Mark Hagen
Senior Art Director: Raeann Thompson
Editor: Hazel Wheaton
Assistant Art Director: Courtney Lovetere
Designer: Jazmin Delgado
Copy Editor: Ann Walter
Cover
Photographer: Jim Wieland
Set Stylist: Melissa Franco
Food Stylist: Megumi Garcia
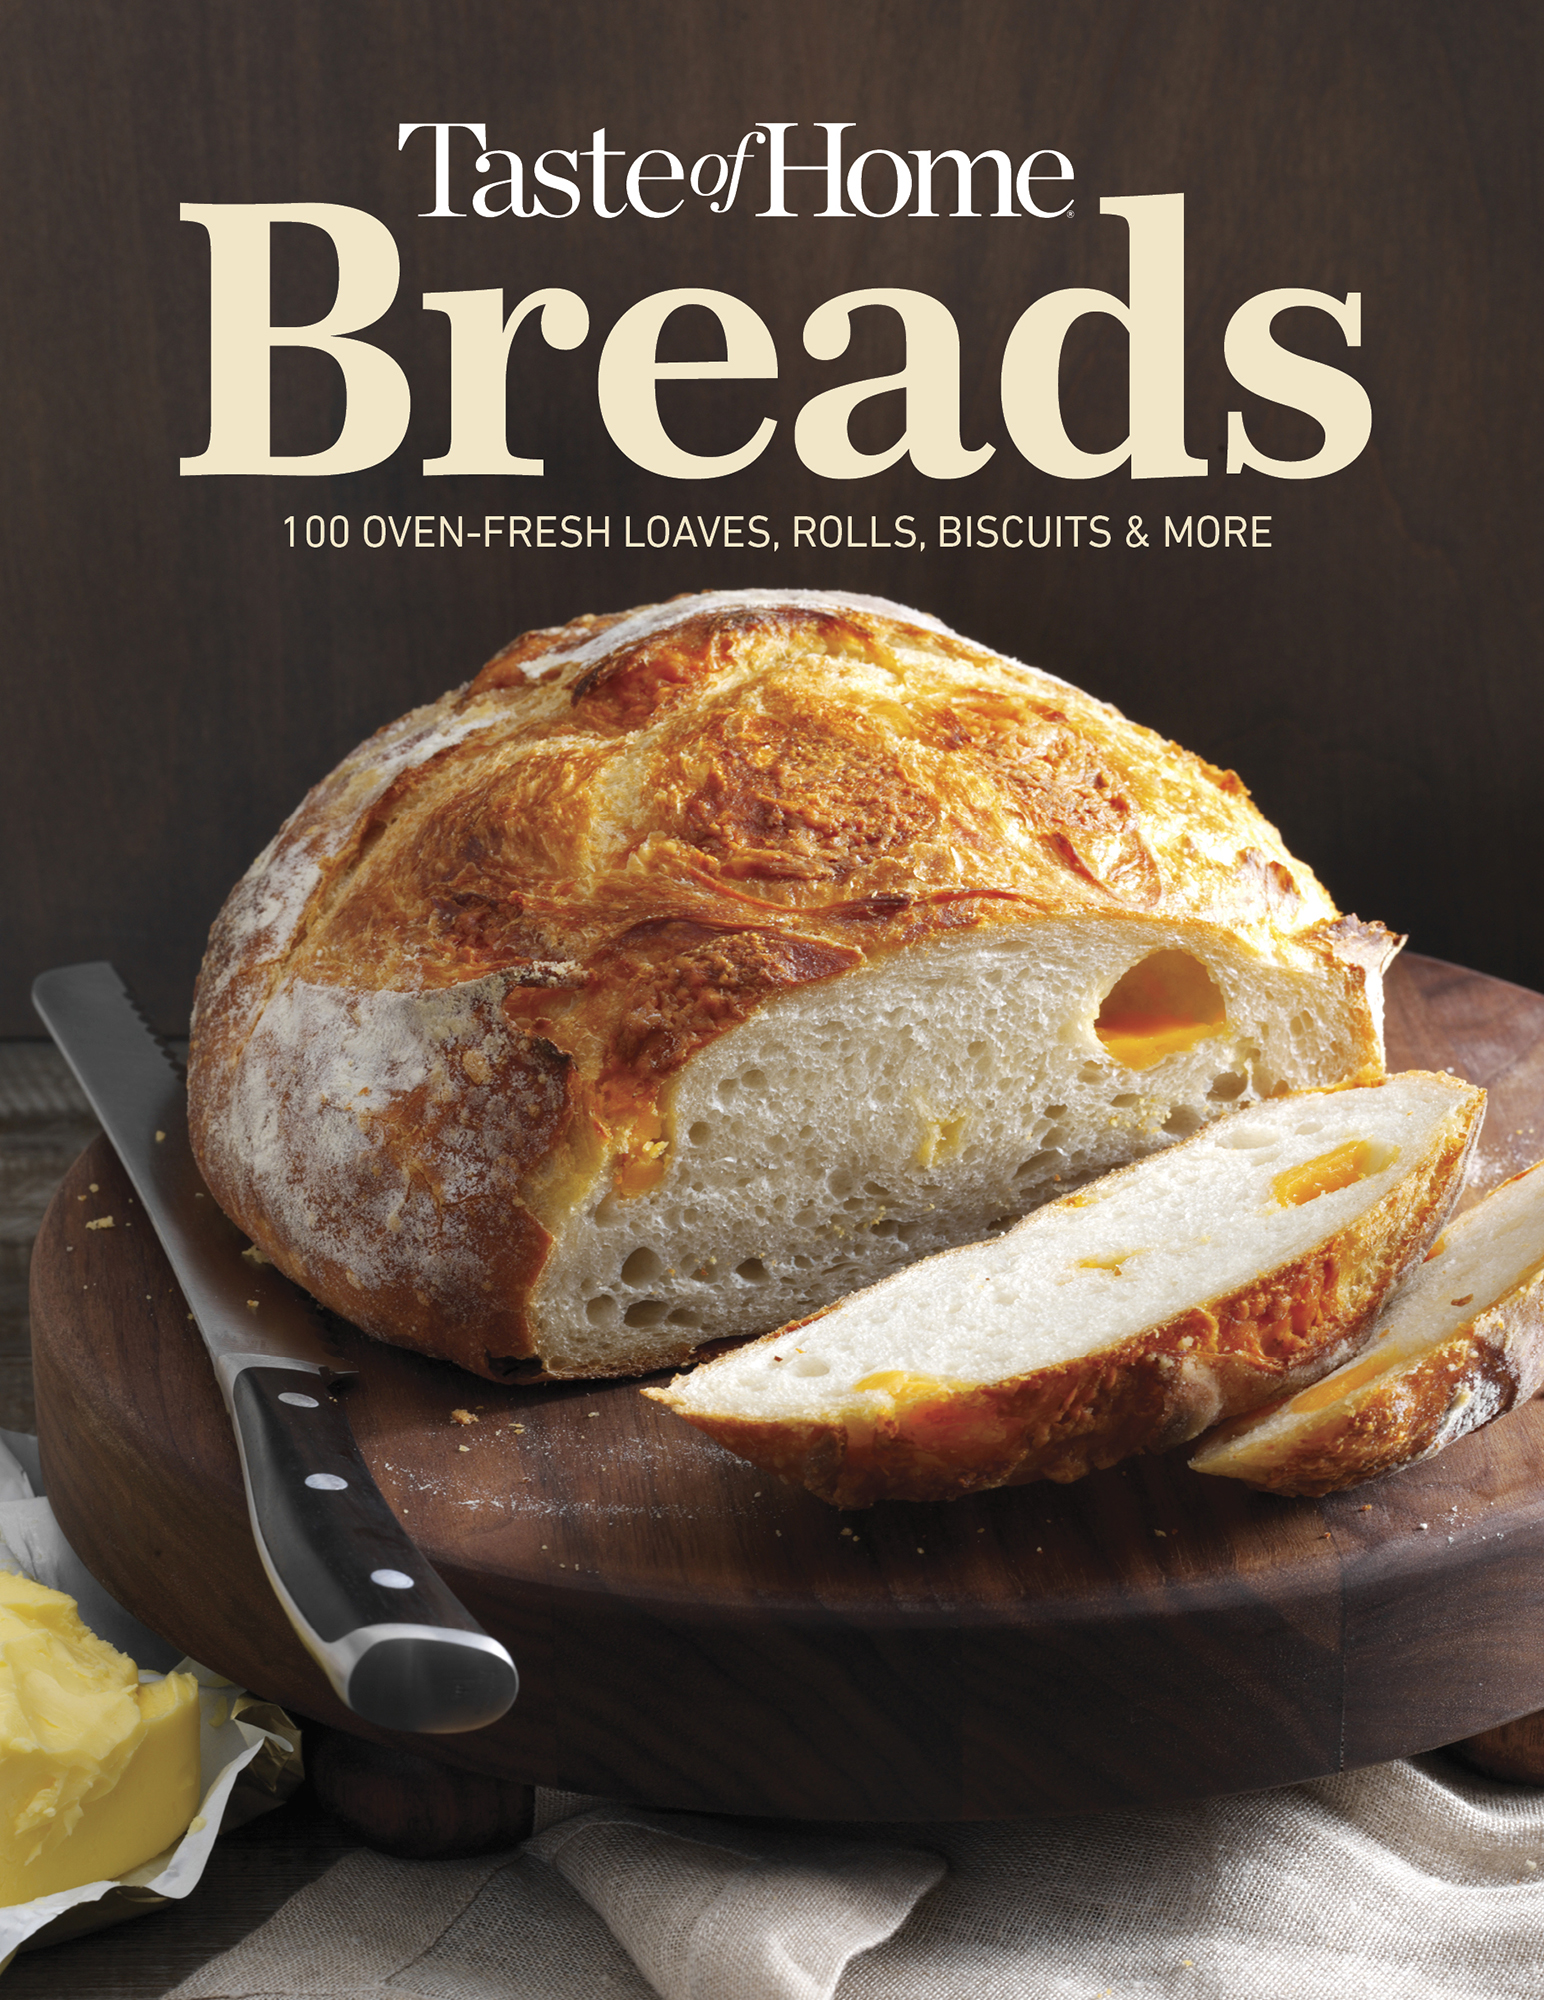
Pictured on front cover:
More ways to connect with us:


SHOPTASTEOFHOME.COM
Theres Something Special About Bread!
Among all the ways home cooks make their families feel cherished, theres something about homemade bread that sets it apart. Now cooks of all skill levelsfrom experienced bakers to those who have never opened a packet of yeastcan create the perfect loaf.
From the tantalizing aroma of a loaf of crusty bread fresh from the oven to beautifully wrapped quick breads given to friends and family as gifts, breads are a perfect way to spread the love. Homemade bread makes sandwiches something special, and handmade rolls elevate any dinner to a feast. Cinnamon rolls at breakfast make a rare treat, and that loaf of scrumptious banana breadwhat could be better?
If youre looking for start-from-scratch recipes for homemade yeast breads and rolls, youll find them here. A complete guide to the basics of bread making sets even novice bakers off on the right foot! And if you want quick and easy dinnertime solutions that make the most of supermarket shortcuts, theyre here, too.
Quick breads both sweet and savory. Biscuits, scones and bagels. Breakfast rolls and muffins. Beautifully shaped braided loaves suitable for holiday tables. Tasty pull-apart creations that are fun for the whole family to make and eattheyre all here in the brand-new Taste of Home Breads !
YEAST BREAD INGREDIENTS
Ingredients and their particular qualities affect breads texture, density and crust. Understanding the job of each ingredient will help you to understand the science of yeast breads.
Flours: Wheat flour contains an elastic protein called gluten, which is developed during kneading and gives bread its structure. Flours with high gluten content (hard flours), such as bread flour or all-purpose flour, yield the best results. Whole wheat and rye flours (soft flours) have less gluten; used alone, they make an extremely dense loaf. These flours are often used in combination with bread flour or all-purpose flour to achieve lighter, airier results.
Yeast: This microorganism consumes sugars in sweeteners and flours and produces carbon dioxide gas that stretches gluten strands to give breads a light, airy texture. Store yeast in the refrigerator or freezer.
Sweeteners are the food for yeast; they also tenderize, add flavor, promote browning and lengthen shelf life. White or brown sugar, molasses, honey and maple syrup are common sweeteners used in yeast breads.
Salt controls the yeasts growth. Use the amount given in the recipetoo much salt will prevent the yeast from growing, but not enough will let the yeast grow too fast too soon, and then collapse.
Liquids: Water and milk are the primary liquids used in bread. Water gives a crunchy crust; milk gives a softer crust and a more tender crumb. Always warm liquid to the temperature stated in the recipe. Too cold, and the yeast will be slow to activate; too hot, and it will kill the yeast.
Fats (and eggs) tenderize, add moisture, carry flavor and give richness to breads.
Types of Bread
Yeast breads depend on a living organism for their height and texture. Yeast breads fall into two main categories: kneaded breads and batter breads.
- Kneaded breads are traditionally worked by hand to develop the gluten in the dough. Modern gadgetsa bread machine or a stand mixer fitted with a dough hooktake the work out of kneading, but the dough itself is still kneaded.
- Batter breads are beaten with a mixer to develop the gluten. These breads use less flour, so their dough is stickier than kneaded yeast breads. The finished breads have a coarser texture and a rugged, textured crust.
A quick bread gets its lift from a leavener such as baking soda or baking powder. The beauty of quick breads is right in their nametheyre ready to pop in the oven and start baking right away rather than needing time to rise. In fact, most suffer in quality if not baked immediately after mixing.
TYPES OF YEAST
Active dry yeast is the most commonly used type of yeast. It must be proofed before using (right) in order to activate the dormant organism. A standard packet of yeast contains approximately 2 tsp. To use active dry yeast in recipes that call for instant yeast, increase yeast amount by 25%.
Instant and rapid-rise yeasts are finely granulated and cut the rising time for dough by up to half. They can be added directly to the dry ingredients and do not need proofing. Instant and rapid-rise yeast can be used interchangeably; rapid-rise yeast may contain dough conditioners, like ascorbic acid, to produce the quick rise. To use instant yeast in recipes that call for active dry yeast, use 25% less than the recipe calls for.
Bread machine yeast has fine, small granules that can be mixed easily into the dough. Like rapid-rise yeast, this type of yeast may contain dough conditioners.
Older cookbooks sometimes call for cake yeast (also known as fresh yeast or compressed yeast). Due to its short shelf life, it may be difficult to findcheck the dairy case. Cake yeast is proofed at a lower temperature (80-90), and is most suitable for breads with a long, cool rise time.
There is type of yeast osmotolerant yeast designed for sugar-heavy doughs. Its also not as common as dry yeasts but is becoming more readily available. Look for it at your grocer or specialty food store.
Proofing Yeast
When we talk yeast breads, the term proof pops up in two ways: proofing yeast, and proofing dough. Proofing the dough comes after kneading (see ).
Proofing yeast ensures that it is alive and ready to create carbon dioxide. Dissolve one -oz. packet of active dry yeast in a dish with 1 tsp. sugar and cup warm water (between 105 and 115). Leave the mixture alone for 5 to 10 minutes to let the yeast do its work; when it starts to bubble and foam, you know its alive and ready for bread.
PROOFING DOUGH
For the proofing (rising) stage, place the dough in greased bowl and cover it, then set the bowl in a warm (75 or above), humid and stable environment. Some options:
- Place a glass baking dish on your ovens bottom rack and fill it with boiling water; place your dough on the middle or top rack. Refresh the water every 30 to 45 minutes.
Some oven lights radiate enough heat for proofing even without turning on the heat. Turn on the light, then after about 30 minutes, use an oven thermometer to check the temperature; if the oven is 75F or above, set your bowl of dough in the oven and shut the door, leaving the light on.


