Contents
Page List
Guide
Cover
CONTENTS
HELLO!
My name is Phoebe, but Im also known as Bobblejot. I started drawing at a very young age, but only settled into my current kawaii (Japanese for cute) style of illustrating about two years ago. Last year, I created a webcomic about a corgi dog and a Munchkin cat called Tori and Samuel. Since then, Ive been creating content for it and sharing it on social media platforms such as Instagram and Webtoon on a weekly basis.
I was inspired to take the step toward creating a webcomic by a character I created and grew really fond of, and I hope that this book will be able to help you on your road to creating your own set of adorable chibi characters and mascots!
WHAT IS CHIBI?
Chibis are most recognizable as mini versions of Japanese-style anime and manga human characters. They are defined by their large heads and tiny bodies, both of which contribute to their kawaii, or cuteness, factor. In anime shows and manga comics, chibis are often incorporated into more serious scenes as comic relief. Over the years, chibis have become more diverse, with many different styles of drawing them (i.e., variations in details, anatomy, art style, etc.). Essentially, chibis are kind of like stylized caricatures of regular anime characters; certain facial and anatomical features are exaggerated while maintaining the overall identifying appearance of the character. Here are some key characteristics of chibis:
A large head and small bodies and limbs.
Faces with huge eyes and small noses and mouths.
The hands and feet can be exaggerated to give a more cartoonish look.
To draw a chibi animal character, start by taking the key features of the animal and exaggerating them. For example, heres a full-size quetzalcoatl, with normal proportions, standing next to a chibi quetzalcoatl that has the same key features of feathers, wings, a long neck, and an elongated face. The idea is not only to give your chibi quetzalcoatl a larger head and chubbier body (which are common traits of chibi characters), but also to stylize the features that make a quetzalcoatl look like a quetzalcoatl, such as feathers, wings, and the body of a snake.
HOW TO USE THIS BOOK
After some helpful information here in the beginning of the book about Tools and Tips and Tricks for drawing, there are sixty-two step-by-step tutorials divided into four sections: Slither and Squawk, Felines and Canines, Hooves and Horns, and Earth, Water, and Subterranean Creatures.
The creatures within each section are arranged alphabetically, for the most part (there are a few out of order for layout purposes). Some tutorials are even accompanied by a Folklore Fact, making this book not only an art book, but also a little educational. Lets get started!
TOOLS
For your own illustrations, feel free to use any medium youre comfortable with! For all the illustrations in this book, I used the MediBang Paint software for iPad Pro, but you can create the same illustrations with traditional tools like pencils, pens, markers, or anything else you may have handy.
TRADITIONAL TOOLS
If youre drawing your cute creatures with traditional tools, draw all your steps with a pencil first and only go over your drawing with ink right before youre ready to color your artwork. The guidelines you will see throughout the step-by-step tutorials are meant to be erased once the inking is done, so be sure to do that before adding your colors! Also, you may want to invest in a high-quality eraser that will get rid of all those pencil lines.
Sketch and draw your character with a pencil.
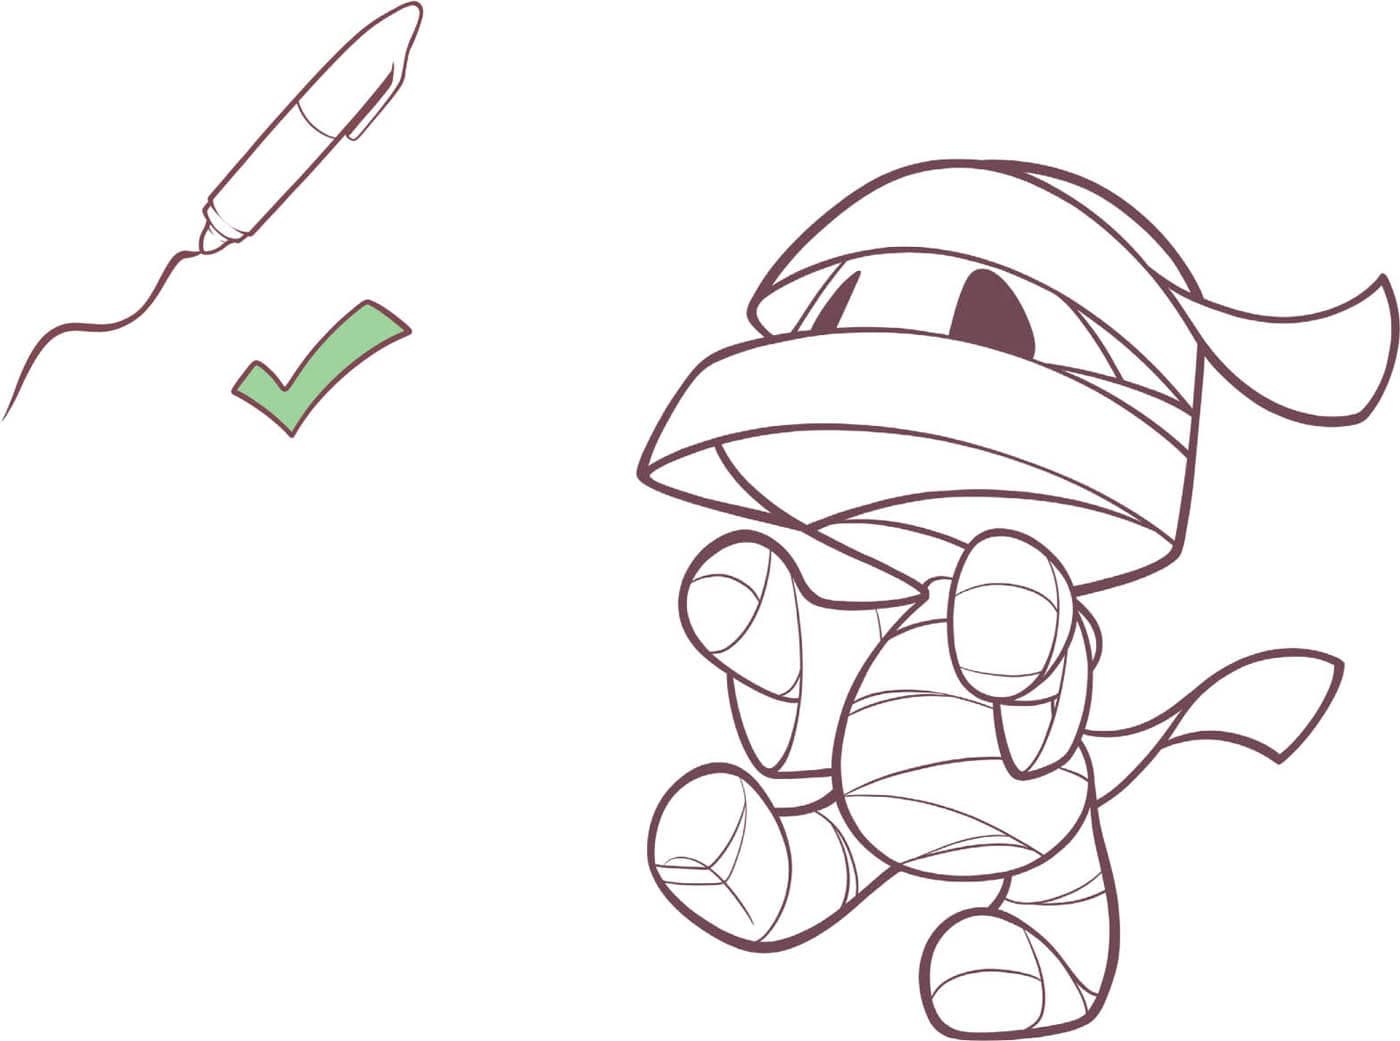
Only use ink once youre happy with your final drawing. Erase any guidelines and then add color.
DIGITAL TOOLS
If youre drawing on your desktop or laptop, Adobe Photoshop, PaintTool SAI, and Clip Studio Paint are just some of the recommended software programs for artists. If youre like me and prefer using your iPad to create your illustrations, MediBang Paint and Procreate are just some of the tools that are intuitive and equipped with a wide variety of brushes and functions to help you create your artwork.
TIPS AND TRICKS
In this section, I share my tips and tricks for drawing, inking, coloring, shading, and highlighting chibi creatures.
SKETCHING AND DRAWING To contribute to the cuddly and cuteness factor of your chibi creatures, keep your shapes and lines nice and loose rather than sharp and angular. This means adding curves to your lines and rounding the points and corners of shapes like triangles and trapezoids.
FACIAL GUIDELINES When drawing a characters face, adding guidelines to show where the character is facing helps to position facial features, such as the eyes, nose, and mouth. As shown in the example below, the eyes should be centered on the horizontal guideline, the nose should be placed where the guidelines meet, and the mouth should be aligned with the vertical guideline.
FACIAL EXPRESSIONS
Giving your character different facial expressions adds personality and makes them feel more relatable.
INKING LINES
When it is time to ink your character, drawing with consistently thin lines can make the final outline look a little flat.
Varying the thickness of your lines helps make the illustration feel more organic and interesting.
COLORING
In this book, you will learn how to draw chibi creatures, but if you would like to color your characters, heres how you can add color to your drawing after youve inked your character.
Start with your inked creature.


