ISBN: 978-1-6822225-5-3
CONTENTS
THANK YOU:
Grandma Opal for taking the time and patience to teach me how to sew,
Mark, for being one of the best husbands out there, helping me get this book done, checking the wording, drawing the stitches and showing me how to work the computer (more than once),
My sister Julie, who is also my hand model, for lending me the use of her hands for some photos and keeping this project fun.
My sister Judi, for fixing all my grammar mistakes and for all her encouragement telling me it was worth writing,
And my other sisters,
Ginger, for her awesome ability to make beauty out of junk,
Jill, for her unconditional love and
Jamie, for her strength, joy and inner beauty.
And all my friends and family who gave me the time and understanding I needed to get this project done.
I had fun.
THANK YOU
INTRODUCTION
A Work of (He)Art
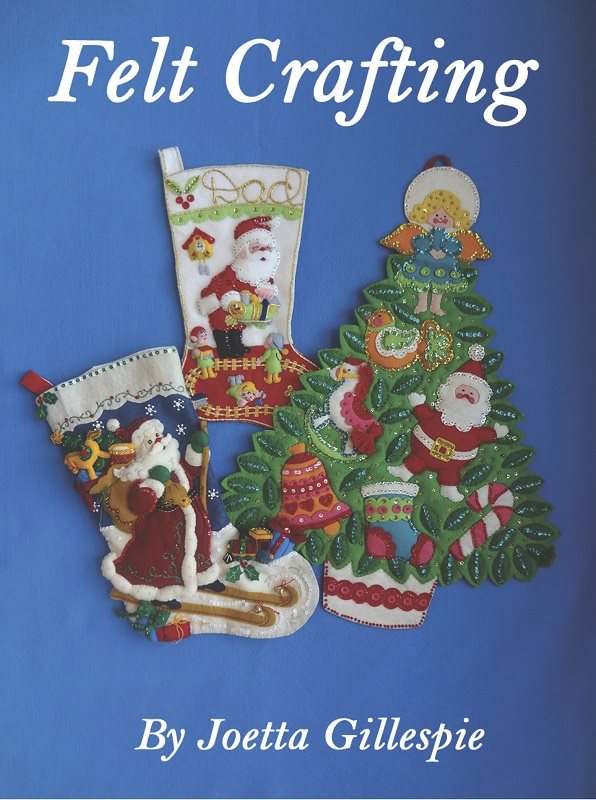
After nearly four decades of working with felt kits and ornaments, I have learned a few tricks, shortcuts and basic understandings of what it takes to make a high quality finished project. I am hoping to share what I have learned, the right and the wrong ways of making a beautiful project, with you.
I started in 1977 learning from my Grandmother Opal, in her tiny little apartment on the third floor. She loved to look out her windows at the people and life as it passed by under her. She had the patience of a saint. That summer she taught me different types of sewing, including how to work with felt. Those are some of my favorite memories of my childhood and of her. Over the years, when I am sewing, I think of her and am grateful for the effort she took to teach me.
Since then, I have made over thirty Christmas stockings and numerous little ornaments. I still have plans, and enough kits, to make at least twenty-five more stockings before I have made enough stockings for everyone I want to, unless more kids are born into the family or I make more friends that would appreciate a gift of my time and love. Both of which I see happening.
I hope this book helps to inspire you to make wonderful and beautiful gifts, and that there are at least a few things you learn from my trials and wisdom. I have found that no matter how hard I try, there is no such thing as perfect except for God. So do your very best and remember that it is the little differences you make to each stocking that makes it look handmade, not store bought, and a gift from the heart, a Work of Art.
To keep this simple, I am going to write as if this is a kit for a Christmas stocking, or sock, that we are making. Although this will go with just about all things made of felt, a Christmas stocking has everything needed to make my point of view.
Lets get started.
Chapter 1
Getting Started
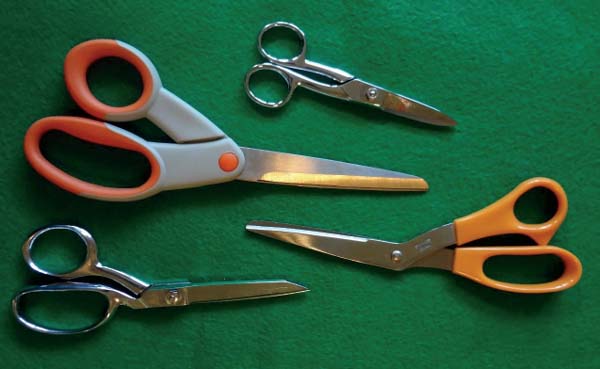
Scissors:
Get a high quality pair of scissors.
Doesnt have to be expensive but it does have to be sharp, enough to cut the felt and threads cleanly, without tearing or leaving too much fuzz when done.
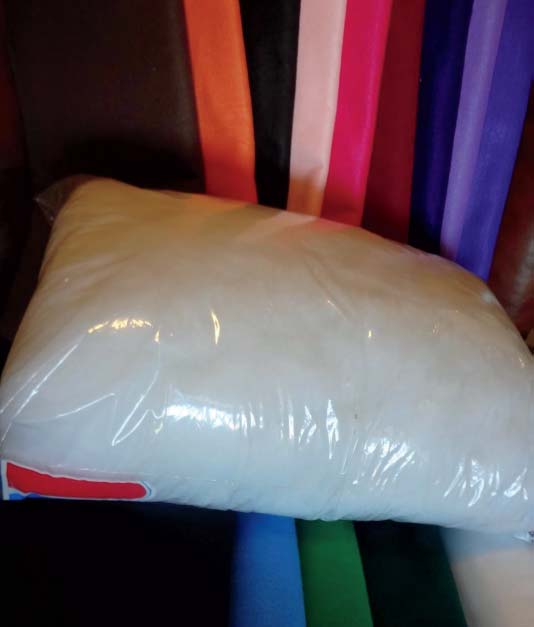
Fiberfill:
Fiberfill and a few small tools to help push the fiberfill into tight places.
I use an old ink pen that no longer has any ink, with a removable cap that has a plastic pocket clip on it. You can use whatever you find to work for you, but that works perfect for me.
I also use pipe cleaners instead of fiberfill when I need extra strength or the ability to make it bendable. Tooth picks work great when it is too tiny to stuff.
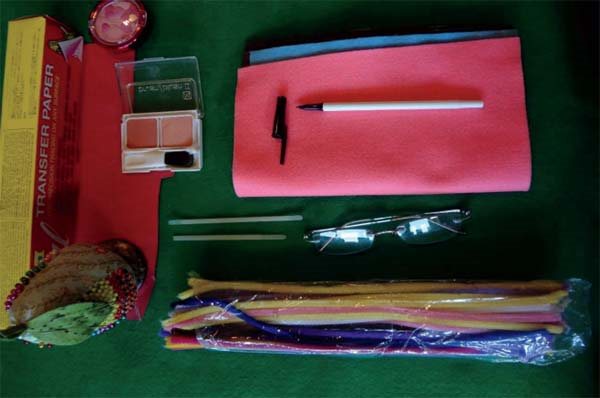
Transfer Paper:
Transfer paper will help when it comes time to add the name and a date if you are dating your items.
Transfer paper comes in many different colors. Get a color you think you can use. I have red because most of the kits call for red thread when sewing on the name and also most of the areas to be sewn are white so it makes it easy to see. The marks from a high quality transfer paper will wash off or wear off very easy and leave no marks on your finished work.
Tracing Paper:
For when you want or need to make a copy of a piece of the felt, or adding the name, or just in case
Powder Blush:
To finish the cheeks on the Snowmen, Santa, or the cute little animals. It is called for in a lot of kits.
Stick Pins:
Stick pins to help mark where you left off on a stitch or to hold the front and back of a piece together when working on them.
Extra Needles:
Extra needles, for the embroidery and bead work. And sometimes to get out knots in the threads.
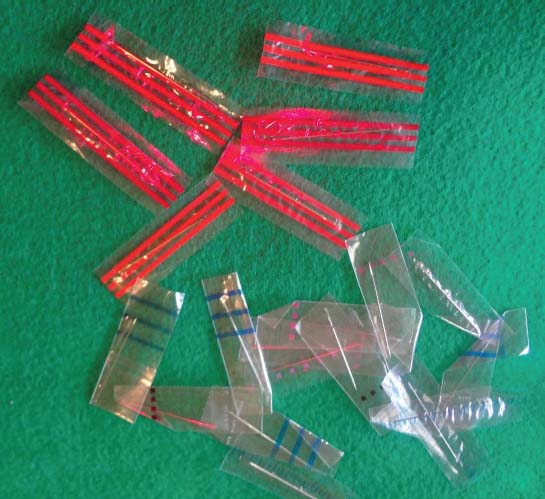
Plastic Baggies:
Clear plastic baggies of different sizes. Gallon size or larger if you can find them to hold your work when you are not sewing on it to keep it clean and another bag to hold all the threads, beads and whatnots. Sandwich size to keep your thread separate and easy to get to and another to keep the felt pieces you are working with in one place, and snack size to keep the beads and sequins of the different colors separate. I find it much easier to bag them by color and only use one color at a time. I put all the little baggies of beads and sequins in a sandwich size bag to keep them all together, then into a gallon sized bag with the threads and whatnots. Keeping your space sorted and tidy will help speed up the sewing time.
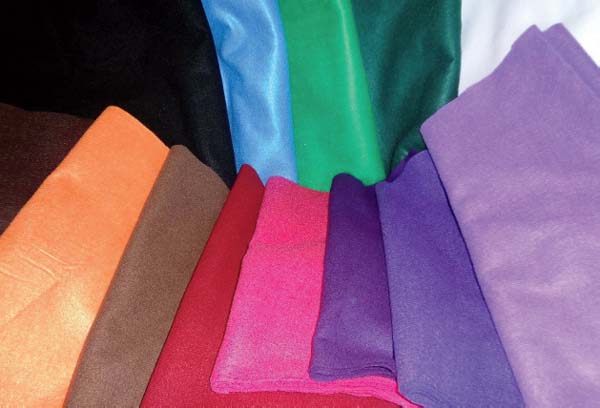
Extra Felt:
Extra felt. I save all the larger scraps of felt that I have left over from all the kits Ive done throughout the years. I also buy felt from craft stores in various colors and sizes. Ill explain more later in this book why this might come in handy.
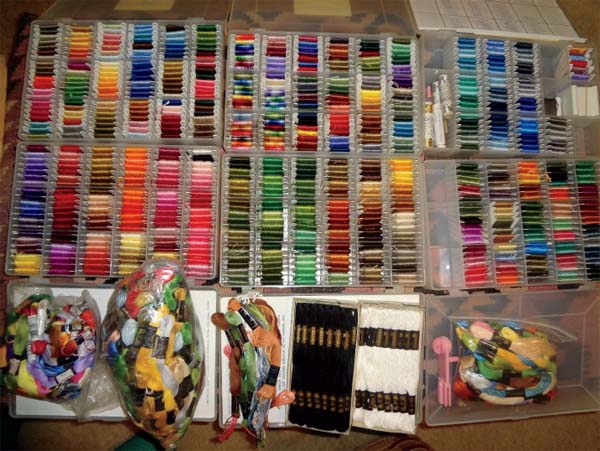
Extra Thread:
Extra thread. Red, black and white seem to be the most frequent colors I run out of. Having extra thread to finish the project is important because sometimes there just isnt enough in the kit to get the job done. I have one of every color DMC thread made and have used them over the years for sewing on buttons, mending holes in clothes and finishing up these projects. It is so easy to match the colors this way, but you dont need to go that far unless you want to. Save the left over thread from previous kits. Youll be surprised how often it will come in handy and saves you money.
A Bead Container:
A container to open and hold the beads and sequins when you are applying them to the stocking. I use an old 12"x 6"x1" plastic Tupperware box with snap on lid. That way I just have to open one baggie of beads at a time into the box and when I am done I just pour the beads back into the baggie.