Cheyanne Valencia - Make It with Burlap: Rustic Chic Home Decor and More
Here you can read online Cheyanne Valencia - Make It with Burlap: Rustic Chic Home Decor and More full text of the book (entire story) in english for free. Download pdf and epub, get meaning, cover and reviews about this ebook. year: 2017, publisher: Fox Chapel Publishing, genre: Home and family. Description of the work, (preface) as well as reviews are available. Best literature library LitArk.com created for fans of good reading and offers a wide selection of genres:
Romance novel
Science fiction
Adventure
Detective
Science
History
Home and family
Prose
Art
Politics
Computer
Non-fiction
Religion
Business
Children
Humor
Choose a favorite category and find really read worthwhile books. Enjoy immersion in the world of imagination, feel the emotions of the characters or learn something new for yourself, make an fascinating discovery.

- Book:Make It with Burlap: Rustic Chic Home Decor and More
- Author:
- Publisher:Fox Chapel Publishing
- Genre:
- Year:2017
- Rating:5 / 5
- Favourites:Add to favourites
- Your mark:
Make It with Burlap: Rustic Chic Home Decor and More: summary, description and annotation
We offer to read an annotation, description, summary or preface (depends on what the author of the book "Make It with Burlap: Rustic Chic Home Decor and More" wrote himself). If you haven't found the necessary information about the book — write in the comments, we will try to find it.
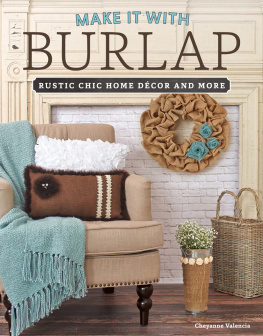
Discover rustic-chic burlap, the stylish way to infuse your world with beautiful natural textures. Burlap is a sensational choice for weddings, gift giving, holiday decorating, and even wearable art. Let your imagination go wild by pairing all types of burlap with pearls, lace, beads, paint, glitter, wood, ribbon, feathers, and fabric to create one-of-a-kind items for your home and your life. If you love a neutral palette but dont want things to get boring, this book is for you. From jute to chalk to burlap and more, visionary artist Cheyanne Valencia shows you simple crafting techniques to create home accessories and gifts. From simple sewing to stenciling to chalk painting and more, these easy step-by-step projects are surprisingly simple and pack plenty of style.
Cheyanne Valencia: author's other books
Who wrote Make It with Burlap: Rustic Chic Home Decor and More? Find out the surname, the name of the author of the book and a list of all author's works by series.

Make It with Burlap: Rustic Chic Home Decor and More — read online for free the complete book (whole text) full work
Below is the text of the book, divided by pages. System saving the place of the last page read, allows you to conveniently read the book "Make It with Burlap: Rustic Chic Home Decor and More" online for free, without having to search again every time where you left off. Put a bookmark, and you can go to the page where you finished reading at any time.
Font size:
Interval:
Bookmark:


Burlap is a versatile, eco-friendly, and economical fabric that you can use to make many fun and beautiful crafts.
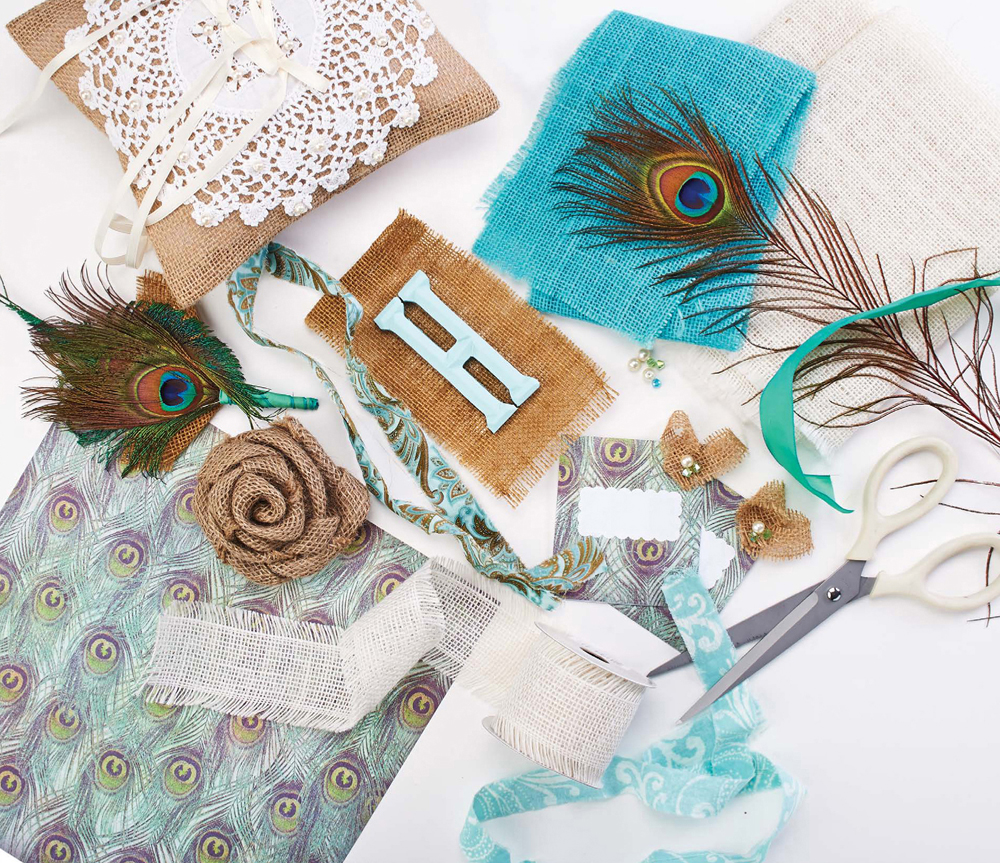
Create looks ranging from rustic to elegant with this natural fabric. There are so many possibilities for home dcoryou can make memo boards, table runners, throw pillows, napkin rings, and more. Let your imagination go wild by pairing all types of burlap with pearls, lace, beads, paint, wood, ribbon, feathers, and fabric to create one-of-a-kind items for your home and your life. Burlap has also become immensely popular for wedding and party decorating. Give burlap items as gifts, decorate with them for holidays, and even wear them as jewelry! Glue, paint, sew, gather, fray, dye, and layer your burlap to create a whole host of interesting effects. Whatever you can dream, you can do with burlap.
Lets get crafting with burlap!
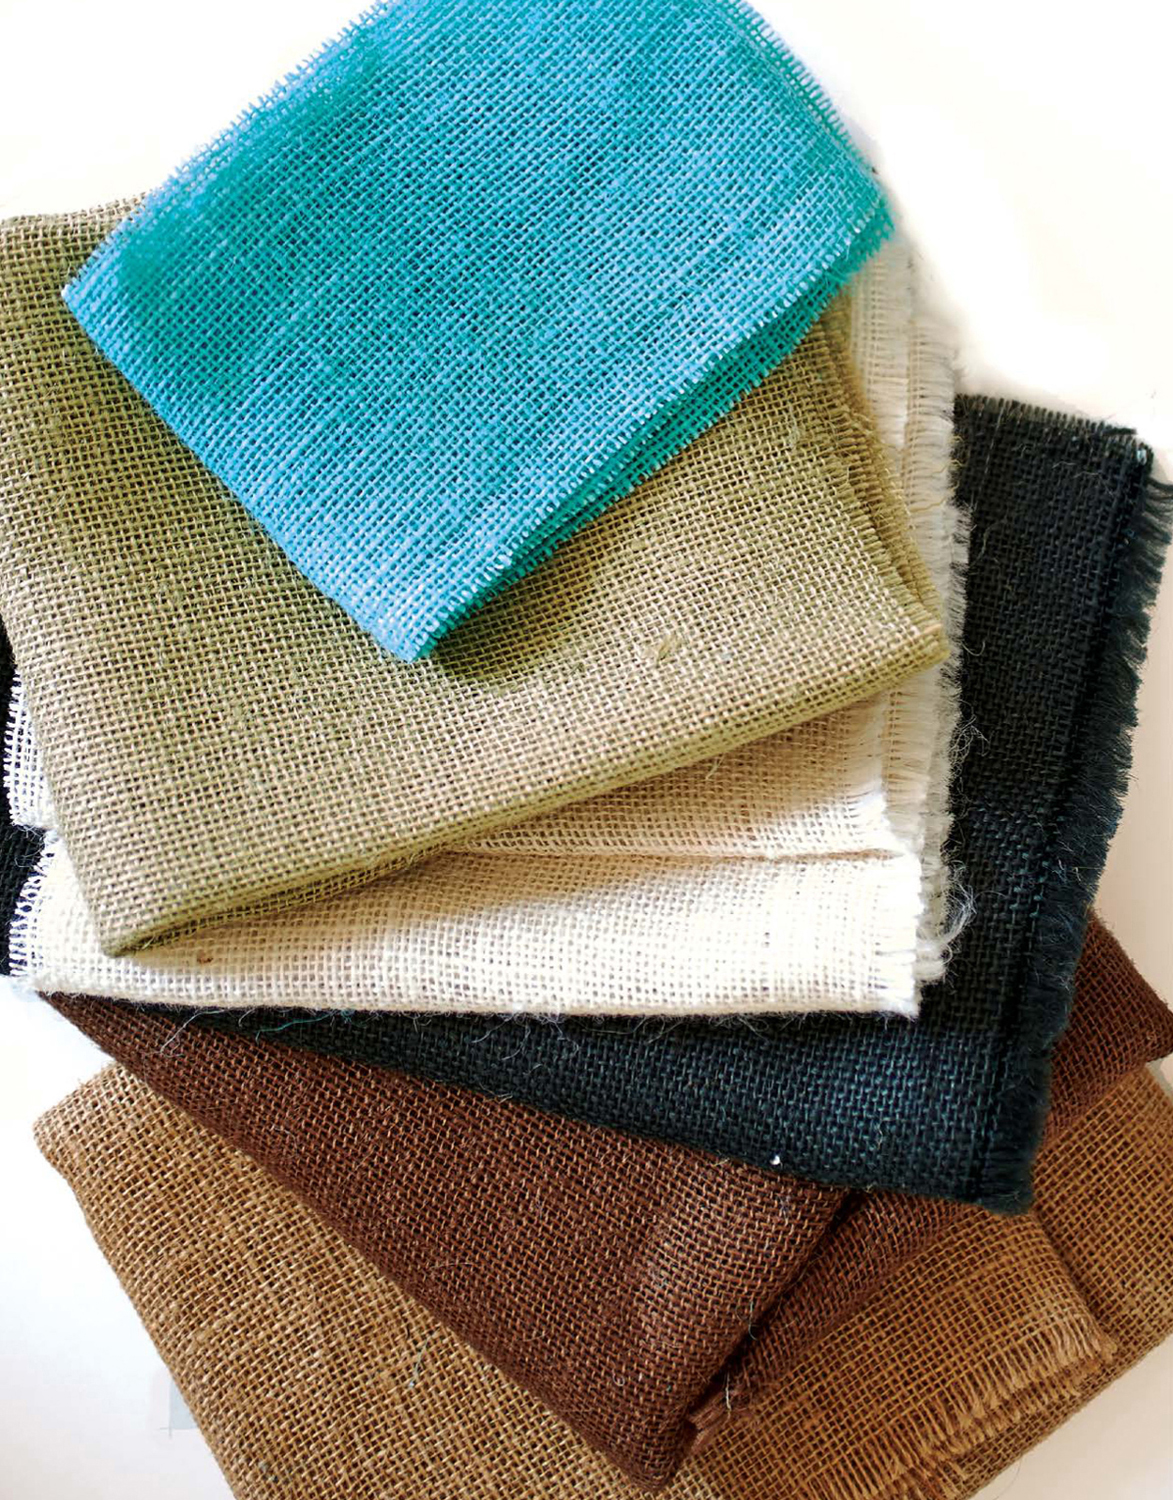
With the recent popularity of this versatile fabric, you can now purchase burlap off of the bolt in a variety of colors and prints. Precut sheets of 12 yd. (12m) are available in many craft stores. The width is generally 45"48" (115122cm), but some are as wide as 60" (150cm). Burlap also comes in an array of precut ribbon widths with finished edges, frayed edges, or wired edges. You can even buy laminated burlap in 12" x 47" (30 x 120cm) rolls or by the yard in widths up to 60" (150cm).
There are generally two kinds of burlap weave. You can choose an open weave or close weave depending on what will work best with your project, or mix and match the weaves for added dimension. An open weave creates a rustic look. Light and billowy, it works well for projects like drapery, bows, and tablecloths. A close weave has a more refined look and can be used for projects like stenciling, pillows, tote bags, table runners, and placemats. An open weave is softer, loosely woven, and drapes well. It also allows light to shine through it. A close weave is coarser and tightly woven. It works well for light filtering.
Burlap color choices range from natural, brown, black, white, and oyster to red, blue, green, yellow, orange, and purple, and they also come printed with patterns like polka dots and chevrons. There is a rainbow of colors available; more will probably show up in stores by the time you read this book. If you cant find the exact color youre looking for, use fabric dye on white burlap to create just the right shade for a unique project. Follow the manufacturers directions for dyeing and hang the burlap up to dry. If you plan on putting dyed burlap in the clothes dryer, expect it to fray quite a bit. Try sewing a zigzag stitch around the outer edges before dyeing the fabric.
Tip!
The projects in this book do not require the burlap to be pre-washed. If you are planning to wash your burlap, do your research carefully first. Washing burlap in a top-load washing machine can damage the machine due to fraying fibers.
Burlap is easy to work with, but there are plenty of little tips and tricks that will make your life easier and make your projects come together in a jiffy. Take a look through the advice and techniques in this section before getting started to become a deft hand at manipulating burlap.
To cut burlap cleanly, evenly, and painlessly, remove one strand of jute to form a guideline and clear the way for the cut.
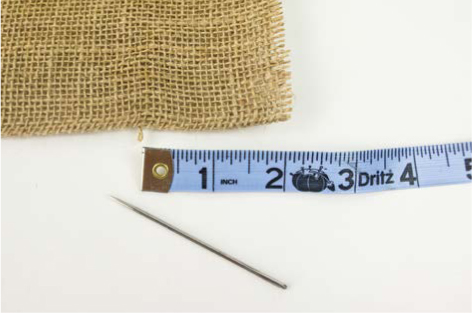
MEASURE TO THE CUT. Measure from the edge of the burlap to the point where you want to cut, and pull on one strand of the jute. You can use the tip of a heavy needle to get the strand started. This is most easily done along the fold in a large piece of burlap. It can also be done anywhere along the raw edge.
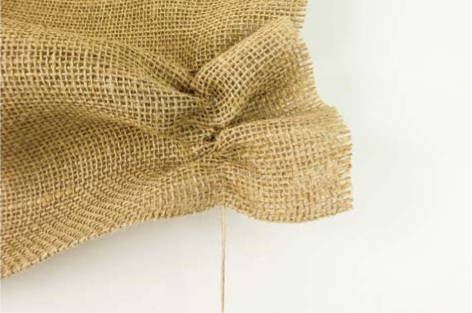
REMOVE THE STRAND. Pull the strand of jute, gathering the burlap, until youve completely removed the strand.
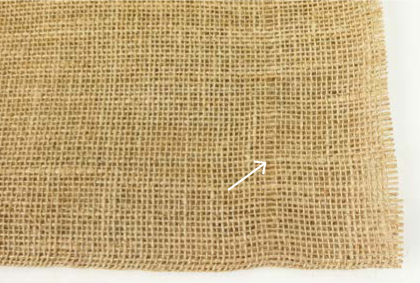
SEE THE GUIDELINE. Removing the strand of jute will leave a subtle, but clear, guideline to cut along. The guideline is even clearer when the burlap is not folded.
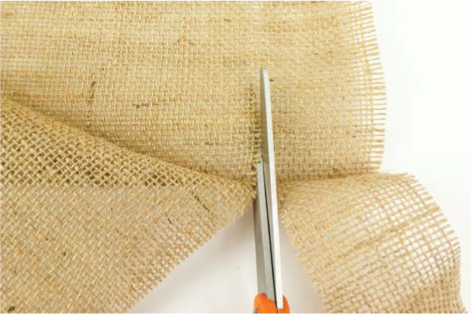
MAKE THE CUT. Cut through one layer at a time along the guideline.
Burlap rosettes are easy, fun, and used in so many different projects.
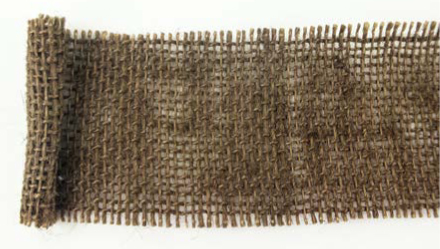
PREPARE THE STRIP. Cut burlap strips according to the project instructions; for example, the Grapevine Wreath project on page 20 uses strips that are 2" x 12" (5 x 30cm) and 2" x 24" (5 x 61cm). Begin to roll the end of one strip, using a small amount of hot glue to secure it in place. This will form the center of the rosette.
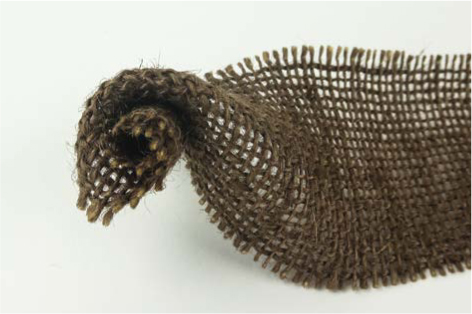
START THE ROSETTE. Hold the center of the rosette on one end and twist the strip away from you. Turn the rosette about a quarter turn to wrap the twisted strip around the center of the rosette. Hot glue into place between the layers where the glue will not be visible.
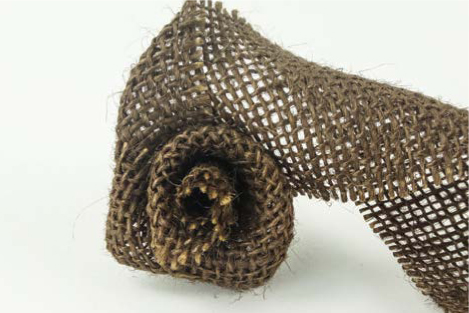
CONTINUE FOLDING. Continue to twist the strip and turn the rosette, gluing as you go.

FINISH THE ROSETTE. Secure the end of the strip on the back of the rosette, out of sight. You can trim away the rolled burlap stem on the back to make the rosette lay flat.
Tip!
In this book, ribbon and fabric rosettes are made following these same instructions. However, the ribbon and fabric strips are first folded in half lengthwise before starting to roll the end. The folded edge should be used as the top edge of the rosette.
Font size:
Interval:
Bookmark:
Similar books «Make It with Burlap: Rustic Chic Home Decor and More»
Look at similar books to Make It with Burlap: Rustic Chic Home Decor and More. We have selected literature similar in name and meaning in the hope of providing readers with more options to find new, interesting, not yet read works.
Discussion, reviews of the book Make It with Burlap: Rustic Chic Home Decor and More and just readers' own opinions. Leave your comments, write what you think about the work, its meaning or the main characters. Specify what exactly you liked and what you didn't like, and why you think so.