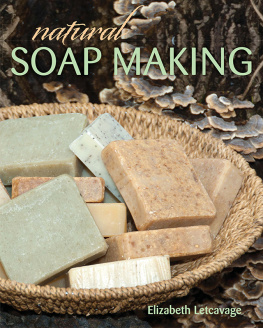
Basic
SOAP MAKING
All the Skills and Tools You Need to Get Started
Elizabeth Letcavage, editor
Patsy Buck,
soap maker and
expert consultant
Photographs by
Alan Wycheck
STACKPOLE
BOOKS
Copyright 2009 by Stackpole Books
Published by
STACKPOLE BOOKS
5067 Ritter Road
Mechanicsburg, PA 17055
www.stackpolebooks.com
All rights reserved, including the right to reproduce this book or portions thereof in any form or by any means, electronic or mechanical, including photocopying, recording, or by any information storage and retrieval system, without permission in writing from the publisher. All inquiries should be addressed to Stackpole Books, 5067 Ritter Road, Mechanicsburg, PA 17055.
Printed in China
10 9 8 7 6 5 4 3 2 1
First edition
Cover design by Tracy Patterson
Library of Congress Cataloging-in-Publication Data
Basic soap making: all the skills and tools you need to get started / Elizabeth Letcavage, editor; Patsy Buck, soap maker and expert consultant; photographs by Alan Wycheck. 1st ed.
p. cm.
ISBN-13: 978-0-8117-3573-5
ISBN-10: 0-8117-3573-7
1. Soap. I. Letcavage, Elizabeth. II. Buck, Patsy.
TP991.B365 2009
668.12dc22
2008050851
Foreword
M aking your own soap is both an intriguing and rewarding experience. Its intriguing in that you can see the ingredients turn from a thin clear or amber liquid to a thick opaque mixture right before your eyes. The rewards come after your soap cures and youre able to reap the benefits and the luxury of using a product you made.
I started making soap because I was having adverse reactions to many of the so-called hypoallergenic soaps on the market. I started purchasing handmade soap at craft fairs and other places. Although these were all nice soaps, they seemed to be a bit wrong for me: wrong fragrance, too scratchy from additives, too drying. The more I read about soap making, the more I became convinced that I could make soap that suited my skin type.
Since then, I have made many successful batches and quite a few that wont be made again. Today, there are online soap calculators that can make the job of determining the lye-to-oil ratio much easier than when I first sat with paper, pencil, a table of SAP values, and a handheld calculator to figure out my first soap recipes.
This book will provide you with a photo-by-photo account of the soap-making process and a sampling of basic recipes to get you started. When you progress to creating your own recipes, keep a notebook (with pictures if you like) of all the ingredients and additives you use and changes you make. I hope you enjoy making cold process soap as much as I do and that this book helps you make wonderful soap for you, your family, and your friends.
Happy soap making.
Patsy Buck
Introduction
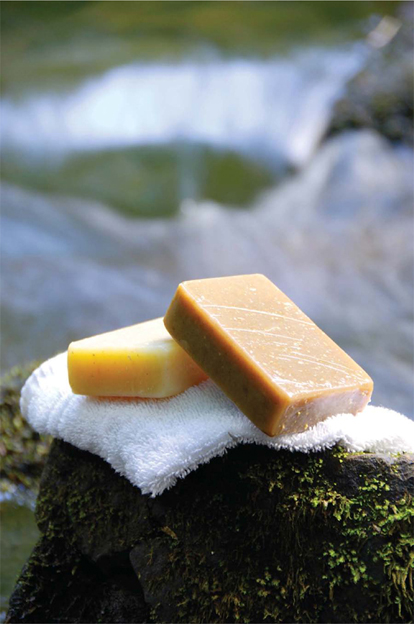
A bar of cold process soap isnt fancy. It has an old-fashioned look, similar to something the American colonists or pioneers would have used. And indeed, they did.
The procedures for making this type of soap havent changed much over the centuries. The process starts with a lye and water solution that is added to a combination of liquid oils, solid oils, fats, and/or butters. Some of the liquid oils used include canola, corn, olive, peanut, and safflower. Solid oils are coconut and palm. Fats are lard and tallow. Butter options include cocoa and shea.
Each oil contributes different properties to the soap. For example, coconut oil creates a hard bar with a hearty lather. Olive oil makes for a stable lather and a soap that conditions the skin. Cocoa butter makes a firm conditioning bar with a stable lather. The charts in the soap recipes chapter show the beneficial properties of the various oils and butters.
Oils become soap when combined with lye and water through a process called saponification. Lye is the chemical sodium hydroxide (NaOH). Great care is essential when handling lye, a caustic alkali that can burn skin and cause blindness. Please read the safe-handling information on page 8 before starting your soap-making project.
When lye is added to water, it becomes very hot. The solution is allowed to cool and then added to the oils. This mixture is stirred until it thickens but can still be poured out of the container. This is called stirring until trace.
Knowing the point at which trace is reached is perhaps the trickiest part of soap making and is learned through practice. Understirring the soap mixture may result in liquid pockets of lye in the bar. Overstirring causes the mixture to become very thick and unpourable.
The recipes in this book will yield lightly scented, natural-colored bars that cleanse the skin well yet are gentle enough for your hands, face, and body. Although not necessary to achieve a fine finished product, added scents, colors, and botanicals can spice up your bars. on soap additives will guide you through this process.
With or without additives, you will pour the soap into a mold. To enable the raw soap to cure, you will put it to bed by covering the mold with wood or cardboard and wrapping it in towels or old blankets.
After twenty-four hours, the soap can be safely handled. It is then removed from the mold and cut into bars. The bars are placed in open air for about a month to dry and cure.
Before commercial soap manufacturers started mass-producing soap, handmade cold process soap was a necessity. Today, its a luxury. You can make your soap without the chemical additives of store-bought soap. You can make it to suit your skin type and cleansing needs. You can select from an array of colors and fragrances or choose to add none at all.
Handmade soap also serves as an unusual yet practical gift that friends and family will appreciate. offers ideas for packaging your soap for gift giving.
Once a necessary household chore, making soap at home has been transformed into a relaxing craft that involves many creative options. Enjoy!
1
Basic Equipment and Ingredients

C hances are that you have most of the equipment you need to make soap right around the house. The equipment and ingredients you dont have are easily found in grocery stores or online. As you gain experience making cold process soap, you might want to make your own wooden mold, mold liner, and soap cutter. Instructions for doing so are included in . In the meantime, easy-to-find alternatives will work almost as well.
Equipment

PLASTIC OR GLASS BOWLS
Use a 1-quart heavy-weight plastic mixing bowl or a 4-quart heat-safe glass measuring cup with a handle to make one batch of soap.

PLASTIC OR GLASS CONTAINERS
A variety of 1-quart freezer-weight plastic or 2-cup heat-safe glass measuring cups work well to measure and hold soap-making ingredients until they are mixed.

