

 Contents
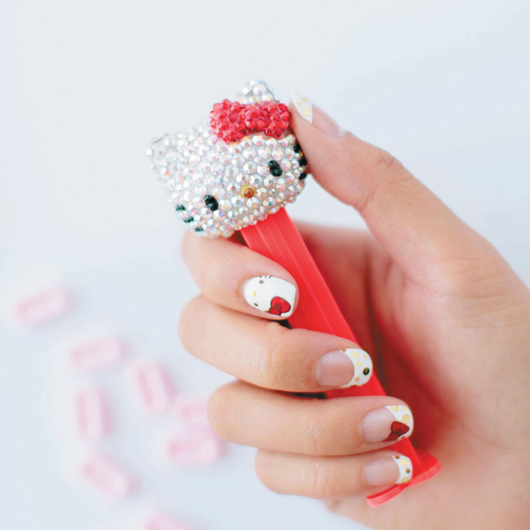
 Introduction Ive loved drawing and painting ever since I was a little girl and my dream was to someday work as an artist or in a profession that involved drawing and painting. When I saw nail art for the first time, I knew thats what I wanted to do. I joined Sanrio in the spring of 2012 to train local staff at the launch of the Hello Kitty Spa in Dubai. Ever since then, Ive been working with Sanrio to create nail art for the many different characters. The best part about nail art is that it can be enjoyed by children and grown-ups alike. With detailed step-by-step instructions, tips, process, and finished shots, nail art design is not nearly as challenging as it may seem.
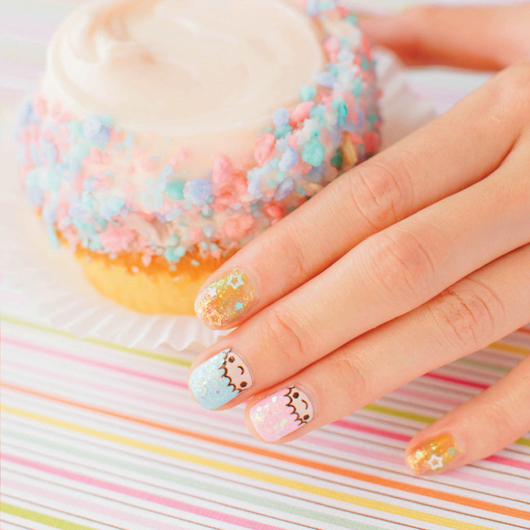
Whether you are a fan yourself, or youre buying this book for the child in your life, youll find the projects engaging, manageable, and fun! This book features some of the most popular Sanrio friends including My Melody, Tuxedosam, Keroppi, Chococat, Batz-Maru, and of course, Hello Kitty. I hope this becomes an opportunity for many of you to learn more about Sanrio and our characters. What I love about nail art is that even though there is a limited space to work with, it makes so many people happy, and it makes me happy to make others happy through nail art. Hello Kitty is the most popular character among my nail art customers, and shes my favorite as well. I was a Hello Kitty fan as a child, and I still continue to be a fan to this day.  A Few Nail Art Tips:
 Always use a clear base coat and two coats of color, which will help the design last longer.
  Its easier to apply art when the base coat and two coats of color are completely dry.
  Its easier to apply art when the base coat and two coats of color are completely dry.
Allow about five minutes per coat to dry.  Especially when painting French tips, I recommend drying the base coat and color coat completely before applying the French tip; otherwise it gets too heavy.
  When drawing thin lines, some people prefer brushes with longer hair. I recommend having several point sizes available and testing out what youre comfortable with to achieve the design you want.
  I use acrylic paint for some designs and colors that are difficult to find as nail polish.
  All of these projects are meant to provide a starting point and design suggestions, but feel free to deviate from the instructions and create your own designs.
  All of these projects are meant to provide a starting point and design suggestions, but feel free to deviate from the instructions and create your own designs.
Find what works for you and have fun! 
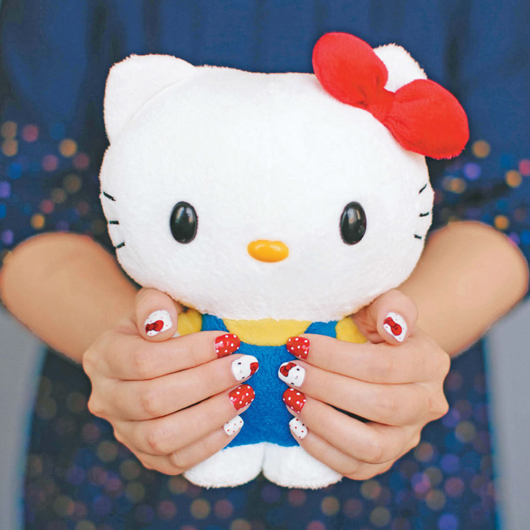 Hello Kitty Hello Kitty was born on November 1st and she lives in London, England, with her parents and her twin sister, Mimmy. They have lots of friends at school with whom they share many adventures. Her hobbies include traveling, music, reading, eating yummy cookies her sister Mimmy bakes, and best of all, making new friends. As Hello Kitty always says, you can never have too many friends. Her trademark is the red bow she often wears on her left ear.
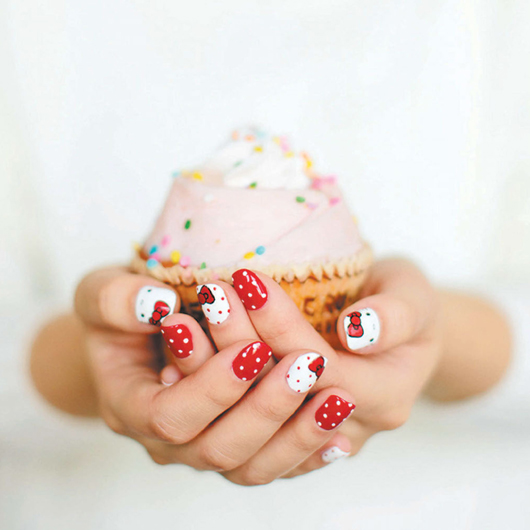
 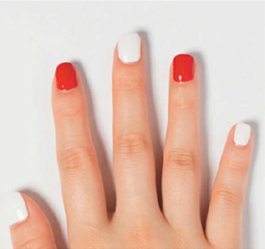 Starting with your pinky, apply two coats of white polish on every other nail.
  Starting with your pinky, apply two coats of white polish on every other nail.
On the other nails, apply two coats of red polish. 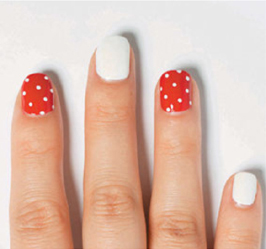 On the red nails, use a fine-tipped brush to apply small white dots in a random pattern.
 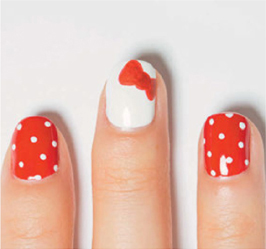 On one white nail on each hand, use a fine-tipped brush to paint Hello Kittys bow on the top right part of the nail. (See .)
 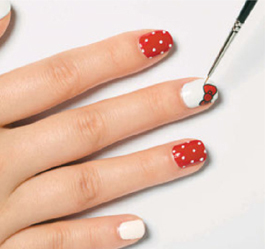 Once the bow has dried (about five minutes), use a fine-tipped brush and black polish or acrylic paint to outline the bow.
 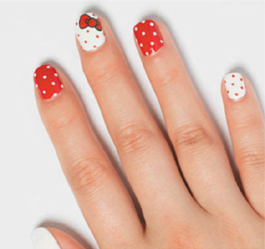 On the white nails, use a fine-tipped brush to apply red dots to the middle and pinky fingernails, but not to the thumbs, which is where Hello Kittys face will go.
 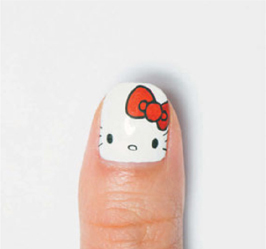 Using a fine-tipped brush, add the bow on the top right part of the nail.
  Using a fine-tipped brush, add the bow on the top right part of the nail.
Once the bow has dried (about five minutes), use black polish or acrylic paint to add the outline of the bow and the whiskers. 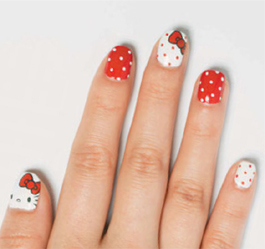 Add a clear top coat to all nails.
Next page





 Contents
 Introduction Ive loved drawing and painting ever since I was a little girl and my dream was to someday work as an artist or in a profession that involved drawing and painting. When I saw nail art for the first time, I knew thats what I wanted to do. I joined Sanrio in the spring of 2012 to train local staff at the launch of the Hello Kitty Spa in Dubai. Ever since then, Ive been working with Sanrio to create nail art for the many different characters. The best part about nail art is that it can be enjoyed by children and grown-ups alike. With detailed step-by-step instructions, tips, process, and finished shots, nail art design is not nearly as challenging as it may seem.
 A Few Nail Art Tips:
 Always use a clear base coat and two coats of color, which will help the design last longer.

 Hello Kitty Hello Kitty was born on November 1st and she lives in London, England, with her parents and her twin sister, Mimmy. They have lots of friends at school with whom they share many adventures. Her hobbies include traveling, music, reading, eating yummy cookies her sister Mimmy bakes, and best of all, making new friends. As Hello Kitty always says, you can never have too many friends. Her trademark is the red bow she often wears on her left ear.
  Starting with your pinky, apply two coats of white polish on every other nail.
  On the red nails, use a fine-tipped brush to apply small white dots in a random pattern.
  On one white nail on each hand, use a fine-tipped brush to paint Hello Kittys bow on the top right part of the nail. (See .)
  Once the bow has dried (about five minutes), use a fine-tipped brush and black polish or acrylic paint to outline the bow.
  On the white nails, use a fine-tipped brush to apply red dots to the middle and pinky fingernails, but not to the thumbs, which is where Hello Kittys face will go.
  Using a fine-tipped brush, add the bow on the top right part of the nail.
  Add a clear top coat to all nails.