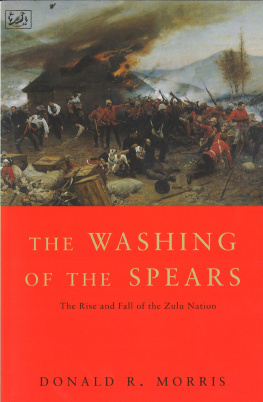
Saul David - Zulu: The Heroism and Tragedy of the Zulu War of 1879
Here you can read online Saul David - Zulu: The Heroism and Tragedy of the Zulu War of 1879 full text of the book (entire story) in english for free. Download pdf and epub, get meaning, cover and reviews about this ebook. year: 2005, publisher: Penguin Books Ltd, genre: Non-fiction. Description of the work, (preface) as well as reviews are available. Best literature library LitArk.com created for fans of good reading and offers a wide selection of genres:
Romance novel
Science fiction
Adventure
Detective
Science
History
Home and family
Prose
Art
Politics
Computer
Non-fiction
Religion
Business
Children
Humor
Choose a favorite category and find really read worthwhile books. Enjoy immersion in the world of imagination, feel the emotions of the characters or learn something new for yourself, make an fascinating discovery.

- Book:Zulu: The Heroism and Tragedy of the Zulu War of 1879
- Author:
- Publisher:Penguin Books Ltd
- Genre:
- Year:2005
- Rating:5 / 5
- Favourites:Add to favourites
- Your mark:
Zulu: The Heroism and Tragedy of the Zulu War of 1879: summary, description and annotation
We offer to read an annotation, description, summary or preface (depends on what the author of the book "Zulu: The Heroism and Tragedy of the Zulu War of 1879" wrote himself). If you haven't found the necessary information about the book — write in the comments, we will try to find it.
Saul David: author's other books
Who wrote Zulu: The Heroism and Tragedy of the Zulu War of 1879? Find out the surname, the name of the author of the book and a list of all author's works by series.


Zulu: The Heroism and Tragedy of the Zulu War of 1879 — read online for free the complete book (whole text) full work
Below is the text of the book, divided by pages. System saving the place of the last page read, allows you to conveniently read the book "Zulu: The Heroism and Tragedy of the Zulu War of 1879" online for free, without having to search again every time where you left off. Put a bookmark, and you can go to the page where you finished reading at any time.
Font size:
Interval:
Bookmark:
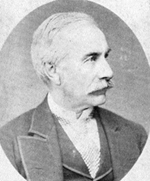
1. Sir Bartle Frere, governor of Cape Colony
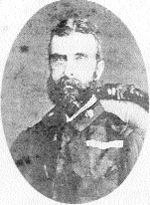
2. Lieutenant-General Lord Chelmsford, the British commander in South Africa
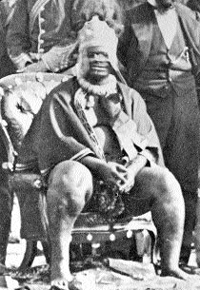
3. King Cetshwayo at his coronation, 1 September 1873. A European armchair serves as his throne, and he wears the scarlet and gold mantle and gaudy crown provided by his British guests
4. Chief Ntshingwayo, the senior Zulu commander at Isandlwana
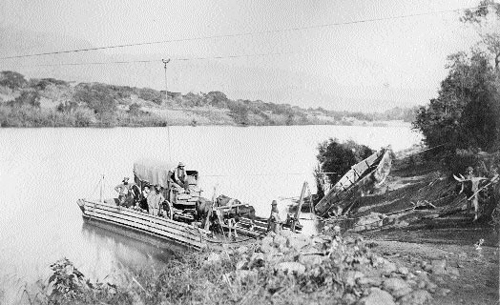
5. A wagon and oxen crossing the Thukela River by pont
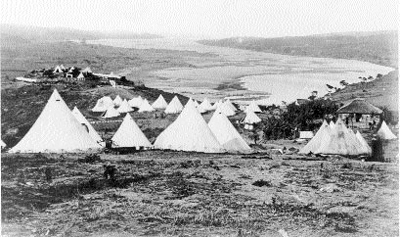
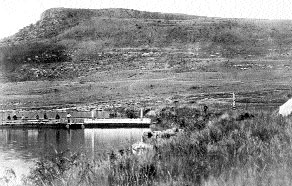
6. Fort Pearson on the Natal bank of the Thukela. Zululand is visible in the distance
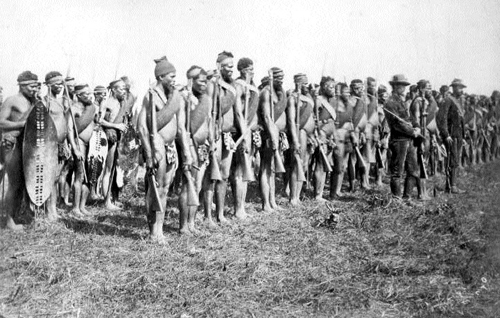
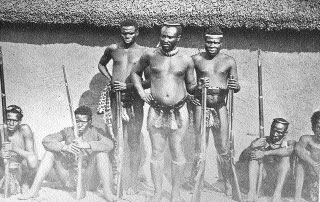
7. A unit of the Natal Native Contingent, a force of black auxiliaries raised in the autumn of 1878 to assist the British invasion of Zululand. Only one in ten was armed with an outdated firearm; the rest had to make do with billhooks, assegais and shields

8. by W. H. Durand, depicting the desperate last stand of the 24th Regiment at Isandlwana on 22 January 1879
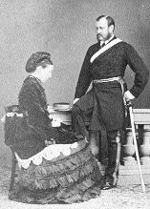
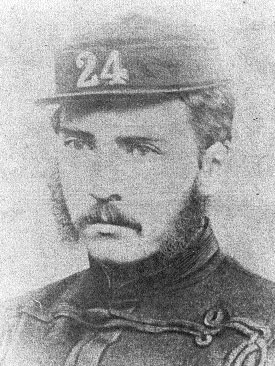
9. Brevet Lieutenant-Colonel Henry Pulleine, 1/24th Regiment, with his wife
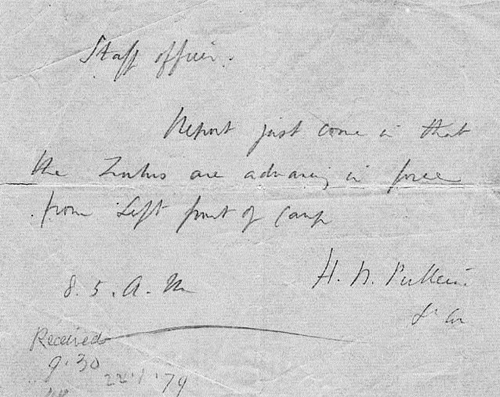
10. Colonel Pulleines famous message to Lord Chelmsford, timed at 8.05 a.m. on 22 January 1879, and warning of a Zulu advance in force from left front of camp
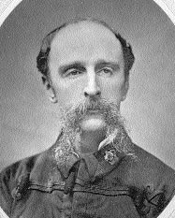
11. Lieutenant-Colonel Anthony Durnford, RE, who became the posthumous scapegoat for Chelmsfords defeat at Isandlwana
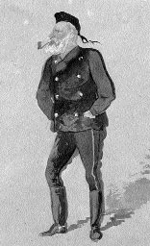
12. Watercolour of Colonel Richard Glyn, commanding No. 3 Column, by Lieutenant-Colonel J. N. Crealock, Chelmsford s talented but unscrupulous military secretary
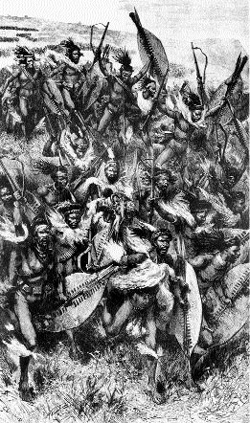
13. W. H. Durands graphic drawing of the Zulu charge at Isandlwana
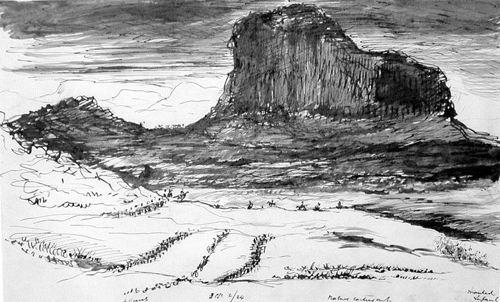
14. Pen and ink drawing by Crealock of Chelmsfords column returning to the shattered camp at Isandlwana during the evening of 22 January 1879
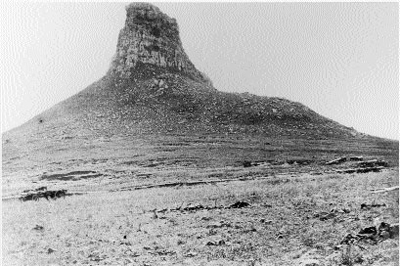
15. Abandoned wagons on the nek at Isandlwana, with bones clearly visible in the foreground. The picture was taken in May 1879, four months after the battle, when the British at last returned to bury their dead

16. Lieutenant Nevill Coghill, 1/24th, orderly officer to Colonel Glyn
17. Lieutenant Teignmouth Melvill, adjutant of the 1/24th
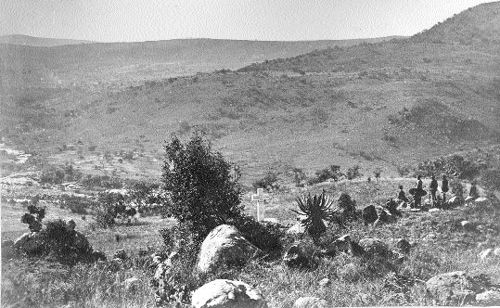
18. The spot where Lieutenants Melvill and Coghill were killed, with Zululand in the distance. The point at which the fugitives crossed the Buffalo River can just be seen to the left of the picture
19. The laager method of repelling a Zulu attack, by W. H. Durand

20. The mission station at Rorkes Drift before the war, with the Oskarberg hill behind
21. The ponts at Rorkes Drift

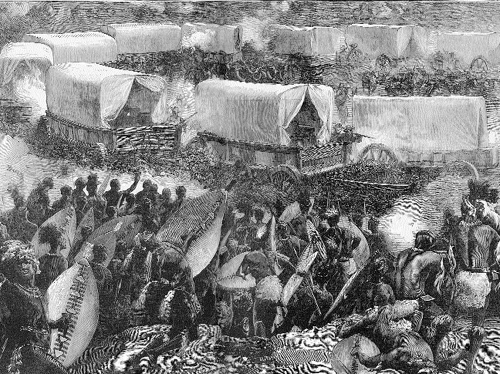
22. by Alphonse de Neuville. Many defenders are identifiable: ( ), Lieutenant Chard (in white breeches with rifle), Corporal Allen (handing Chard a cartridge), Corporal Schiess (wearing a bandolier and stabbing a Zulu at the barricade), Padre Ammunition Smith (handing out packets of bullets), Acting Assistant Commissary Dalton (sitting in foreground), Surgeon Reynolds (attending to Dalton), Lieutenant Bromhead (pointing to right), Private Hitch (behind Bromhead), Private Hook (giving Private Connolly a piggyback) and Assistant Commissary Dunne (far left, moving a biscuit box)
23. Lieutenant Gonville Bromhead, commanding B Company, 2/24th Regiment
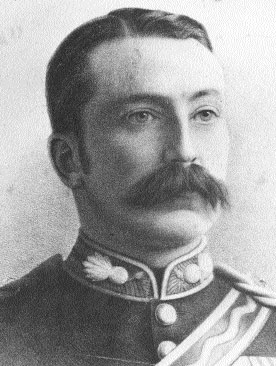
24. Lieutenant John Chard, RE, the senior officer at Rorkes Drift
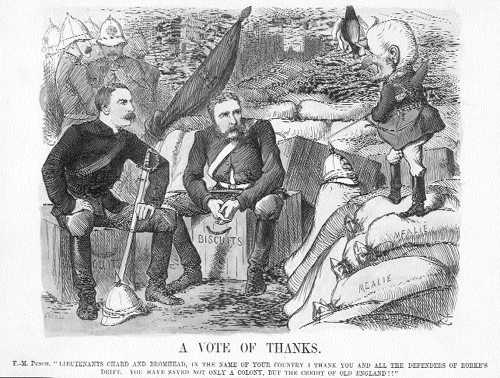
25. ff , cartoon of 22 March 1879, congratulating the defenders of Rorkes Drift for saving Natal from invasion and redeeming Britains honour. In truth the battle was little more than a border skirmish
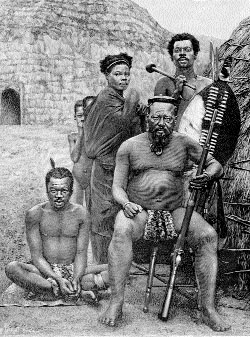
26. Prince Dabulamanzi ( ), half-brother of King Cetshwayo, who commanded the Zulu forces at Rorkes Drift. Dabulamanzi and his followers hold a variety of firearms: shotguns, hunting rifles and even outdated Tower muskets
Next pageFont size:
Interval:
Bookmark:
Similar books «Zulu: The Heroism and Tragedy of the Zulu War of 1879»
Look at similar books to Zulu: The Heroism and Tragedy of the Zulu War of 1879. We have selected literature similar in name and meaning in the hope of providing readers with more options to find new, interesting, not yet read works.
Discussion, reviews of the book Zulu: The Heroism and Tragedy of the Zulu War of 1879 and just readers' own opinions. Leave your comments, write what you think about the work, its meaning or the main characters. Specify what exactly you liked and what you didn't like, and why you think so.