APPENDIX 1
RACE DAY CHECKLIST
Trail Shoes/Race Shoes
Shorts/Capris
Top
Wicking Socks NO COTTON
Hydration Pack
Sunscreen
Small Towel
Beach Towel
Travel size biodegradable soap
Post Race Clothing
T-Shirt
Shorts
Sweatshirt/Fleece
Underwear
Hat
Flip Flops or Extra Shoes
Sunglasses
Post Race Snacks & Hydration
Cash
Water
Garbage Bag (for wet clothing)
APPENDIX 2
TRAINING LOG
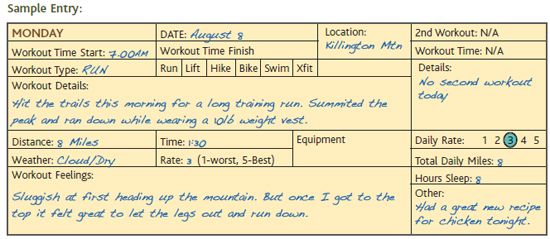
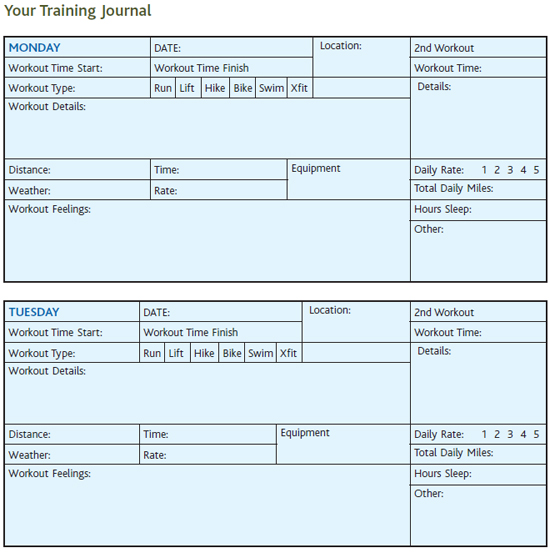
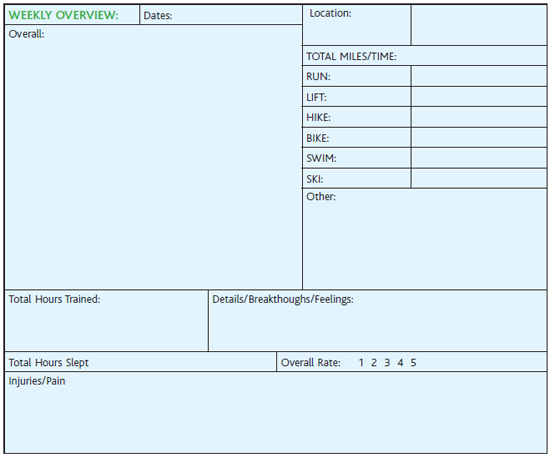
T raining logs are a key part of any training program. People who keep track of their training are more likely to keep at it and successfully meet goals. Logs are a great way to track progress and stay motivated. This training log can be adapted to almost any form of exercise and training. Below is an example of a training day.
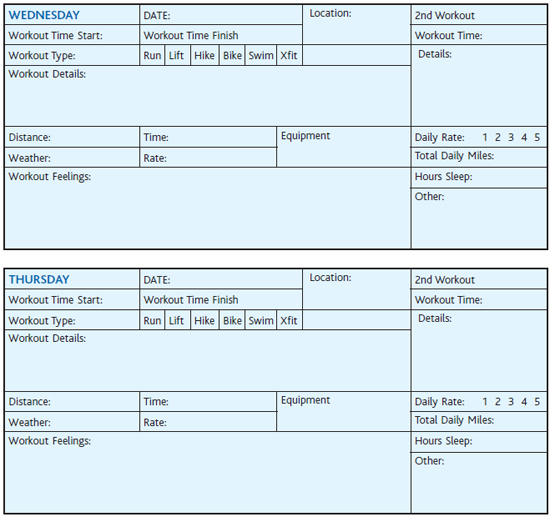
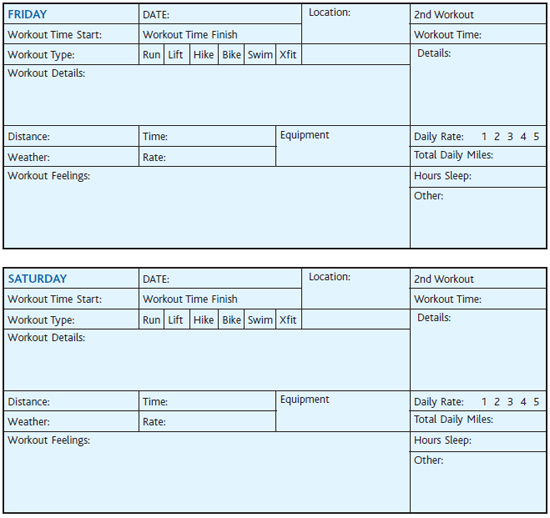
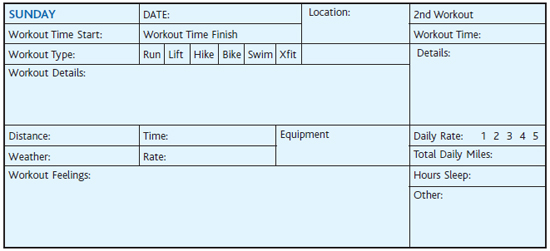
When filling out the training log it is important to be honest with yourself and fill in the details. Use the Workout Details to describe the workout more fully. Try to be diligent about filling in all the boxeseven the weather box. Yes, the weatherits an important factor to note, as you may find your intensity changes as the weather changes. Rate your workout honestly (youll soon figure out what constitutes a good or bad workout for you). Finally, use the workout feelings section to describe what you were thinking, how your body felt, or something unique you saw or learned in the session. One more thing: dont skip the sleep box! Sleep is key to successful training and is often overlooked. Track your sleep patterns and you may find that your training intensity and sleep are more connected than you think!
If this log works for you as is, make copies of these pages and create a binder. If you like, take elements from it to create a log customized to your needs. One client added a column for checking off her daily water consumption, and another checks and logs his heart rate in the mornings. Whatever you do, make it your own, let it guide you and help you do your best.
APPENDIX 3
TURNING YOUR BACKYARD
INTO A TRAINING CENTER
Sometimes going to the gym is not an option, and some local gyms dont have all the tools an obstacle course racer or mud runner needs to train properly for the next race, so more and more people are turning their backyards into training centers.
How to Build a Wall
One of the most versatile training tools you can build in your backyard is a wall. Legendary obstacle course racer Hobie Call was the first to add this tool to his backyard in 2011. Since then numerous people have built their own versions. The following is a modified version of his original wall and how to make it. This wall comes to about 76 tall.
Supplies:
13 2x6x8 boards (pine works fine)
10 2x4x8 boards (pine works fine)
1 Box of 2 inch screws (100+)
2 10-foot long 1 inch galvanized rigid steel pipes
20 Metal connector plates
5 Cans black spray paint (or color of choice)
1 Electric saw
1 Power drill (to screw in nails)
1. Cut 2x6s down to 7 long. This way you will have enough room on either side of the wall for the pull-up and muscle up bars.
2. Lay 2 2x4s across from each other on the ground. Starting from what will be the top of your wall, line up the 2x6s along the 2x4s. Insert the steel pipes at the appropriate heights for you (we like laying the first below the top board and the second below the forth board).
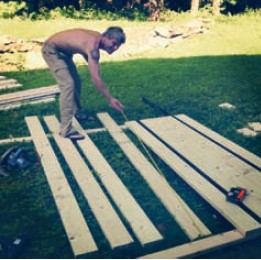
3. Screw the 2x6s into the 2x4s.
4. Measure the distance between the bottom of the last board and the bottom of the protruding 2x4. From two separate 2x4s cut a piece of wood to fit. (Set the remaining long pieces of 2x4 aside; these will form the bases of your trusses.) Screw the cut pieces flush, as shown.
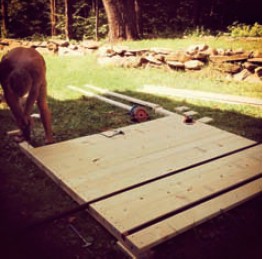
5. Reinforce your right and left sides by layering another 2x4 across your boards, in line with your original 2x4. In essence you are sandwiching your 2x6 boards between 2x4s. This adds extra security and rigidness to your wall.
6. Cut the 2x4s at an angle to form the side trusses. The angle and height will depend on where you place your muscle-up bar, so be sure to plan and measure accordingly. The bottom of the leg has to be flush with the bottom of your base board in order to lie level against the ground, so plan your bottom angles accordingly.
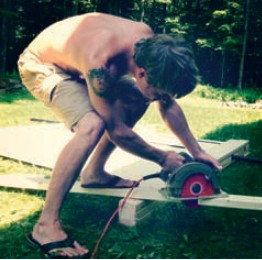
7. Screw the bottom of the legs to either end of the base. The tops of the legs should meet in a point. Screw those together or join using a connector plate if you want a more polished look (if youre feeling stuck, look ahead to the photos of the finished wall on p. ).
8. Screw the base of your truss to the bottom end of the wall side, then screw the top of the truss into the wall side. (It should come just under the muscle up bar). Making your truss this way makes it easy to remove, in case your wall ever needs to be packed flat for moving and storing.
9. Once the wall is complete, you can add 2x4 wood (excess from the truss construction) to create a kicker or helper step. This is used in many races and also is nice when going over the wall multiple times. Place the board (should be about 6 inches long) over the third from bottom board. Screw into the 2x6 on the wall with 3-4 screws.
10. Spray paint the wall. The paint helps weatherize it and adds a nice clean look. We got fancy and added the Dirt in Your Skirt Logo to ours. (p..)
Once your wall is built there are hundreds of ways to use it in your training. This is one of our favorite workouts using the wall. All you need is your wall and a sandbag.
5 sets each set includes:
1. Throw sandbag over wall
2. Climb over wall
3. Throw sandbag back over wall
4. Climb under wall
Repeat 10 times
Modifications:
More and more people are also coupling their wall with a spear and spear-throwing target. Below are instructions how to build a spear and target to attach to your wall. People commonly ask how much distance should be between you and the target. The answer is that it varies by race, so if you build a spear and target you should practice at various distances.
How to Build a Basic Spear:
Supplies:
60 bow rake handle replacement
10 or 12 inch galvanized spike
Gorilla Glue
Grinder
1. Cut the top of the spike off. The spike should fit perfectly into the tip of the rake replacement. (Test in store to make sure its the right spike.)

