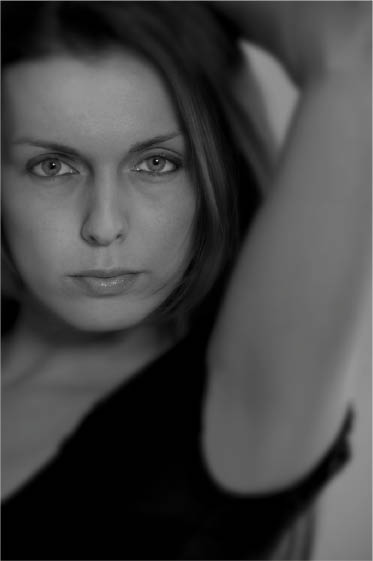
While some schools of photography preach that everything in a photograph from end-to-end should be razor sharp, other photographers have always intentionally created images where the focus is soft, either in whole or part.
A great thing about the world is that it is big enough to have room for many schools of visual thoughtand many different kinds of photos have aesthetic validity.
Personally, I try not to prejudge photos based on whether or not I likeor usea given technique in my own work. Seeing a technique that I dont use often but thats put to good use is always inspiring for my own work. That said, I prefer soft focus photos where the absence of hard edges is integral to the composition and makes visual sense, rather than photos that use soft focus to hide flaws in the underlying subject. The choice, however, is yours: when soft focus is in your toolbox you can use it to hide wrinkles, or to create novel compositionsor both.
There are many ways to create soft focus effects with your camera. Some of these involve no special equipment, but can be tricky to get just right; for example, throwing your lens slightly out of focus, or moving the camera slightly.
Another approach is to add a filter to the end of your normal lens that will soften the photo (a clear filter coated with a soapy solution, vaseline, or other schmutz works for this), or to use a special soft focus lensessentially, as Ive joked, turning an expensive interchangeable lens DSLR into a cheap plastic camera.
An interesting variation is selective soft focus. This means that everything in an image is soft except a relatively small areaoften the center. A crisply focused lens set to a wide open aperture (so there is low depth-of-field) can achieve this effect, as can some filters. A great tool for controlled and selective focus in-camera is the Lensbaby, a lens that can be moved to alter the point of focus and the degree to which the surrounding areas are out of focus.
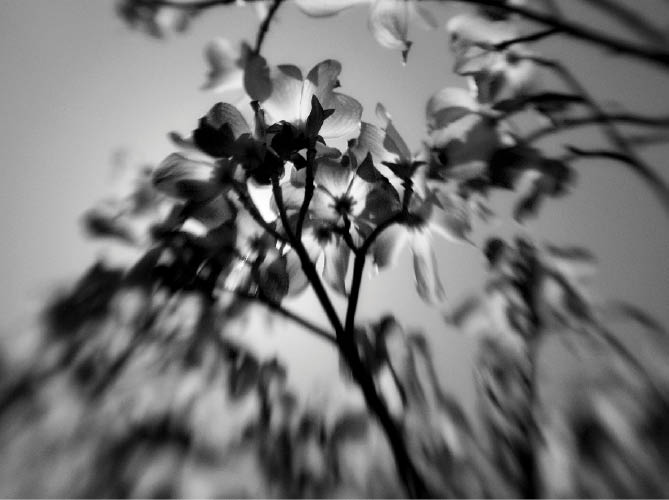
- I used the sweet spot the area that is in focus when creating an otherwise soft focus Lensbaby imageto highlight a single apple blossom in this selective focus image.
Lensbaby Composer, standard optic, 1/8000 of a second using f/8 aperture ring at ISO 400, hand held
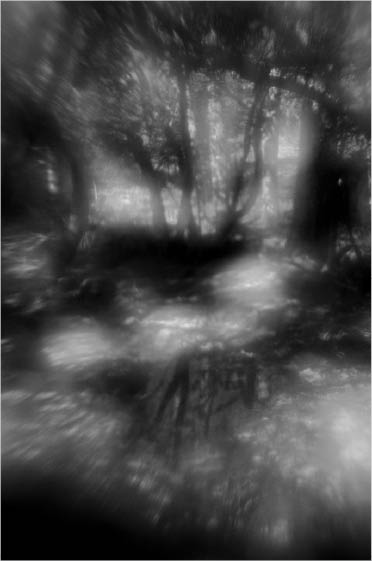
- This intentionally soft focus effect of sunlight in a forest glade was created in-camera using a plastic lens.
Adding Soft Focus
Didnt think to create a soft focus capture when you took the photo? Dont worry, no problem. Its pretty easy to create soft focus effects after the fact in the Photoshop darkroom, including selective soft focus.
Of course, you can do just about anything in Photoshopand there are usually many ways to do those many things. But you need to know where you are headed. Thats why Ive started this section with some examples of soft focus effects created in the camerathese provide an idea for what kind of effects you can create in post-processing that will have visual credibility.
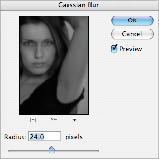
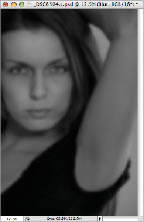
Probably the easiest way to add a soft focus effect to a photo is to use the Gaussian Blur filter. For example, I took a number of fairly standard photos of a model holding her hands above her head, and wanted to add some interest to the portrait.
- Step 2: Choose Filter Blur Gaussian Blur. The Gaussian Blur dialog opens.
- The head shot of this model with her arms above her head needs a way to draw viewer interest into the photo and focus attention on her face.
Lensbaby Composer, Plastic Optic, 1/800 of a second using f/4 aperture ring at ISO 400, hand held
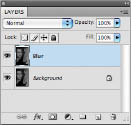
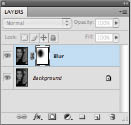
- Step 4: With the Blur layer selected in the Layers palette, choose Layer Layer Mask Reveal All
to add a white layer mask to the Blur layer.
(For more about layer masks, turn to page 98.)
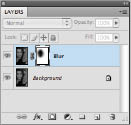
- Step 5: Select the Brush Tool from the Toolbox and make it soft so the edges feather as you paint. Set the Hardness to 0% and the Opacity to 50%. You can adjust these settings as you paint.
- Step 6: Paint on the face to hide the Blur layer and reveal the sharp Background layer underneath.


