.:emily chen:.
Thank you for purchasing this Martha Pullen eBook.
Sign up for our newsletter and receive special offers, access to free content, and information on the latest new releases and must-have crafting resources! Plus, receive a coupon code to use on your first purchase from Store.MarthaPullen.com for signing up.
or visit us online to sign up at
http://marthapullen.com/ebook-promo
dedication
To Mom and Justin.
contents
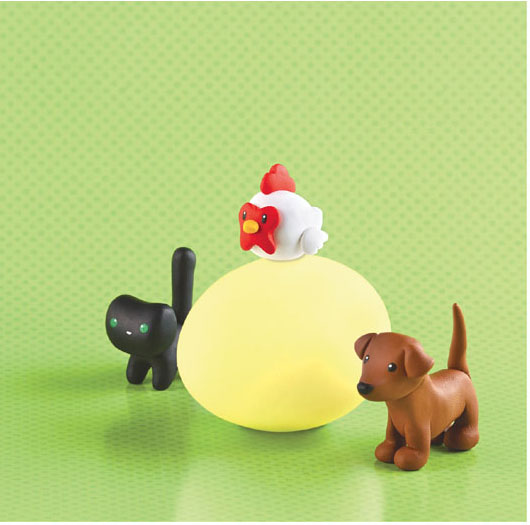
introduction
Welcome to the world of polymer clay! I have worked with polymer clay for more than ten years now and continue to learn new things every day. Its a versatile material that anyone can work with, even without any kind of formal schooling or training. Whether it be miniature foods, animals or imaginary creatures, the skys the limit when it comes to what you can create with polymer clay.
Most of the projects in this book are inspired by Japanese kawaii, or cute, culture. The projects are meant to teach you some polymer clay basics and beginner techniques that will hopefully inspire you to design your own cute clay creations.
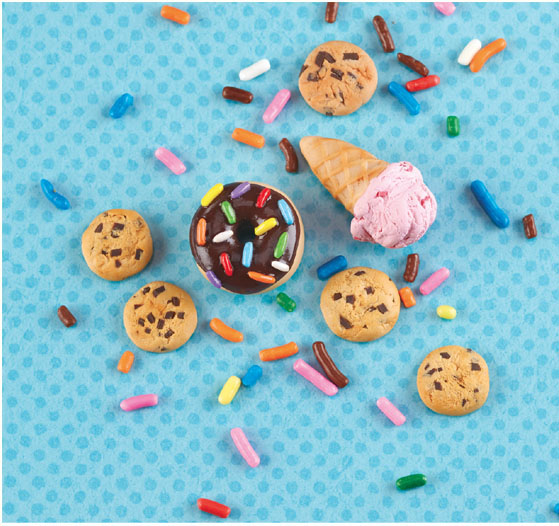
materials and tools
In this chapter, I will introduce you to the materials and tools that we will work with in the projects that follow. All of these items are widely available at craft stores and online, but if you cannot find a specific tool, do not fret! Many tools can be replaced with household objects.
Materials
Polymer Clay: Polymer clay is a versatile modeling material made from polyvinyl chloride (PVC) that remains malleable until it is cured in an oven. It comes in a wide variety of colors and can be combined to make any color you can imagine.
A large variety of polymer clay is available on the market. Three of the most popular brands are Sculpey III, Premo! Sculpey and FIMO. All of these are available at your local arts and crafts store or can be found online. Other available brands of polymer clay include Cernit, Kato Polyclay, Pardo, Formello, Modello and Du-kit. As polymer clay becomes more popular, stores are beginning to stock a wider variety of brands, so keep an eye out for these in the future.
When purchasing clay, feel different packages of the same color to compare the softness of the clay. Try to pick the softest clay, as it is easier to work with than harder clay. Some brands start out hard as a brick, and these need to be conditioned before use. Different brands and even different colors within a brand vary in softness and finish strength. Furthermore, weather (especially humidity) can affect how the clay feels.
Sculpey III is the cheapest of the brands listed and is good for children or beginners who dont want to invest too much money.
FIMO and Premo! Sculpey are both pretty strong, and the projects in this book are all made using a combination of these two brands.
Play around with different brands to see which ones you prefer and what works best where you live.
Liquid Polymer Clay: Liquid polymer clay can be used for some interesting techniques, such as creating image transfers, baking separate pieces together and even glazing. (This is different from bakeable adhesive products made especially for bonding, such as Bake & Bond.) Liquid polymer clay is available from Sculpey, Kato Polyclay and FIMO. In this book we will be using liquid clay to create realistic textures for cake frosting and peanut butter and jelly sandwiches.
Acrylic Paint: Water-based acrylic paints can be used on finished polymer clay pieces to add details. Any quality water-based acrylic will work well on the clay.
Chalk Pastels: Chalk pastels are great for adding soft color to polymer clay and liquid clay. You can buy pastels individually or in packs in a variety of colors. Either scrape off a bit of the pastel when you need it or store the pastel powder in small containers for quick access. Use a small, soft brush to apply the pastels to unbaked clay.
.: clay too sticky or too hard? :.
Although clay does not go bad, it can become hard after years of sitting on the shelf. If your clay is too hard, add some clay softener (found in craft stores) or mix it with softer clay. You can also add some liquid clay or a tiny bit of baby oil.
If your clay is too soft, mix it with harder clay or leach the clay. To do this, roll out a thin layer and place it between two sheets of plain white paper for a few hours. The paper will soak up some of the plasticizer in the clay, making it less soft. Alternatively, you can place it in the freezer for a few minutes until it becomes hard enough to work with.
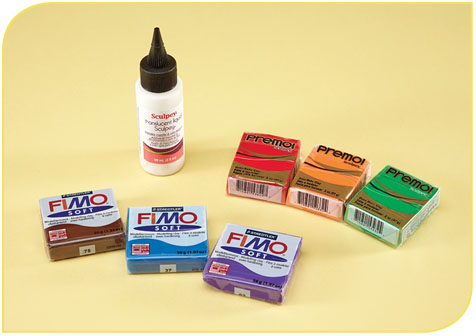
Polymer clay comes in different brands, shades and forms.
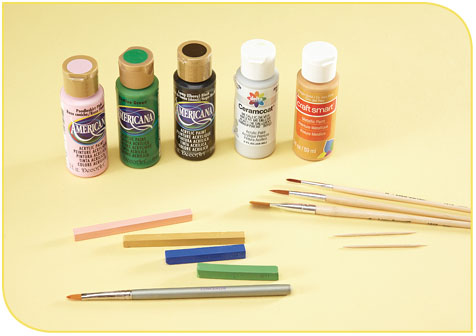
Water-based acrylic paints can be used to detail finished pieces, and chalk pastels provide subtle color when applied prior to baking. Use toothpicks for small details and brushes for applying pastel powders or larger paint details.
Glues and Adhesives: Theres a huge variety of glue and adhesive on the market. In the end, choosing one comes down to personal preference. Super Glue, epoxy glue or E6000 glue are all strong adhesives that will work on polymer clay. Use glue to make repairs if something falls off after baking and to glue in eye pins or attach your pieces to jewelry.
Glaze or Finish: Glazes are available from FIMO, Sculpey and Kato Polyclay, but any kind of water-based polyurethane finish can be used for finishing your polymer clay pieces. The hardware store is a great place to find cans of finishes for lower prices.
Wire: Wire is used for reinforcing delicate parts of a project and for making jewelry. Use 18- or 20-gauge wire in any color.
Tools
Work Surface: A clean work surface is a necessity. A sheet of silicone like those used in baking, plexiglass or a smooth ceramic tile are all great surfaces to work on. Do not place uncured clay on wood or a varnished surface! The plasticizer in the clay will eat away at the varnish and wood, so always protect these surfaces.
Oven: You will need an oven to cure your finished pieces. Although a regular kitchen oven or toaster oven can be used, it is best to have an oven dedicated to baking clay.

