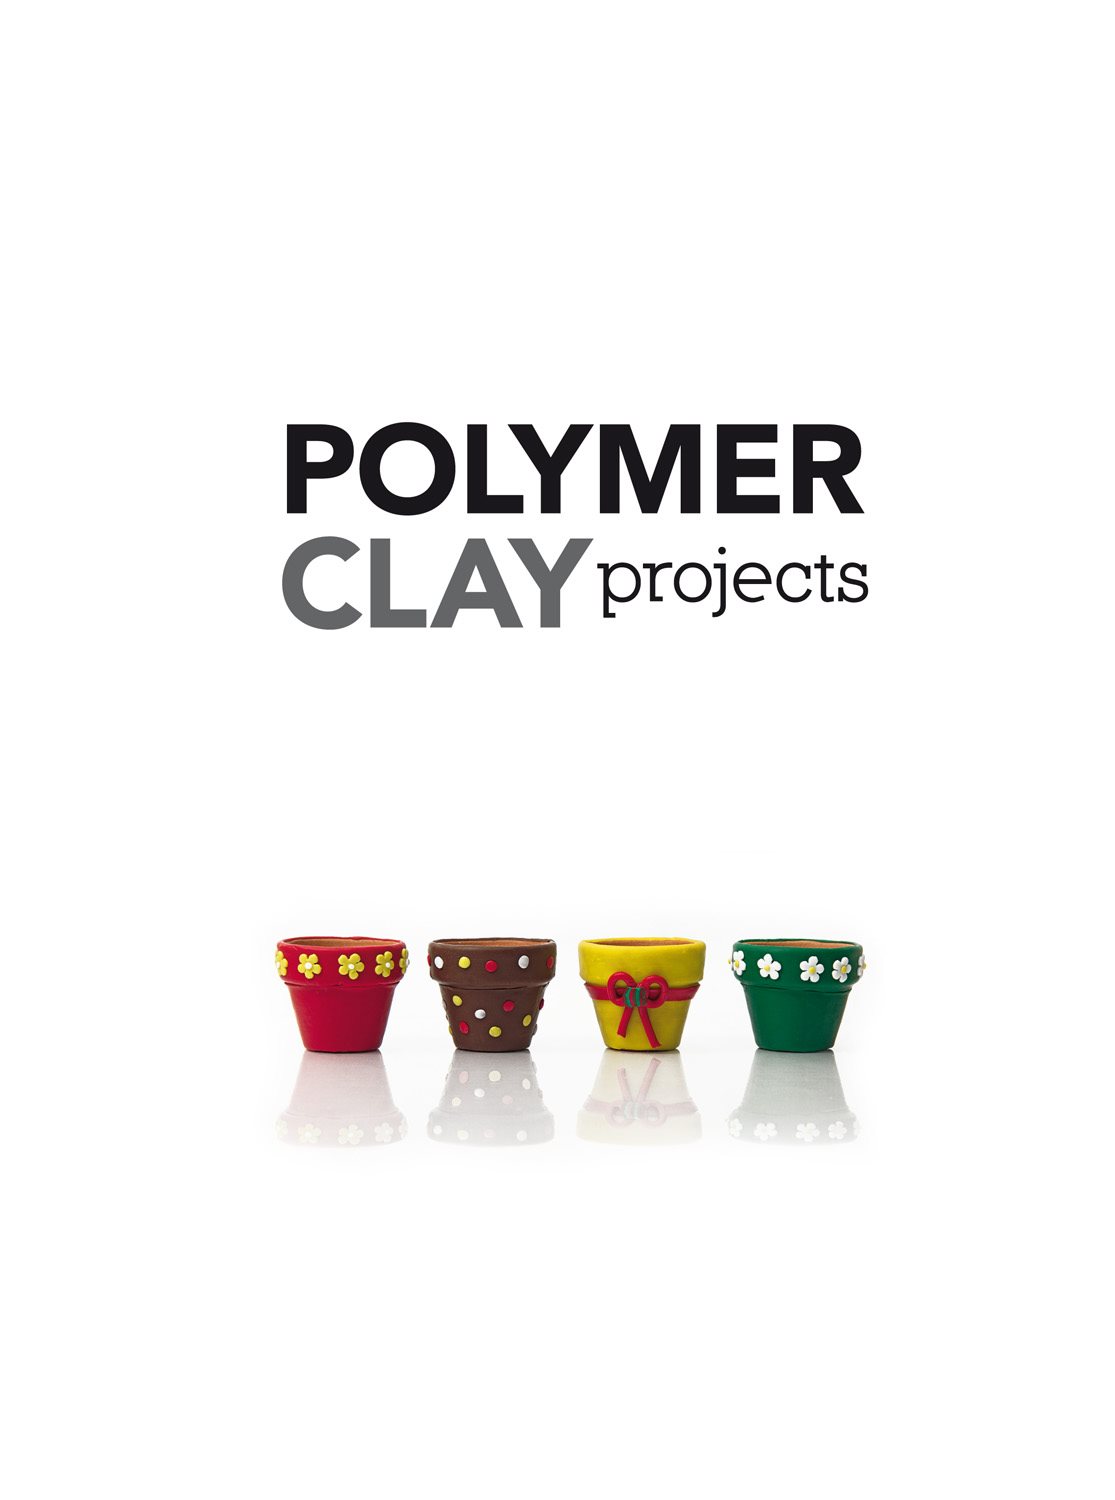
POLYMER CLAY projects
POLYMER CLAY projects
Create fun & functional objects from clay
Fransie Snyman
Published by Stackpole Books
5067 Ritter Road
Mechanicsburg, PA 17055
www.stackpolebooks.com
First published in 2013 by
Metz Press
1 Cameronians Avenue
Welgemoed, 7530 South Africa
Copyright Metz Press 2014
Text copyright Fransie Snyman
Photographs copyright Metz Press
All rights reserved. No part of this publication may be reproduced, stored in a retrieval system or transmitted in any form or by any means, electronic, mechanical, photocopying, recording or otherwise, without the prior written permission of the copyright owners.
PUBLISHER Wilsia Metz
DESIGNER Liezl Maree
COVER DESIGNER Wendy Reynolds
PHOTOGRAPHER Kenneth Irvine
TRANSLATOR Amanda Taljaard
COPY EDITOR Nikki Metz
PROOFREADER Estelle de Swardt
REPRODUCTION Color/Fuzion, Green Point
Printed in the United States of America
ISBN 978-0-8117-1403-7
Contents
Introduction 6
History and types of clay 8
Crafting tools and materials 12
Basic techniques 18
Caning 24
Millefiori canes 40
Projects 52
Suppliers 128
Introduction
I first encountered polymer clay in the late 80s. At the time, I made only large, brightly coloured beads of various shapes and hues. It was the height of fashion to have a string of beads to match every outfit.
The only variations that were considered were changing the shapes of the beads and combining a number of colours to give the beads a marbled appearance that was ever so pretty. A leather string, either matching the colour of the beads or of a contrasting colour, was used to thread the beads. The beads were sometimes varnished, but a matt finish was very popular.
Some bead shops did sell more delicate clay beads with fine detail, but these were usually imported and therefore very expensive.
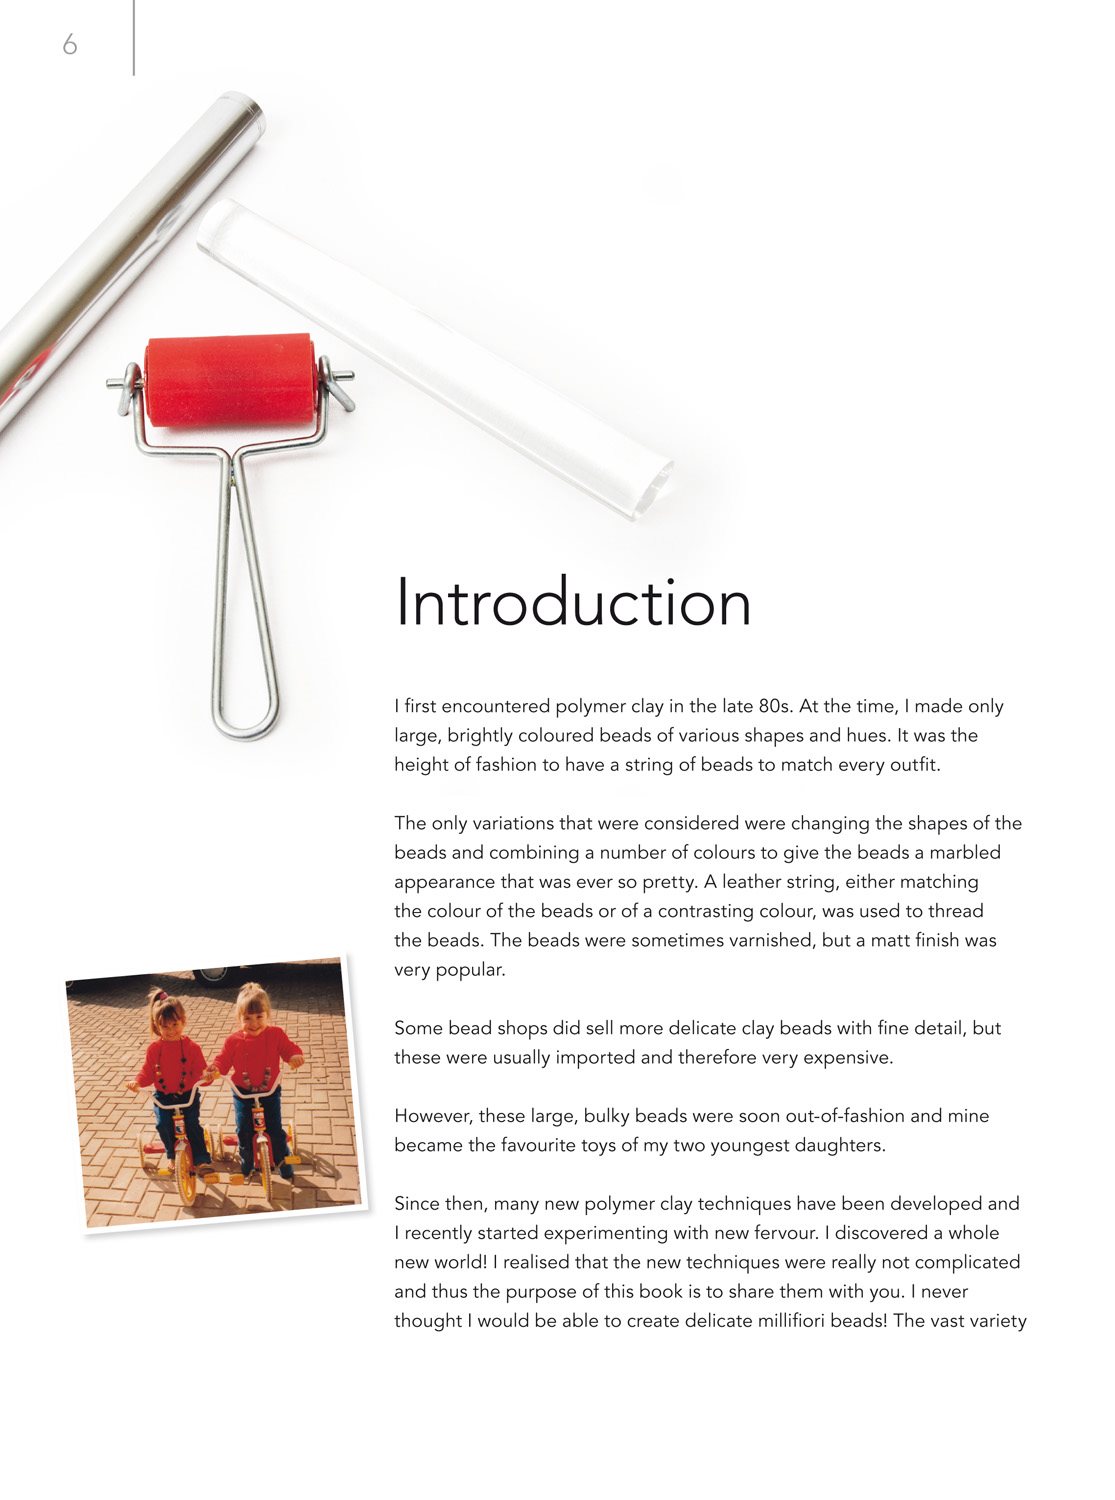
However, these large, bulky beads were soon out-of-fashion and mine became the favourite toys of my two youngest daughters.
Since then, many new polymer clay techniques have been developed and I recently started experimenting with new fervour. I discovered a whole new world! I realised that the new techniques were really not complicated and thus the purpose of this book is to share them with you. I never thought I would be able to create delicate millifiori beads! The vast variety
of applications never ceases to amaze me. If I were to compile a list of all the applications, it would keep me busy for a very long time!
The purpose of the projects in this book is to provide ideas. By using different colour combinations and making other changes to the projects, you can fashion your own creations.
Even though there are really not many rules to consider when workingwith polymer clay, you have to acquire a few basic techniques in order to ensure success. Once you have mastered these, you can make your own rules and add personal touches to your creations to your hearts content. The clay can be transformed into a work of art by the hands of each individual who handles it.
I made many mistakes while working on the different projects; hence, I have tried to point out possible mistakes to you in this book so that you can learn from my mistakes. You may very well also end up with a few lessthan- perfect projects, but one learns most from ones own mistakes.
I hope you enjoy the projects in this book!
Fransie
History and types of clay
Polymer clay has been available since the 1930s. It was developed by doll makers who were looking for a strong but mouldable clay for sculpting doll heads. Fimo was the first type of clay to be developed. Other brands soon followed.
The formulae used by individual manufacturers differ slightly and, as a result, the varioustypes of clay have different properties. The best way to familiarise yourself with the properties of a brand is to experiment with the various types and, thereafter, you can decide which clay you would prefer to use.
My personal favourites are Cernit and Premo because they are South African brands that are readily available. The following information may assist you in choosing the type of clay that you would like to use.
The most well-known brands are Kato, Fimo and Cernit. Filani is a polymer clay that is made in South Africa. All the brands are available in an array of colours, but you can create any colour by mixing the available ones.
Kato clay is the hardest type and the most difficult to condition, but it is the best choice for delicate millefiori work since it does not easily lose its sculpted shape. It is very strong and elastic after curing (hardening), and can be used for any clay work.
Fimo clay is available in two types Fimo Classic and Fimo Soft. FimoClassic is also stiff and difficult to condition, but you can achieve very fine detail using this clay. The clay is strong and elastic after it has been baked. Fimo Soft is much easier to condition, but it cannot be used for intricate projects involving very fine detail.
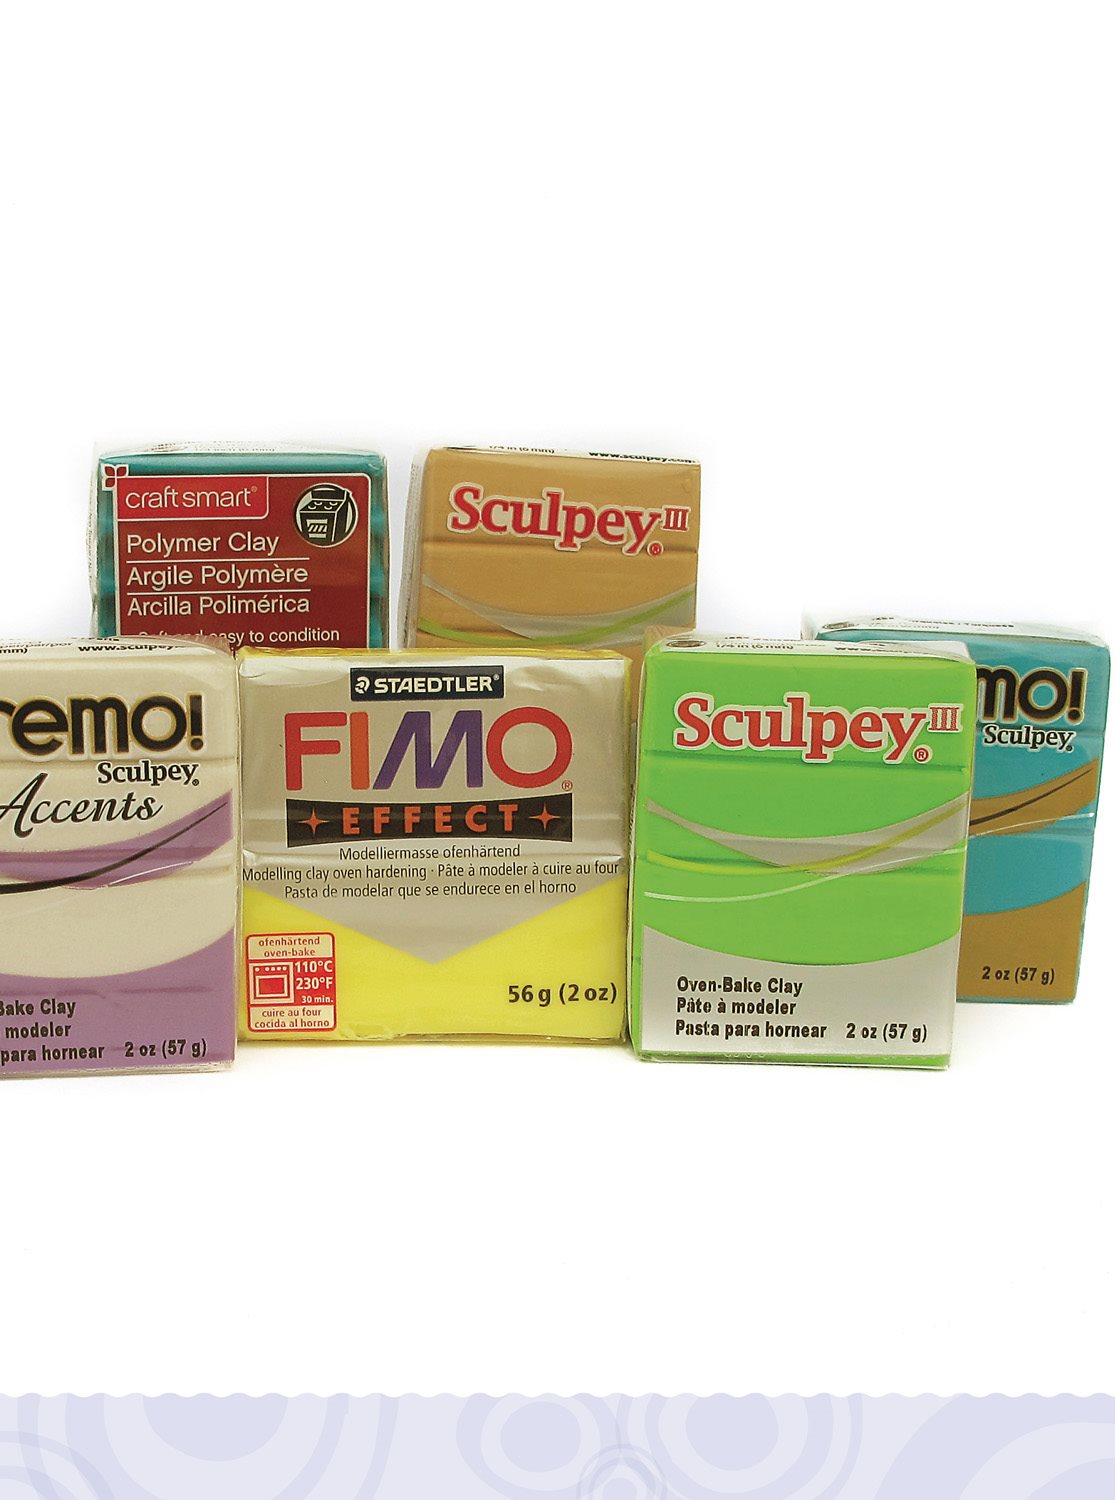
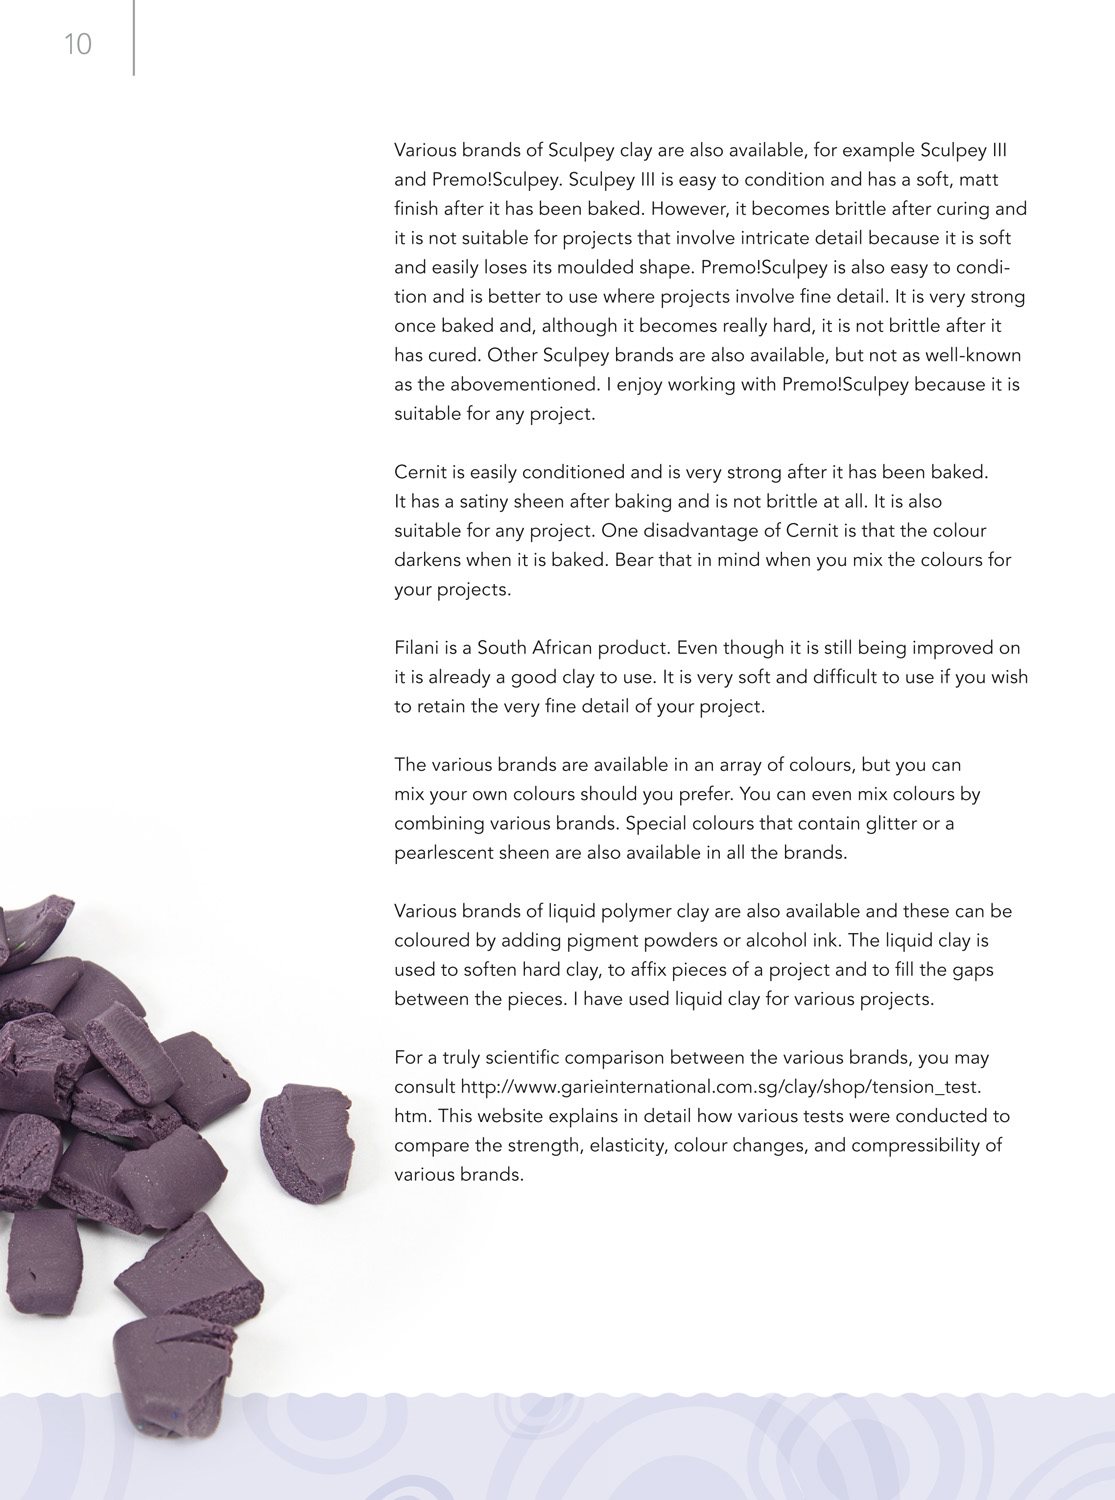
Various brands of Sculpey clay are also available, for example Sculpey III and Premo!Sculpey. Sculpey III is easy to condition and has a soft, matt finish after it has been baked. However, it becomes brittle after curing and it is not suitable for projects that involve intricatedetail because it is soft and easily loses its moulded shape. Premo!Sculpey is also easy to condition and is better to use where projects involve fine detail. It is very strong once baked and, although it becomes really hard, it is not brittle after it has cured. Other Sculpey brands are also available, but not as well-knownas the abovementioned. I enjoy working with Premo!Sculpey because it is suitable for any project.
Cernit is easily conditioned and is very strong after it has been baked. It has a satiny sheen after baking and is not brittle at all. It is also suitable for any project. One disadvantage of Cernit is that the colour darkens when it is baked. Bear that in mind when you mix the colours for your projects.


