Publisher: Amy Barrett-Daffin
Creative Director: Gailen Runge
Senior Editor: Roxane Cerda
Editor: Madison Moore
Cover/Book Designer: April Mostek
Production Coordinators: Zinnia Heinzmann and Tim Manibusan
Photography Coordinator: Lauren Herberg
Photography Assistant: Rachel Ackley
Front cover photography by Paula Shoultz
Instructional photography by Lauren Tomlinson
Subjects and lifestyle photography by Anne McGrath
Published by Stash Books, an imprint of C&T Publishing, Inc., P.O. Box 1456, Lafayette, CA 94549
Dedication To my incredible siblings who encouraged me and cheered me on for so many years. Thank you for believing in me before I believed in myself. Acknowledgments Thank you Lauryn Walsh for sharing your clay book with me all those years ago!
BASICS
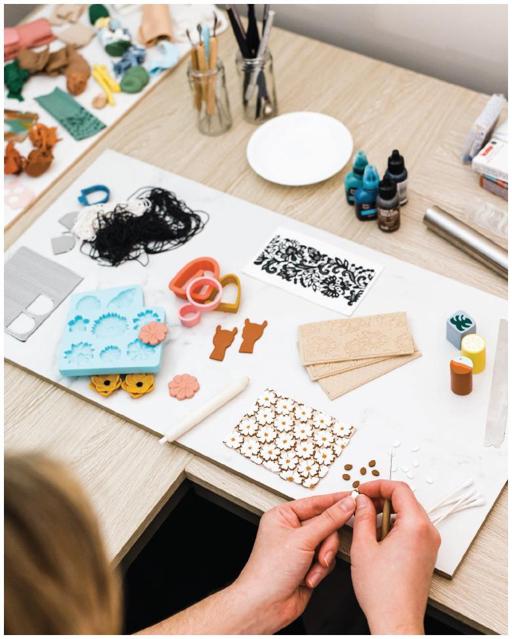
In this section, youll learn all the techniques, tools, and materials that youll need to make your first polymer clay project!.
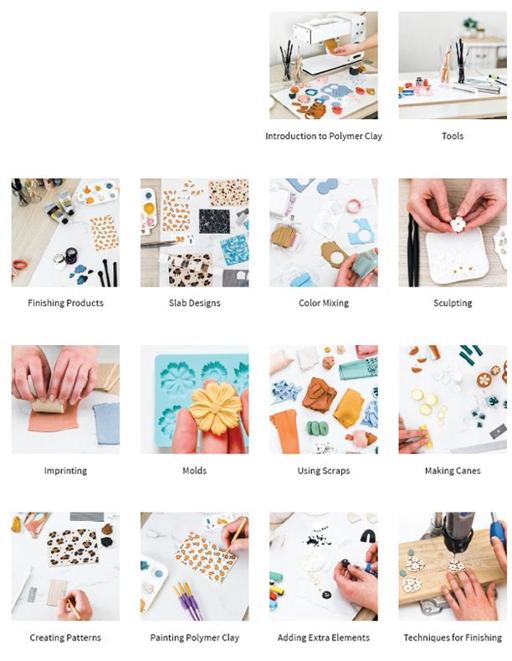
Introduction to Polymer Clay
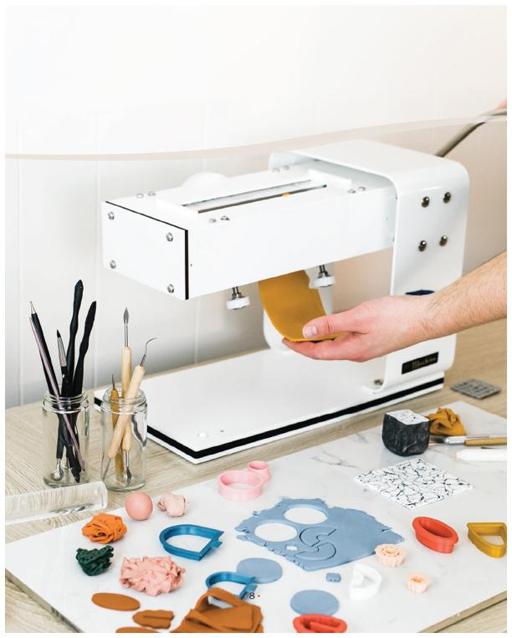
Polymer clay is a man-made modeling clay made of polyvinyl chloride, better known as PVC. It is soft and malleable until safely baked at a low temperature (275F) in your home oven or toaster oven. After baking, it becomes hard but flexible plastic. It is a beautifully versatile medium that began as a craft for kids but that can now be found as part of works in major museums.
Clay Brands
Now that you know what it is, which brand should you choose? There is no right or wrong answer to this question; it truly comes down to preference! Each brand has its own look, feel, and characteristics. Some brands work for every project, and some are better suited for specific projects. The more you use and experiment with different brands, the easier it will be to narrow down your favorites.
The clay I use for the projects in this book are Fimo, Premo, Sculpey Souffl, and Cernit. Together they come in a massive range of colors and have a variety of finishes when baked. Each of these brands is very strong after baking, if baked properly; your finished project will hold up beautifully to ongoing use.
PRO TIP You can mix all the clay brands together. This allows you to create custom colors and develop a custom look and feel to your clay.
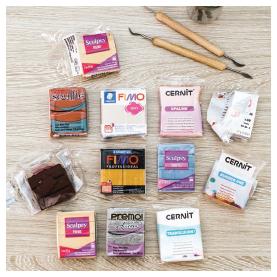
Fimo can be very crumbly and hard to work with right out of the package, but I promise with a little bit of time, patience, and conditioning, it will come together (well get to conditioning soon).
Premo is a well-loved brand that has a wide range of colors and effects. Ive always found that it bubbles a bit more than other brands, but its great when mixed with a different clay. I usually choose Sculpey Souffl for mixing with Premo.
Sculpey Souffl is one of the easiest clays to use! It typically needs little to no conditioning, so it can be used straight out of the package. Its also the least prone to bubbles, making it a great clay to use on its own or mix into other brands.
Cernit is a strong, gorgeous clay that has more of a porcelain finish. Cernit also has my favorite line of translucent clays.
WHAT NOT TO USE
I always feel there should be a warning about SculpeyIII clay, so Im giving one. It is one of the most widely recognized brands, comes in many beautiful colors, and is one of the easiest clays to find. However, it is best suited for kids crafts. No matter how long you bake it, it will remain weak and brittle.
If you already have a stash of it and dont want it to go to waste, there are a few things you can do with it. It can be used to create something thick like a candle holder; the thicker your project is, the harder it will be to break. You also can layer or mix SculpeyIII with a stronger brand or use it to prototype new designs. I personally never use this brand and wouldnt recommend purchasing it.
Conditioning Your Clay
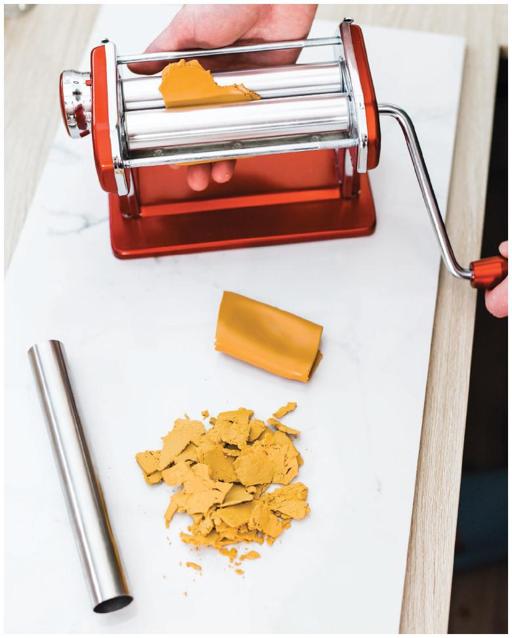
Some clay can be used easily straight from the package, but most will need to be worked with your hands for a bit before they are soft enough to use. Warming up your clay to make it workable is called conditioning. You can warm it up by kneading it with your hands or by running it through a pasta machine several times. While conditioning, you want to introduce as little air as possible; this will reduce the amount of bubbles in your finished project.
Using a pasta machine is the easiest way to condition, and it eliminates the most bubbles. Run your clay through the pasta machine at the thickest setting, fold it in half, and run it through again. Rotate the clay so that the folded seam goes through on the side, which ensures air doesnt get trapped between the folds. If you see bubbles as you roll out your clay, use a blade or needle tool to slice or poke them as you continue to condition.
Some clays are more crumbly than others and are harder to condition. Instead of trying to condition a huge pile of crumbly clay, I like to start with a small portion and slowly work in the rest as I go. This works especially well for Fimo. If your clay just wont come together, you can add a few drops of clay softener and continue mixing.
PRO TIP On the other hand, if your clay is too soft and sticky, you can leach some of the oil out of it by sandwiching it between two pieces of cardstock, placing something heavy on top, and letting it sit. The paper will absorb some of the oil, making it less sticky.
Once your clay is soft and easy to manipulate, youre ready to start creating!
Baking Surfaces
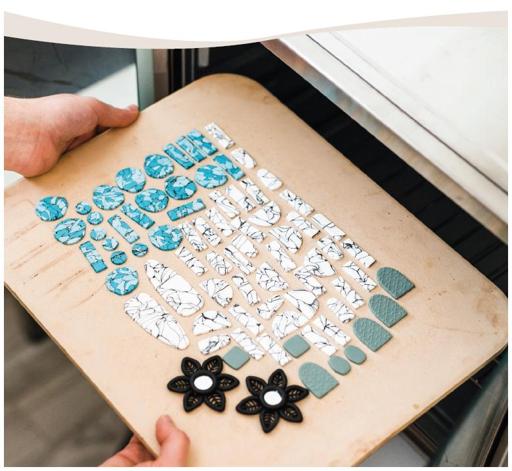
Because you are baking your clay at such a low temperature, you can use any oven-safe surface when baking. Tile, tin, glass, and pizza stone are all popular choices. You can even bake on cardstock or cardboard. Be aware that if you bake on a shiny surface, like glass, your clay will get shiny spots wherever it is touching that surface. I personally prefer baking on a pizza stone to avoid this, but any of these options will work, and you just need to find what works best for you.
PRO TIP Tenting your project with cardboard will help keep a consistent temperature on your pieces and prevent any scorching. I use a cardboard box top that is a couple inches deep. Place the cardboard over the piece and on top of your baking surface.
Ovens
You can safely use your home oven or a toaster oven to bake clay. But not all ovens are created equal. When baking food, your oven temperature can fluctuate without it ruining your recipe. Thats not the case with clay. If your temperature is too high, you can scorch and discolor your piece. Too low, and your clay will remain weak and brittle. So an oven thermometer is an essential tool.
You can set your oven to 275F, but more than likely, thats not exactly accurate. Every oven is different, and you should always run some tests before risking a project you worked hard on. My oven needs to be set at only 260F to reach 275F, but someone I know with the same oven needs hers set right at 275F.
Next page
