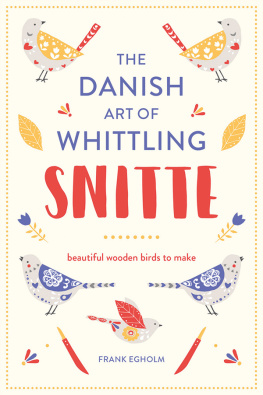
Egholm - Snitte: Make beautiful wooden birds
Here you can read online Egholm - Snitte: Make beautiful wooden birds full text of the book (entire story) in english for free. Download pdf and epub, get meaning, cover and reviews about this ebook. City: La Vergne, year: 2017, publisher: Pavilion Books, genre: Children. Description of the work, (preface) as well as reviews are available. Best literature library LitArk.com created for fans of good reading and offers a wide selection of genres:
Romance novel
Science fiction
Adventure
Detective
Science
History
Home and family
Prose
Art
Politics
Computer
Non-fiction
Religion
Business
Children
Humor
Choose a favorite category and find really read worthwhile books. Enjoy immersion in the world of imagination, feel the emotions of the characters or learn something new for yourself, make an fascinating discovery.
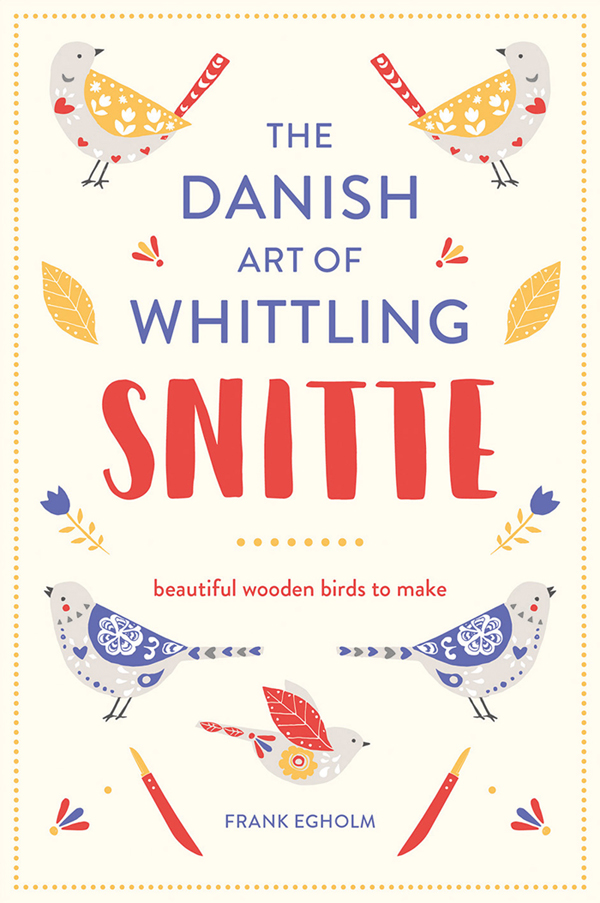
Snitte: Make beautiful wooden birds: summary, description and annotation
We offer to read an annotation, description, summary or preface (depends on what the author of the book "Snitte: Make beautiful wooden birds" wrote himself). If you haven't found the necessary information about the book — write in the comments, we will try to find it.
Egholm: author's other books
Who wrote Snitte: Make beautiful wooden birds? Find out the surname, the name of the author of the book and a list of all author's works by series.


Snitte: Make beautiful wooden birds — read online for free the complete book (whole text) full work
Below is the text of the book, divided by pages. System saving the place of the last page read, allows you to conveniently read the book "Snitte: Make beautiful wooden birds" online for free, without having to search again every time where you left off. Put a bookmark, and you can go to the page where you finished reading at any time.
Font size:
Interval:
Bookmark:


STARTED
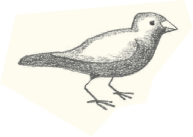
Before you get started on whittling your birds, make sure all your equipment is in place. On the following few pages well explain how to design and draw your bird template. 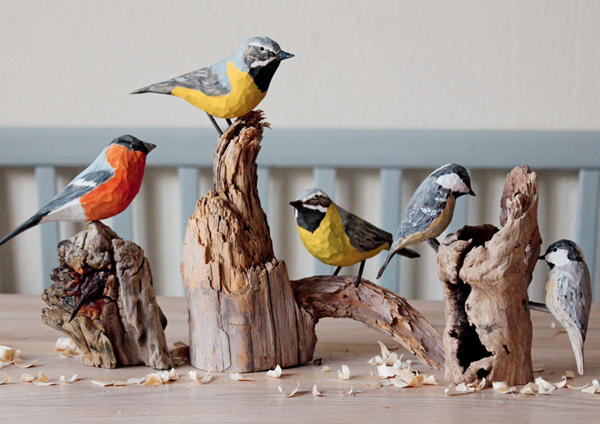
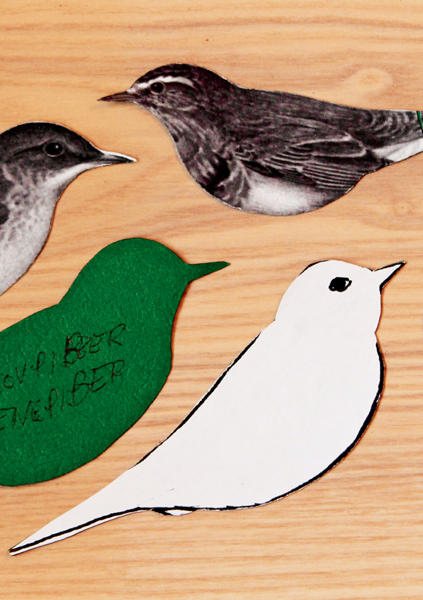
SMALL BIRDS
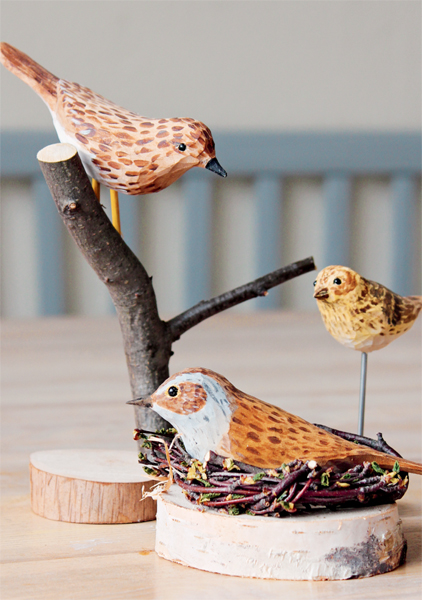
Lime is a soft wood and easy to carve, but you can also use other soft woods, such as poplar, alder or basswood. The bird can then be mounted in a decorative fashion for example on a piece of driftwood and painted. So, once you are equipped with a sharp knife and a pre-cut block, its time to whittle. 
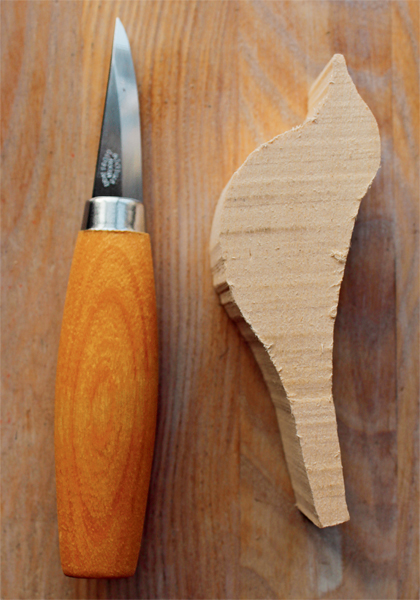
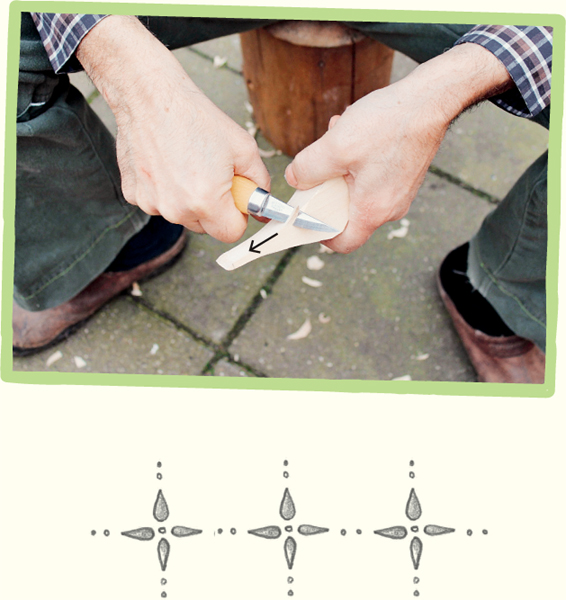
Position the template so that it lies along the wood grain, as otherwise the beak can break easily. 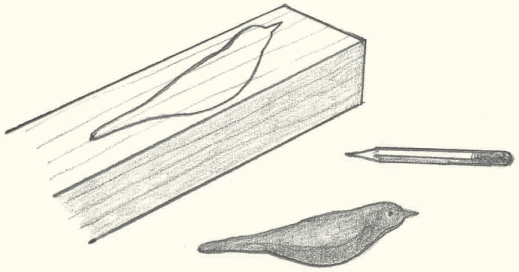
THE BIRD SHAPE
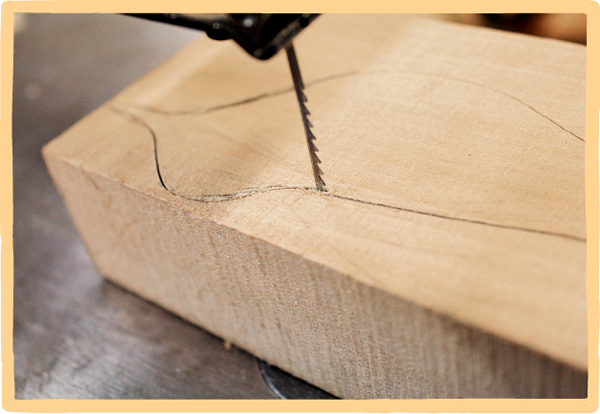
 To cut out the bird shape you can use a scroll saw with a strong blade, or a jigsaw with a narrow blade for curves.
 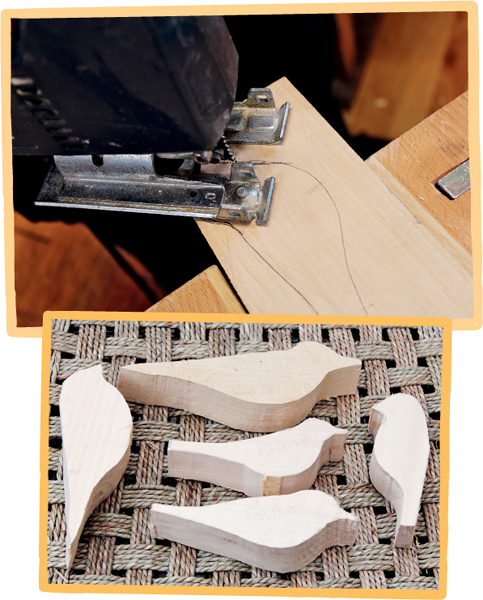 You can also use a fretsaw/hand scroll saw if you prefer, or a band saw with a narrow blade.
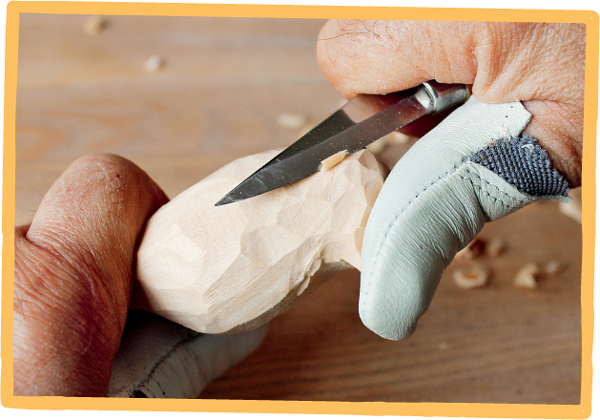
 See supplier list, . You can also protect your thumb and fingers with leather finger guards (or you can cut the finger off a thick glove). 
YOUR BIRD
Now its time to start whittling and bring your bird to life! There are several different whittling techniques you can use to make your bird, all described in this section. If you want to see videos of techniques and birds being whittled, go to www.snittesiden.dk. 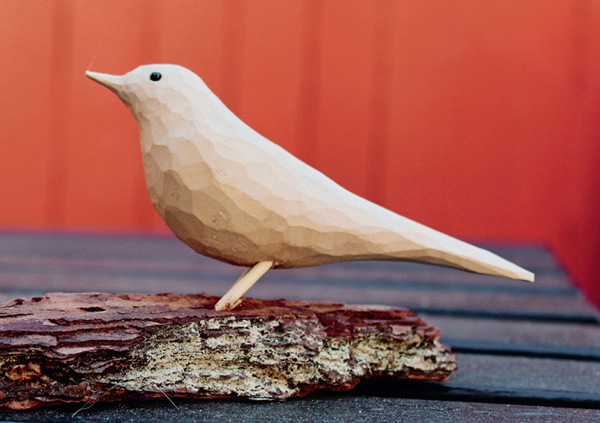
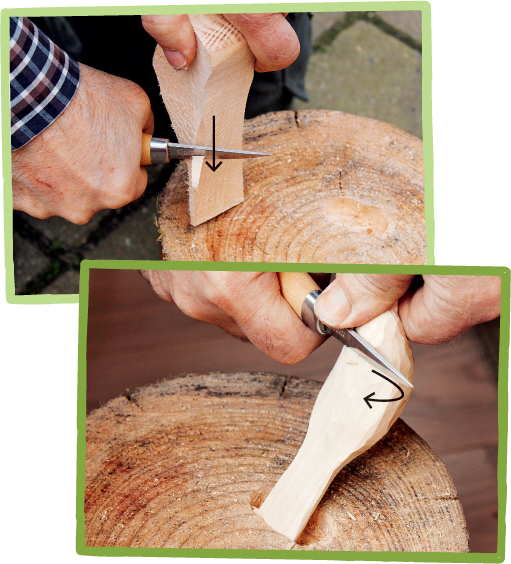
Push the knife away from you, and pull the wood back at the same time. You can also twist the knife as you cut. 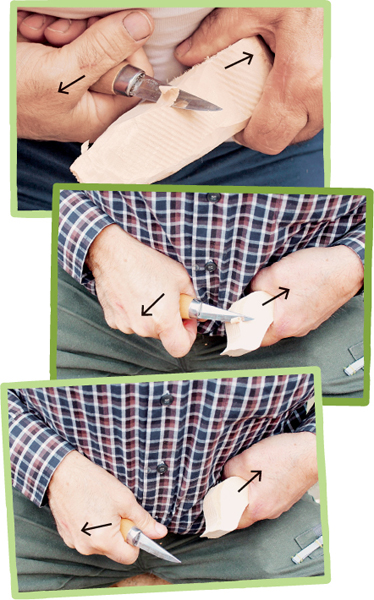
See for instructions for how to make one. 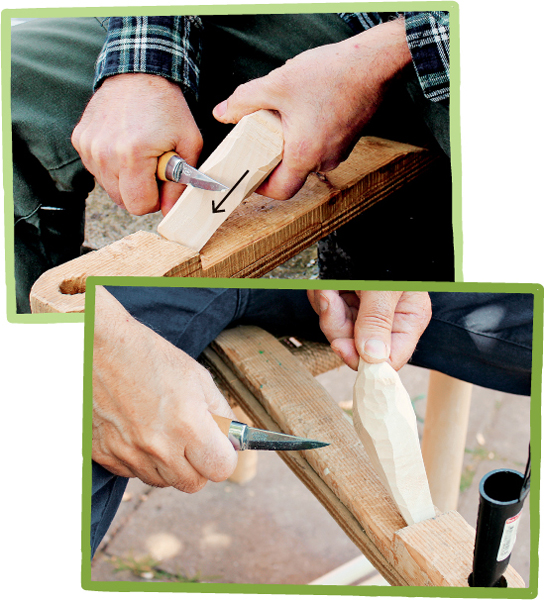
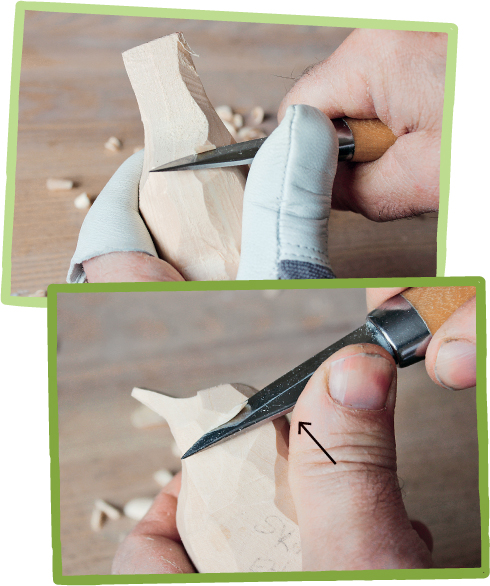 Push the knife from behind with your thumb.
 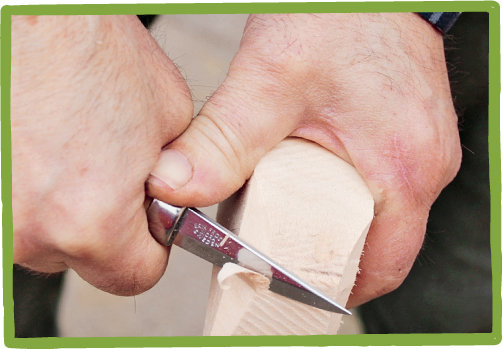 Twist the hand holding the knife, so the blade digs into the wood.
 (CUTTING TOWARDS YOU)
Font size:
Interval:
Bookmark:
Similar books «Snitte: Make beautiful wooden birds»
Look at similar books to Snitte: Make beautiful wooden birds. We have selected literature similar in name and meaning in the hope of providing readers with more options to find new, interesting, not yet read works.
Discussion, reviews of the book Snitte: Make beautiful wooden birds and just readers' own opinions. Leave your comments, write what you think about the work, its meaning or the main characters. Specify what exactly you liked and what you didn't like, and why you think so.