Publisher: Amy Marson Creative Director: Gailen Runge Art Director: Kristy Zacharias Editor: Liz Aneloski Technical Editors: Sadhana Wray and Gailen Runge Cover/Book Designer: April Mostek Production Coordinator: Rue Flaherty Production Editor: Alice Mace Nakanishi Illustrator: Jenny Davis Photo Assistant: Mary Peyton Peppo Photo Stylist: Lauren Toker Cover photography by Briana Gray, style photography by Nissa Brehmer, and instructional photography by Diane Pedersen, unless otherwise noted Published by Stash Books, an imprint of C&T Publishing, Inc., P.O. Box 1456, Lafayette, CA 94549 dedicationFor Carl Ford, the best grandpa and great-grandpa ever.acknowledgmentsA huge thank-you to the people who made this book possible. Cloe and I have had a lot of help. Huge thanks to Kristi for binding, Ruth for keeping everything organized, and the pile of Post-it Notes that gave their lives so this book could exist.Also, a special thank-you to the people at C&T Publishing, who trusted my vision and invested in me.
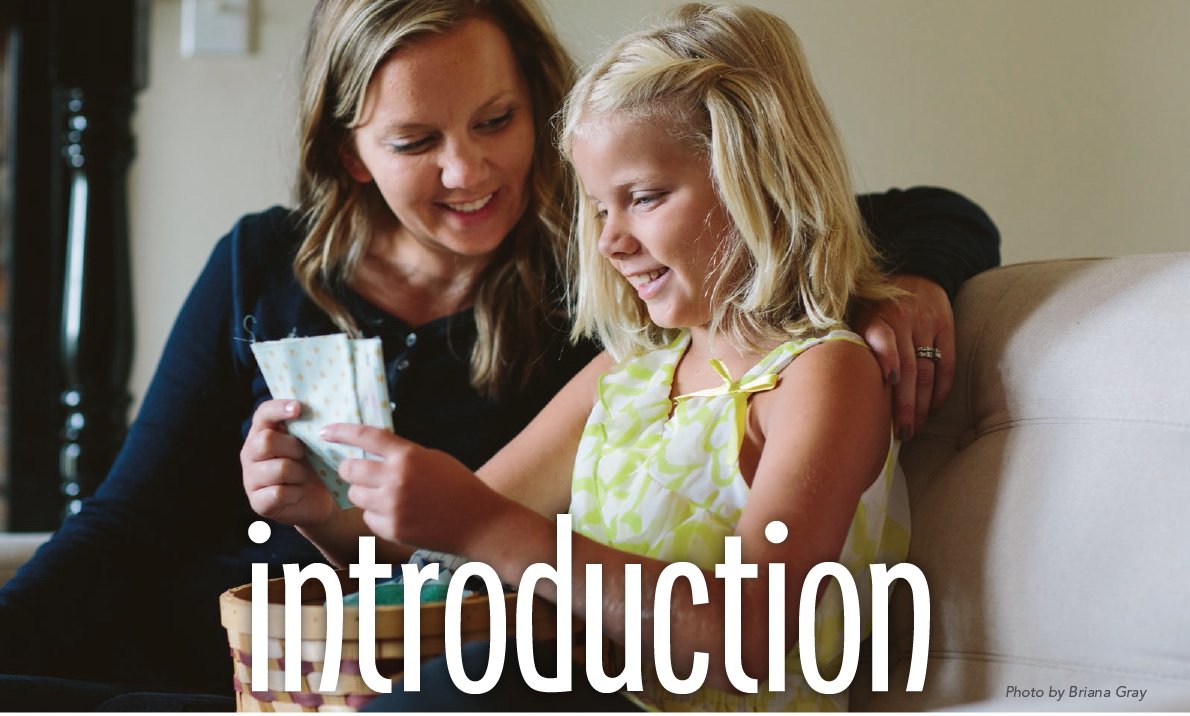 FROM ANGELA: It has been said that those who sleep under a quilt sleep under a blanket of love. Cloe and I couldnt agree more! It is so awesome to create an item that will warm and comfort others. The art of making quilts has been around for centuries, and we want to make sure it continues throughout the centuries to come.
We hope this book will play a small part in making that happen. My name is Angela Walters, and I love making quilts. I didnt learn how to quilt until I was in my twenties. Although I got a relatively late start, I am so glad I learned. If you dont know how to make quilts yet, I hope you will join us on this journey as we show you how to make quilts and quilted projects from start to finish. Happy quilting!  FROM CLOE: My mom started her machine-quilting business before I was even born.
I have been around quilts my whole life. I have always loved to look at them and have wanted to know how to make them. One day, I asked my mom to show me how to sew. She showed me a few things and then told me to have fun. I would sew while she worked on her quilting machine. I love making quilts and projects.
And I really love giving them to family members and friends. I had so much fun working on this book. I think my favorite part was picking out the fabrics. Thanks for reading!  getting started Have you wanted to learn how to make a quilt but you werent sure where to start? If so, this book is for you. Cloe and I love making quilts, and we cant wait to show you how to make your own quilts and quilted projects from start to finish. about the book We have organized the book into four sections.
In the first and second sections, we walk you through each step of the quiltmaking process, from choosing fabric to sewing, quilting, and finishing. The third section has three simple projects (pot holders, place mats, and a quilted water bottle holder) to get you started and help you learn and practice new skills. The fourth section has a bunch of different projects you can make using your new quilting skillsin order of skill level: a pillow, a rug, a bed runner, a school supply roll, and seven awesome quilts. These projects all follow the same basic process as making a quilt but are slightly adapted depending on the quilted project. 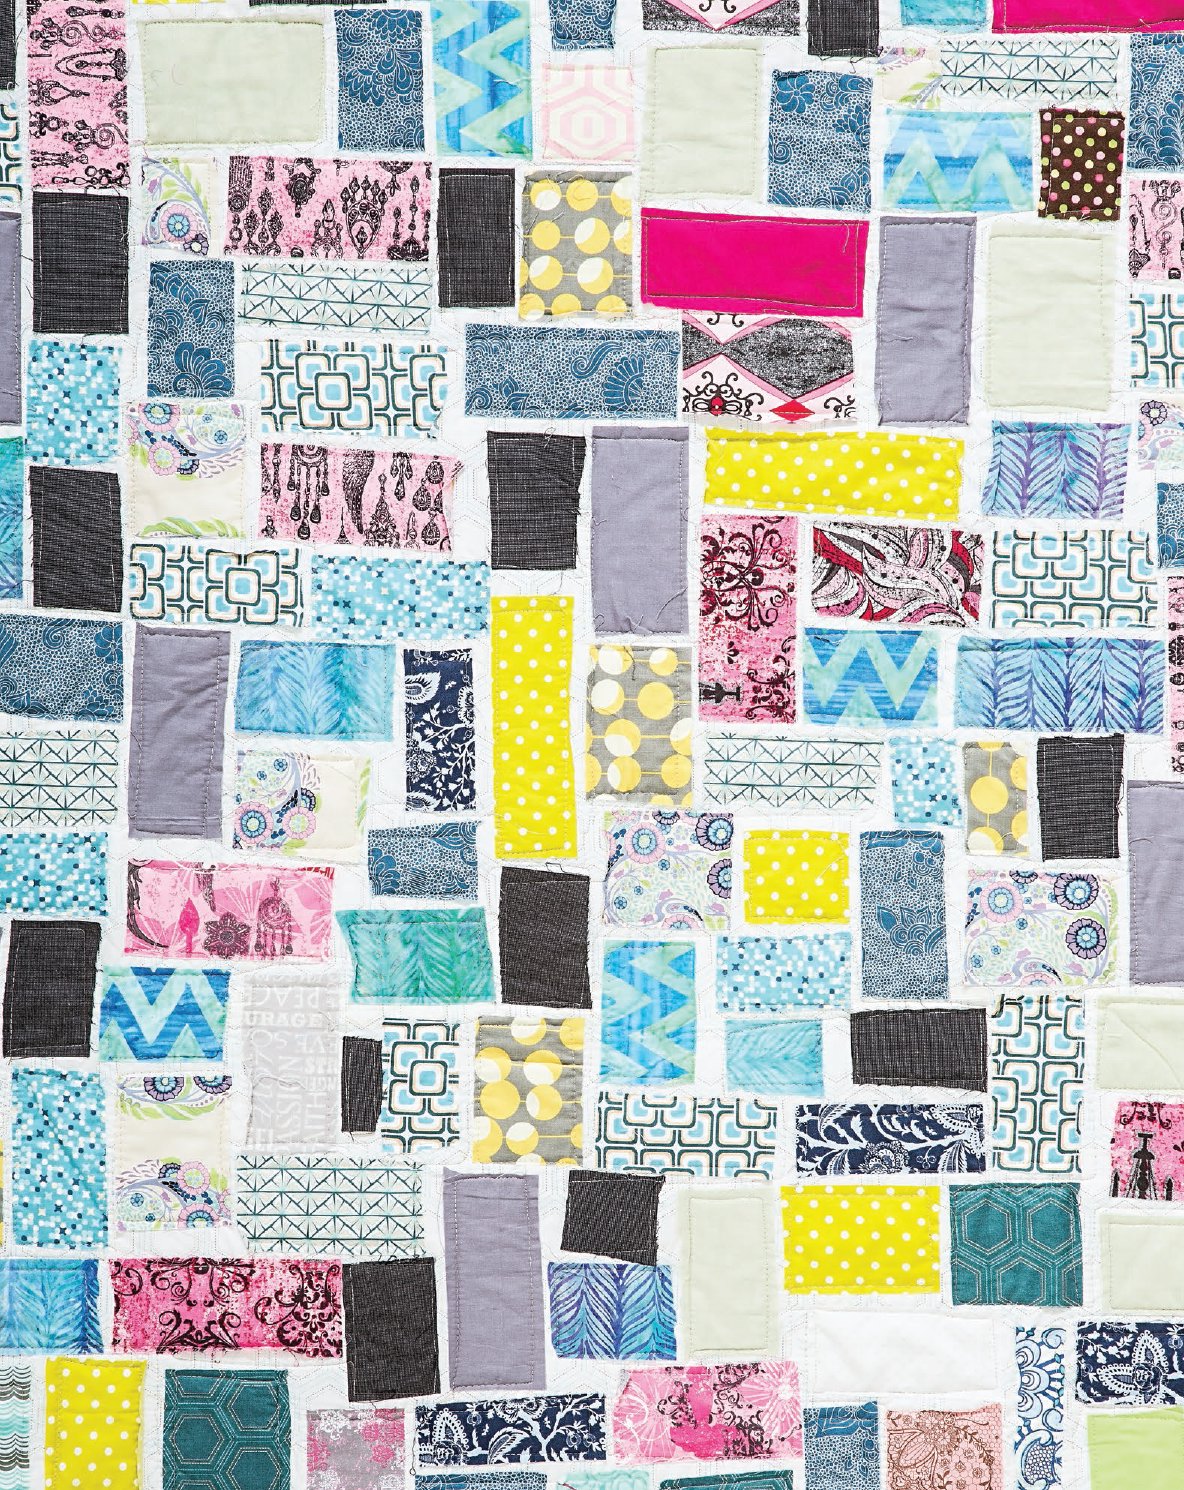 what is a quilt? Before you can make a quilt, you need to know what it is. A quilt is a blanket made of three layers held together with stitching.
People usually think of quilts as being used on beds, but they can also be wall art, or the quilting techniques can be used to make other useful, decorative objects. The top layer is called the quilt top and is usually sewn together as a patchwork, but it can also be a single fabric. The bottom layer is the back of the quilt and is also a piece of fabric. It can be a single fabric or pieced from several fabrics. The middle layer of a quilt is the batting. 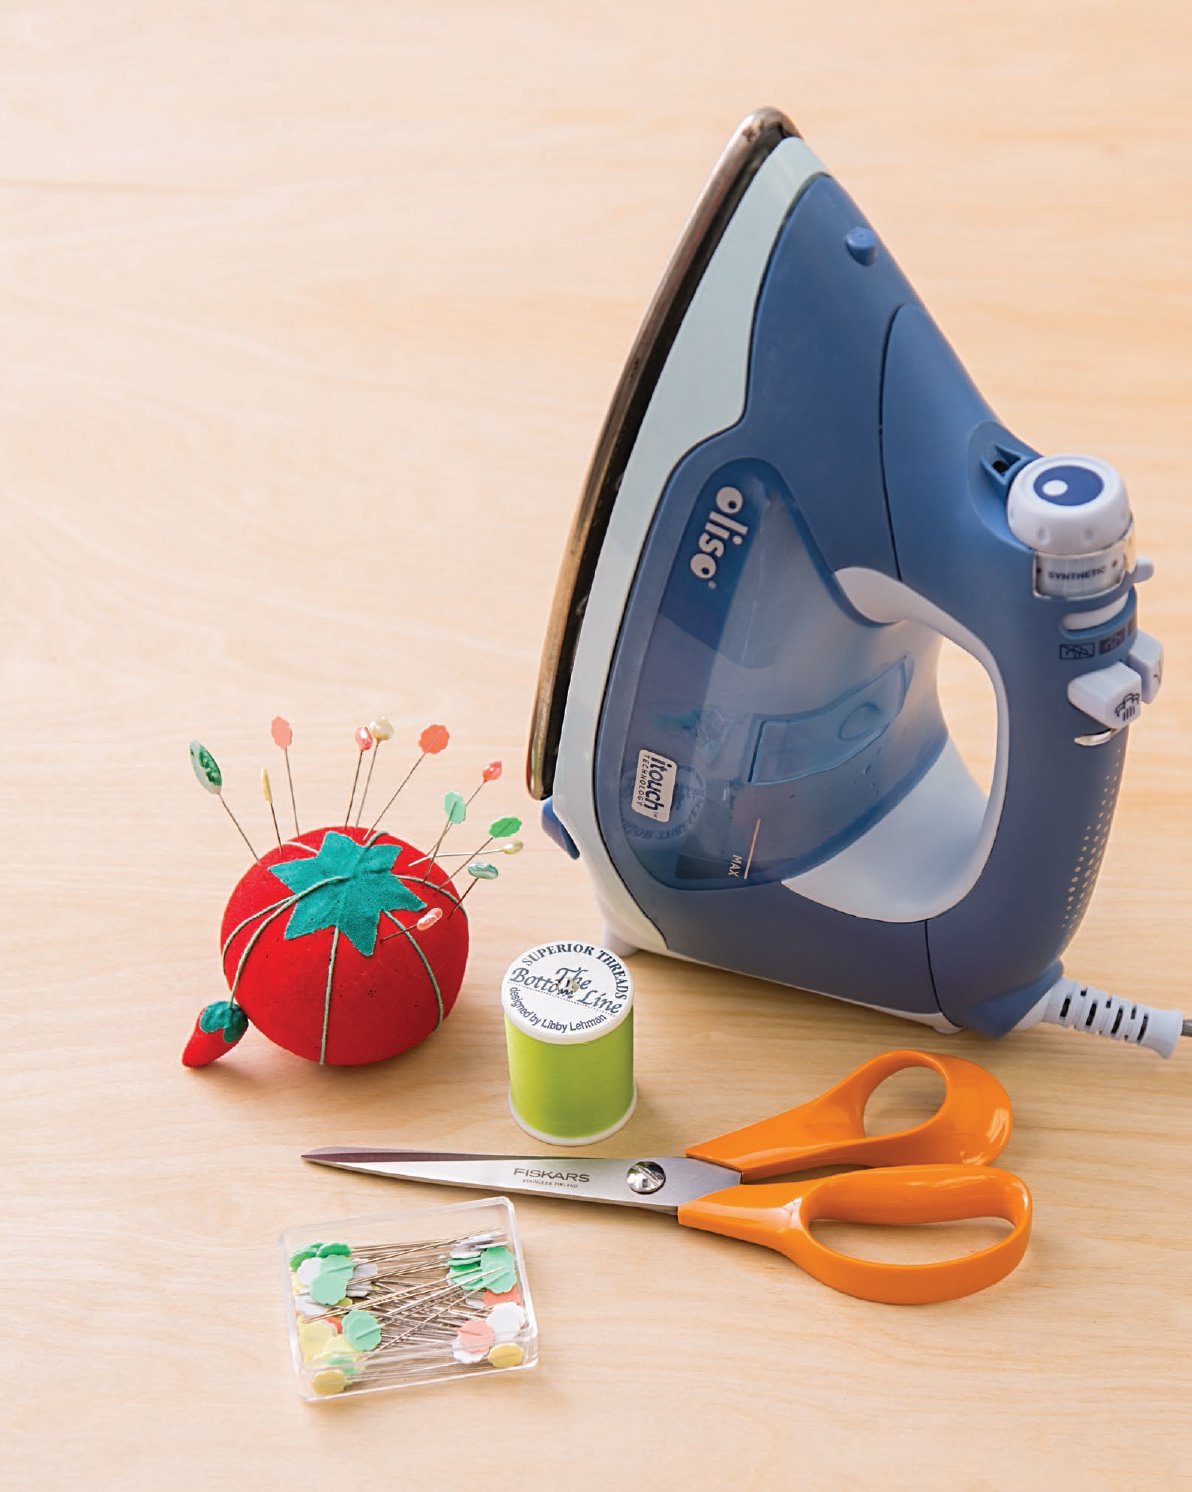 supplies Before you get started, you should have the right tools.
  supplies Before you get started, you should have the right tools.
In this section, Cloe and I will tell you all about the supplies needed to start your quilting journey. note All the supplies can be found at local quilt shops, fabric stores, large craft stores, or online. NOTIONS Some basic supplies you will need include straight pins and a pincushion, scissors, all-purpose sewing thread, an iron, and an ironing board. SEWING MACHINE 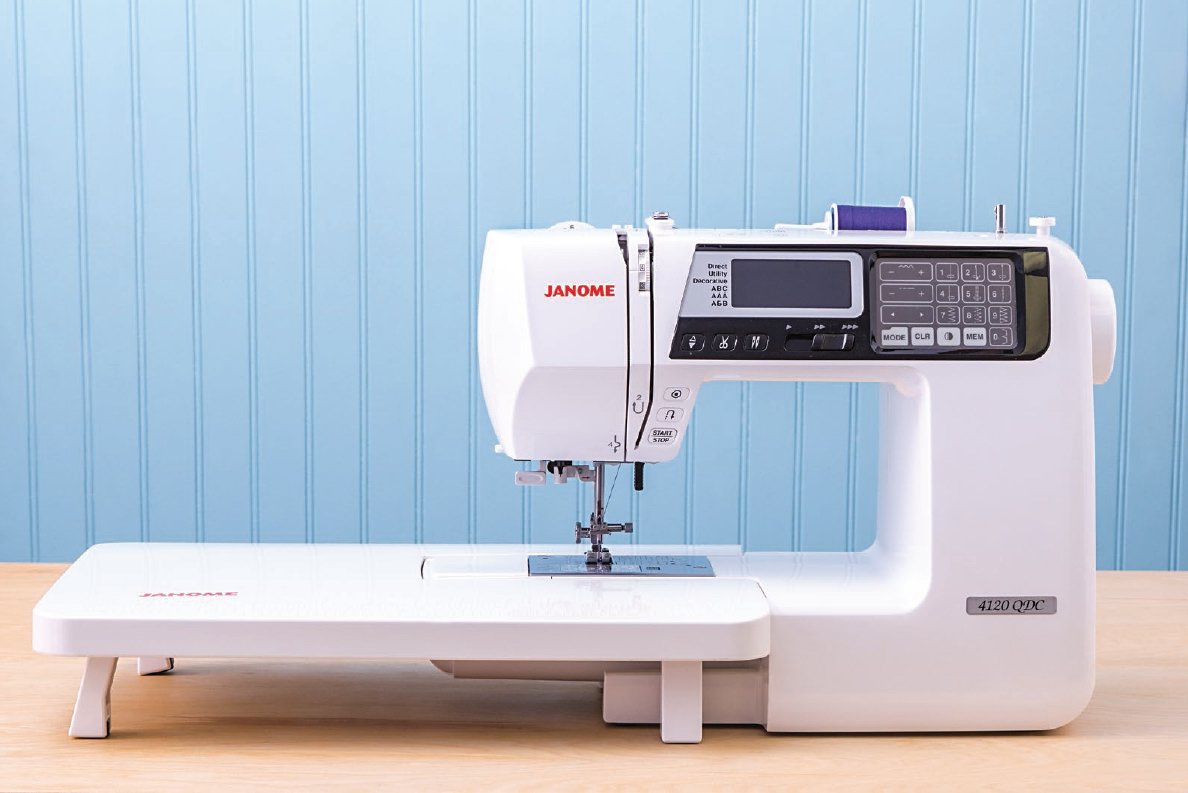 To make the projects in this book, you will need a sewing machine. You may already have a sewing machine you can use. But if you need to buy one, dont worry about getting one with all the extra features.
All you need is a sewing machine that can sew a good straight stitch, and a presser foot. A walking foot is helpful as well. ROTARY CUTTER, RULER, AND CUTTING MAT 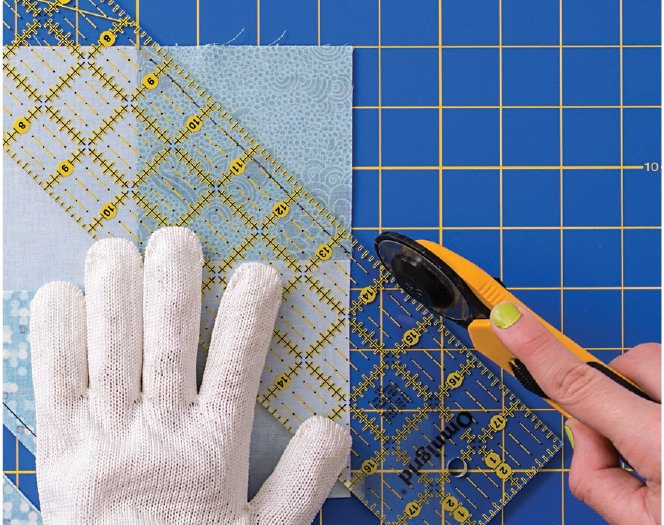 I am so glad I wasnt a quilter in the 1800s! Back then, quilters had to use scissors to cut each piece separately. Now we have a much faster and more accurate method: cutting with the rotary cutter, ruler, and cutting mat.
 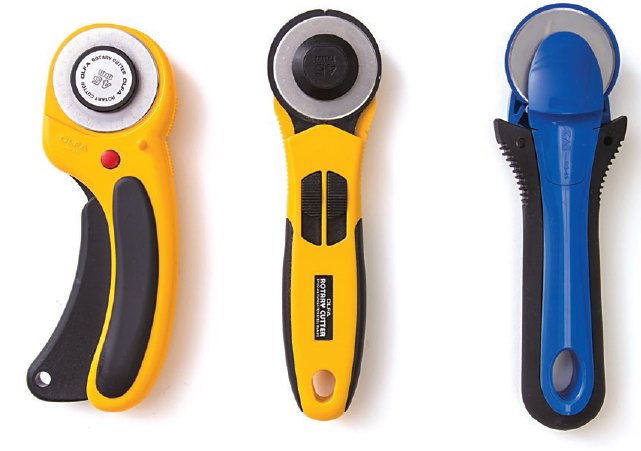 A rotary cutter is a cutting tool with a handle and a circular blade. It makes cutting fabric much quicker.
There are several brands and types of rotary cutters, but they all have a safety mechanism to keep the blade covered when not in use. 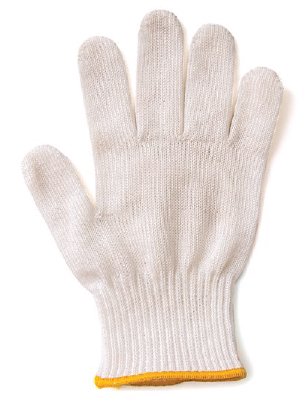 You should also get a safety glove to help prevent getting cut by the rotary cutters sharp blade. note You will learn how to use the rotary cutter in .
 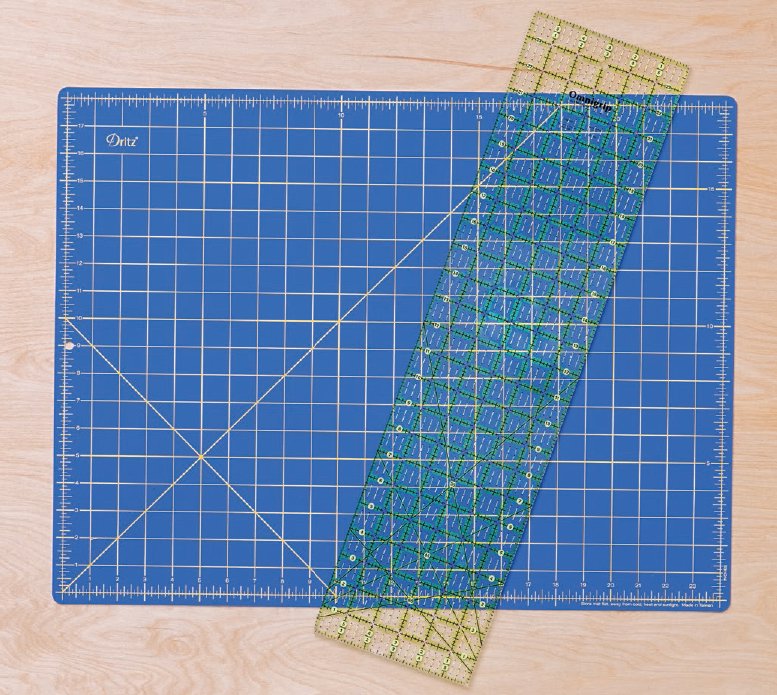 To use the rotary cutter, you will also need a ruler and cutting mat. A long acrylic ruler designed for use with a rotary cutter helps you make straight cuts and acts as a guide for the rotary cutter. When you use a rotary cutter, the cutting mat will be the surface for cutting the fabric.
The mat protects your table from getting sliced with the rotary cutter. It has lines on it to help line up the fabric and the ruler. I think the 6 24 ruler is the most versatile. FABRIC The best part about quilting is picking out the fabric. At least thats what Cloe and I think. There are so many colors, patterns, and types of fabric; it makes it so easy to make your quilt just how you imagine it.
Next page


 FROM ANGELA: It has been said that those who sleep under a quilt sleep under a blanket of love. Cloe and I couldnt agree more! It is so awesome to create an item that will warm and comfort others. The art of making quilts has been around for centuries, and we want to make sure it continues throughout the centuries to come.
 FROM CLOE: My mom started her machine-quilting business before I was even born.
 getting started Have you wanted to learn how to make a quilt but you werent sure where to start? If so, this book is for you. Cloe and I love making quilts, and we cant wait to show you how to make your own quilts and quilted projects from start to finish. about the book We have organized the book into four sections.
 what is a quilt? Before you can make a quilt, you need to know what it is. A quilt is a blanket made of three layers held together with stitching.
 supplies Before you get started, you should have the right tools.
  To make the projects in this book, you will need a sewing machine. You may already have a sewing machine you can use. But if you need to buy one, dont worry about getting one with all the extra features.
 I am so glad I wasnt a quilter in the 1800s! Back then, quilters had to use scissors to cut each piece separately. Now we have a much faster and more accurate method: cutting with the rotary cutter, ruler, and cutting mat.
  A rotary cutter is a cutting tool with a handle and a circular blade. It makes cutting fabric much quicker.
 You should also get a safety glove to help prevent getting cut by the rotary cutters sharp blade. note You will learn how to use the rotary cutter in .
  To use the rotary cutter, you will also need a ruler and cutting mat. A long acrylic ruler designed for use with a rotary cutter helps you make straight cuts and acts as a guide for the rotary cutter. When you use a rotary cutter, the cutting mat will be the surface for cutting the fabric.