CHAPTER I
SIMPLE LINES AND CURVES
VERY few artists materials are necessary for the numerous examples in this book. All that is required is paper, a bottle of vandyke brown waterproof ink, four paint brushes, and a bottle of water.
For the paper a light buff or yellowish tinted writing-pad, priced at one shilling, is sufficient. The vandyke brown waterproof ink is about the same price, whilst the four small sable brushes should be numbers 0, 1, 2, and 3. A bottle of pure water is essential, as the water-colour brushes occasionally need cleansing during the making of a picture, and always require a thorough wash before being put away for future use. The slightest suggestion of any gritty material in the brush will prevent it from working smoothly.
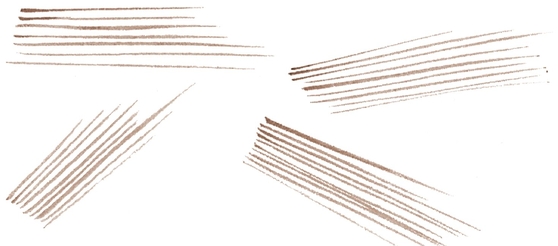
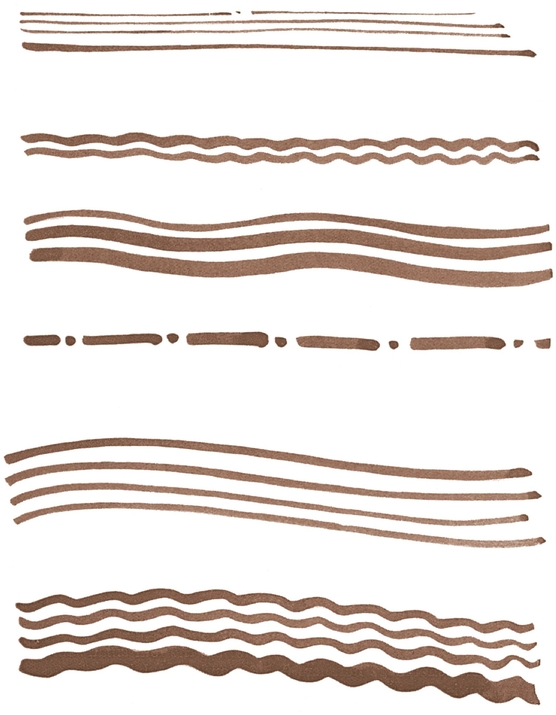
The line examples in should be practised without making any attempt at drawing. Use a No. 2 sable brush, and let it move very easily and swiftly along the smooth surfaced paper. A series of quickly executed lines somewhat parallel in direction is admirable practice for the beginner. Take the brush rapidly off the paper when nearing the end of a line or curve. It helps to give a decisive finish, whereas if it is taken slowly off the paper the result will be a heavy finish.
It is surprising how many expressive forms can be made with horizontal lines and curves as shown in ; similar variations can be obtained with lines sloping vertically or at different angles.
The same easy method of brush drawing should be used for this example as before, and experiments tried to achieve different types of lines and curves.
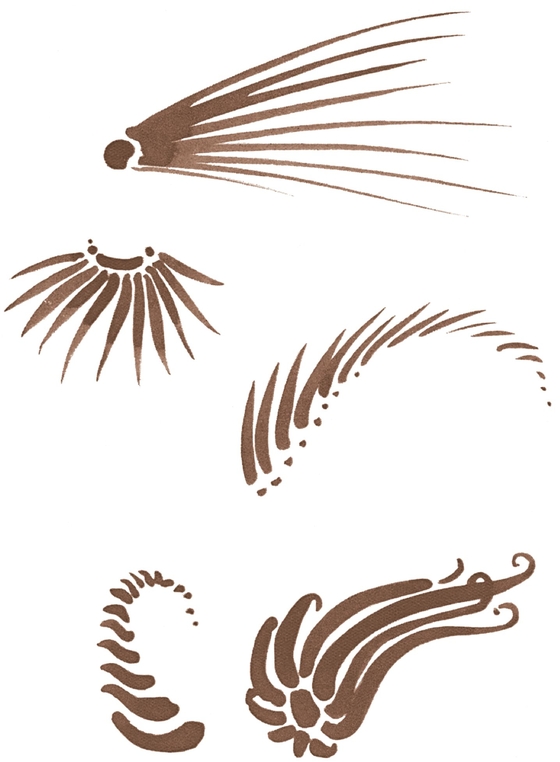
The next demonstration consists of curves which radiate from a given point as depicted in . Here again rapidity in handling is of great importance. Mistakes do not matter at first. Confidence will soon come if there is no struggling to achieve perfection.
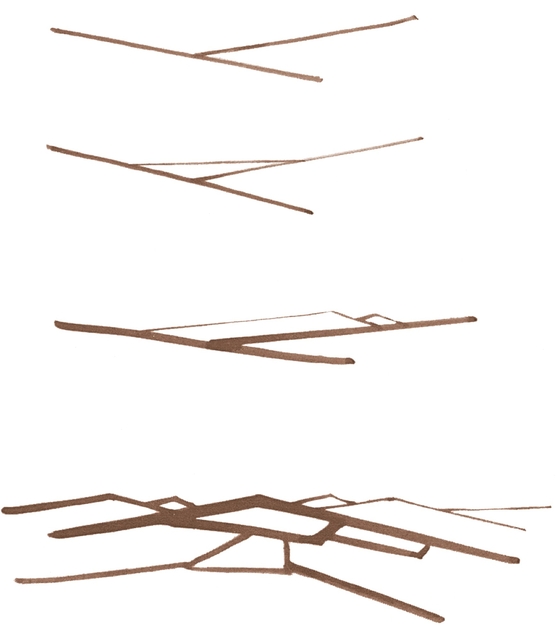
Next try a series of intersecting lines as seen in , once more allowing the brush to move at ease, and letting the drawing take care of itself.
When practising vary the thickness of your lines.
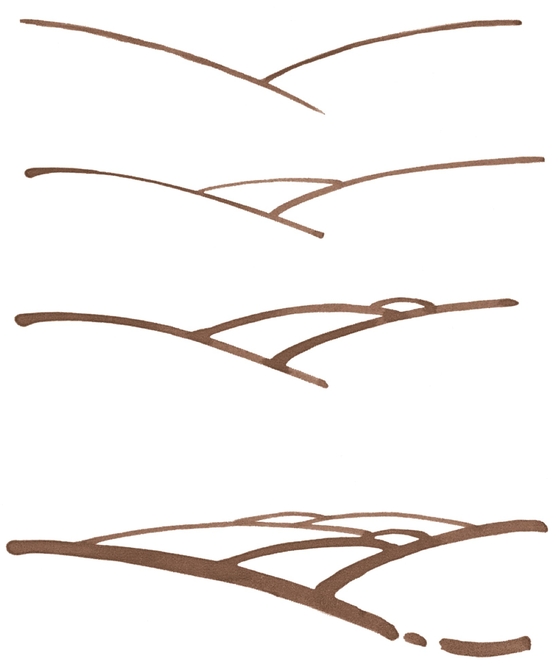
Now draw similar shapes, using curves only (see ).
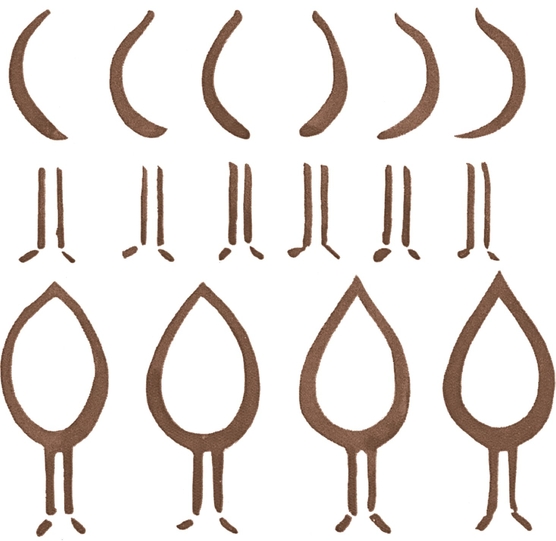
Thoroughly master by practising in the first instance the six inverted curves and the straight lines as seen in the first and second row, and finally fitting together the elements above, so as to complete the study as depicted in the four examples at the foot.
Memorize all the elements of brush drawing in this chapter so that no further reference will be necessary.
CHAPTER II
ELEMENTARY SPACE FILLING
IF the precaution has been taken of thoroughly practising all the demonstrations in Chapter I, no difficulty will be found in handling the various examples of simple space filling set out in Chapter II.
It is advisable to work on a fairly large scale, as small drawings are not only difficult to manage but are apt to cripple a sense of freedom or fluency in brush handling.
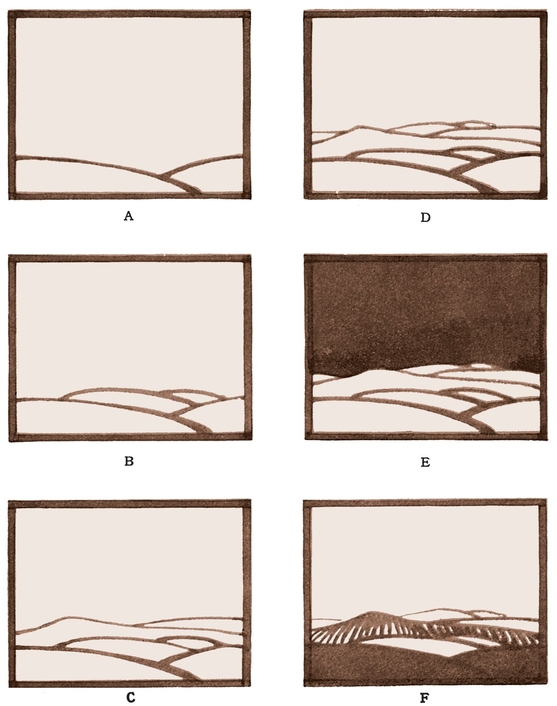
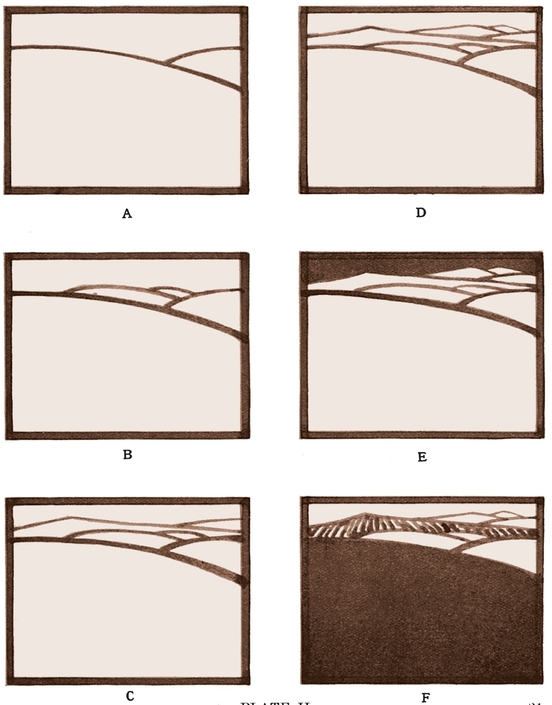
The rectangle marked A in Plate I shows two intersecting curves. (See also in Chapter I.) In example B the same two curves are shown with two smaller but similar curves placed on top of the first-named curves.
Example C, like B, is reinforced with another pair of intersecting curves. D has also received the same treatment. The two pictorial looking demonstrations, E and F, are most instructive, as the drawing of each is exactly the same as D .
It is astonishing how two drawings which are precise replicas of each other can be made so different in appearance. The flat dark tone in E gives solidity to the space occupied by the intersecting curves in front. In F the flat shadow in the lower part of the drawing, supported by the parallel line treatment, presents a totally different aspect to the example immediately above.
In the six drawings in Plate II the same arrangement of curves as seen in Plate I was used, but placed in the top portion of each rectangle instead of the lower end as before. A similar formula was also adopted of additional curves, whilst the same scheme of flat tones was used in E and F.
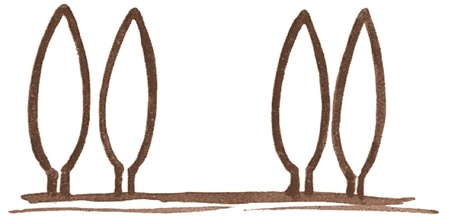
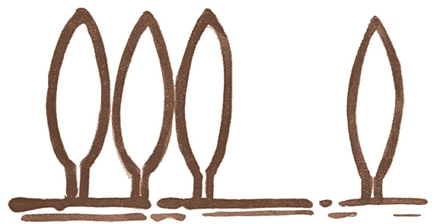
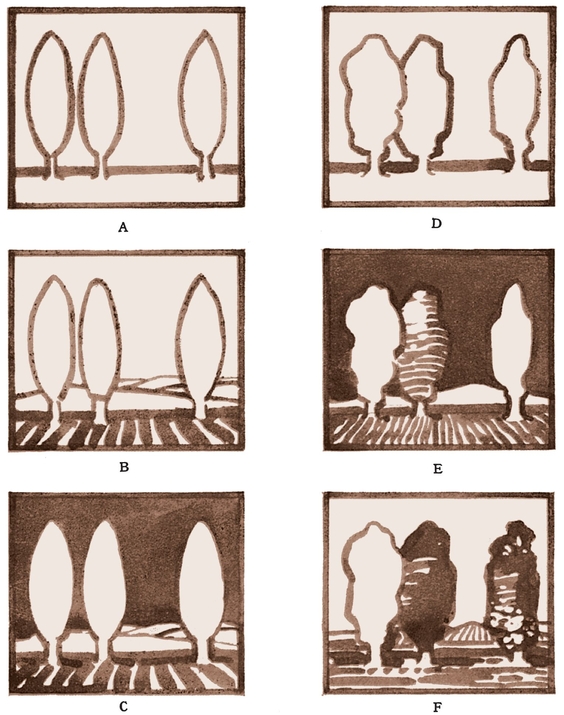
The three drawings in Plate III, A, B and C, should be very easy to copy after mastering the demonstrations shown in .
also contains four upright shapes, but one is taken away from the right, and placed on the left side, thus giving an agreeable feeling of interesting proportion.
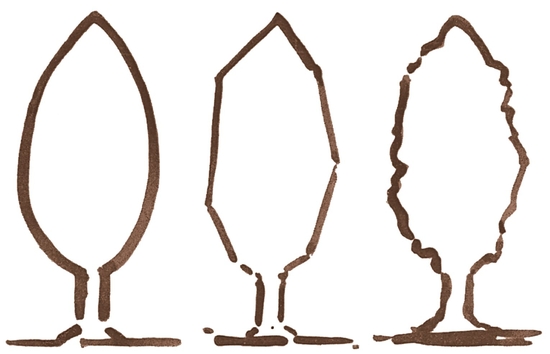
The other three examples, D, E and F on Plate III, are arranged in preclsely the same manner as the first three on the left side, but the upright elliptical curves are treated in a much more interesting way by varying the contours of the outlines, which now give a suggestion of tree formation.
The evolution of elliptical shapes gradating to natural tree formation is shown in .
Do not try to copy the demonstration examples exactly as depicted in this book. The spirit of the subject is far more important than a slavish imitation. Enjoy liberty in drawing, and never struggle when endeavouring to achieve something.
The first three plates are of extreme importance, and should be committed to memory. The elementary principles of composition or pattern designing, in addition to the necessary knowledge of proportion such as two versus one, or three versus one, are all clearly indicated in Plates III and IV, as well as . After breaking away on Plate III from the upright elliptical forms we should now have far more freedom in drawing. The large trees depicted in Plate IV convey some feeling of aesthetic pleasure, since they are no longer arranged in exact vertical formation.

