Thank you for purchasing this
Artist Network eBook.
Sign up for our newsletter and receive special offers, access to free content, and information on the latest new releases and must-have art resources! Plus, receive a coupon code to use on your first purchase from NorthLightShop.com for signing up.
or visit us online to sign up at
http://artistsnetwork.com/ebook-promo
DEDICATION
I would like to dedicate this book to my son Roman. My little Superhero! :)
CONTENTS
MATERIALS
Here we will talk about the tools that can be used for your comic book heroes creation process. There can often be a lot of debate on which is better, but I assure you the ability lies within the artist and not the tools they choose to create the work. Given enough time, you can master any tool that you choose to wield!
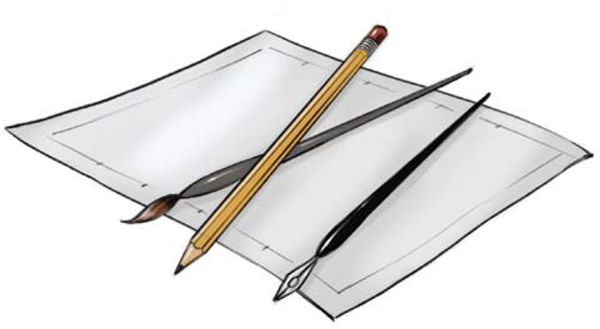
Traditional Mediums
When working traditionally you have lots of options. From various types of pencils to all sorts of ways to ink the work. You will generally use a pencil to sketch the lines and a brush and/or crow quill to ink the lines. There are many options to each one of these tools so you need to practice and find out which suits your style. The best paper to work on is bristol board smooth in my opinion. There are lots of options there as well. Just remember that no matter what tool you pick you can create great art as long as you put in the time!
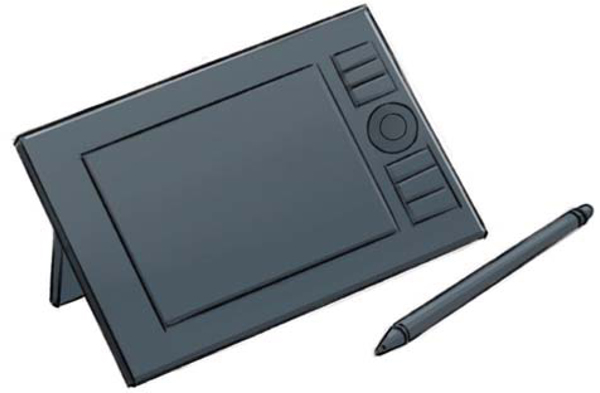
Digital Mediums
When using digital tools you will need a tablet of some kind. There are plenty of great devices to choose from and some take a bit more practice than others. The digital drawing tablet has many added benefits to creating your artwork such as not having to scan every page and touch up the work. They can be a bit harder to get used to from traditional drawing but when you finally get the hang of it, you will be glad you put forth the effort. They can be huge time savers and you will never need to buy paper again. Well, almost never!
CHAPTER 1
DRAWING THE FACE
In this chapter you will learn how to draw various male and female faces. I will cover how to draw each part of the face and talk about what goes into constructing them. By drawing the face in its parts you will gain more confidence drawing the entire face and creating lots of various character types.
Measuring the Face Proportions: Front View
The trickiest thing about drawing the face is where to place the features. We will first cover how to align the facial features and how to quickly place them in the right spots. This method is good to know because it makes the process of aligning the features much easier to do.

DRAW A VERTICAL GUIDELINE
Start by drawing the height that you would like your head to be. Then mark the halfway point with a horizontal line. It doesnt have to be perfect but close to the middle is a nice place to start. This will also be the point where we later place the eyes.

MARK GUIDES FOR THE FACIAL FEATURES
From the middle line that you just made to the bottom line that represents the chin area, create another horizontal line at the halfway point. This will be where the nose goes later. From this point to the chin, create three sections evenly spaced by drawing two more horizontal lines.
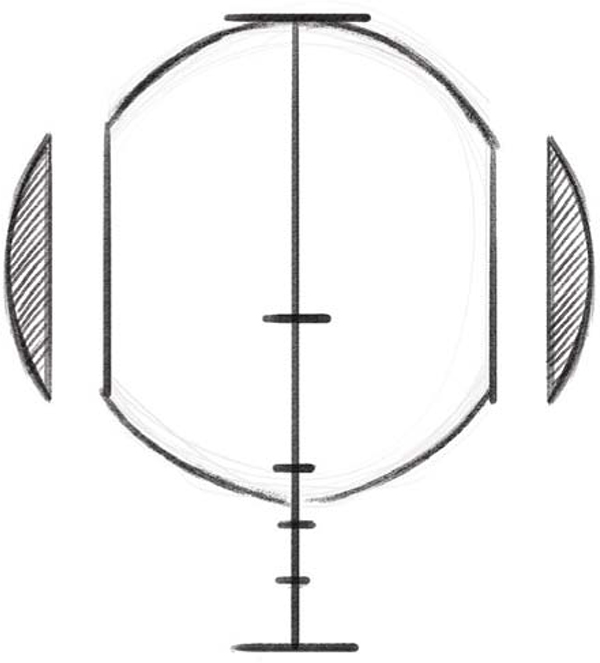
DRAW THE HEAD SHAPE GUIDE
Draw a circle that starts at the top line and finishes between the third and fourth lines. This is an approximation. Remember that these measurements will vary depending on the character that you are drawing. Chop off the sides of the circle so the head doesnt appear to be a perfect sphere.
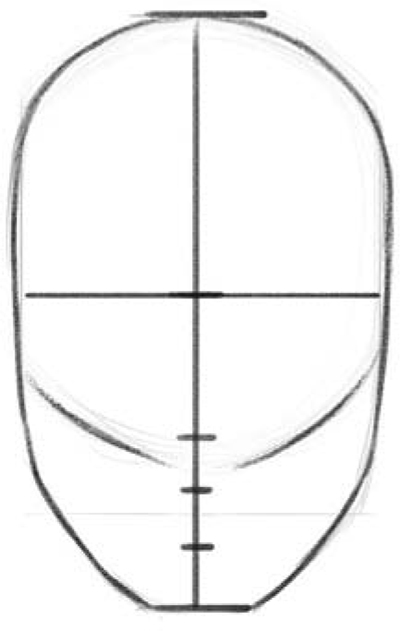
DRAW THE JAWLINE
Draw a wedge shape for the jawline. For action heroes, I like to draw the jawline curving from the third and fourth line down. You can move this curve up or down depending upon your characters specific features. Square the jawline off for a more masculine character. Now draw a horizontal line across the space where the eyes will be located. Remember this is approximately halfway down the face.
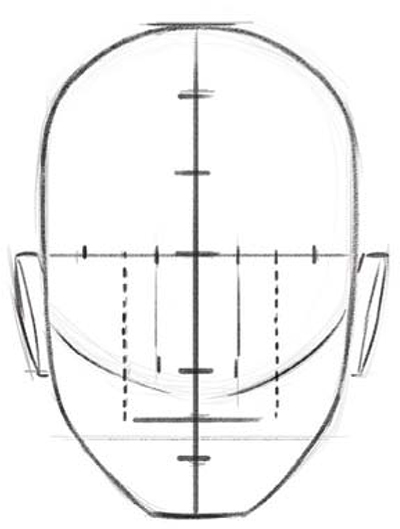
MARK THE PLACEMENT OF THE FEATURES
You can measure the eyes by leaving a space equal to one eye width in the middle and half an eye width on each side of the head. The distance between the eyes will also mark the approximate width of the nose. The width of the mouth will line up to the middle of the eyes. Then the ears can be drawn in with disk-like shapes that will line up with the eyes and the mark for the nose.
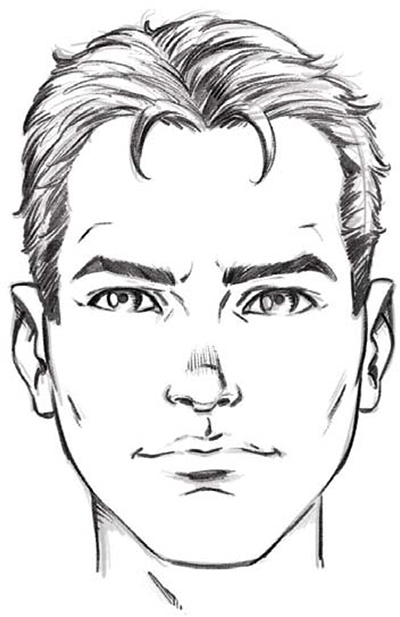
DEVELOP THE FEATURES
With all the feature lines marked, its much easier to draw your stylized comic book characters face. By moving the feature lines around, you can create new and interesting characters. This base understanding of design will help with symmetry and consistency in your artwork. And dont worry, we will cover all the other details of drawing the face as we progress through the book.
Measuring the Face Proportions: Side View
We will now use the same measurement tool to create a profile. When practicing your profile drawings study the silhouette of the face, as well as the proportions of the features from one another.

DRAW A VERTICAL GUIDELINE
Start by drawing the height that you would like your head to be. Then mark the halfway point with a horizontal line. It doesnt have to be perfect but close to the middle is a nice place to start. This will also be the point where we later place the eyes.

