Publisher: Amy Marson
Creative Director: Gailen Runge
Acquisitions Editor: Roxane Cerda
Managing Editor: Liz Aneloski
Editor: Kathryn Patterson
Technical Editor: Linda Johnson
Cover/Book Designer: April Mostek
Production Coordinator: Tim Manibusan
Production Editor: Jennifer Warren
Illustrators: Linda Johnson, Kirstie Pettersen, and Kathy Seaman Shaw
Photo Assistants: Mai Yong Vang and Rachel Holmes
Cover photography by Mai Yong Vang
How-to photography by Kelly Burgoyne and quilt photography by Mai Yong Vang of C&T Publishing, Inc., unless otherwise noted
Published by C&T Publishing, Inc., P.O. Box 1456, Lafayette, CA 94549
Dedication
This book is dedicated to my mom, who is the constant love in my life.
Acknowledgments
Heartfelt thanks to my family for always being supportive. Love to my darlings, Sommer and Aidan, who keep me moving forward each day. Hugs to all the ladies that stitch with me in the various crazy endeavors I dream up for us to do via the Shawkl Designs blog (shawkl.com) and the group sites at Yahoo and Facebookyall are just the best cyber friends a gal could have. A special shout-out to my seam-stitching buddies Katie and Cindy Bockhugs to you both.
A huge thanks to each of the generous companies that provided items used in the stitching of the models and the staging of the photographs for this book:
Andover Fabrics, Inc. (andoverfabrics.com): Cotton fabrics for sampler blocks
Cartwrights Sequins (ccartwright.com): Sequins
Cloud9 Fabrics (cloud9fabrics.com): Tinted denim fabrics for sampler blocks
Clover (clover-usa.com): Hoop, needle, and silk threads
Coats & Clark (makeitcoats.com): Specialty button thread and sewing thread
Colour Complements (etsy.com/shop/colourcomplements): Hand-dyed fibers
Creative Impressions (creativeimpressions.com): Seam templates
The DMC Corporation (dmc.com): Perle cotton #12
Dear Stella (dearstelladesign.com): Cotton fabrics for sampler blocks
Fire Mountain Gems and Beads (firemountaingems.com): Montes, Loch Rosen, and beads
Fiskars (fiskars.com): Rotary cutter, mats, mat board knives, and scissors
June Tailor, Inc. (junetailor.com): Pressing mats and rotary cutter
Just Another Button Company (justanotherbuttoncompany.com): Tiny buttons
Kreinik Mfg. Co., Inc. (kreinik.com): Braids and metallic threads
Pellon (pellonprojects.com): Fusible interfacing
Sulky (sulky.com): Petite thread sampler
YLI (ylicorp.com): Silk sewing thread

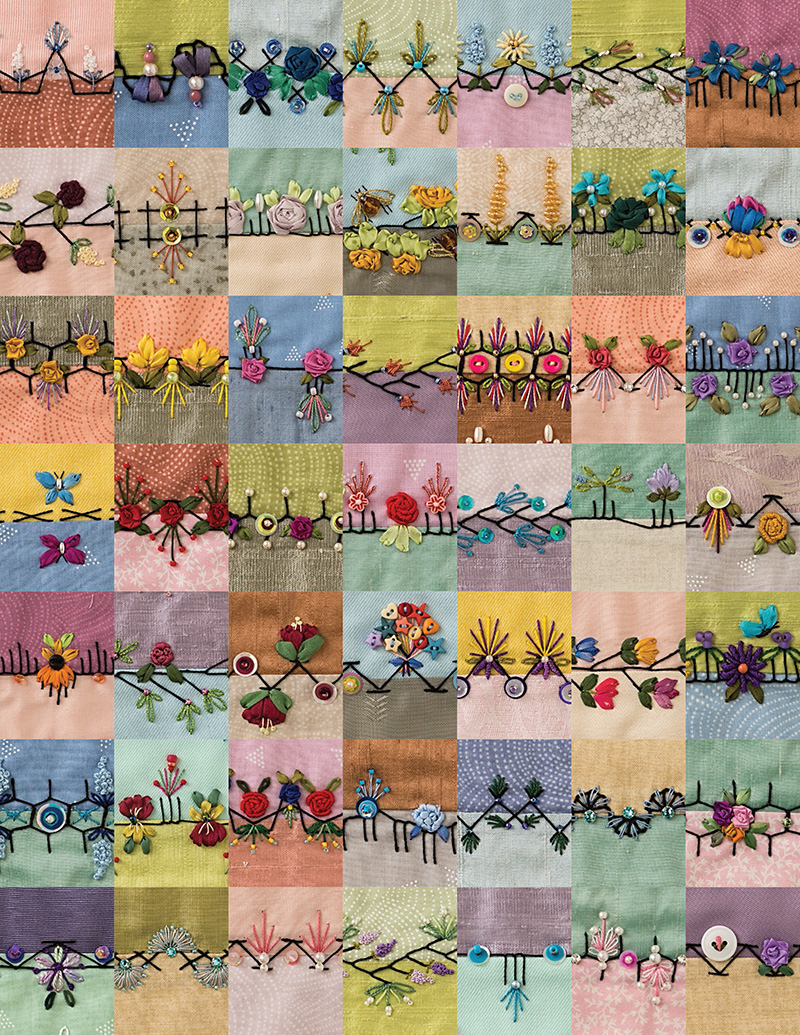
Preface
My great-grandmother never had idle hands and she loved to quilt. She probably passed down this trait to me; I find this likely, as my grandparents, mother, and sisters do not love to sew. The joy of working with a needle appeared early in my adulthood and has remained constant in my life.
Today, I count my quilting skills in decades. I have spent my adult life so far volunteering my time to teach traditional quilt classes at local quilt shops wherever Ive lived. When a cyber friend wanted to swap 6 Heart blocks in the crazy quilt style, I signed up, even though I had not done a crazy quilt before. Then immediately I began to panic.
My embroidery skills were very basic at best. These first blocks had a lot of trims and beads on them but little stitching. This embarrassing fact made me upset with myself; it felt like a failure. The problem was that I was also a workingwoman with a position as an analyst in the military requiring a lot of travel. So I really had no time to learn a lot of new embroidery stitches and crazy quilting during this time frame.
This got me thinking. How many crazy quilt seams could I create with just the few basic stitches I already knew? I began journaling seam ideas and soon had several pages filled with these basic seam designs. This blossomed into the creation of a personal challenge to stitch a sampler of seams and blog about this process. The Twelve Dozen in Twelve Months challenge and my Shawkl Designs blog (shawkl.com) were launched. My life was about to really change!
Back then, I created some small templates with graph paper to mark the needle-up and needle-down positions for the first layer of embroidery on my seams. The result was embroidery that was neat and uniformly spaced. That gave me confidence.
Over time, I started teaching free online classes, adult quilting courses at the local college, and regional classes for quilt groups. Basically, I shared with anyone that would listen how wonderful stitch templates were and how much improved my own embroidery had become because of them. So even if your embroidery skills are less than youd like them to be dont give up! Consider using the stitch-template designs in this book to make stitch templates that will improve the look of your embroidery.
Students were so enthused with the ease of using templates that my classes expanded to include more techniques like silk ribbon embroidery, dimensional threadwork, and all aspects of crazy quilting. Next, the publication of a book series on crazy quilting was launched with Amazon. This writing journey is now culminated with the book you have in your hands today.

Introduction
Background
A crazy quilt is widely viewed as a quilt having a patchwork design that appears more like fractured glass than a traditional uniform setting of blocks and rows. Today, crazy quilts are heavily embellished on top of this fabric patchwork layer, but early crazy quilts included only thread embroidery work. In the early 1900s, crazy quilts included some embroidery within the fabric patches as well as along the seamlines. In the mid-1900s, magazines began including embroidery motif patterns to encourage readers to embellish the fabric patch area between seams, advertising the beautiful and affordable new silk threads. Still, seams themselves remained relatively simple in color and design, using only different types of thread. Lace or cording was more often promoted as embellishment for home or garment items, so these early quilts included primarily embroidery stitching.
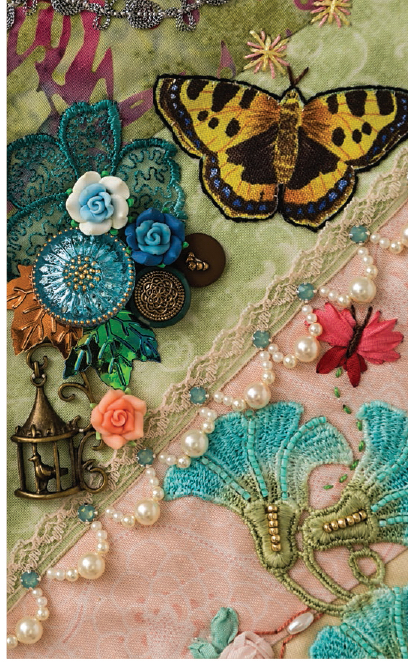
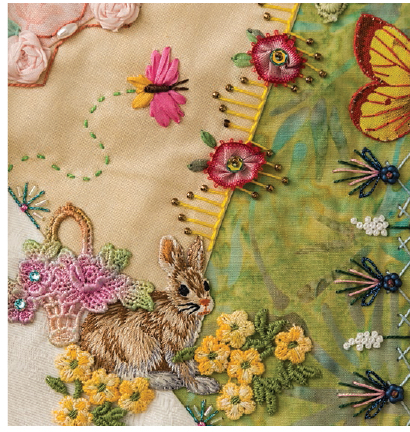
Opulent silk or velvet fabrics were often seen in the construction of small lap-size quilts, with embellished seams of delicate embroidery stitches. The fabrics were just as important as the embroidery work and were often garment remnants from womens dresses or mens waistcoats. Less affluent seamstresses would use common fabrics in their crazy quilts, surely desiring to be part of the crazy phenomena as best as they could afford. The fancy-fabric quilts were displayed across furniture in the parlor room, where visiting guests were often entertained. This gave the mistress of the house a perfect place to showcase her embroidery talents and the wealth of the family based on the opulent fabrics in her crazy quilt.
Next page
