Publisher: Amy Marson
Creative Director: Gailen Runge
Editors: Liz Aneloski and Donna di Natale
Technical Editor: Debbie Rodgers
Cover/Book Designer: April Mostek
Production Coordinator: Tim Manibusan
Production Editors: Jeanie German and Jennifer Warren
Illustrators: Sharon Boggon and Kirstie L. Pettersen
Photography by Sharon Boggon and Jerry Everard, unless otherwise noted
Published by C&T Publishing, Inc., P.O. Box 1456, Lafayette, CA 94549
Dedication
To the two people who mean everything to me: Jerry, my husband, and Eve, my daughter
Acknowledgments
I would like to thank my ever-patient husband, Jerry Everard, for his support and unfailing belief in me; my daughter, Eve Everard, for putting up with a mother who has had a fabric and thread addiction all of her life; and my dear stitching buddies Margaret Roberts (who has taught me much about embroidery over the years), Suzanne Clarke, and Dorothy Rudling for their friendship built over many happy hours stitching together as a group. I would also like to thank the Embroiderers Guild ACT for numerous tips and tricks over the years.
It is not to be underestimated how much the online community of crazy quilters has enriched my life. I would like to thank Willa Fuller and Cathy Kizerian for their tireless work in online crazy quilting groups that have proved to be a constant source of delight and inspiration. I would like to thank Allie Aller for her friendship and encouragement. My thanks also to Maureen Greeson for arranging a retreat where I met many online friends face-to-face while teaching.
And thank you to the textiles workshop at the Canberra School of Art, which taught me much about both textiles and being a professional in the field.
Introduction
Crazy quilts originally appeared in the 1880s in England, the United States, and Australia as part of Victorian soft furnishing decor. Draped over furniture in the rooms where visitors were greeted and entertained, crazy quilts showed the skill of the person who made them. As such, these decorative quilts were for show and not meant to be used. For this reason I call crazy quilts the first art quilts.
Contemporary crazy quilting is enjoying a revival. Since there is no right or wrong way to make a crazy quilt, embracing this form of quilting can be very liberating. Crazy quilting is a wonderful way to tell a story by incorporating lace or fabric from special garments, such as a graduation or wedding dress, or adding a special hankie, antique button, or doily created by a favorite family member. You can even use silk from mens ties. You can use your computer to print photos on fabric to include with special mementos. The technique is infinitely adaptable.
Crazy quilting can be used in projects besides quilts. The technique can be used to make bags or purses, or used on garments such as vests, jackets, gloves, hats, or belts. Sewing caddies and sewing organizers make nice projects, especially if you include a needle book, perhaps with a matching scissor tidy and pincushion. Christmas decorations of all sorts lend themselves to crazy quilting: ornaments, Christmas stockings, tree skirts, wreaths, and numerous other seasonal decorations.
Personally, I love crazy quilting because apart from the wonderful array of fabrics, lace, and ribbons that I can use, I also have the opportunity to experiment with all sorts of embroidery techniques. All types of surface embroidery, beading, and ribbon work can be used, or you can draw on other textile skills such as tatting and crochet to produce highly unique projects.
The process of creating any crazy quilt project can be confusing for some. However, with this style of quilting there is no right or wrong method. It is very forgiving; you dont even have to match seams! So relax and enjoy the process.
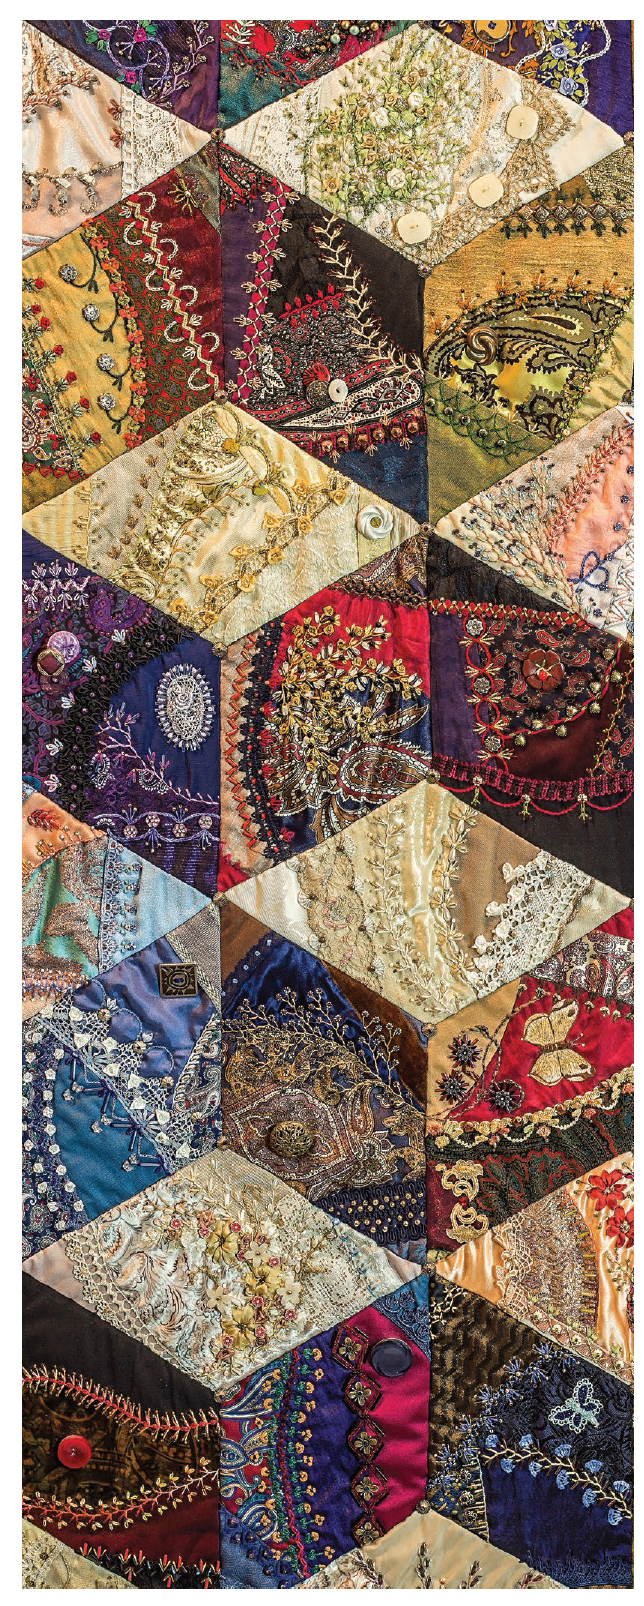
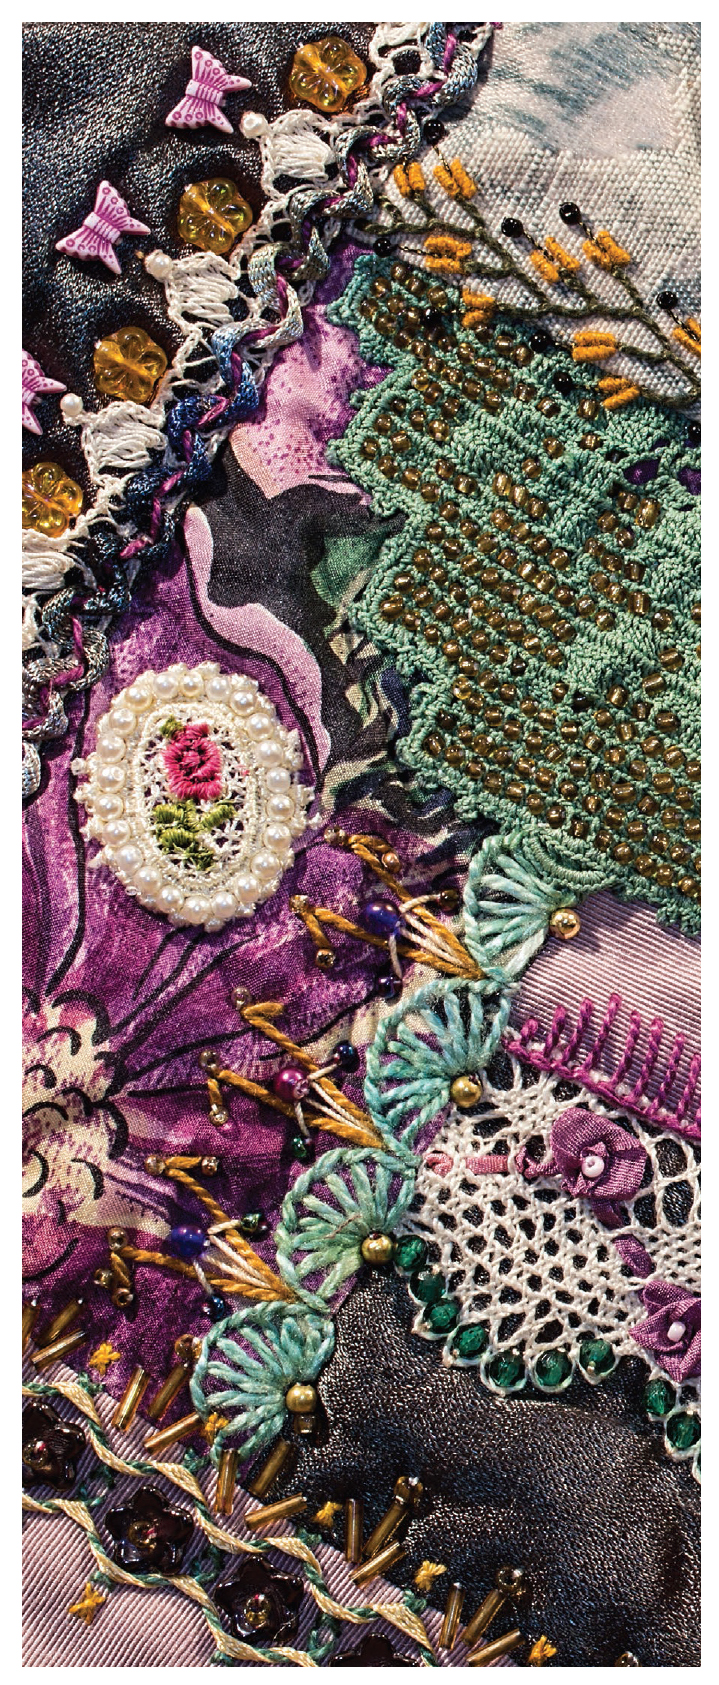
Detail of Diamonds Are Forever
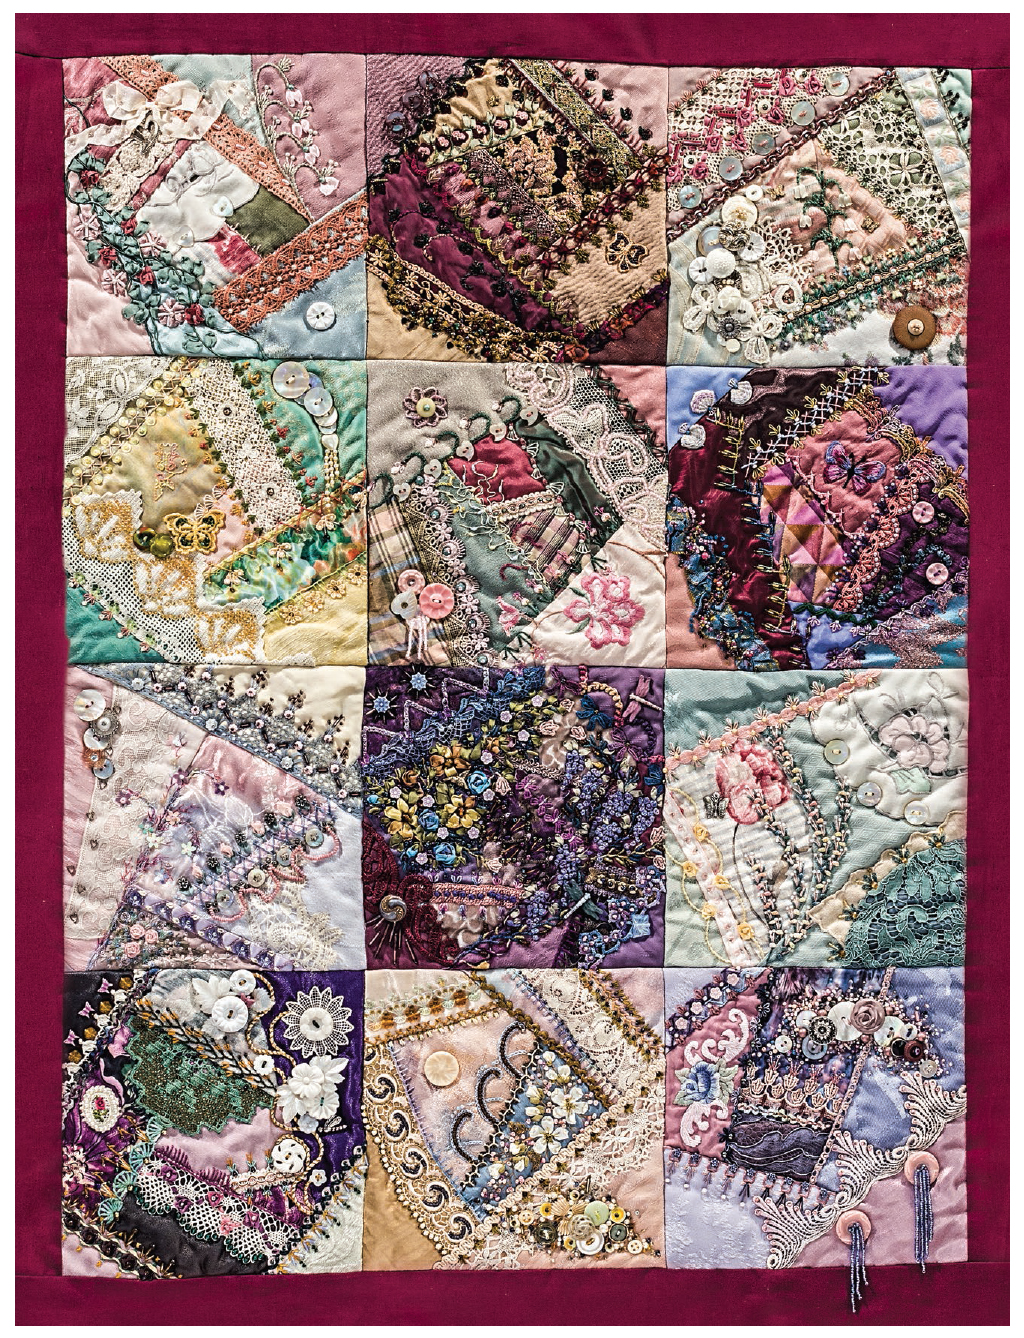
12-Square
The Process of Making a Crazy Quilt Project
The process of creating items and blocks for a quilt can be broken down into a series of steps. Nothing is hard-and-fast in crazy quilting, as each person will have their own preferences, but these are the steps I use.
The first task is to piece the item or block. If it is something like a bag, I piece all sections and include lace and braids in the piecing.
Next I hand embroider the seams.
The next phase is to add embellishments such as beads, buttons, and any other doodads I want to include.
The last phase of the project is to assemble it.
This book follows this process, mixing the practical with theory along the way. The first section covers design and assembly, followed by how to embroider the seams. The last part covers other forms of embellishment such as beads, buttons, and charms.
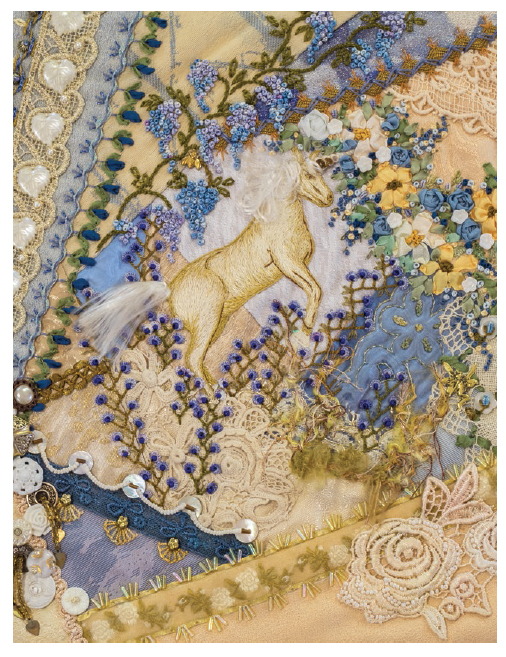
Choosing a Suitable Crazy Quilt Project
For your first project, look for a simple pattern and adapt it to crazy quilting. Keep things simple until you know the process. Start on something small so you can learn the technique before launching into a larger project. When selecting a project, choose items that are easy to assemble, with flat areas that can be embellished. For instance, most bags are ideal but some can be problematic. Gussets or complex assembly can lead to beads, braids or stitching being caught in seams or tucks. Some ideal projects for beginners are cushions, bags, totes, and book covers.
However, if you choose to start on a crazy quilt block, think in terms of something between an 8 (20.3cm) and 18 (45.7cm) square. Large wholecloth quilts take quite a bit of experience to handle the many techniques.
part one
Crazy Quilting and the Encrusted Style
The Foundation Fabric
Contemporary crazy quilters often make reference to an encrusted crazy quilting style that takes inspiration from traditional crazy quilts but employs a combination of embroidery, beads, buttons, lace, and ribbons to produce a complex, layered visual texture. This style aims to take the viewer on a journey. By careful placement of points of interest, the viewers eye is guided step by step.
Most contemporary crazy quilters use a foundation fabric of prewashed muslin or lightweight cotton. I have used homespun cotton, old sheets, and even the backs of old cotton shirts as a foundation. Avoid fabric that is thick, has a tight weave, or has a high thread count. Test the fabric by passing a needle threaded with embroidery thread through three layers of the fabric. If it is difficult to do this, dont use it. Find something finer, with a looser weave, because you need to be able to hand embroider comfortably through all layers.
tip Remember your seam allowance! Cut the foundation fabric to the finished block size plus a generous seam allowance. The phrase plus seam allowance is worth highlighting, as you would be surprised how many people forget to include it!
How Much Fabric?
You dont need yards and yards of fabric to make a crazy quilt project. You just need a variety of small pieces, such as 6 6 (15.2cm 15.2cm) squares. At one stage in my crazy quilting education I was told that for an 8 (20.3cm) block you need a selection of 8 pieces of fabric; for a 12 (30.5cm) block you need a selection of 12 pieces of fabric, and so on. This is a useful rule of thumb.
Next page
