MAKE COOL PROJECTS FOR WINTER!
In winter, snow and ice cover the ground, the days are short, and the nights are long. In Fun and Festive Winter Crafts: Snow Globes, Groundhog Puppets, and Fairy Masks, create easy crafts as you learn about the winter season. Read about symbols, holidays, and special events that take place during this frosty time of year and get creative!
AUTHORS NOTE: The projects in this book were created for this particular season. However, I invite readers to be imaginative and find new ways to use the ideas in this book to create different projects of their own. Please feel free to share pictures of your work with me through www.mcgeeproductions.com . Happy crafting!

The Abenaki are an American Indian people from the northeast region of North America. They tell this story about how the seasons came about:
Long ago there lived a clever and brave hero named Glooscap. It became very cold in the land of the Abenaki. The fires could not give enough warmth, and the crops no longer grew. The people were hungry. Glooscap traveled to the North and found a wigwam made of ice and snow. Inside was the great giant Winter, whose icy breath caused the awful cold. Glooscap could not make Winter stop the Abenakis suffering.
A bird told Glooscap that far to the South, the fair maiden Summer lived. Summer was the source of all warmth and beauty. Glooscap knew he had to have her help to break Winters hold on the land. He rode on the back of a whale down the coast to the land where Summer lived and took her back to the home of Winter.
Summers warmth and beauty softened Winters frozen heart and melted his icy home. Winter agreed that he would not be as cold and would come only part of the year. Summer also agreed that she would visit Glooscaps people for part of the year so that their crops would grow and they could prepare for the cold days of Winter. The agreement still stands today.
This is a wonderful legend, but the cause of winter has more to do with tilting planets than frosty giants. Earth is tilted slightly from north to south. The top half of the planet is called the Northern Hemisphere (hemi means half and sphere means ball). As Earth revolves around the sun during the year, the Northern Hemisphere slowly angles away from the sun. This means the north gets less light and heat from the sun. For half the year, the minutes of daylight get shorter and less heat reaches the ground to warm it. On December 21, the Northern Hemisphere tilts farthest from the sun. This is the winter solstice, the first day of winter and the shortest day of sunlight.
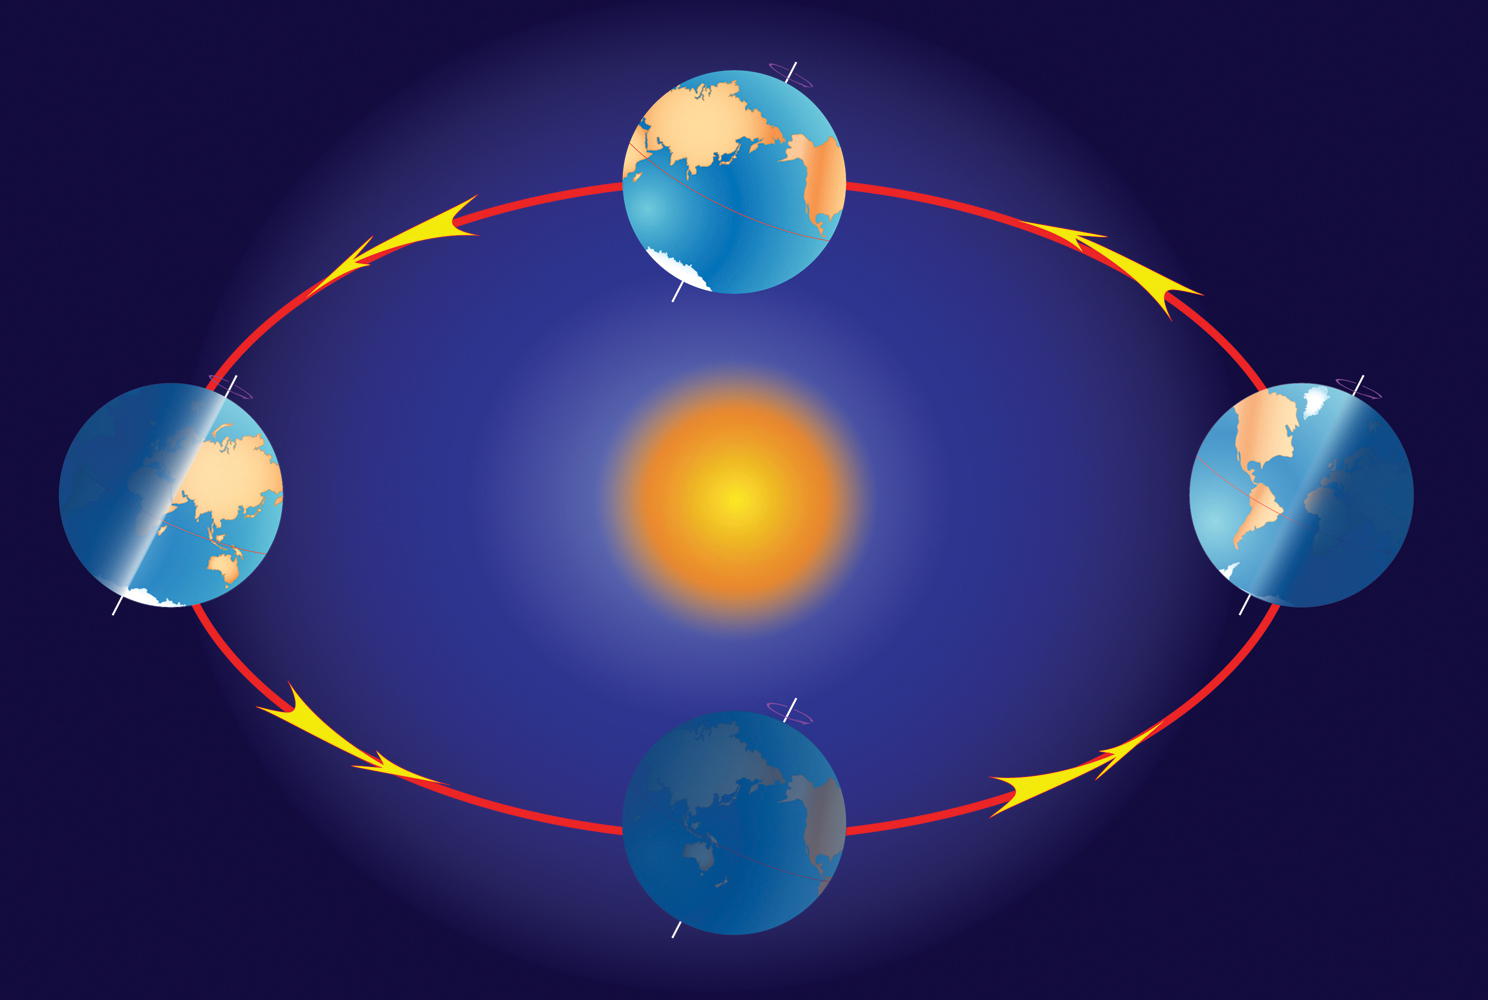
Image Credits: craft photography by Enslow Publishers, Inc.; Designua/Shutterstock.com
Winter in the Northern Hemisphere officially arrives in December and continues until March. Snow and ice are found in many places. Nature seems to sleep. Yet it is a busy time for many people around the world as they celebrate special holidays such as Christmas and Hanukkah. Winter is also a time to enjoy such activities as building snowmen, ice-skating outdoors, sledding, and skiing.
So while you are inside on a cold winters day, you can keep busy and entertain your family and friends with these fun and festive winter crafts!
In the cold days of winter, snow often covers the land with a fluffy, sparkling blanket of white. It can be fun to watch the snowflakes dance through the air as they float to the ground. Snow globes have been a popular winter decoration for about two hundred years. You can make your own snow globe and watch the snow fly while staying snug and warm inside. *Ask an adult to help you.
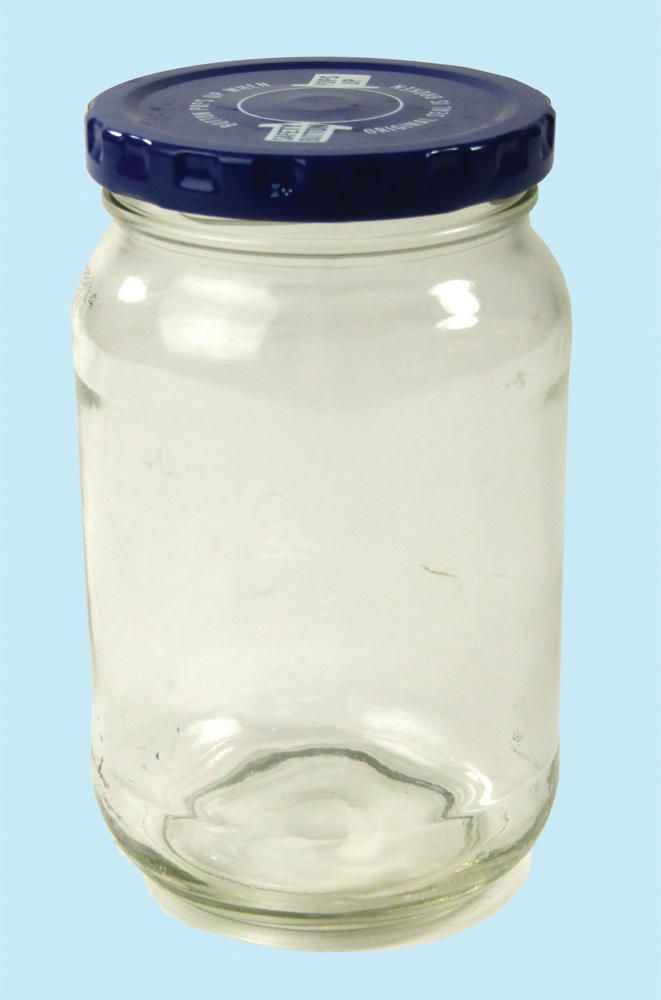
- a small glass jar with a watertight lid (baby food jars, jelly jars, olive jars, etc.) *Be sure to get permission whenever you use a recycled jar.
- waterproof glue
- small toys, figures, and trees of plastic or ceramic (Note: Do NOT use metal figures, as they may rust.)
- distilled water
- glycerin (found in drugstores)
- white or silver glitter
- air-drying clay
- acrylic paints and paintbrushes
1. Thoroughly clean the small glass jar, inside and out, with warm, soapy water and remove the label and any glue with an adults help.
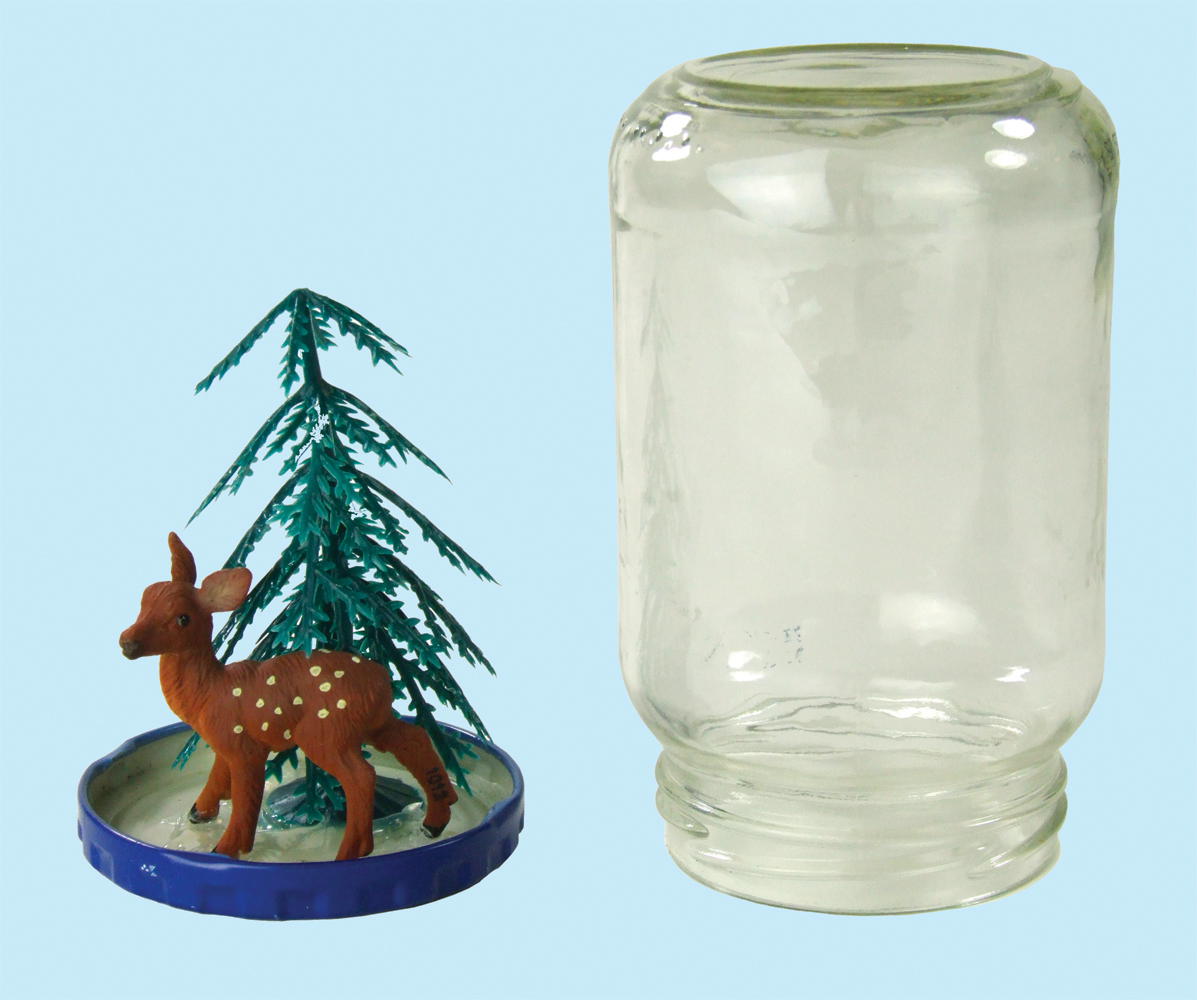
2. Glue the toys, figures, and trees securely on the inside of the lid. Make sure that the figures will still fit inside the jar easily. Let the glue dry.
3. Over a sink or basin, fill the jar to the top with distilled water.
4. Ask an adult to add three or four drops of glycerin to the water in the jar. Glycerin will slow the glittery snowflakes a little as they fall.
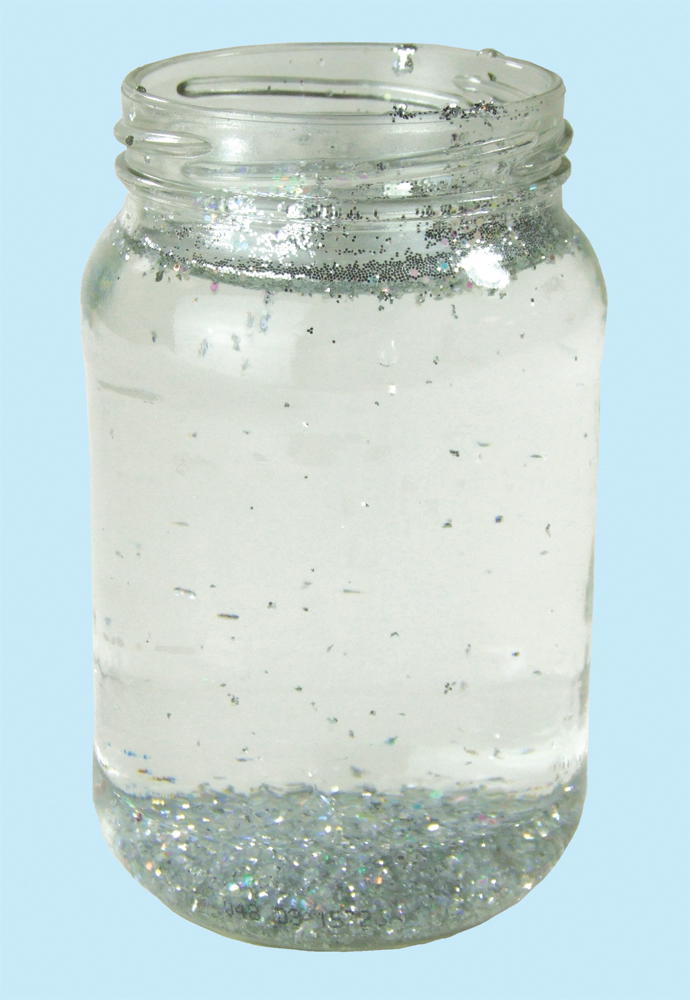
5. Add a few pinches of glitter to the water in the jar and let them settle to the bottom.
6. Carefully put the lid, with the figures glued on securely, in place and screw it tightly to the jar. Some water will spill over into the sink or basin.
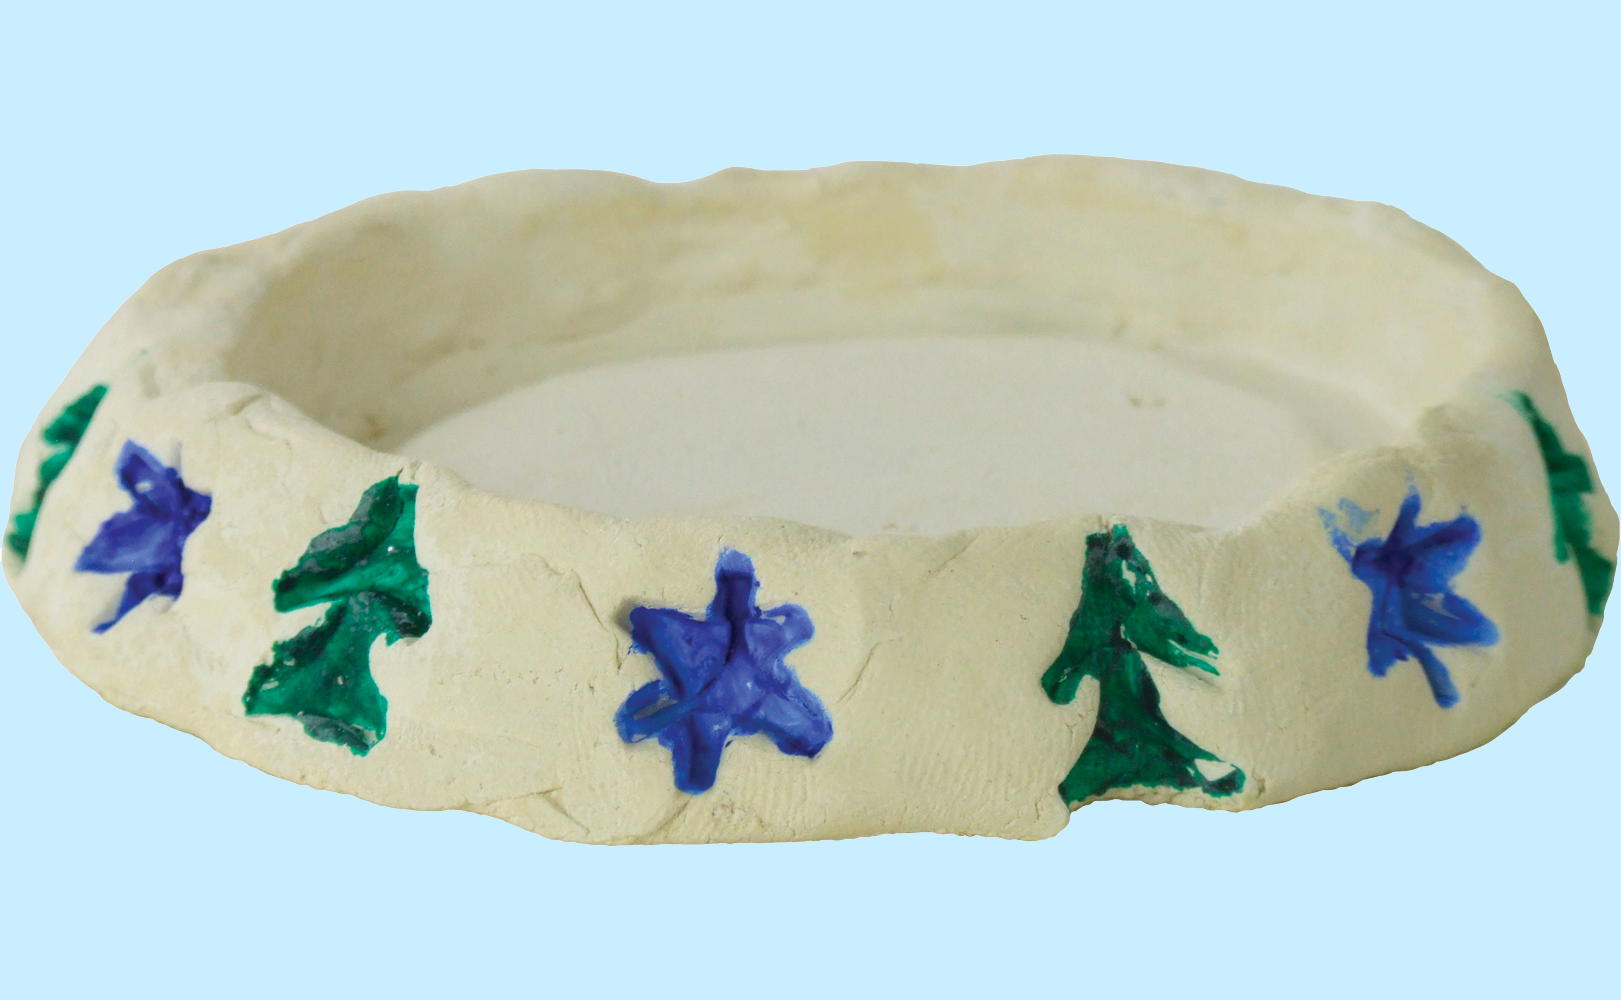
7. Sculpt a base for the snow globe from air-drying clay and let it harden.
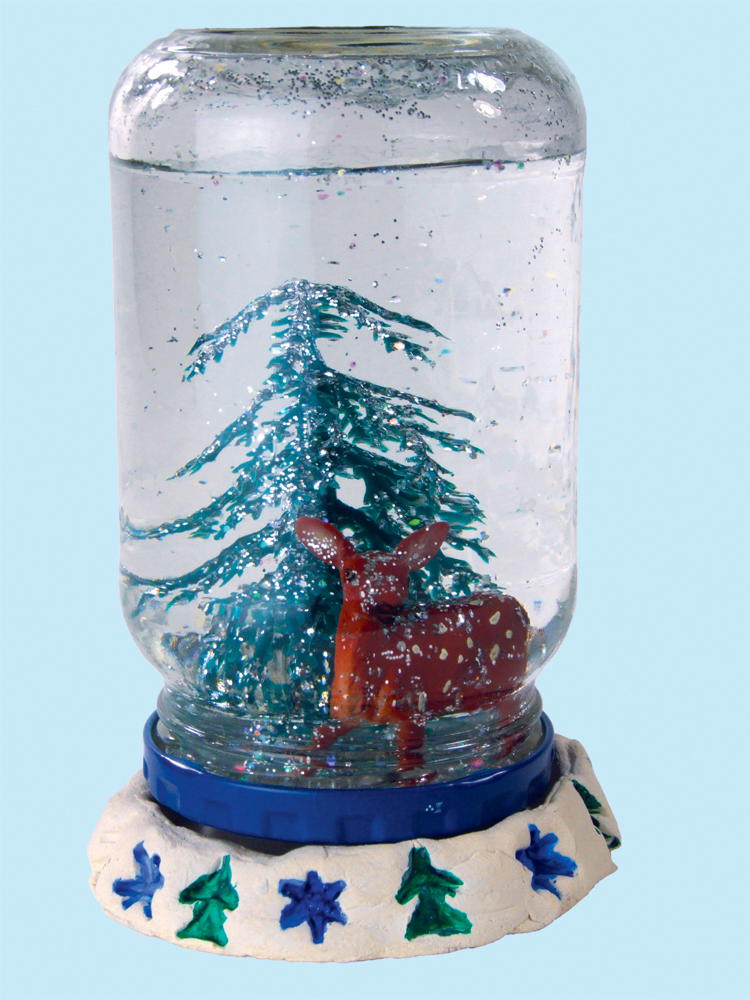
8. Paint the snow globe base with acrylic paints or add other little decorations. You may glue the snow globe to the base or leave it loose as you wish. Shake the globe gently to start the snowfall.
If it snows enough in your yard, you can roll the snow into big balls and stack them up to make a snowman. You can decorate him with sticks for arms, rocks and buttons for a face, and an old knit cap on his head. But wait! Here is a snowman you can make inside that wont melt! Come up with a name and funny stories for this snowman.
- two Styrofoam ballsone slightly larger than the other
- knife (*Ask a responsible adult to help.)
- felt or cloth scrapspink and white
- black marker
- scissors
- white glue
- a paint stir stick (found in hardware stores)
- a 12-inch wooden dowel, inch in diameter
- small pebbles or buttons
- small twigs or pipe cleaners
- a small old or unmatched sock (*Be sure to get adult permission before using a sock.)

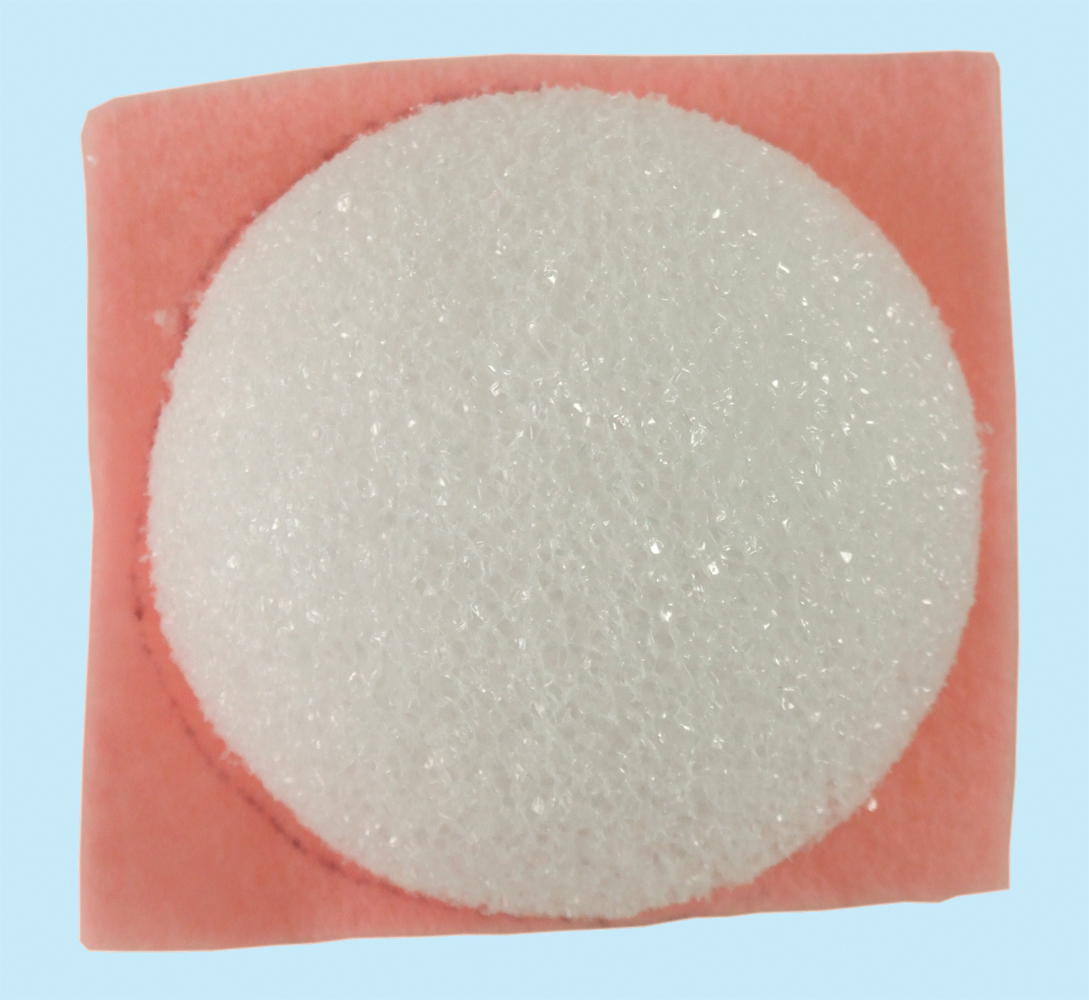
1. With adult supervision, use a knife to cut the smaller Styrofoam ball in half. Trim off a bit from the side edge of one of the halves.
