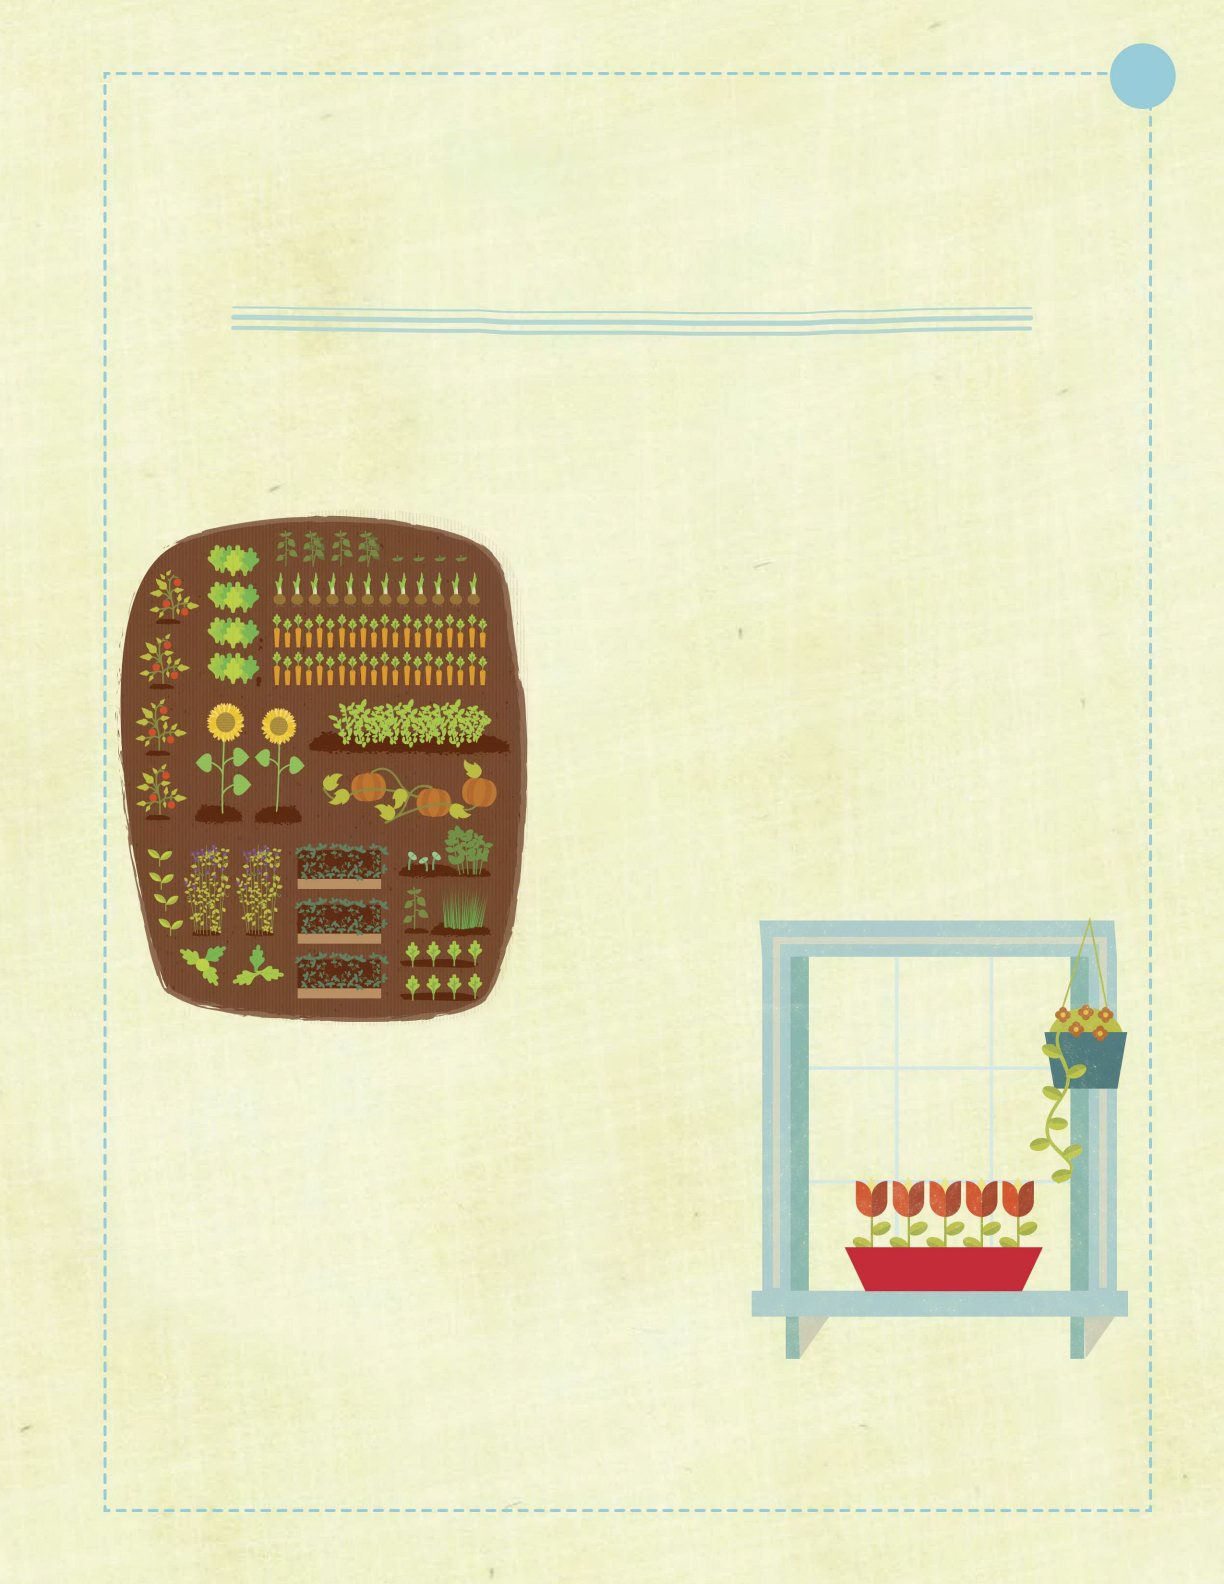
GETTING ST AR TED Gardening is a fun activity you can do all year round. Perhaps youd like to grow beautiful owers, or some tasty fruit and vegetables. There are so many amazing plants to choose from! This book is full of projects for every budding gardener . It will guide you through what you need to get started, along with fun gardening projects you can do at home. Remember , you don t need a garden to get into gardening. All you need is a bit of indoor space, such as a warm, sunny window sill.
Many plants grow best from seeds, which you can buy at a garden center or a market. But weve included some seedless activities too, along with top tips and techniques to make sure that your plants ourish. It s time to get into gardening!
Plants produce seeds that grow into new plants. Each plant produces its own kind of seed. They come in all shapes and sizes! SEEDS AND SEEDLINGS Seeds need four things to grow into plants: Wa rmth Light Soil Wa ter W armth and light are easy . A sunny indoor windowsill is perfect! Most young plants grow best in a type of soil mix called potting soil.
Y ou can buy this at your local garden center . Kee p th e soil moist to t he t ouch thro ughout yo ur plants life , but not drip ping or soaking. If y ou add t oo much wat er, make sure it can dr ain aw ay.
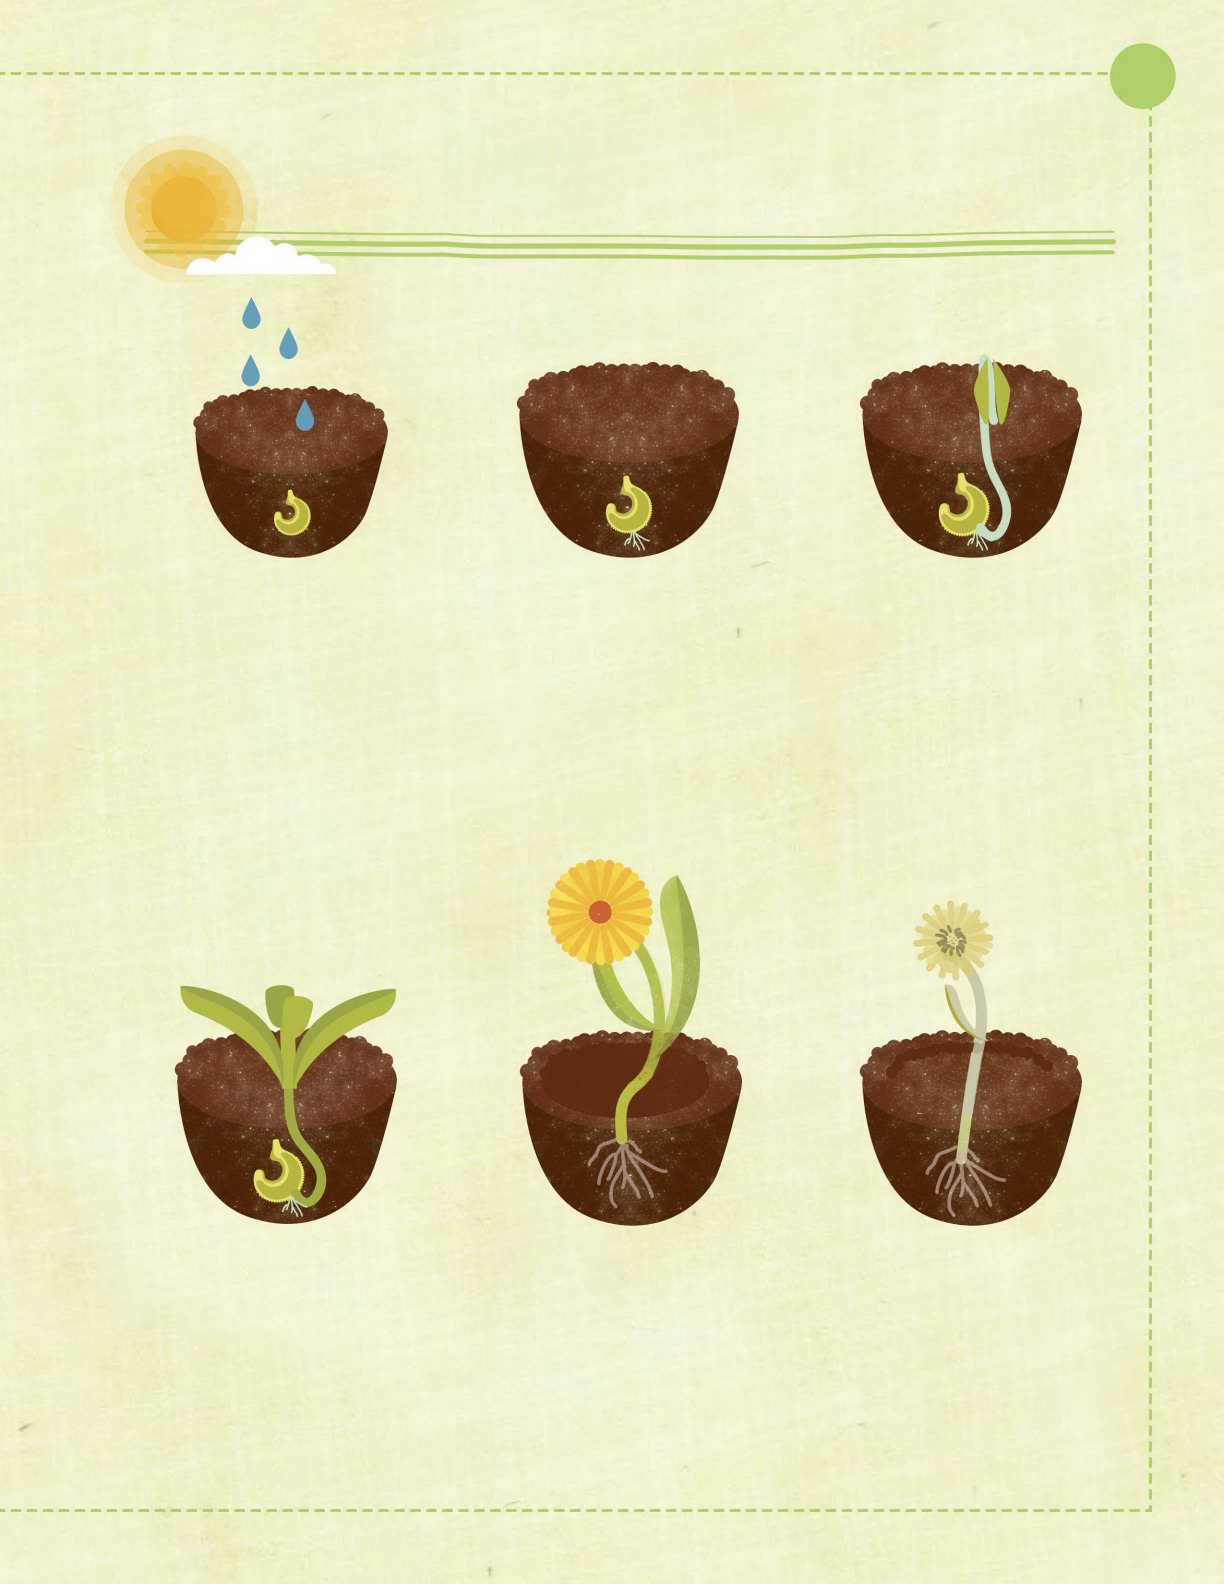
HOW SEEDS GRO W STEP 1 Wat er helps the hard, outer shell of the seed to soften. Wa rmth tells the seed that it is time to germinate and grow . STEP 2 Soon, a tiny root appears.
The root grows down and holds the new plant steady in the soil. It also takes in water and nutrients from the soil. STEP 3 Next, a shoot appears. The shoot grows up towards the light. Now , the seed has become a seedling . STEP 4 As the seedling grows, it sends out green leaves.
STEP 5 When the plant is fully grown, it produces a ower . STEP 6 This ower produces new seeds, which disperse when the ower wilts.
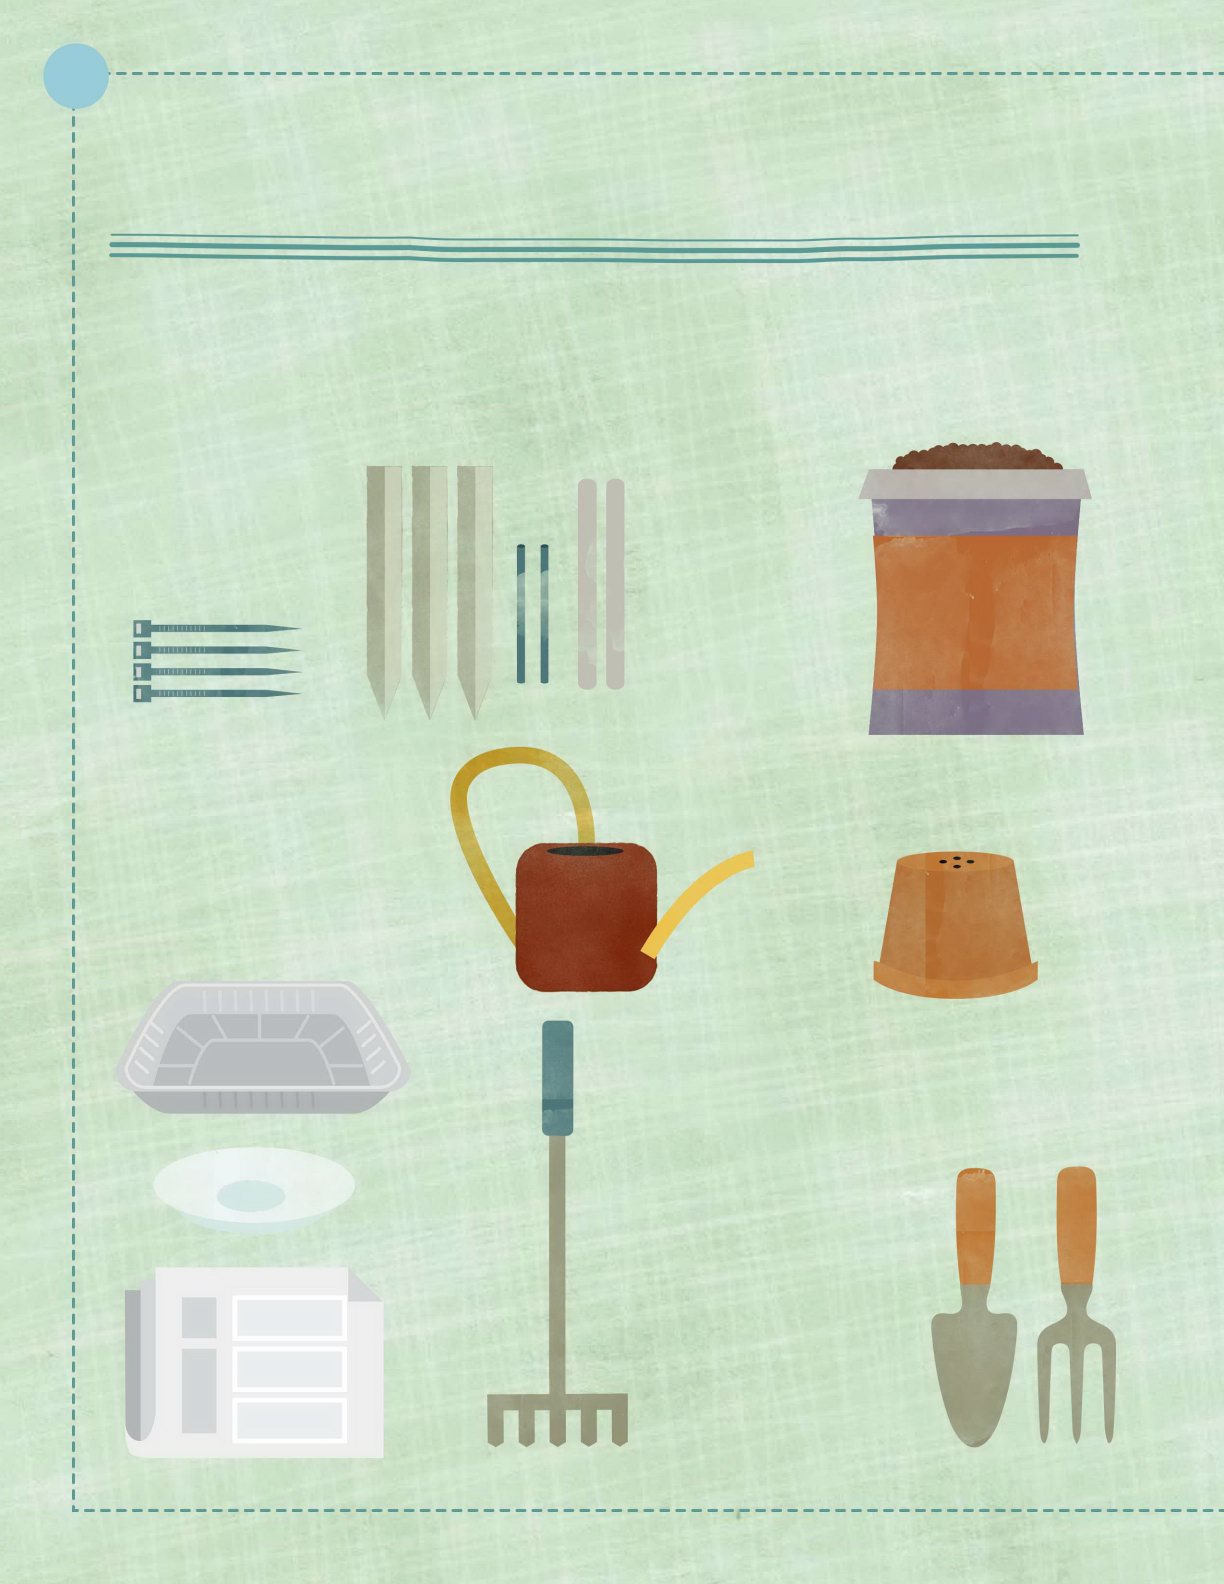
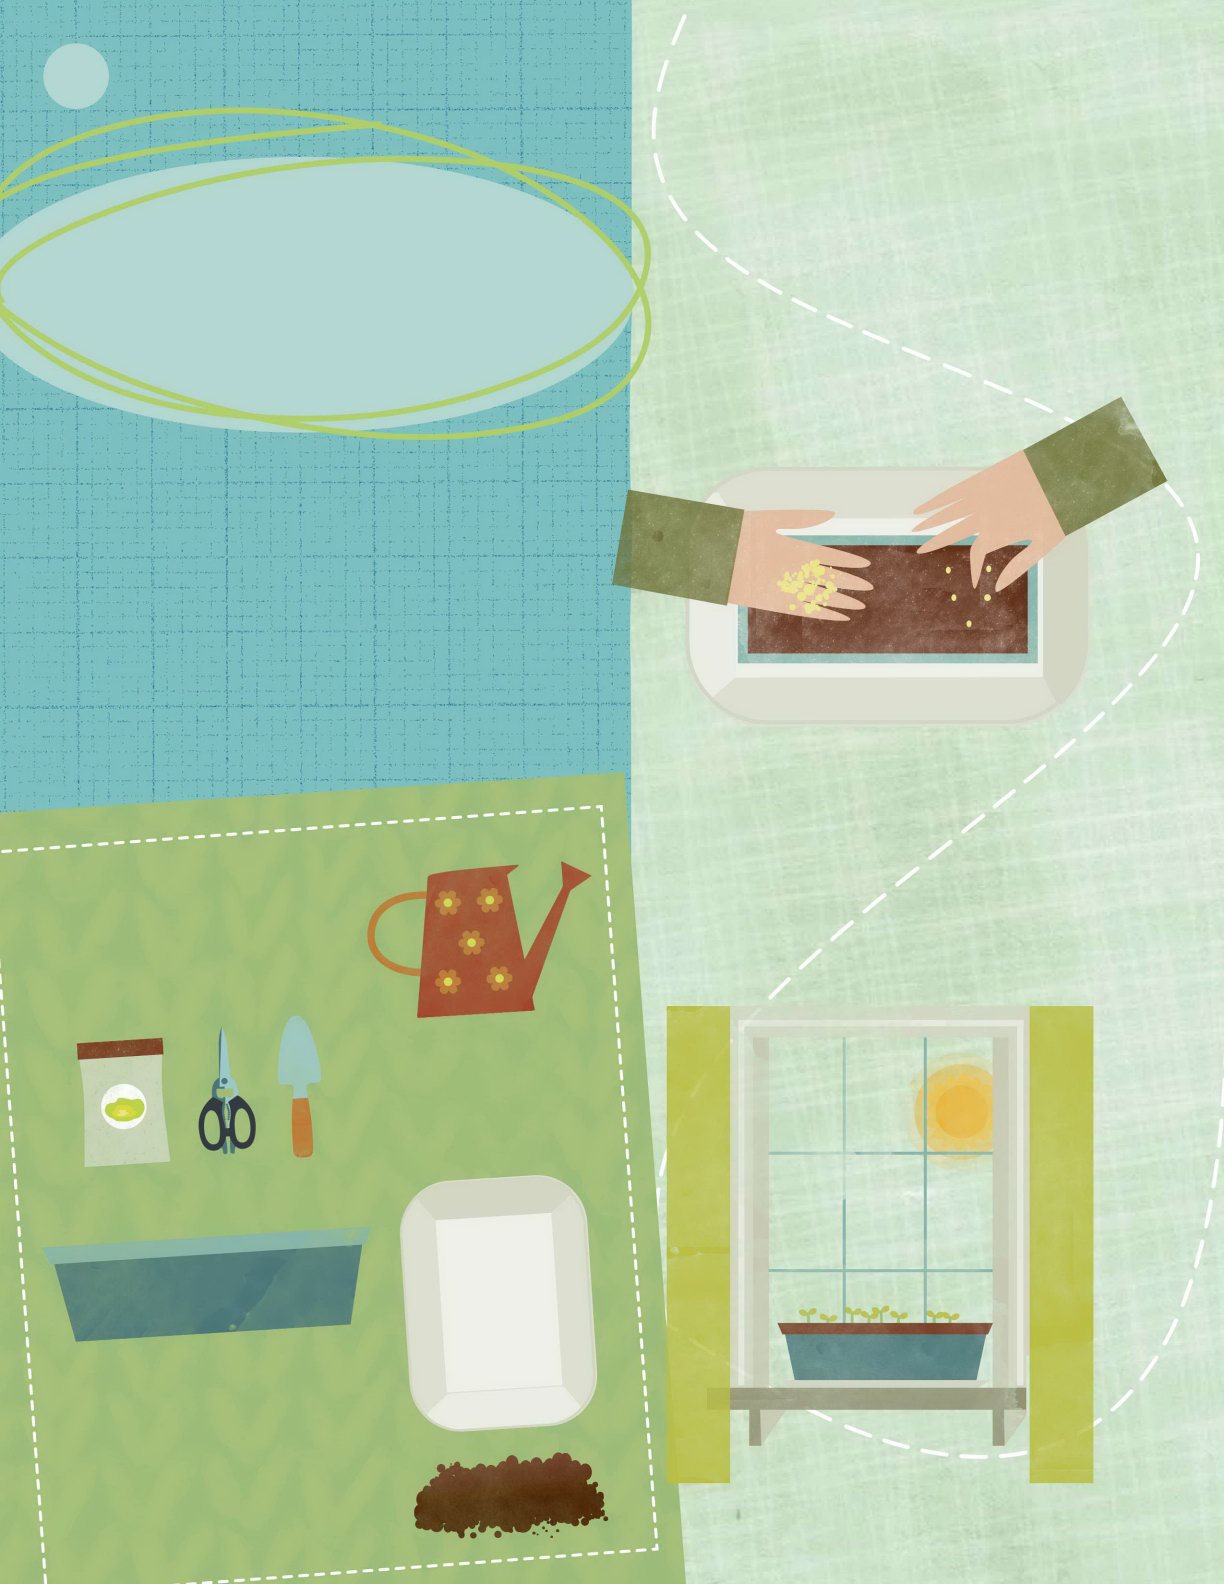
Gardening equipment doesn t have to be fancy . Y ou probably have some of these items at home already! WHA T Y OU NEED Containers with small holes in the bottom Foil trays, plates, or some folded newspaper to place under containers Potting soil Wat er from a jug or small watering can Labels made from popsicle sticks Stakes and ties for supporting tall plants Tro wels and forks are useful for working with soil A garden rake for raking garden soil and getting rid of lumps SOIL
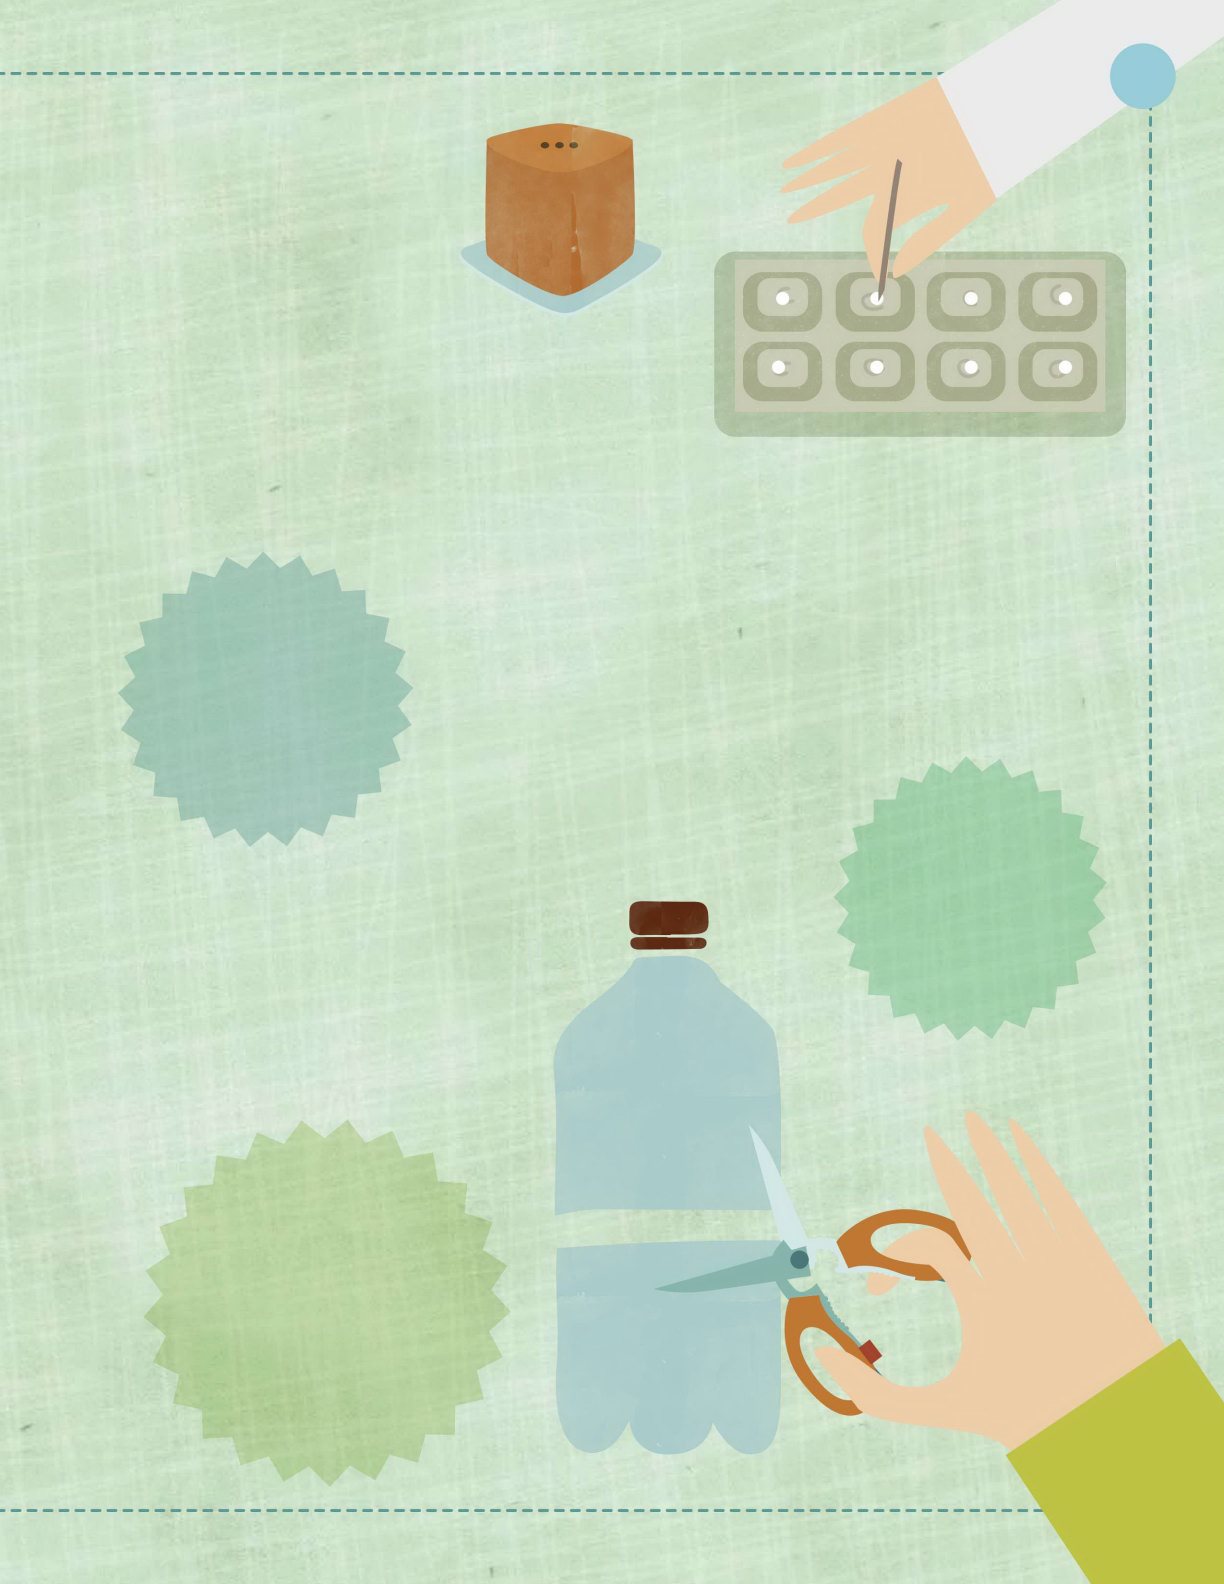
Try cutting the bottom off a clear plastic soda bottle or milk carton. Dont forget to make some holes! Alwa ys ask an adult to ma ke holes in plas tic containers fo r you th ey c an use screwdri vers o r skewers. Cardboard egg cartons make perfect pots for young seedlings.
Push a toothpick through the base to make some holes. A plastic yogurt cup can be used again and again. Was h it rst, then make 23 small holes in the bottom. You can decorate the container with paints or markers. Or , try placing it inside your favorite mug or bowl. MAKING HOLE S If you are gardening indoors or on a patio, your soil will need a container .
This should have a few small holes in the bottom so that extra water can drain away . Dont for get: if youre u sing a hole y container, y oull need a tra y t o put it on. A NOTE ABOUT MEA SUR EMENT S Measu rements ar e given in U.S. for m wi th metr ic in parenth es es . The met ric conver sion is rounded to make it ea sier to measure .
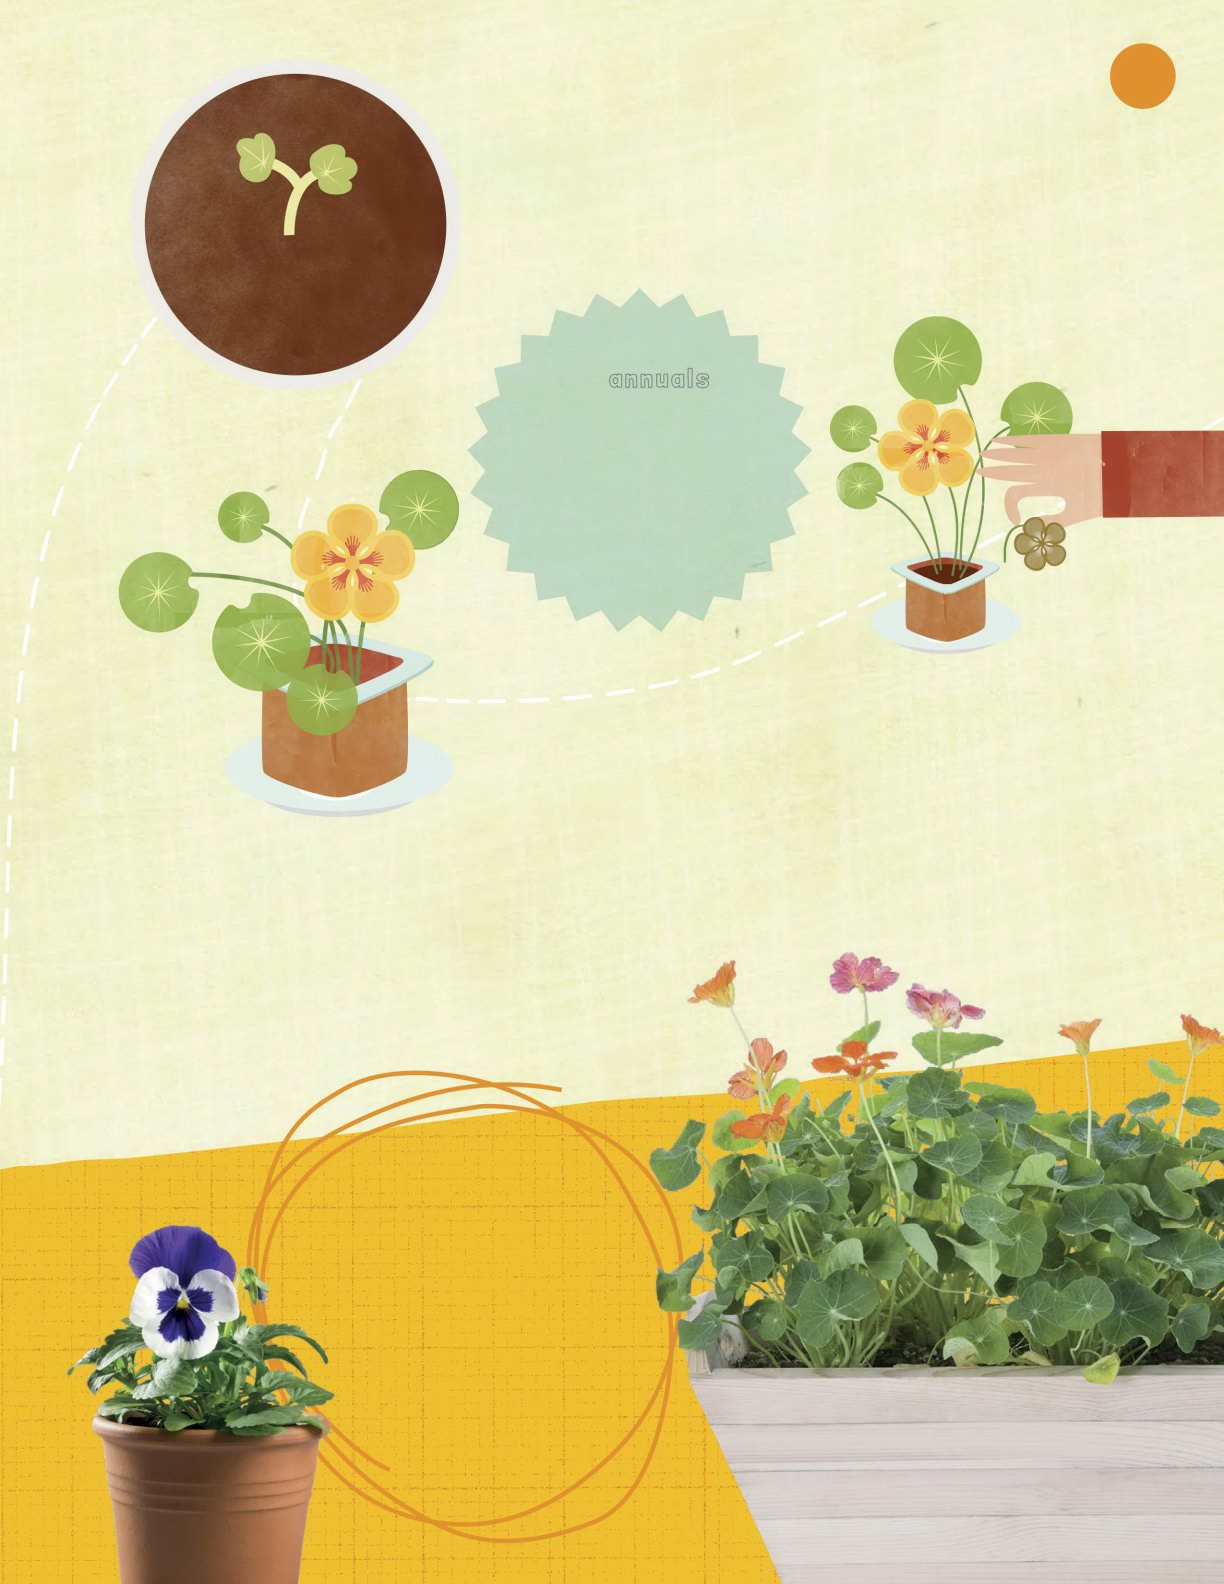
YOU WILL NEED Nasturtiums are cheerful, easy-to-grow plants with interesting leaves and orange or red owers.
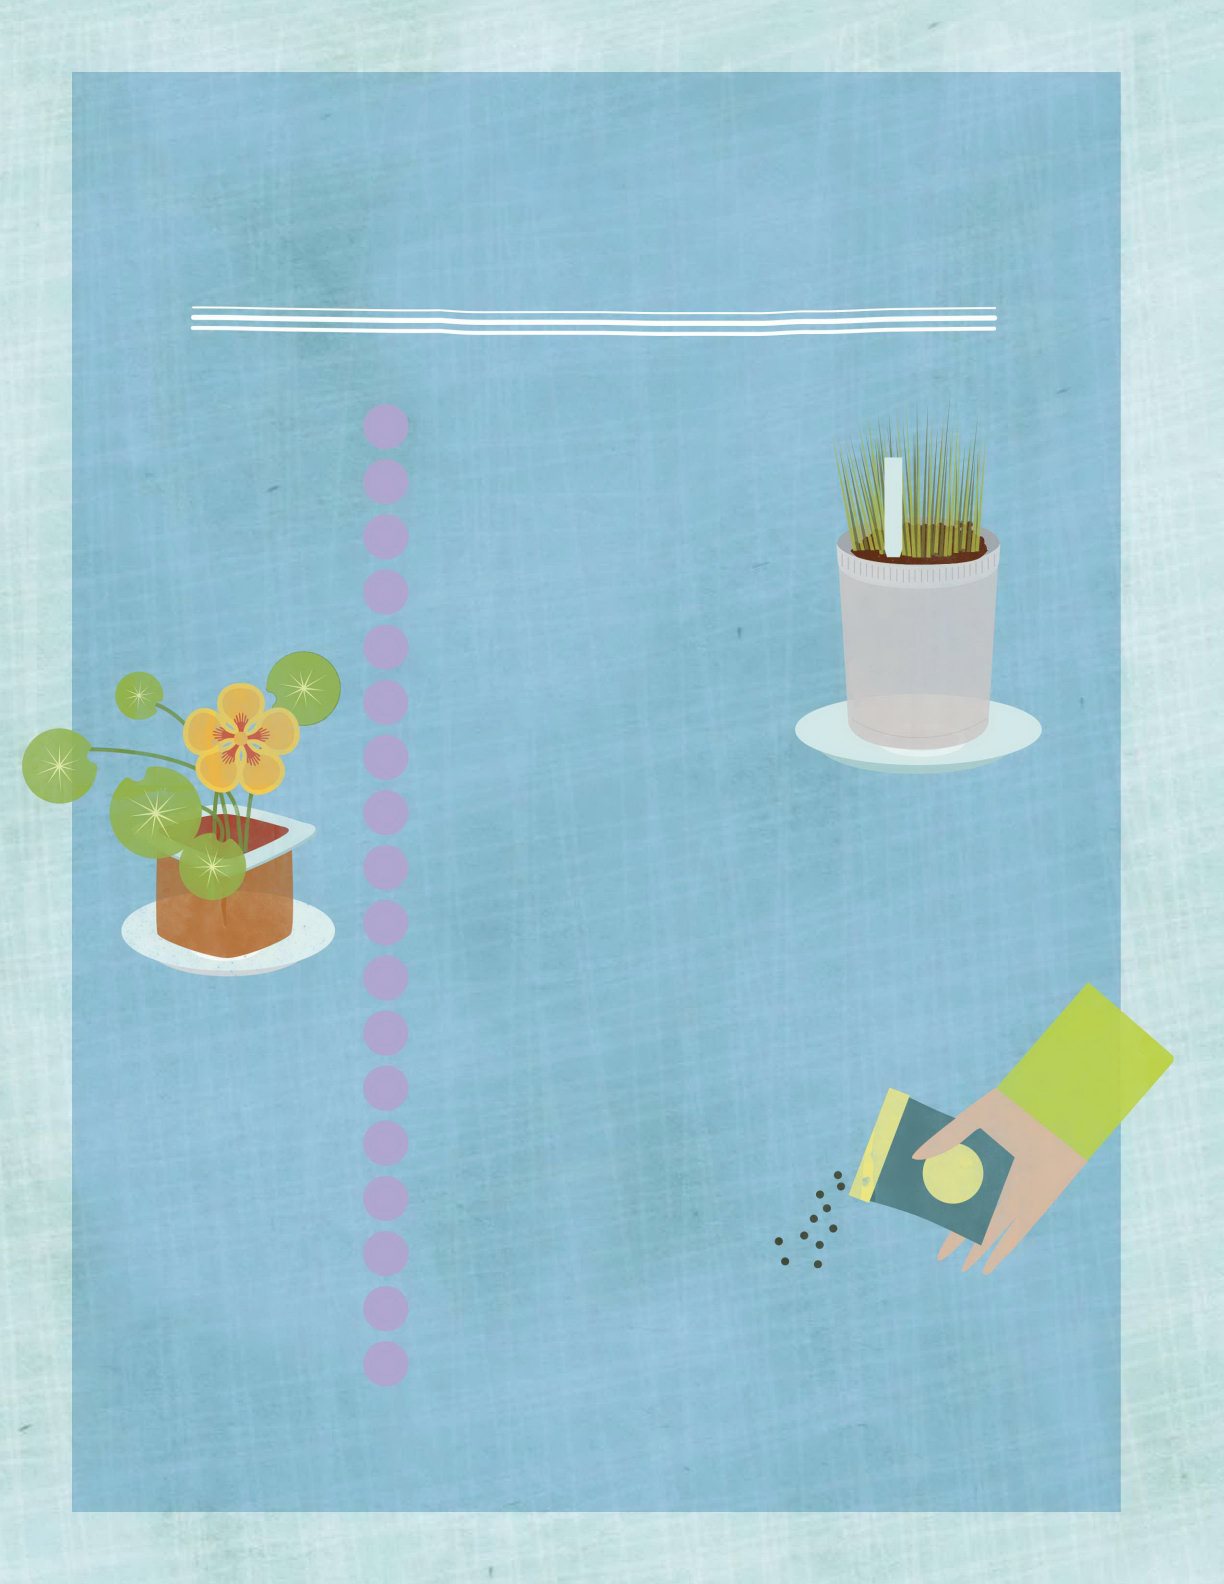
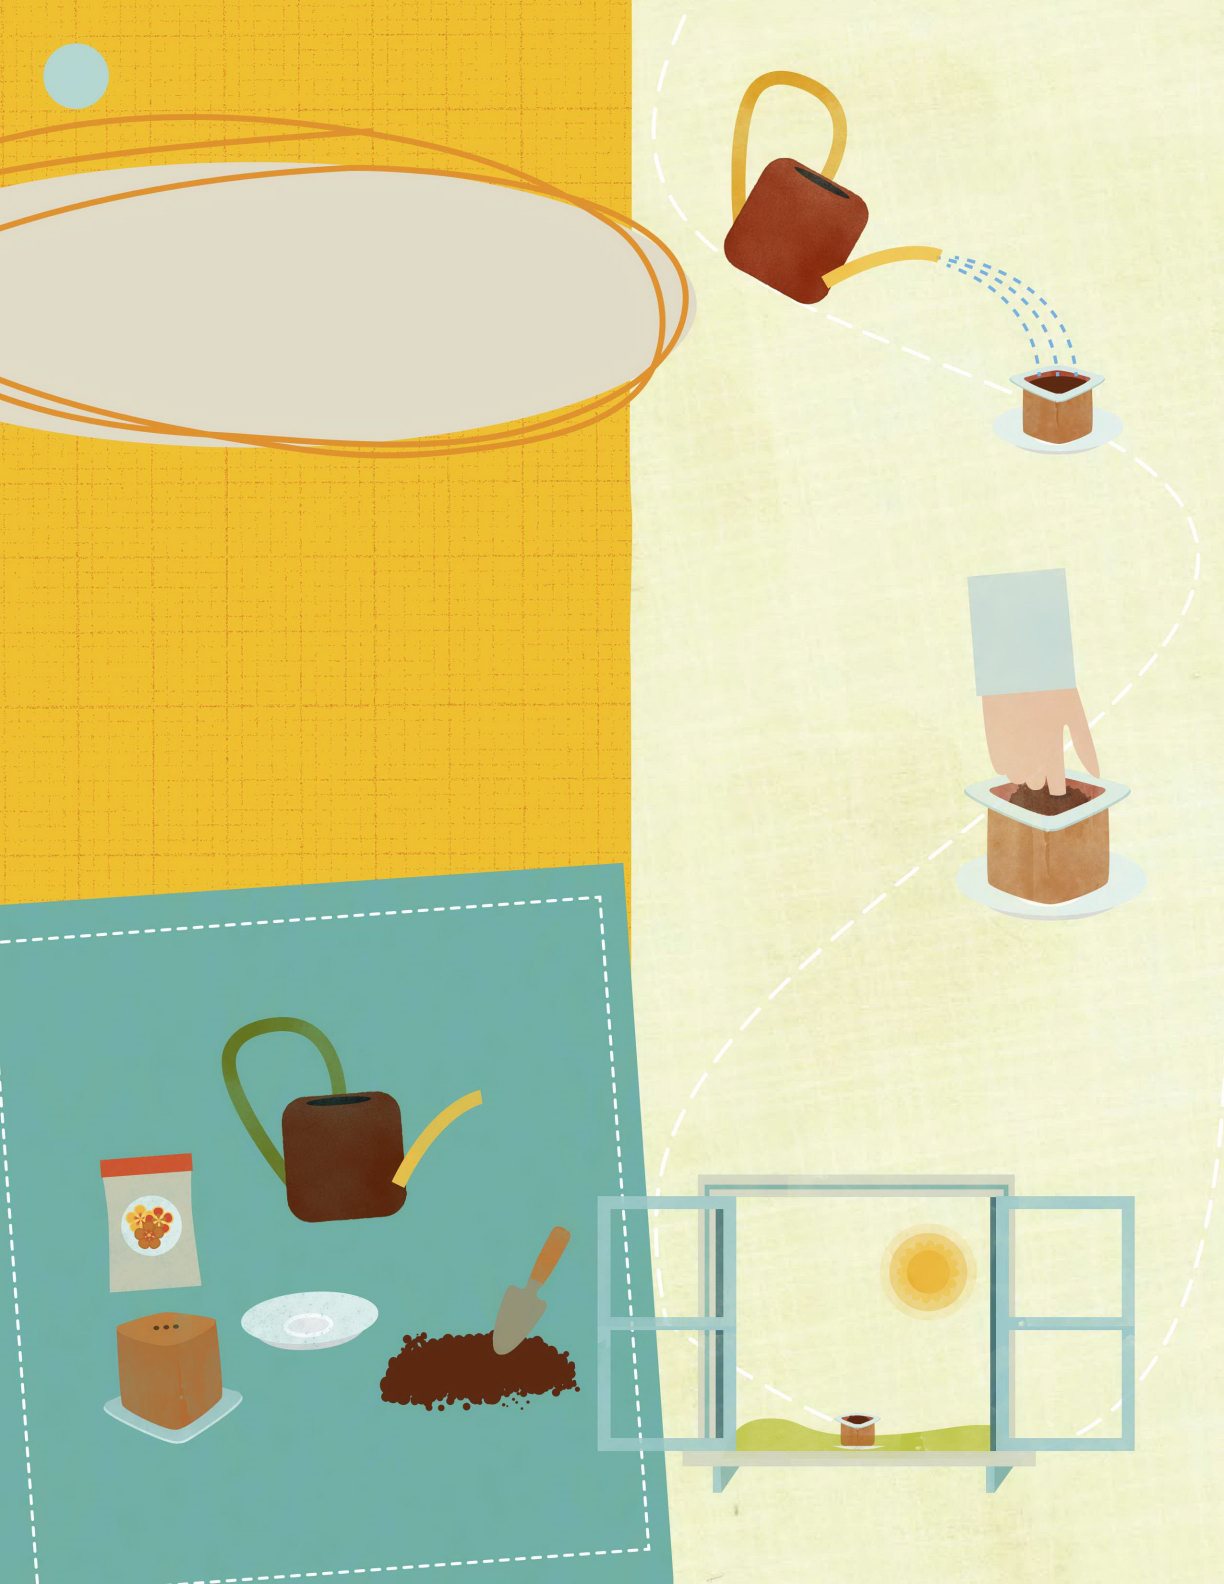
They look great in pots on windowsills, or containers outside. BRIGHT NAS TURT IUMS STEP 1 Fill your cup with soil until it is three-quarters full. Moisten with water all the way through. STEP 2 Poke your nger into the soil, up to your second nger joint, to make a narrow hole. Drop a single seed into the hole and lightly cover it with soil. STEP 3 Place the cup on a plate and put it in a warm, sunny place, such as a windowsill.
Keep the soil moist to the touch, but not dripping wet. Packet of nasturtium seeds Yo gurt-sized pot with drainage holes Potting soil Tro wel Plate Wat ering can
PRE TTY PAN SIE S Pans ies are also ea sy to grow f rom seed. T he y come in all kind s of color s! STEP 4 After 1014 days, a seedling should appear . T urn the pot each day so that each side has equal amounts of sunshine. STEP 5 As the plant grows, let its leaves tumble down the sides of the cup. After about eight weeks, the rst owers should appear .
STEP 6 When each ower dies, remove it by pinching the top of its stem. This helps new owers appear . Nastu rtiu ms are annuals , meaning th ey die after fl ower ing and produ cing seeds . But yo u can collect t he s eeds from th e dead flowers t o start again!
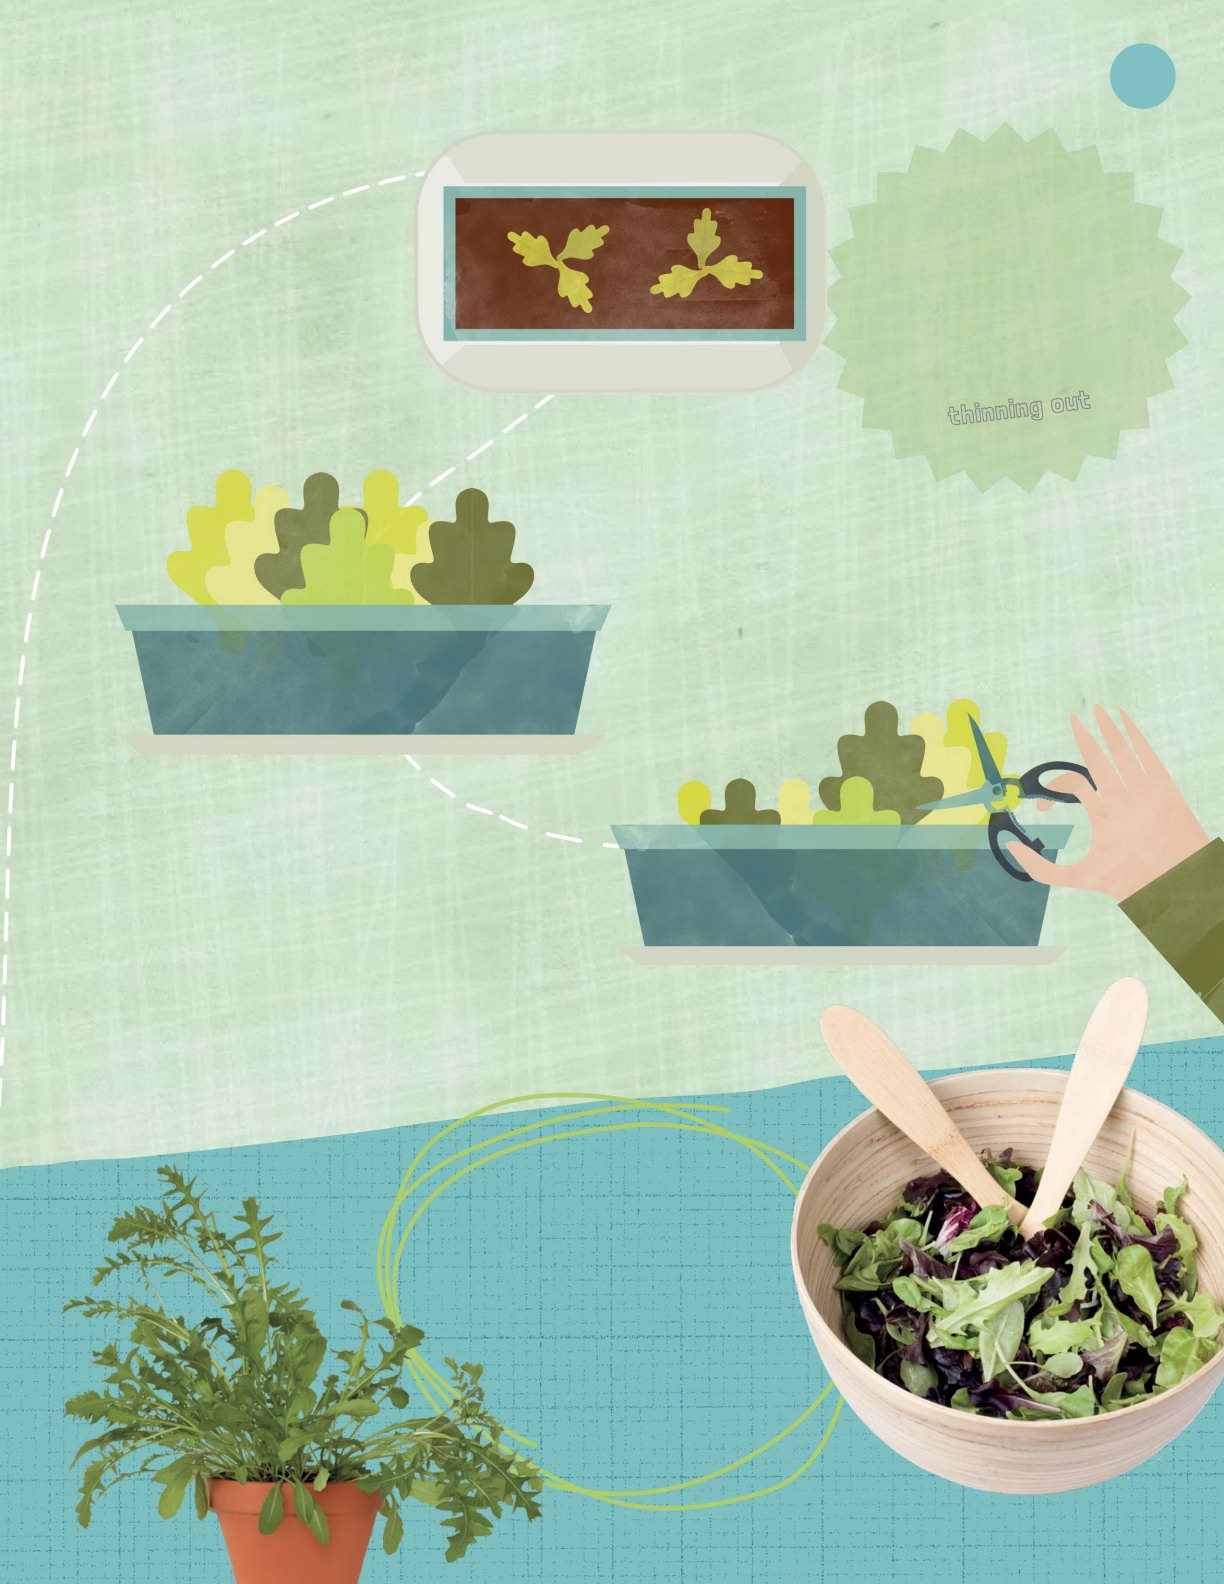
YOU WILL NEED A box of freshly grown salad greens is a tasty treat! The best time to plant the seeds is in the spring or early autumn. SIMPLE SALAD STEP 1 Fill your container almost all the way with potting soil and sprinkle it thoroughly with water until the soil is moist all the way through . Sprinkle the seeds evenly across the surface.
Cover them with a thin layer of soil. STEP 2 Place the container on a bright windowsill, but avoid strong heat. Keep the soil moist! Packet of mixed salad greens seeds Long or wide container , such as a plastic ice cream tub, with holes in the bottom Potting soil Tro wel Wat ering can Tra y to sit the container on Scissors

