Elizabeth Betts - Basic Quilting Techniques for Beginners: Learn All the Basic Quilting Techniques
Here you can read online Elizabeth Betts - Basic Quilting Techniques for Beginners: Learn All the Basic Quilting Techniques full text of the book (entire story) in english for free. Download pdf and epub, get meaning, cover and reviews about this ebook. year: 2013, publisher: F+W Media, genre: Children. Description of the work, (preface) as well as reviews are available. Best literature library LitArk.com created for fans of good reading and offers a wide selection of genres:
Romance novel
Science fiction
Adventure
Detective
Science
History
Home and family
Prose
Art
Politics
Computer
Non-fiction
Religion
Business
Children
Humor
Choose a favorite category and find really read worthwhile books. Enjoy immersion in the world of imagination, feel the emotions of the characters or learn something new for yourself, make an fascinating discovery.
- Book:Basic Quilting Techniques for Beginners: Learn All the Basic Quilting Techniques
- Author:
- Publisher:F+W Media
- Genre:
- Year:2013
- Rating:3 / 5
- Favourites:Add to favourites
- Your mark:
Basic Quilting Techniques for Beginners: Learn All the Basic Quilting Techniques: summary, description and annotation
We offer to read an annotation, description, summary or preface (depends on what the author of the book "Basic Quilting Techniques for Beginners: Learn All the Basic Quilting Techniques" wrote himself). If you haven't found the necessary information about the book — write in the comments, we will try to find it.
Learn the basics of quilting, from paper piecing and appliqu to hand and machine quilting. Features 16 simple projects, each focusing on a different technique, from bags and cushions, to table mats, wall hangings and different-sized quilts. Clear illustrations accompany simple step-by-step instructions, making every project suitable for complete beginners.
Elizabeth Betts: author's other books
Who wrote Basic Quilting Techniques for Beginners: Learn All the Basic Quilting Techniques? Find out the surname, the name of the author of the book and a list of all author's works by series.


Basic Quilting Techniques for Beginners: Learn All the Basic Quilting Techniques — read online for free the complete book (whole text) full work
Below is the text of the book, divided by pages. System saving the place of the last page read, allows you to conveniently read the book "Basic Quilting Techniques for Beginners: Learn All the Basic Quilting Techniques" online for free, without having to search again every time where you left off. Put a bookmark, and you can go to the page where you finished reading at any time.
Font size:
Interval:
Bookmark:

In patchwork, piecing is the term used for sewing fabric together. It can be done by hand, or on the machine. Try piecing using both methods to see what suits you.
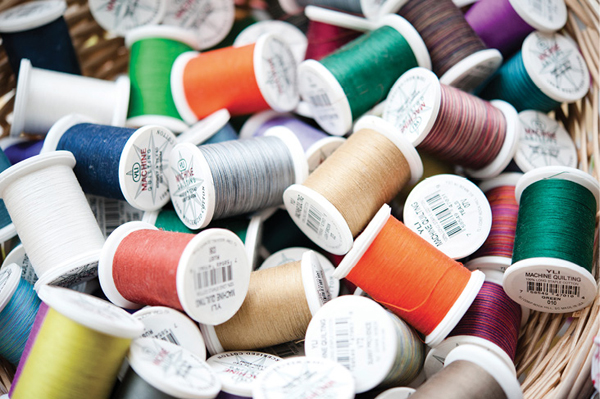
When piecing together fabrics that are different colours, use thread in a beige or grey colour as your eye will not be drawn to it like it would be for a white thread. When I find a neutral colour that works, I buy large reels as it is economical and convenient. If making a quilt with fabrics in predominantly one colour, say blue, I would then use a mid-blue colour thread.
For piecing, use100 per cent cotton, 50-weight thread as it is suitable for both hand and machine piecing, and easy to find.
Sewing patchwork by hand is really enjoyable. It is often portable so you can work for an hour in the evening in front of the television, then take it into work and do another 30 minutes on it in your lunch break. It has a reputation for being slow to do, but hand sewing while doing another activity means it uses down time. Its faster to piece on the sewing machine, but if you dont have a dedicated sewing room where you can keep your machine set up, it is much more convenient to have sewing you can pick up and put down.
Keep everything you need in a small box, such as a pretty vintage tin, then all you have to do is open the tin and start sewing where you left off. I use Sharps needles for hand piecing. Buy a pack of needles that contains different sizes and try different ones to see which one suits you.
The most important thing about hand piecing is to make sure that the beginning and end of your seam are really secure. If you are making something to be quilted after it is hand pieced, this will add to the strength of the item.
The two methods of piecing that I use are English paper piecing and American block patchwork piecing.
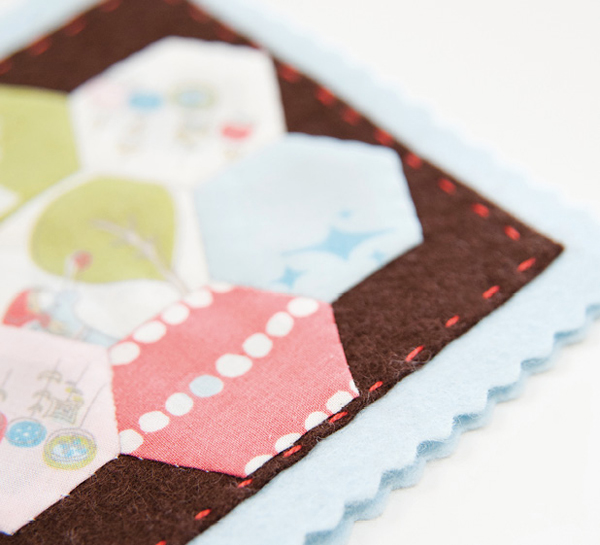
This technique tacks (bastes) fabric to paper shapes, which are then oversewn. It is good for making patchwork with different regular shapes, such as hexagons and diamonds, hence it is also sometimes known as mosaic patchwork.
1 Make a template out of card or template plastic. Draw round the template on to paper scrap paper is fine and cut out the shape from the paper.
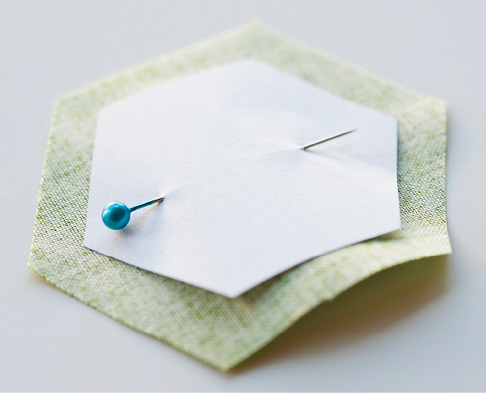
2 Pin the paper piece to the back of the fabric. Using scissors, cut around the shape, leaving a generous in (0.6cm) seam allowance all around.
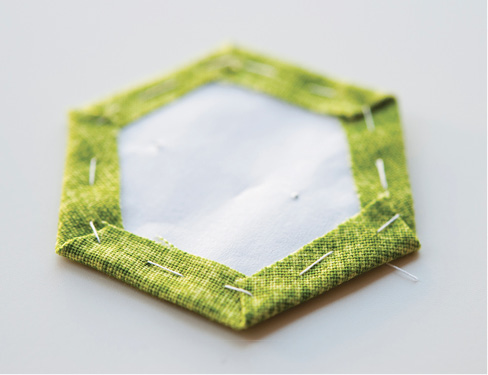
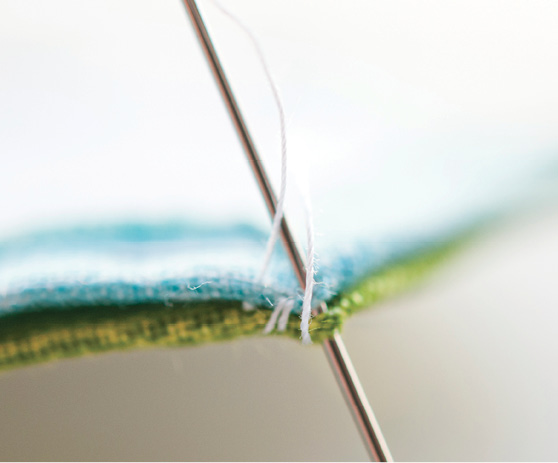
3 Thread a needle and tie a knot in the end. Fold the seam allowance over the piece of paper and tack (baste) in place using a large running stitch.
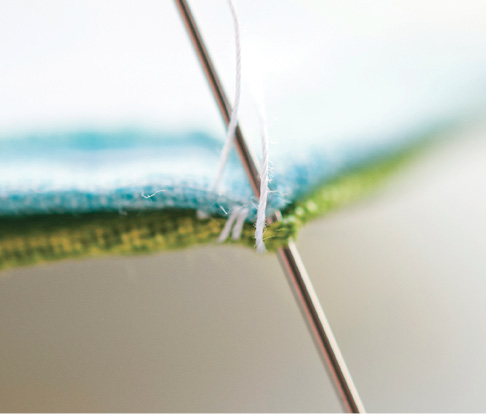
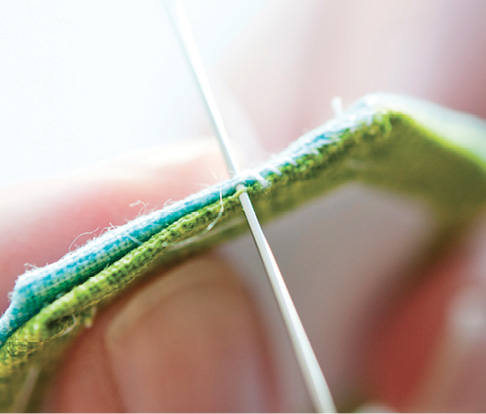
4 Place two patches on top of each other, right sides together. To oversew the patches together, thread a needle and start in (0.6cm) in from the edge of the piece where you want to start, and take a few tiny stitches back to the edge, which serves as a backstitch to secure the thread. Then work your way along the seam and sew a few reverse stitches at the end of the fabric to secure. Keep sewing the patches together in this manner. If you are making a large quilt, work in small units then join them together later.
5 When you have finished making the patchwork, take out the tacking (basting) stitches and the paper backing. Keep the paper backings as they can be used for another project.
In this method you draw a line on the back of the fabric, which is then used as a guideline to sew along using a small running stitch.
1 To make your template, draw your shape on to card or template plastic.
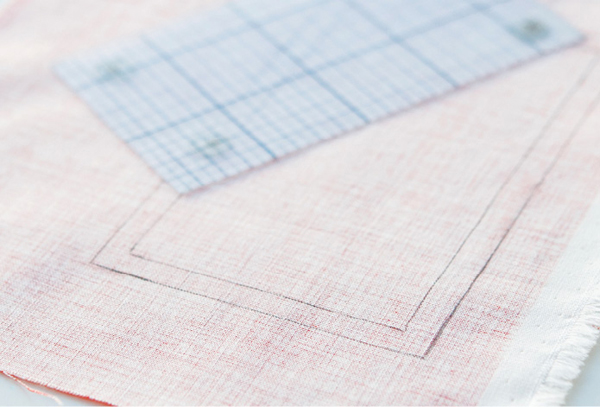
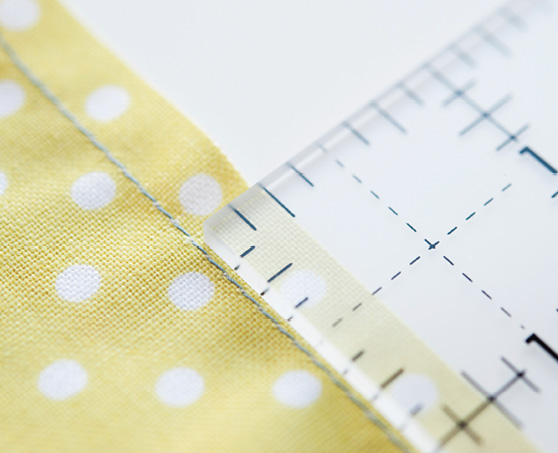
2 Place your fabric on a table, right side down. Place the template on top and draw around it using a pencil. The template does not include a seam allowance, so draw another line in (0.6cm) away from the first line. You can buy rulers made to this width for this purpose.
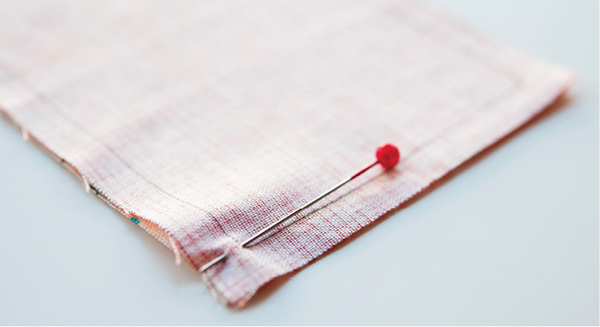
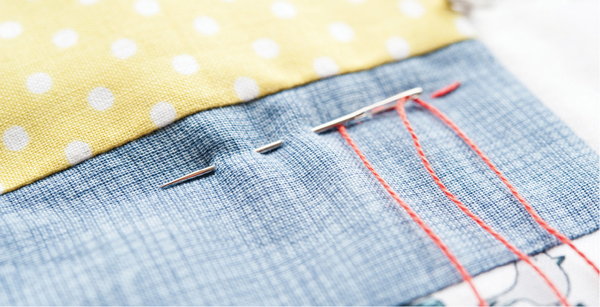
3 Take two pieces, and place them right sides together. Insert a pin at each end of the row, making sure it goes through the drawn line on both pieces of fabric. If it is a long seam, insert as many pins along the row as needed to ensure the pencil lines on the top and bottom fabric line up.
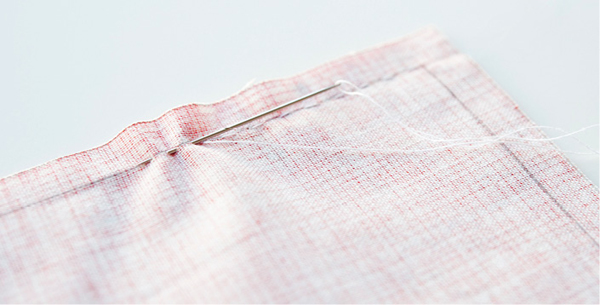
4 Thread a needle with approximately 18in (45.7cm) of thread (no more than this or it will tangle up as you sew). Knot the end, then sew a small running stitch along the line. If you are sewing a long seam, do a backstitch along it approximately every 5in (12.7cm) to make the line of stitching stonger. If you are joining two rows together that already have seams where pieces of fabric have been sewn together, stitch along the row then, when you get to a seam, take a backstitch. Then place the needle through the seam and, instead of sewing it down, take a backstitch, and carry on sewing.
5 When you get to the end, finish with a small backstitch. Press the seam together as this helps to make it stronger.
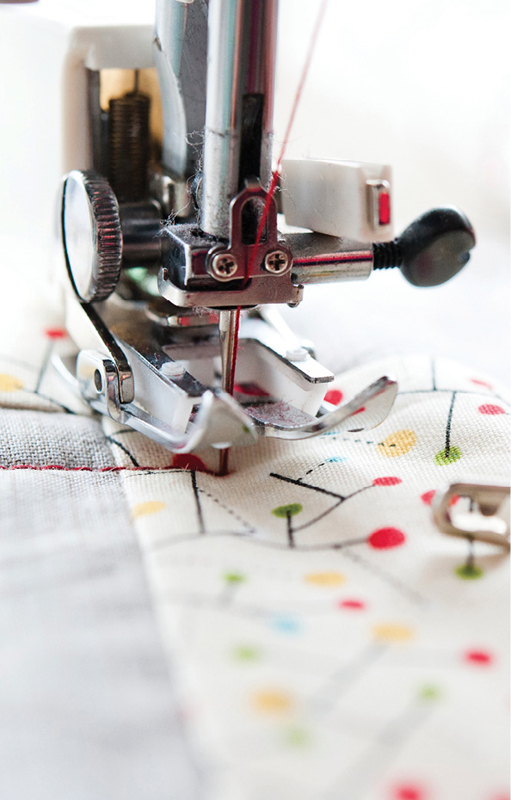
Speed is the main reason for the popularity of machine piecing. If you dont have anywhere to keep a sewing machine out, it can feel a hassle setting up (as opposed to hand piecing where you just open a box). On the plus side, you can whizz though lots of sewing in an afternoon when using a machine. If you cut fabric carefully with a rotary cutter, and sew the pieces together with an accurate seam allowance, you will get a piece of patchwork that fits together perfectly.
Font size:
Interval:
Bookmark:
Similar books «Basic Quilting Techniques for Beginners: Learn All the Basic Quilting Techniques»
Look at similar books to Basic Quilting Techniques for Beginners: Learn All the Basic Quilting Techniques. We have selected literature similar in name and meaning in the hope of providing readers with more options to find new, interesting, not yet read works.
Discussion, reviews of the book Basic Quilting Techniques for Beginners: Learn All the Basic Quilting Techniques and just readers' own opinions. Leave your comments, write what you think about the work, its meaning or the main characters. Specify what exactly you liked and what you didn't like, and why you think so.