I would like to dedicate this book to the Big Bay Box Club, and to my family, Steven, Elly and Seth.
Acknowledgements
Many people contributed ideas and creative energy to this book. I would like to thank a group of children ages six to twelve who call themselves The Big Bay Box Club. During the summer of 1989, they made many box creations, wrote a five-act play using the boxes and performed the drama in front of an audience. The members of the club were Elly Irvine, Seth Irvine, Margaret Loney, Laura Burns, Bethany Martin, Johanna Martin, Aaron Schneider, Isaac Schneider, Erin Scheel and Angie Wray.
I would also like to thank my Grade 5 class 1989/90 at Keppel-Sarawak School, Owen Sound, Canada, for their ideas and enthusiasm.
Many thanks to my own children and husband, who were very supportive and patient during the writing of this book.
A great thank you goes to my wonderful editors. My first editor, Val Wyatt, helped in the creative development of the manuscript. My second editor, Elizabeth MacLeod, and production editor, Ronda Arab, assisted me in polishing and organizing the final manuscript. Finally, I would like to acknowledge the ever-supportive team at Kids Can Press, especially Valerie Hussey and Ricky Englander.
Credits go to the following people for their ideas:
Ann Schneiderairplane
Stewart Robertson elephant mask
Mark Cruikshanklarge standing puppets
Tom Vanden Berg ideas for shadow puppets
Margaret Loney and Elly Irvinemini-golf activities
Shape a Box
By shifting or moving these shapes around and tracing them, you can make a pattern for a fold-up box. After you have followed several ideas in this book, you can design your own boxes.
To Make the Shapes
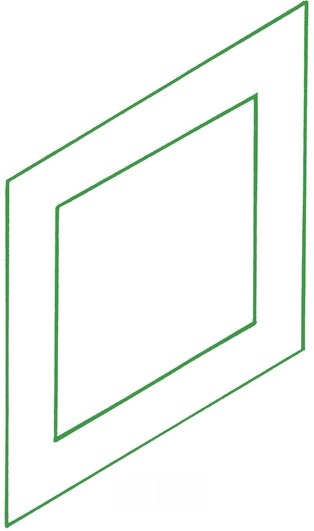
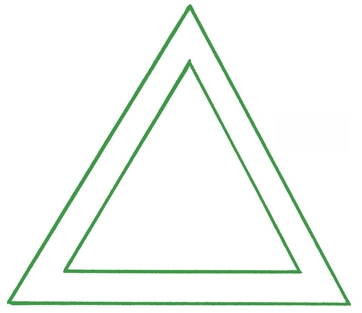
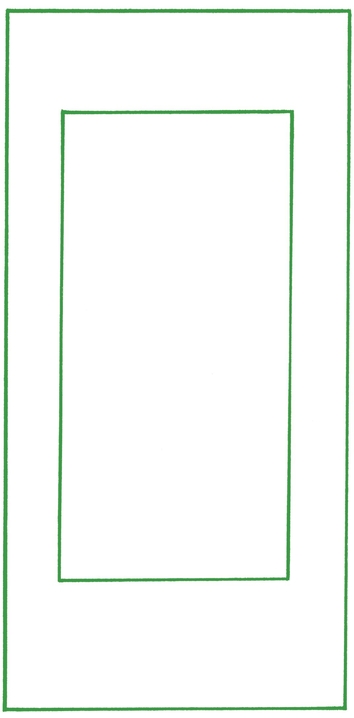
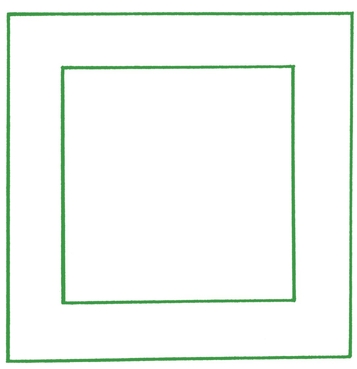
Here are the shapes youll need to make fold-up boxes. To make small boxes out of a single sheet of 22 cm x 28 cm (8 in. x 11 in.) paper, trace the small shapes. For larger boxes, trace the big shapes. (Youll need larger pieces of paper, such as gift wrap.)
Trace the shapes onto white paper, then carefully cut them out.
Did you know that the rectangle is made by joining two squares? The parallelogram is made by joining two triangles.
To make sturdier patterns, glue the shapes to bristol board and cut them out.
Now that you have the four basic shapes, youre ready to make many kinds of boxes.
See the ideas on the following pages.
Make a Small Box
Materials
geometric shapes from pages 12 and 13
a piece of paper or bristol board22 cm x
28 cm (8 in. x 11 in.) (if you are using
the small geometric shapes) or larger
paper (if you are using the big shapes)
Also: scissors, clear tape (or glue or stapler),
pencil, ruler
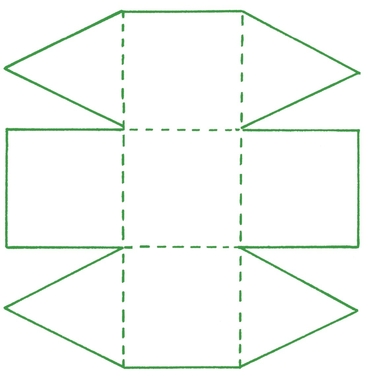
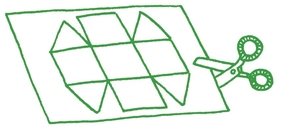
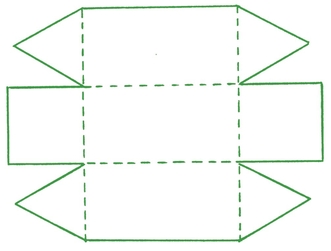
Here is your box pattern. Steps 1 to 4 tell you how to draw it.
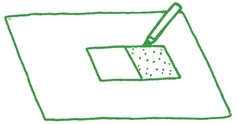
Lay the square shape in the middle of your paper and trace around it with a pencil.
Then place the square shape immediately beside the square that you have drawn and carefully trace around it.
Follow the pattern below and add the other squares and triangles in the same way. Cut around the outside of your shape.
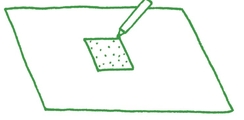
Score the dotted lines on the pattern. 4 see page 7 about scoring.
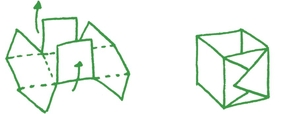
Fold the square sides upwards first. Then fold in the triangular ends. Tape, staple or glue the triangle ends of the box to the rest of the box. Now you have a small box.
More Small Boxes
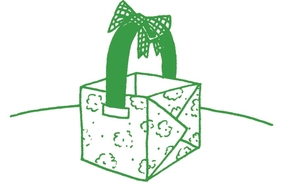
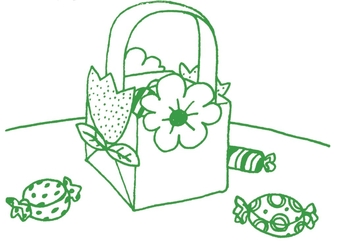
Gift Basket
Make your box into a basket by adding a handle to it. Cut a strip of paper 28 cm x 2.5 cm (11 in. x 1 in.) and fasten it to the sides of the box using staples or tape.
Party Candy Holder
Draw, colour and cut out flowers. Glue them to the outside edge of the box. Put candies inside the box and place one in front of each party guest!
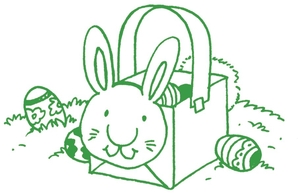
Easter Basket
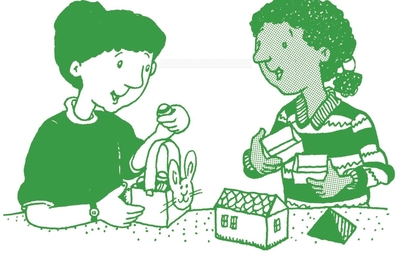
Add a handle to the box (see left). Draw, colour and cut out a rabbits head and glue it to one end of the box. Glue a pom-pom tail to the other end of the box.
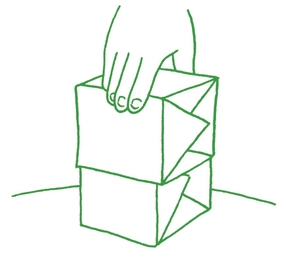
Box with a Lid
If you make two identical boxes, you can fit one inside the other.
More Ideas Using Geometric Shapes
By tracing and cutting out the basic geometric shapes, you can make these boxes and objects.
Use the geometric shapes, paper, a ruler, a pair of scissors and glue or tape. Follow the patterns carefully.
Rectangular Box
Use the rectangle, square and triangle shapes. Fold the sides and ends up, overlap the triangular ends and fasten them with tape or glue. If you make two boxes, you can fit one inside the other to form a lid.

