Introduction
This is not your average Rails book.
What its not
- An introduction. Ill assume that youre familiar with at least the core concepts of both Ruby and Rails.
- A tutorial. At least not in the traditional sense.
- Academic. We wont be discussing much abstract programming theory.
What it is
- Practical. Every part of this book is focused on saving you time and making Rails development more enjoyable.
- Actionable. Learn and implement each solution in just a few minutes.
- Non-linear. You dont have to read cover-to-cover to get something out of this book.
Who its for
This book is intended for someone who has at least some experience with Rails. There are tons of great resources out there to learn the basics, but once you hit a base level of proficiency, your options start to thin. This book aims to fill that space.
Efficient Rails is for someone who uses Rails frequently. It doesnt matter if youre junior or senior, the techniques in this book will save you time on common tasks. If youre using Rails every day, youll get some serious productivity gains.
As your productivity rises, youll level up as a Rails developer, enabling you to take on more clients, impress your team by getting that product out the door faster, or finally shed that Junior part of your title.
How to use it
The book is divided into 3 parts.
The first part covers the tools youre using every day and how to get the most out of them. This includes the Terminal, Git and the Rails Console.
The second part covers the core aspects of the Rails framework and contains recipes for accomplishing common tasks.
The final part covers techniques that will speed up your testing and debugging workflows.
Pick a chapter that relates to something youre working on currently and open up to it. Within that chapter are between 10-12 sections in no particular order. Each section presents a problem and one or more solutions. Read the problem. If it describes a pain point you have or have had, then read the solution.
Book updates
As developers, you know nothing stays the same for long. New gems will be released, better ways of accomplishing repetitive tasks will be discovered. As the world of Rails changes, so too will this book, and youll be the first to know. These updates will be sent to you automatically as soon as theyre available.
Ill also be incorporating feedback into future revisions. To submit feedback on a particular section, click one of the links at the end of the section. Youll have a chance to provide more feedback after clicking. Of course, you can also send an email to .
With that said, there will be typos. There will be incomplete thoughts and run-on sentences. There will be more chapters and sections to come. But Im confident youll get a ton of value out of whats here.
If you are not embarrassed by the first version of your product, youve launched too late.
Reid Hoffman
Part I: The Tools
In this first part, well be covering workflow upgrades for the tools you use everyday to develop Rails applications.
Well start with the most-used application on my computer, the Terminal. If you spend enough time every day using something, even small improvements can provide big returns over time.
Following that, well touch on Git. Obviously, Git is a gigantic subject, so we wont be covering all of it, and it wont be an introduction to Git. Instead, Ill walk through 10 upgrades that I find particularly helpful in my day-to-day workflow as a Rails developer.
To round out this part, well cover the Rails console, a fantastic tool for exploring and experimenting in your Rails application. Ill show you all kinds of ways to get more out of this essential tool.
In Part II, well dive into the Rails codebase itself.
Chapter 1: The Terminal
When I first started learning Rails several years ago after teaching myself web development with PHP and studying C# in school, one thing in particular stood out to me: you spend a lot of time in the terminal when building with Rails. With C#, you get the advantages of a full-featured IDE (Visual Studio), and with PHP, you wind up using GUI tools like MAMP and phpMyAdmin to configure your environment (this was before Laravel).
Now, I use the terminal for just about everything. Its my text editor (Vim), filesystem (Ranger), Git client (Tig) and more. In fact, Im writing this in the terminal as we speak!
In this chapter, well talk about configuring your terminal to make it both beautiful as well as useful. Ill also introduce you to Zsh and its advantages over Bash, present solutions to common problems and show you some cool Rails-related tricks. Not every section will be specific to Rails, but I guarantee each one will be relevant for Rails developers.
A few of these sections will be admittedly Mac focused, but most will apply to other platforms as well.
A Better Terminal
Problem
As Rails developers, we spend a lot of time in the terminal. Whether its running rake tasks, committing code with Git, running tests, or even editing code with Vim. The Terminal will be one of the most-used applications on your computer.
This is the default Terminal in OS X:
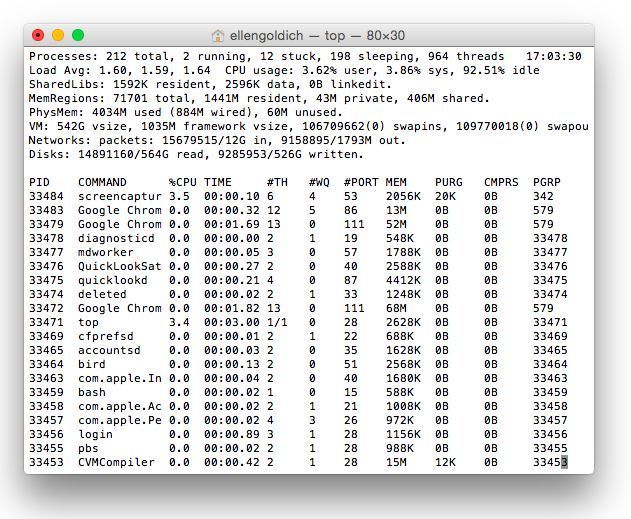
OS Xs (ugly) default terminal
Enough said.
Solution
Lets give your terminal an upgrade.
iTerm2
While the default Terminal app that ships with OS X will get the job done, iTerm2 is a vastly superior product, boasting features you never even knew you needed.
Here are some highlights:
- Split panes
- Search result highlighting
- Mouseless copy
- Paste history
- Instant replay (lets you replay your terminal session)
- Multiple smart profiles
That barely scratched the surface. iTerm2 is packed with features. Check out iTerms homepage.
Font
After trying several different fonts in my terminal, Ive settled on Source Code Pro from Adobe. You can download it from Font Squirrel.

Source Code Pro font
Settings:
- Font size: 13 - 14 pt
- Typeface: Regular (or Light if you prefer)
- Ensure anti-aliased is true
Other Font Options:
Colors
Most people like Solarized (Dark), and while thats a great color scheme, Id recommend Smyck. Its similar to Solarized, but is slightly more readable for me.
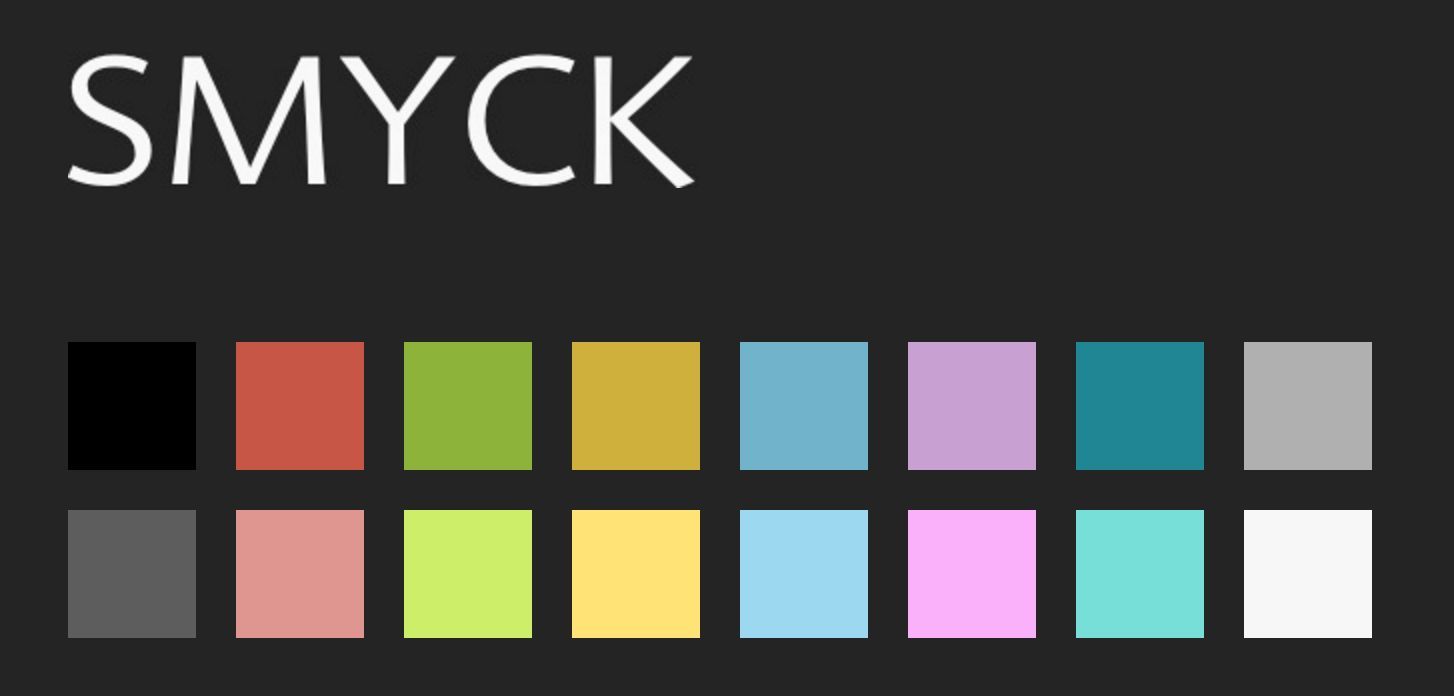
The Smyck Color Scheme
Other Color Options:
The End Result
Now this is a terminal I could spend some time in:
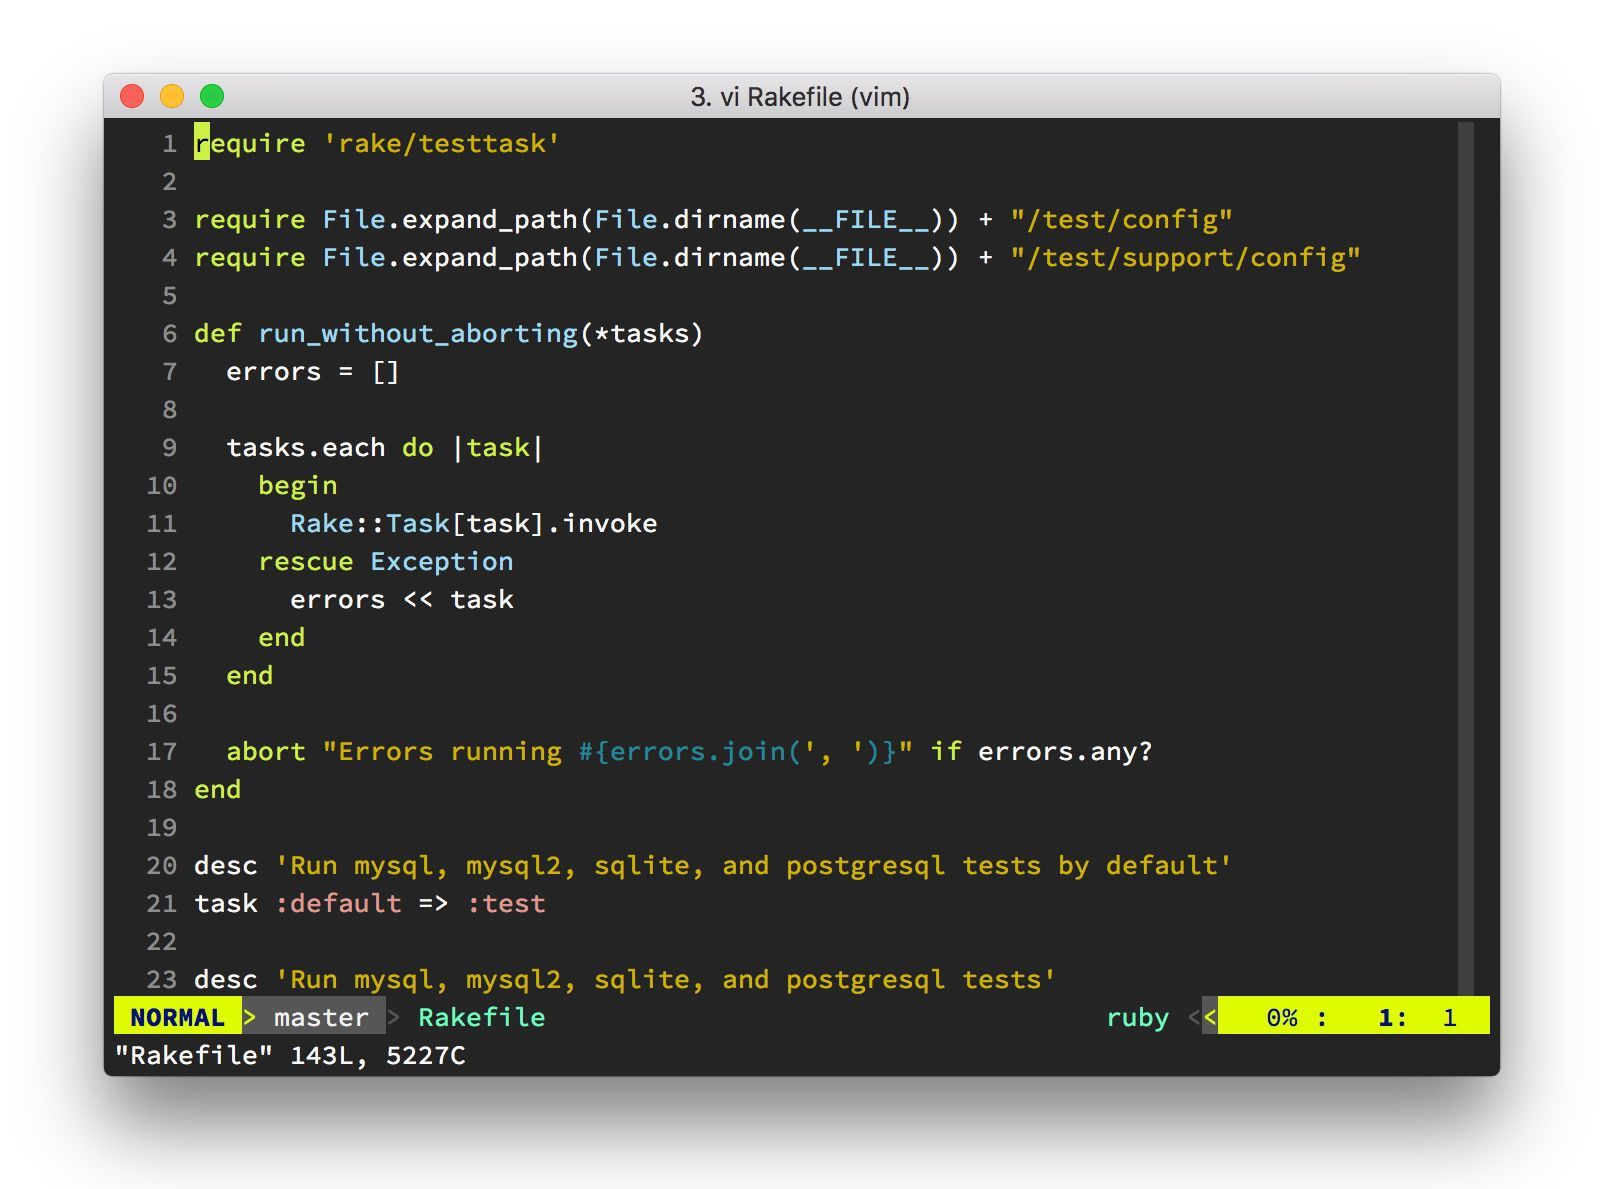





 OS Xs (ugly) default terminal
  Source Code Pro font
  The Smyck Color Scheme