Copyright
Bluno Beetle Development Workshop
Agus Kurniawan
1st Edition, 2015
Copyright 2015 Agus Kurniawan
** Logo and Bluno Beetle board are copyright by DFRobot, http://www.dfrobot.com .
Table of Contents
Preface
This book was written to help anyone want to develop Bluno Beetle board using Arduino software. It describes the basic elements of Bluno Beetle development.
Agus Kurniawan
Depok, October 2015
1. Preparing Development Environment
1.1 Bluno Beetle
Bluno Beetle is another milestone in wearable electronics device area, which makes DIY users have more options in the project design. It is fully compatible with Bluno in instructions and procedures, supporting Bluetooth HID and ibeacon modes. And it not only supports USB programming, but also wireless programming method. With the V shaped gilded I/O interface, it is convenient to screw conductor wire on it, which could a good choice in the wearable market.
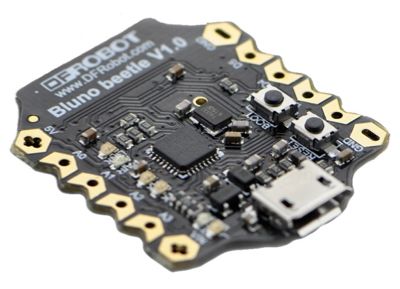
Product features:
- ATmega328@16MHz
- Bluetooth Low Energy (BT 4.0). Bluetooth Chip: CC2540
- Micro USB port
- Super Compact Size
- Support Bluetooth HID and ibeacon
- Comaptible with all DFRobot Bluno Series
- Support Wireless Programming
You can buy this product on your local electronic store. You also can order it by online. Find it on http://www.dfrobot.com/index.php?route=product/product&product_id=1259.
1.2 Electronic Components
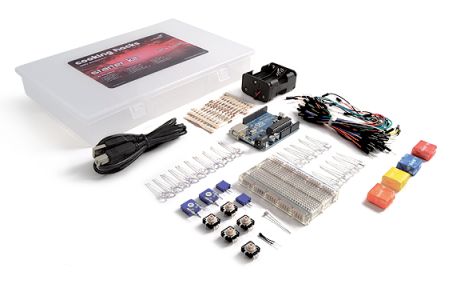
We need electronic components to build our testing, for instance, Resistor, LED, sensor devices and etc. I recommend you can buy electronic component kit.
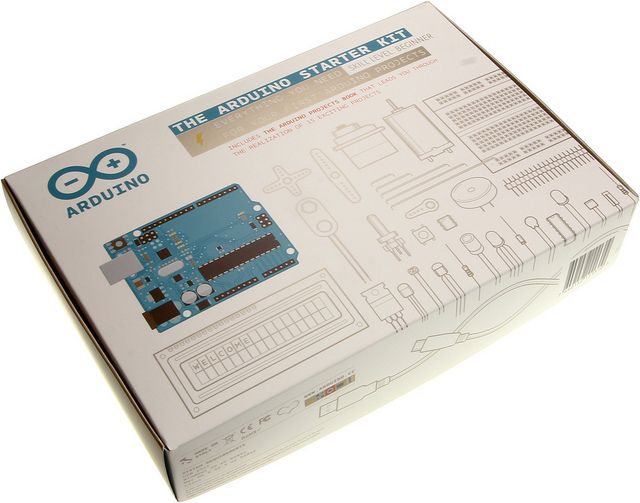
1.2.1 Arduino Starter Kit
Store website: http://arduino.cc/en/Main/ArduinoStarterKit
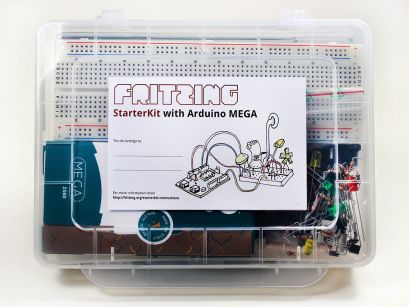
1.2.2 Fritzing
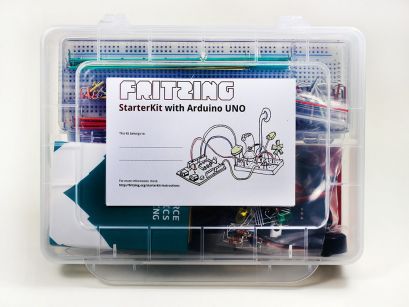
Store website: http://shop.fritzing.org/ .
You can buy Fritzing Starter Kit with Arduino UNO or Fritzing Starter Kit with Arduino Mega.
1.2.3 Cooking-Hacks: Arduino Starter Kit
Store website: http://www.cooking-hacks.com/index.php/shop/arduino/starter-kits/arduino-starter-kit.html
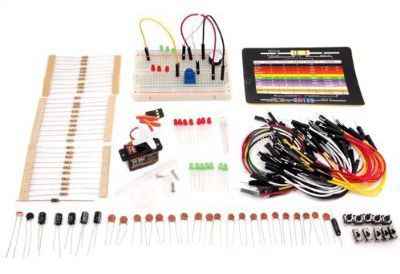
1.2.4 Arduino Sidekick Basic kit
Store website: http://www.seeedstudio.com/depot/arduino-sidekick-basic-kit-p-775.html
Alternative online store
http://www.amazon.com/Arduino-Sidekick-Basic-Kit-Version/dp/B007B14HM8/
http://www.exp-tech.de/Zubehoer/Arduino-Sidekick-Basic-Kit.html
1.3 Arduino Software
To develop a program for Bluno Beetle, we use Arduino software. You can download it on http://www.arduino.cc .
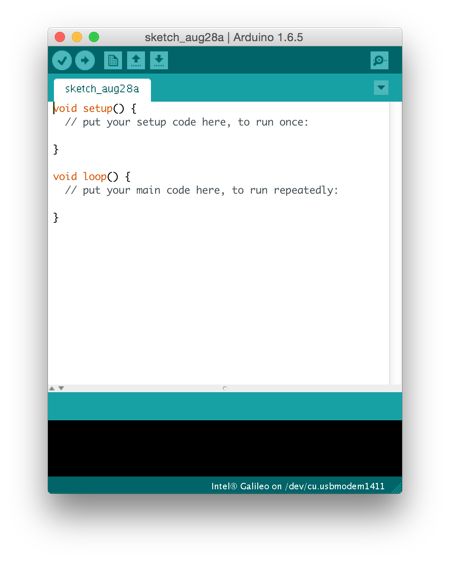
On chapter 2, we will explore this tool and set up Bluno Beetle board for Arduino Software.
1.4 Testing
For testing, I used Bluno Beetle on OSX, Linux and Windows 10 platforms with Arduino IDE.
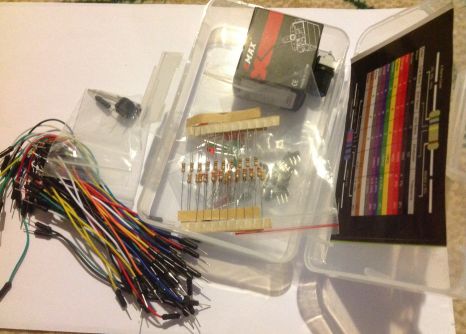
I also used Arduino Sidekick Basic kit for electronic components.
2. Sketch Programming
This chapter explains how to work on setting up Bluno Beetle board on a computer and then, access it from Arduino software.
2.1 Getting Started
In this chapter, we set up Bluno Beetle board development using Arduino software. The following is a scheme of Bluno Beetle board.
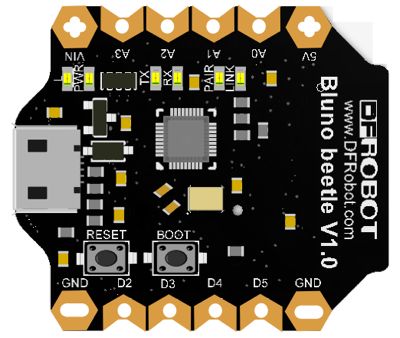
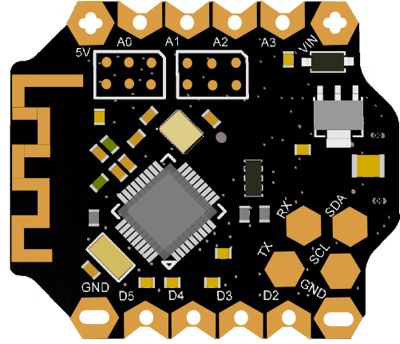
source https://www.dfrobot.com/wiki/index.php?title=Bluno_Beetle_SKU:DFR0339
2.2 Setting up Arduino Development for Bluno Beetle
In this section, we try to set up Bluno Beetle development for Arduino software. You can download the program on http://www.arduino.cc .
Arduino software form on OSX platform can be seen in Figure below.

The following is Arduino software form on Windows 10.
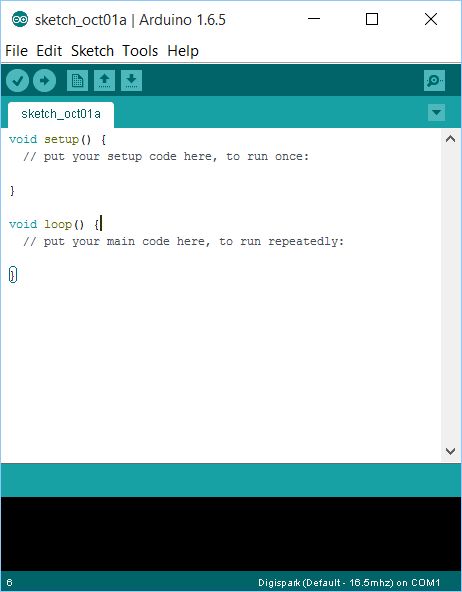
You don't need to install additional Add-on for Bluno Beetle because Bluno Beetle has the same architecture from Arduino Uno.
2.3 Connecting Bluno Beetle Board to Computer
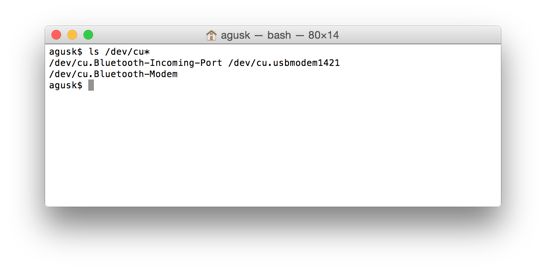
Now you can connect Bluno Beetle board to computer. Then, verify which serial port is used for the board. On Mac platform, you type this command.
$ ls /dev/cu*
On Linux platform, you type this command.
$ ls /dev/tty*
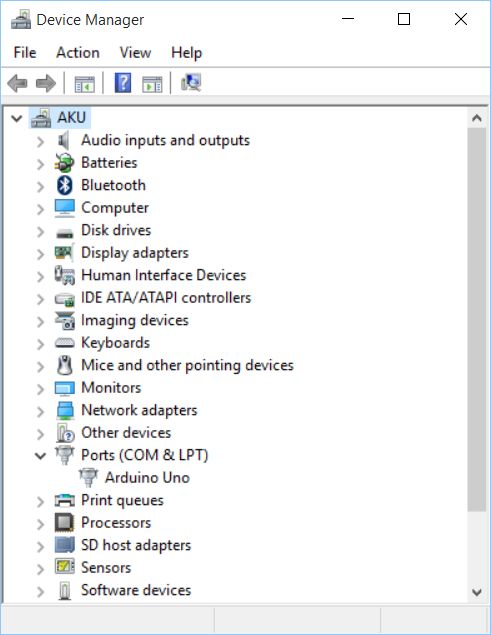
You can use Device Manager on Windows platform.
After that, you should see serial port of Bluno Beetle board which is attached on the computer. On Windows, it's detected as Arduino Uno.
The following is detected Bluno Beetle board on Device Manager from Windows platform.
My OSX also detected my Bluno Beetle board as /dev/cu.usbmodem1421 serial port.
Now you're ready to develop programs for Bluno Beetle target board.
2.4 Hello Bluno Beetle: Blinking LED
In this section, we build a blinking LED program using Arduino software. You need a LED to execute this demo
Let's start to write our Blink program.
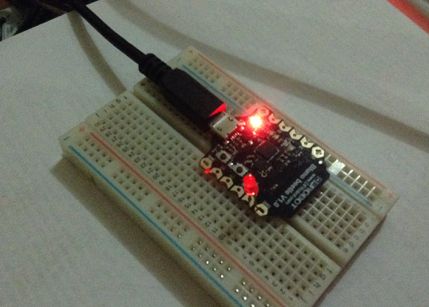
Firstly, we build hardware wiring as follows:
- LED is connected D5
- Other pin of LED is connected to GND
A sample of hardware wiring can be seen in Figure below.
Now open Arduino software and write this code.
int led = ; void setup () { pinMode(led, OUTPUT); } void loop () { digitalWrite(led, HIGH); // turn the LED on (HIGH is the voltage level) delay( 1000 ); // wait for a second digitalWrite(led, LOW); // turn the LED off by making the voltage LOW delay( 1000 ); // wait for a second }

