Copyright
Getting Started with Raspberry Pi Zero W
Agus Kurniawan
1st Edition, 2017
Copyright 2017 Agus Kurniawan
* Raspberry Pi Logo is trademark and copyright from Raspberry Pi Foundation, https://www.raspberrypi.org .
Table of Contents
Preface
This book was written to help anyone who wants to get started in Raspberry Pi Zero W. It describes all the basic elements of the Raspberry Pi Zero W with step-by-step approach.
Agus Kurniawan
Berlin, March 2017
1. Introduction to Raspberry Pi Zero W
1.1 Raspberry Pi Zero W
The Raspberry Pi Zero W is half the size of a Model A+, with twice the utility. The following is technical specification of Raspberry Pi Zero W device:
- BCM2835 (same as Pi 1) but up-clocked to 1GHz, so 40% faster
- 512MB RAM
- Mini HDMI
- USB On-The-Go port
- Micro USB power
- HAT-compatible 40-pin header
- Composite video and reset headers
- CSI camera connector
- 802.11b/g/n Wireless LAN
- Bluetooth 4.1
- Bluetooth Low Energy (BLE)
You can see Raspberry Pi Zero W device in the Figure below.


1.2 Getting Hardware
How to get Raspberry Pi Zero W device?
Officially you can buy it from the official distributor on https://www.raspberrypi.org/products/pi-zero-w/.
You also buy Raspberry Pi peripheral devices for instance, keyboard, mouse, HDMI cable, SD card, USB hub, etc.
You also can buy this board at your local electronics stores.
1.3 Unboxing
After bought Raspberry Pi Zero W without additional items kit, I get a small box as follows.

2. Operating System
This chapter explains how to work with Operating System for Raspberry Pi Zero W.
2.1 Raspberry Pi Zero W Operating System
Raspberry Pi provides some Operating Systems you can use and run on the top of Raspberry Pi Zero W. You can download these OS files on http://www.raspberrypi.org/downloads.
To run OS on Raspberry Pi Zero W, you must use Raspbian "Jessie" OS or later. In this book, I use Raspbian Jessie Pixel.
2.2 Preparation
Raspbian is an Operating system based on Debian Linux for the Raspberry Pi hardware. I recommend you to download OS image file on http://www.raspberrypi.org/downloads . For illustration, I use Raspbian Jessie OS PIXEL.
After extracted this file, you will obtain *.img file, for instance, 2017-03-02-raspbian-jessie.img file.
2.2.1 Setup MicroSD Card
If we are working with Raspberry Pi Zero W board, we need MicroSD card to extract this OS image file. I use MicroSD Card 8 GB. Please format it as FAT32.
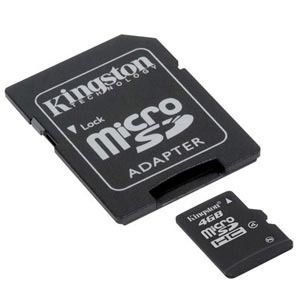
Insert this card into your computer.
For Linux users:
You can mount it, for instance, /dev/sdd1
umount /dev/sdd1
Then, you can copy all img file into MicroSD card.
dd bs = 1M if = ~/2017-03-02-raspbian-jessie.img of = /dev/sdd1
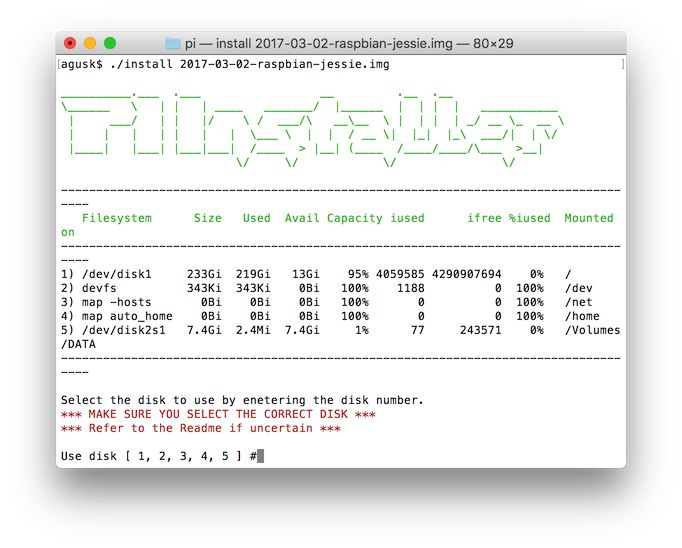
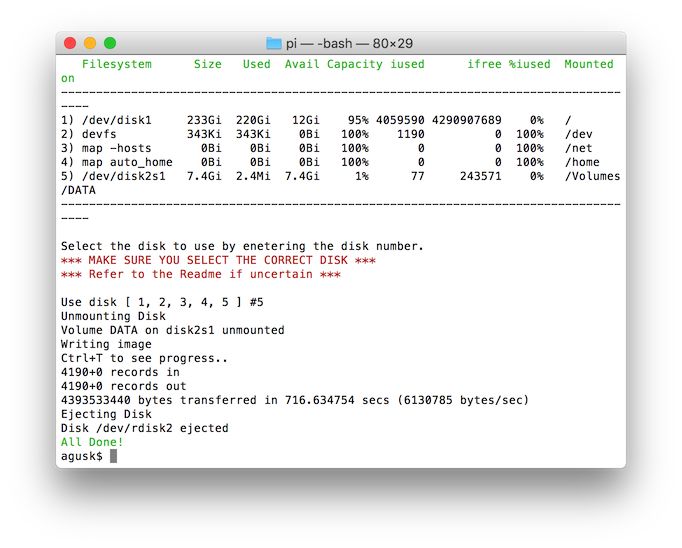
For Mac user, you can use a script from this tool, https://github.com/RayViljoen/Raspberry-PI-SD-Installer-OS-X .
Navigate file install with Jessie image file.
$ ./install 2017-03-02-raspbian-jessie.img
Wait it until done.
For Windows users:
Download Win32DiskImager on https://sourceforge.net/projects/win32diskimager/ .
Run Win32DiskImager and navigate Raspberry Pi image file. Then, navigate your image file and microSD drive.
The following is a sample of Win32 Disk Imager with Raspbian Wheezy image.
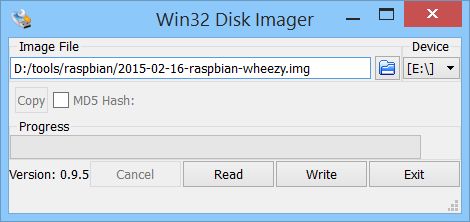
Click Write button to start for copying files.
Click Yes to confirm overwrite files
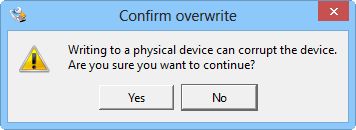
Then, Win32DiskImager app will copy all files into Micro SD card.
If success, you can see all files in Micro SD card.
Plug out SD card from computer. Then, plug in it into Raspberry Pi Zero W.
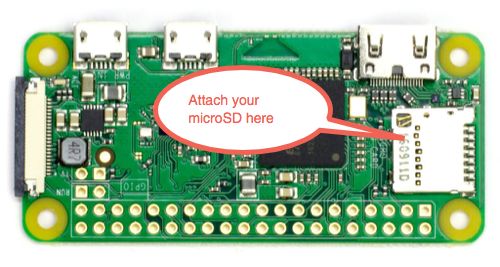
Now your Raspberry Pi Zero W is ready to be deployed OS.
3. Powering Up and Running
In this chapter we start to run and configure Raspberry Pi Zero W.
3.1 Put Them All!
Now you are ready to boot your Raspberry Pi. You also need a converter from micro HDMI to HDMI to connect to a Monitor. You can buy Raspberry Pi Zero W with Zero Essential Kit from The PiHut.
Now please plug in all devices, for instance, mouse, keyboard, power, and HDMI cable, into Raspberry Pi.
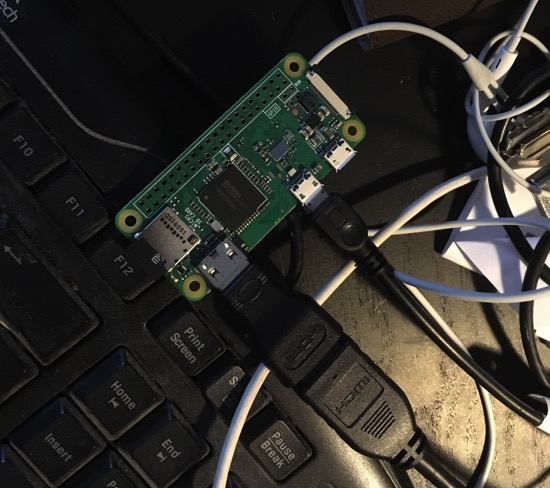
Turn on the power for your Raspberry Pi. Raspbian Jessi PIXEL OS will boot for the first time.
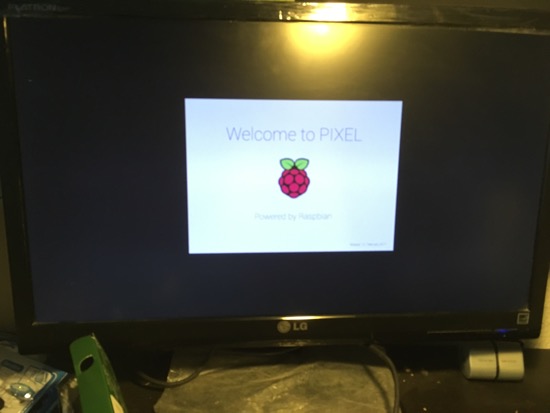
If success, you will get the first screen of Raspberry Pi Jessie PIXEL desktop as below
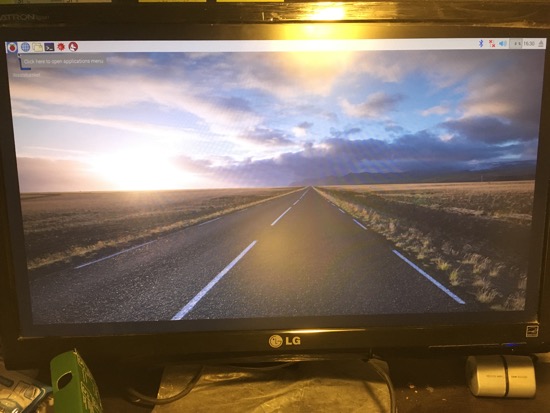
On desktop mode, if you want to work with Terminal, you can click black monitor icon, shown in Figure below.
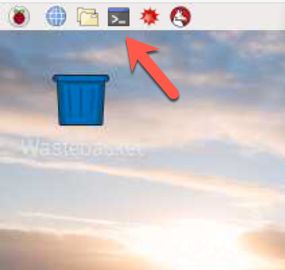
You also can press CTRL+ALT+T keys to show up Terminal.
3.2 Expanding File System
After running Jessie OS, you can configure it by expanding Filesystem via raspi-config to optimize your micro SD storage. Type this command on Terminal.
sudo raspi-config
Then, you get the following form.
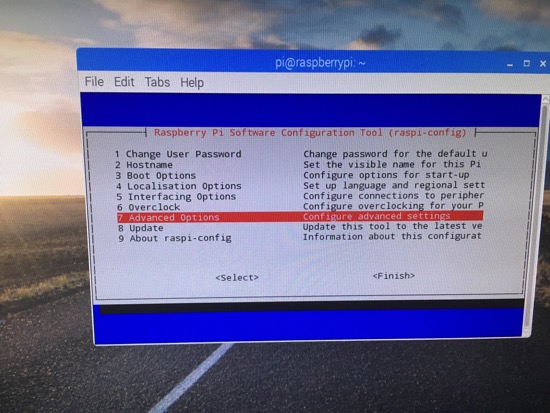
Select 7 Advanced Options.
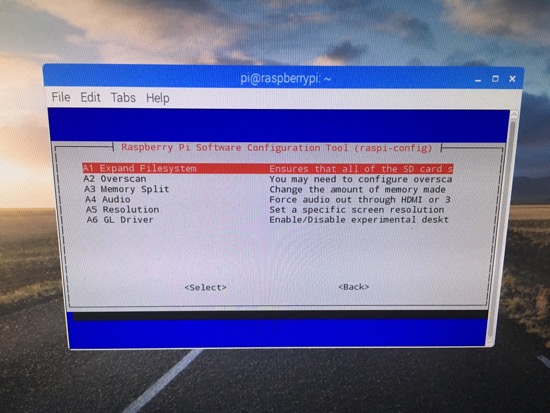
Then, select A1 Expand Filesystem. After that, you are be required to restart Raspbian.
3.3 Configure Timezone
If you want to change timezone in Raspberry Pi Zero W, you can do it in console with typing


