Contents
Guide
DIY FASHION :JOIN THE MOVEMENT
WOOL AND THE GANG IS A DIY FASHION BRAND INSPIRING THE NEXT GENERATION OF MAKERS. WERE ON A MISSION TO GET THE WORLD CRAFTING, AND TO USE OUR SKILLS TO SHOW A LITTLE LOVE TO THE PLANET. WERE ALL ABOUT THE MAKE-TO-STAY, NOT THE THROW-AWAY, AND OUR RANGE OF KITS DESIGNED IN HOUSE ARE JUST THE THING TO GET YOU STARTED.
WE ALSO LIKE TO THINK OF OURSELVES AS FIBRE INNOVATORS, MATERIAL MAVERICKS, YARN WANDERERS. FROM TENCEL TO RECYCLED PLASTIC, TRUE BEGINNER KITS TO CHALLENGES FOR THE MASTER MAKER, WEVE GOT SOMETHING FOR EVERYONE. JOIN THE REVOLUTION AND START MAKING WITH US TODAY!
WOOL
AND THE
GANG
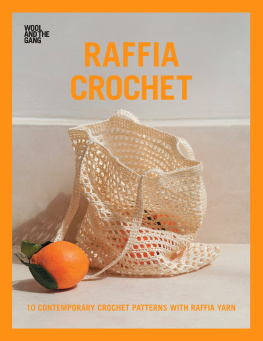
RAFFIA
CROCHET
10 CONTEMPORARY CROCHET
PATTERNS WITH RAFFIA YARN
CONTENTS
BACK TO WOOLSCHOOL
The patterns in this book have been divided into three levels to help guide you on where to start based on your skill level. If youre a newbie, get going with our beginner patterns and youll work your way up to raffia superstar in no time! Weve written these patterns using US craft jargon (a.k.a terminology), and you can find tutorials of every technique featured online in our Woolschool at woolandthegang.com/how-to

BEGINNER
NEVER CROCHETED BEFORE OR MAY HAVE DONE A BASIC SCARF IN THE PAST.
These patterns are for flat pieces that use either single crochet or double crochet, but only one stitch technique.
EASY
CONFIDENT WITH BEGINNER PATTERNS AND READY TO MOVE ON. OR CROCHETED A FEW THINGS IN THE PAST AND WANT TO TRY IT AGAIN.
These patterns introduce working in the round and working into both sides of the foundation chain. They use a couple of different stitch techniques and colour changes, as well as some simple increasing and decreasing within the basic stitch.
INTERMEDIATE
CONFIDENT WITH EASY PATTERNS. CROCHETER WITH SOME EXPERIENCE.
These patterns are for simple pieces with decorative crochet joins. They include working a flat circle, using multiple stitches, as well as increases and decreases that can be done in more than one stitch. The patterns also feature some basic abbreviations.
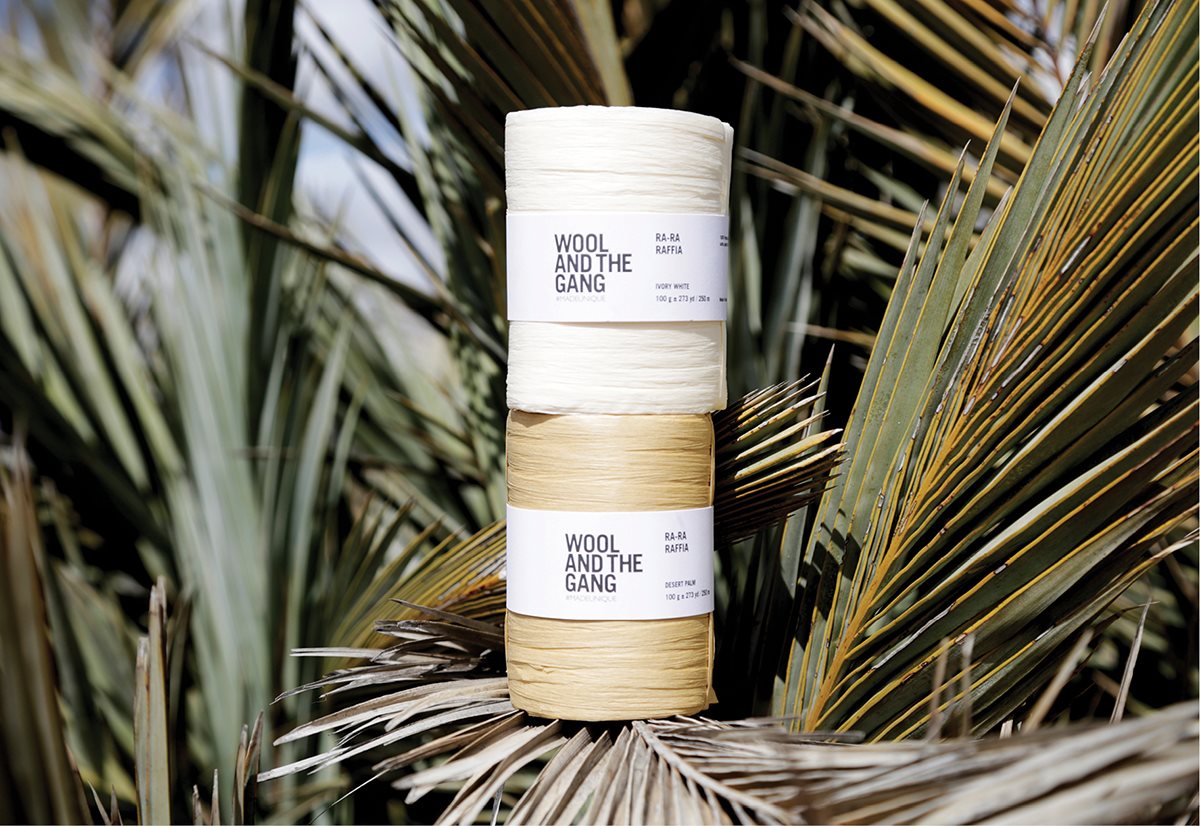
MEET RA-RA RAFFIA
THERE ARE A MILLION REASONS TO LOVE RA-RA RAFFIA. WEVE JOTTED DOWN A FEW OF OUR FAVOURITES HERE...
- MADE FROM 100% WOOD FIBRE
- BIODEGRADABLE AND VEGAN
- WATER-REPELLENT AND QUICK-DRYING
TENSION TIPS
To ensure your crochet project has the same measurements as the pattern, it is a good idea to make a tension swatch before you start. A tension swatch is a small sample of crochet where you count the stitches and rows and check them against the tension given in the pattern. If you get MORE stitches/rows than the patterns tension, it means your crochet is TIGHTER. If you get FEWER stitches/rows than the pattern, your crochet is LOOSER. Sometimes, it works to crochet tighter or looser to compensate. At the beginning of each pattern, we give indications of how much your swatch should measure for a certain number of stitches. The raffia used throughout the patterns is WATG Ra-Ra-Raffia yarn. If you are using a different yarn, you will need to adjust the patterns accordingly.
RECIPE FOR SUCCESS
1 GET YOUR TOOLS READY
Everything you need to get making.
2 FAMILIARISE YOURSELF WITH THE TECHNIQUES
Everything from the stitches used to the finishing touches for your project.
3 GET TO KNOW YOUR YARN
Before you start your piece, play around with your new yarn to get used to it, and to check your tension.
4 WOOLSCHOOL
Pick up your crochet hook and yarn and make the magic happen! For a little extra help, check out our Woolschool, and view the video tutorials, at: woolandthegang.com/how-to
5 #WOOLANDTHEGANG
When youre done let the world know.
PROJECTS
INTERMEDIATE
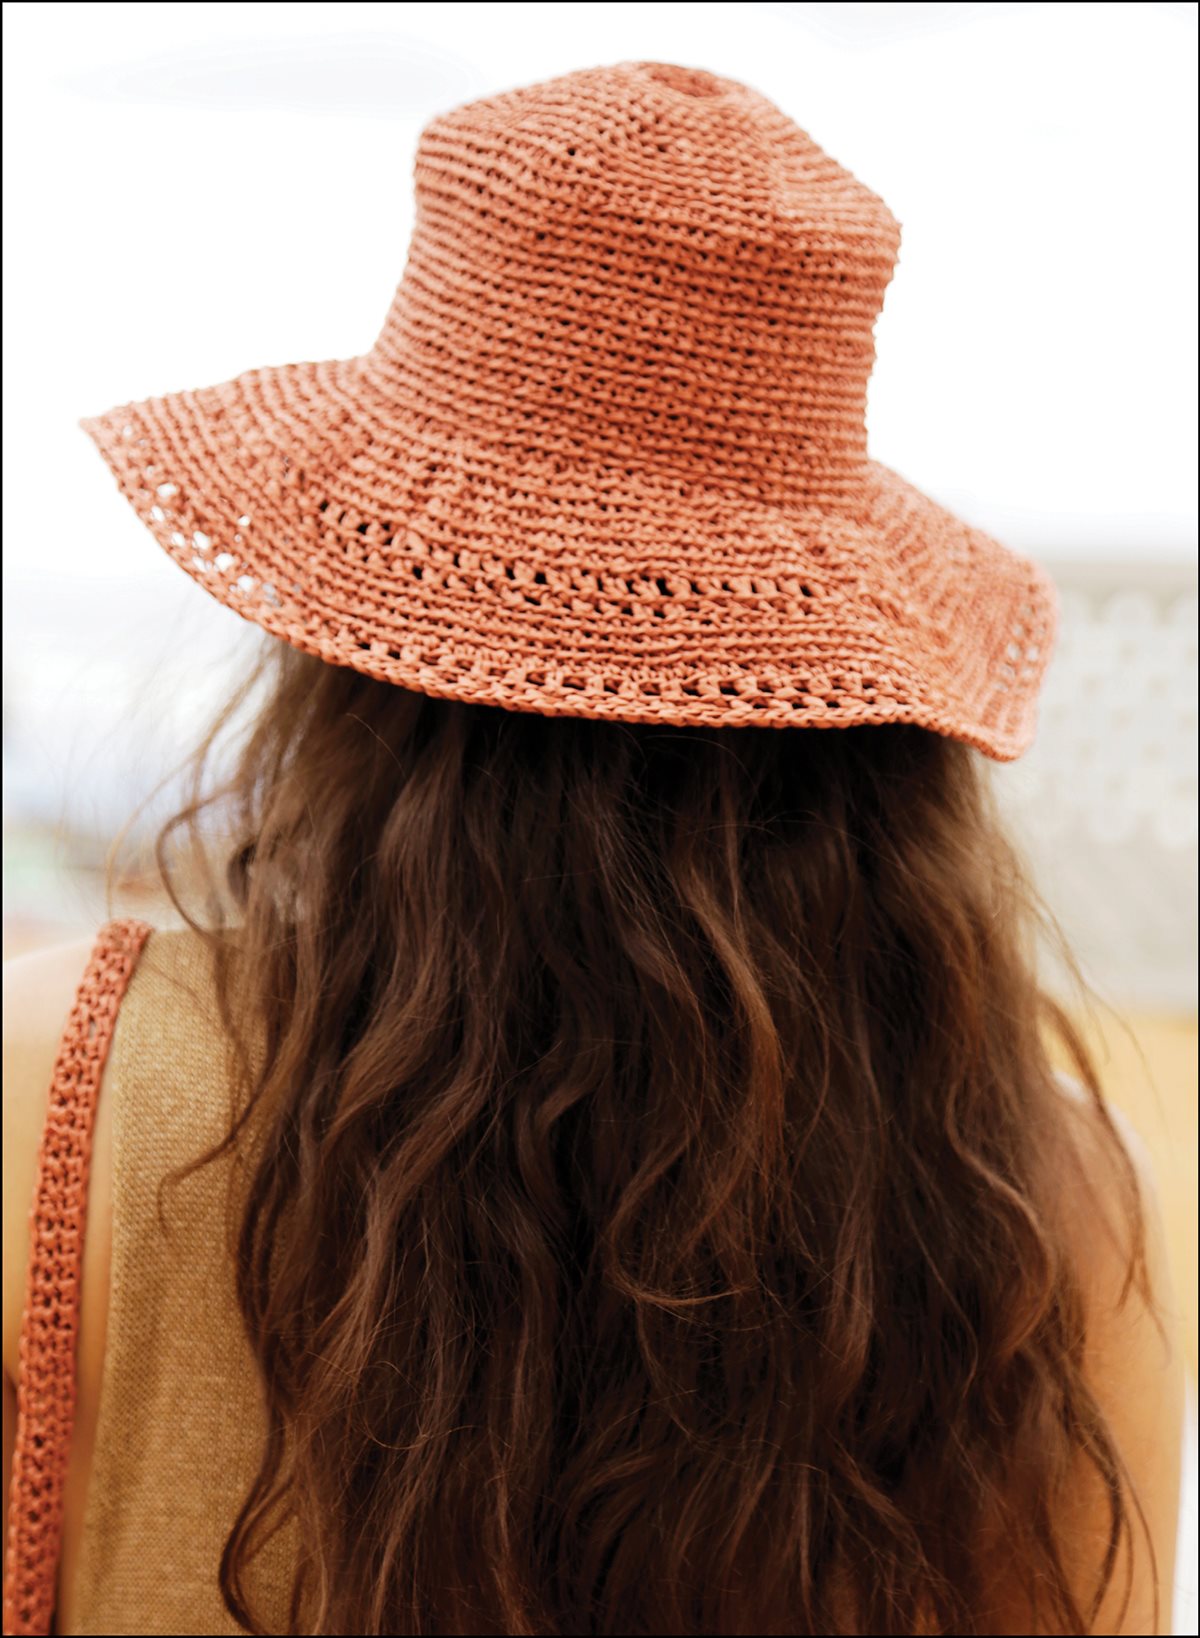
WORN THIS WAY - SUMMER HAT
Meet your two best friends this summer : the Worn This Way Summer Hat and a bottle of SPF 50. Crocheted with just one roll of our yarn, youll want to make one in every colour.
TOOL KIT
1 roll of WATGs Ra-Ra Raffia
4.5mm/US 7 crochet hook
Large sewing needle
TENSION
Single crochet: 10cm/4" = 16 stitches and 19 rows
HOW TO CROCHET YOUR WORN THIS WAY SUMMER HAT
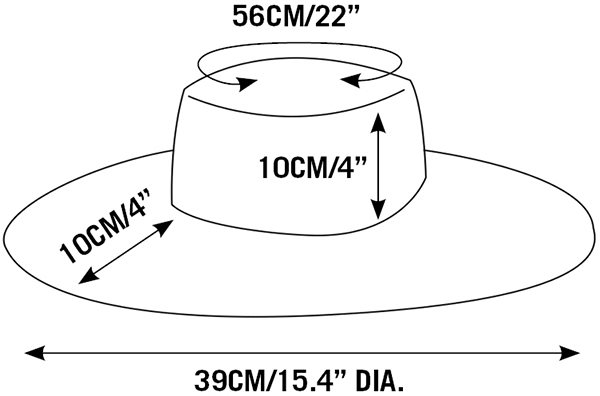
THIS HAT IS WORKED IN THE ROUND FROM THE TOP DOWN. FIRST YOU WILL WORK THE MAIN BODY OF THE HAT BEFORE CREATING THE BRIM.
Start by creating a magic loop (see ) and working 6 stitches in single crochet around it. Join the round by making a slip stitch into the first stitch of the round.
Start your round by making 1 chain stitch, then place your yarn marker. Work 2 single crochet stitches into the back of each stitch of your round. (12 stitches).
Remove your yarn marker and reposition it in front of your hook. Do this at the end of every round to keep track of where your round begins. *Work 2 single crochet stitches into the back of the next stitch, then work 1 single crochet stitch into the back of the next stitch*. Repeat the section inside the stars until you reach the end of the round. (18 stitches).
*Increase into the back of the next stitch by working 2 single crochet stitches into the same stitch. Now work the next 2 stitches in single crochet through the back of the stitch*. Repeat the section inside the stars until you reach the end of the round. (24 stitches).
*Increase into the back of the next stitch. Now work the next 3 stitches in single crochet through the back of the stitch*. Repeat the section inside the stars until you reach the end of the round. (30 stitches).
*Increase into the back of the next stitch. Now work the next 4 stitches in single crochet through the back of the stitch*. Repeat the section inside the stars until you reach the end of the round. (36 stitches).
*Increase into the back of the next stitch. Now work the next 5 stitches in single crochet through the back of the stitch*. Repeat the section inside the stars until you reach the end of the round. (42 stitches).
*Increase into the back of the next stitch. Now work the next 6 stitches in single crochet through the back of the stitch*. Repeat the section inside the stars until you reach the end of the round. (48 stitches).
*Increase into the back of the next stitch. Now work the next 7 stitches in single crochet through the back of the stitch*. Repeat the section inside the stars until you reach the end of the round. (54 stitches).
*Increase into the back of the next stitch. Now work the next 8 stitches in single crochet through the back of the stitch*. Repeat the section inside the stars until you reach the end of the round. (60 stitches).
*Increase into the back of the next stitch. Now work the next 9 stitches in single crochet through the back of the stitch*. Repeat the section inside the stars until you reach the end of the round. (66 stitches).

