Thank you for purchasing this Popular Woodworking eBook.
Sign up for our newsletter and receive special offers, access to free content, and information on the latest new releases and must-have woodworking resources! Plus, receive a coupon code to use on your first purchase from ShopWoodworking.com for signing up.
or visit us online to sign up at
http://popularwoodworking.com/ebook-promo
Contents
GETTING STARTED
WORKBENCHES
SHOP SETUP
STORAGE
Introduction
As the editor of a woodworking magazine, I got to see some of the most incredible (and humble) workshops all over the planet. Human nature being what it is, its easiest to remember the workshops that were nicer than my house. Ive visited several shops where the woodworker had a couple thousand square feet of organized space, wood storage that was accessed by a remote crane and a library room dedicated solely to reading books and watching woodworking videos. I dont begrudge the woodworkers who build their dream shops. Every one of them earned their shops with hard work, determination and inspiration. But I am here to tell you that the quality of the furniture that comes out of a shop is entirely independent of the physical space in which it was created. All the proof you need is to learn a little bit about Rob Millard, a professional Ohio furniture maker who specializes in Federal-era pieces (look him up on the internet), and works in a basement space that doesnt even really look like a shop. Most of his tools and machines are portable home-center stuff. His bench is unremarkable. And the white cinder-block walls look more like a prison than a space to build pieces that make your heart soar. But thats exactly what he does. If you are looking for a book that will help you build the ultimate dream shop, this is not the book you are looking for. If you are looking for the shortest and most effective way to set up shop so you can get to the good part making furniture then read on.
A Tradition of Practicality
For the last 20 years, Popular Woodworking Magazine has focused on offering workshop projects that are grounded in the get-it-done tradition you would find in professional workshops from the 18th century to the present day.
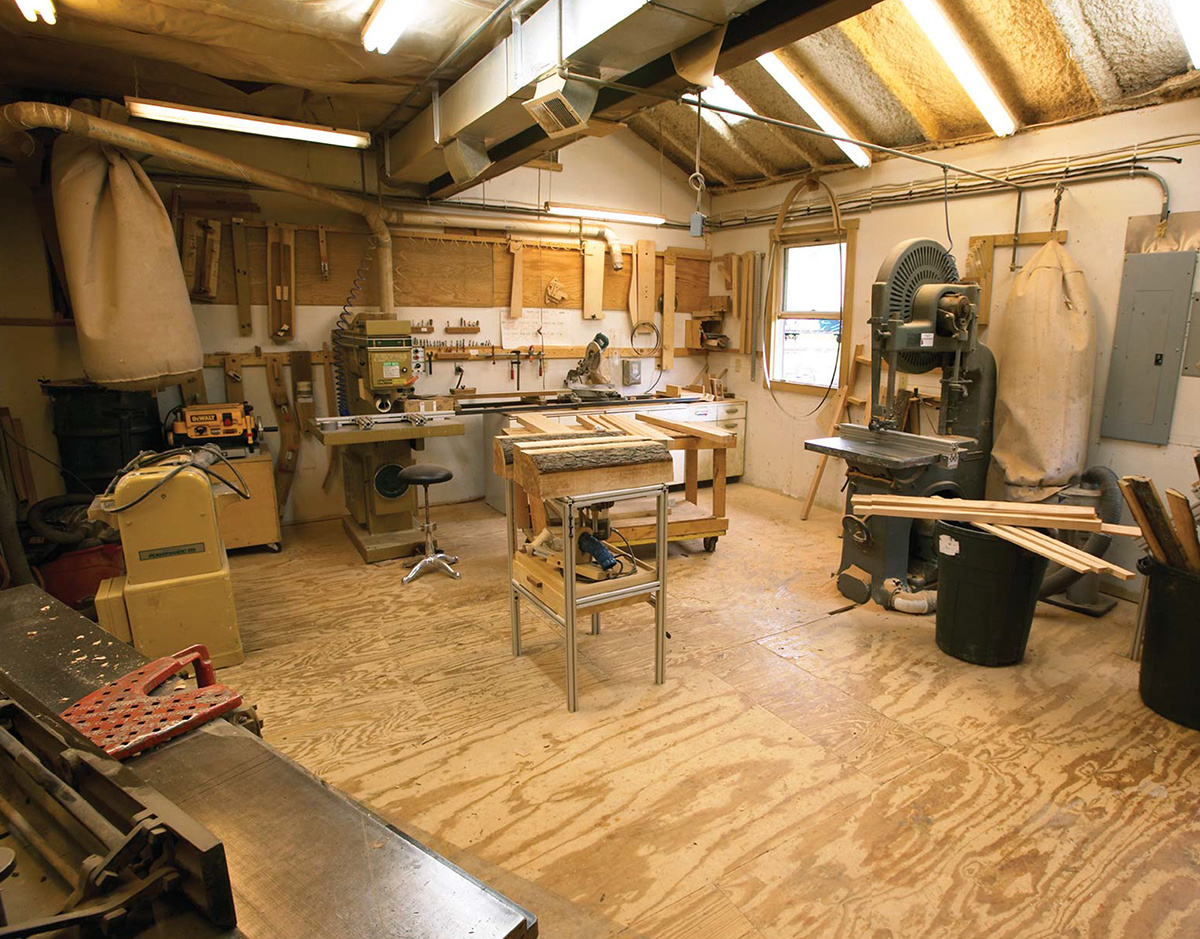
Yes, you need a good bench because it will make your life easier. But you dont need a French polished beauty that represents a tour de force of your woodworking skills. That fancy bench wont work any better than the basic benches used in production shops during the last 300 years. And so in this book we present two bench designs that can be built quickly using common framing lumber. These arent slap-together designs youll outgrow. They are based on hundreds of years of careful refinement by people who ate or starved based on their productivity. We also present the basic appliances that will make your work at your bench a bit easier. Again, these arent for jig lovers they are simple devices that have proven themselves for hundreds of years. That same practical philosophy applies to this books section on setting up your machinery. Most woodworking shops have a few machines, and there are long-standing rules for how work should flow through the shop. And so placing your machines is one of the most important tasks for the woodworker. Likewise, there are a few accessories you can build that will make your machines more suitable for making furniture (as opposed to building houses). A portable, stow-away router table, a stand for your miter saw and an outfeed table for your table saw are all helpful items for every shop. These designs also have the benefit of folding flat when not in use so you can do more work in a smaller space. Finally, theres storage. You need it. If you dont get a handle on your lumber, your hand tools and even your nails and screws, then you will spend most of your shop time looking for your sandpaper, that bit of maple you stashed away or your No. 8 screws. And so a good portion of this book is focused on helping you rein in all the bits and pieces required for building furniture. But again, these projects are based on practicality. Make a lumber rack from a few sticks of framing lumber and pipe. Build a rolling tool box from a couple sheets of cabinet-grade plywood. Nail together a hanging cabinet that will store all your screws, nails and bits of hardware.
Aside from these projects, we also threw in a couple of fancy (but still practical) tool chests for your hand tools. Lest you think we are slipping, these sorts of chests are based on hundreds of years of professional work. In a traditional workshop, the tool chest or tool cabinet was the one place in the shop that was reserved to demonstrate the skill of the maker. And so you would see some fancy woods or a bit of marquetry that said: Hey, I know what Im doing. Yes, this works. My own basement shop is based on the principles outlined in this book heck some of the projects in this book are in use in my shop today. My shop is a pretty small space 15' x 20' and I share it with the furnace and a lot of ducts and pipes. And yet I am able to turn out large pieces of work, such as a 10' run of cabinets, with ease because my machines are arranged in a proper work triangle, my lumber is stored flat on the wall and all my tools and fasteners are within reach and well-organized. Do I wish my shop were nicer and bigger? Perhaps. Its difficult not to become envious of the dream shops we see in magazines and books. But does my shop have to be bigger or nicer to turn out chairs, cabinets, tables and beds? Nope. My shop works. And yours can, too, with the help of the projects and ideas in this book.
Christopher Schwarz
Fort Mitchell, Ky.
January 2017
Chapter One
Your First Toolkit
by Frank Klausz
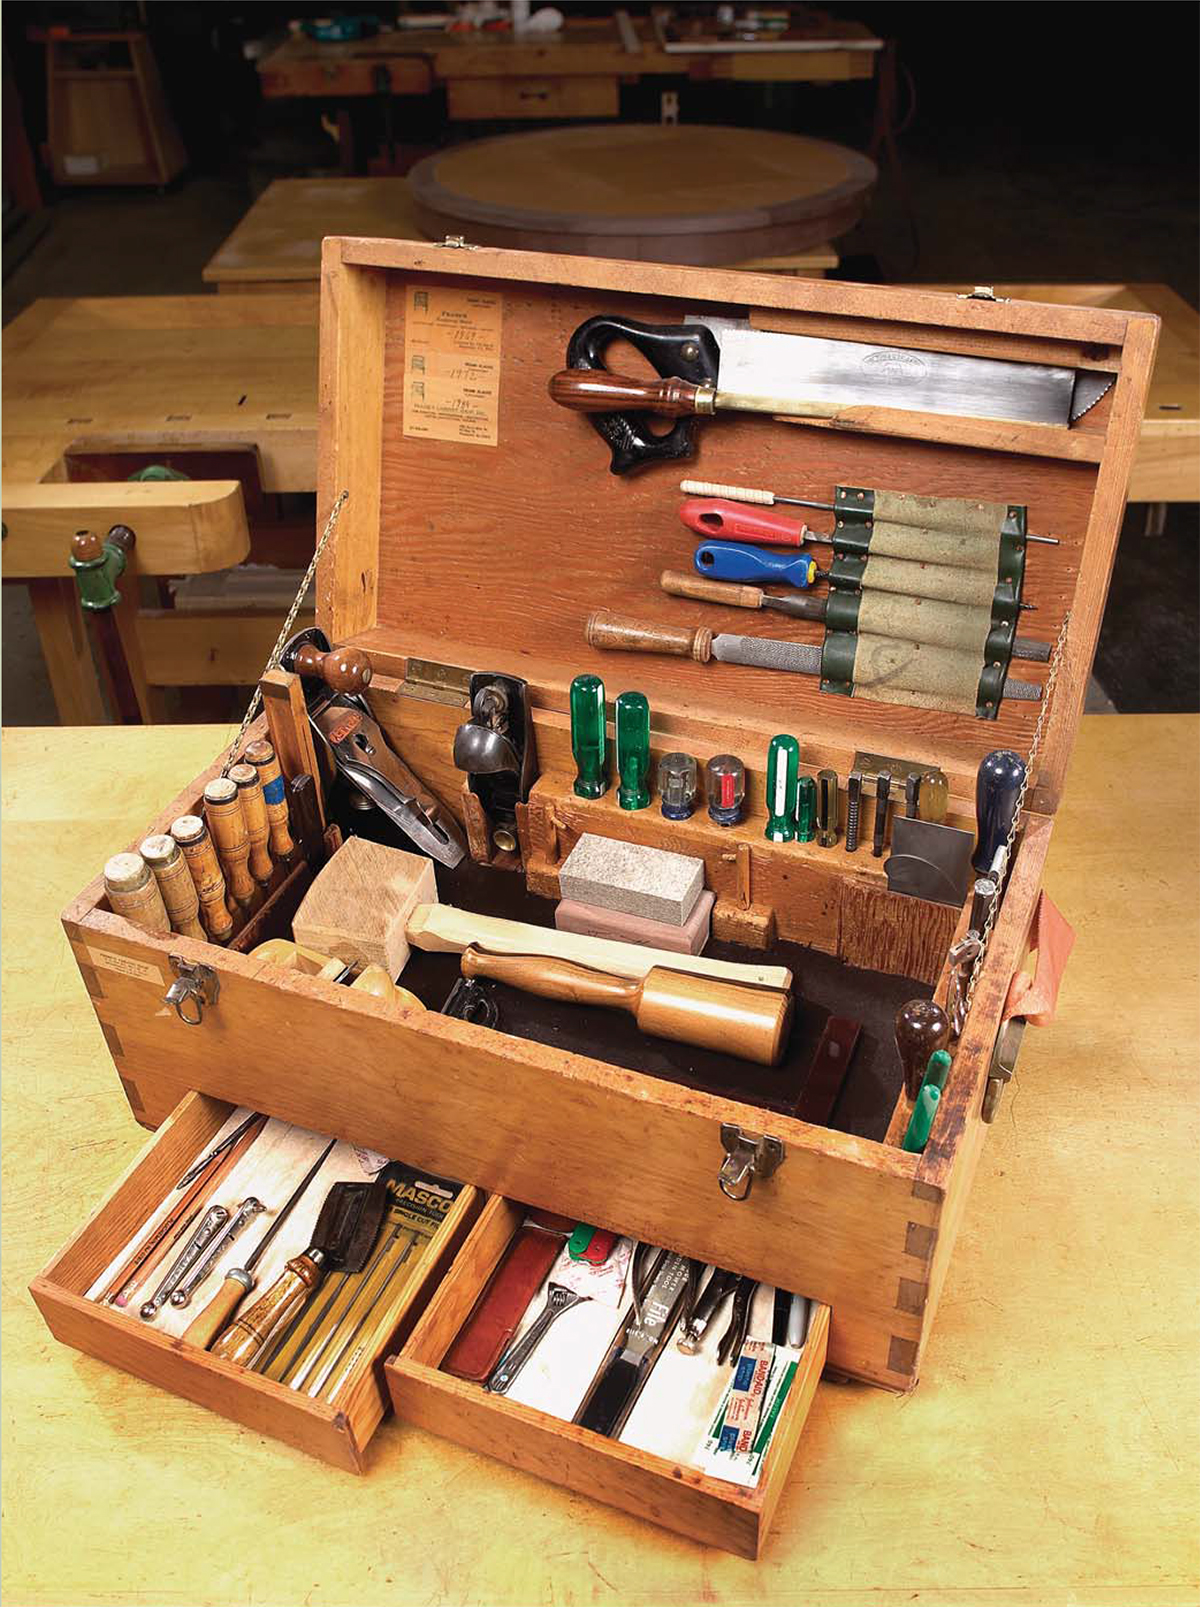
When I came to America, I had a lovely wife, two suitcases and 50 bucks. Oh man, where do I start?
Everybody needs a basic tool kit, especially if you want to do woodworking. I had a limited budget. Starting out in America, I got paid low wages even though I was a Master; they tried to blame it on my language skills. Thank God my first boss did not treat me well or Id probably still be working for him!
I started to buy tools and build this toolbox. The first tool I got was a 10" dovetail saw. You need a marking gauge; I made one. I also bought a 6' folding ruler.

