Marc de Vinck - Electricity for Young Makers: Fun and Easy Do-It-Yourself Projects
Here you can read online Marc de Vinck - Electricity for Young Makers: Fun and Easy Do-It-Yourself Projects full text of the book (entire story) in english for free. Download pdf and epub, get meaning, cover and reviews about this ebook. year: 2017, publisher: Maker Media, genre: Home and family. Description of the work, (preface) as well as reviews are available. Best literature library LitArk.com created for fans of good reading and offers a wide selection of genres:
Romance novel
Science fiction
Adventure
Detective
Science
History
Home and family
Prose
Art
Politics
Computer
Non-fiction
Religion
Business
Children
Humor
Choose a favorite category and find really read worthwhile books. Enjoy immersion in the world of imagination, feel the emotions of the characters or learn something new for yourself, make an fascinating discovery.
- Book:Electricity for Young Makers: Fun and Easy Do-It-Yourself Projects
- Author:
- Publisher:Maker Media
- Genre:
- Year:2017
- Rating:5 / 5
- Favourites:Add to favourites
- Your mark:
Electricity for Young Makers: Fun and Easy Do-It-Yourself Projects: summary, description and annotation
We offer to read an annotation, description, summary or preface (depends on what the author of the book "Electricity for Young Makers: Fun and Easy Do-It-Yourself Projects" wrote himself). If you haven't found the necessary information about the book — write in the comments, we will try to find it.
Learning to be a maker has never been more fun. Lavishly illustrated with cartoons and drawings, this book guides the reader through six hands-on projects using electricity. Discover the electrical potential lurking in a stack of pennies - enough to light up an LED or power a calculator! Launch a flying LED copter into the air. Make a speaker that plays music from an index card. Build working motors from a battery, a magnet, and some copper wire. Have fun while learning about and exploring the world of electricity. The projects in this book illuminate such concepts as electric circuits, electromagnetism, electroluminescence, the Lorentz force and more. Youll be amazed by the results you get with a handful of simple materials.
Marc de Vinck: author's other books
Who wrote Electricity for Young Makers: Fun and Easy Do-It-Yourself Projects? Find out the surname, the name of the author of the book and a list of all author's works by series.

Electricity for Young Makers: Fun and Easy Do-It-Yourself Projects — read online for free the complete book (whole text) full work
Below is the text of the book, divided by pages. System saving the place of the last page read, allows you to conveniently read the book "Electricity for Young Makers: Fun and Easy Do-It-Yourself Projects" online for free, without having to search again every time where you left off. Put a bookmark, and you can go to the page where you finished reading at any time.
Font size:
Interval:
Bookmark:
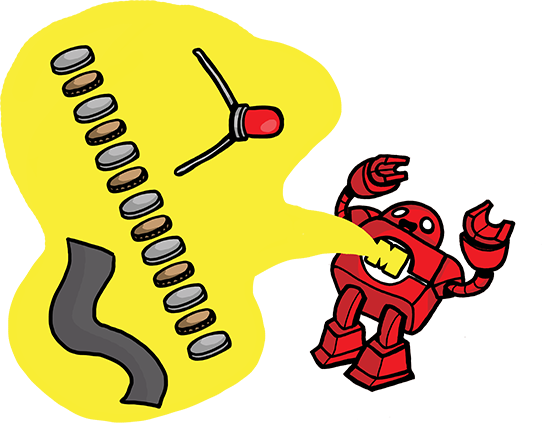
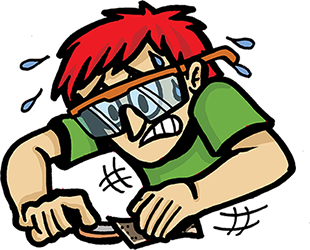
Yes, you read that right. Y Were going to power a flashlight with pennies. Y No store-bought batteries here! Y Well be making our own power source with pennies and cardboard. Y Did I mention that were also building the flashlight? Y We just need an LED and a few things you probably have around the house. Y Prepare to illuminate!
 safety glasses
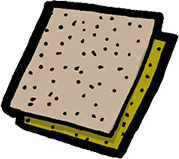 medium- or fine-grit sandpaper
 scissors
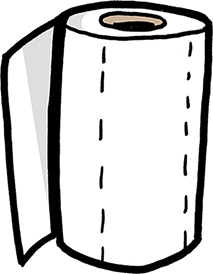 paper towels
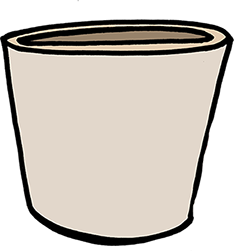 paper or plastic cup
 pencil
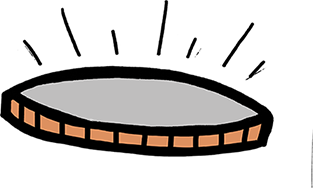
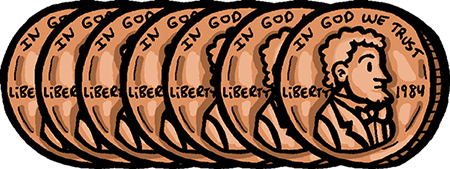 7 pennies, made in 1983 or later
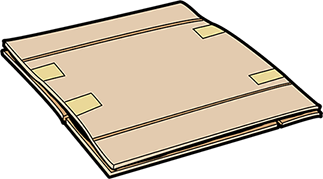 scrap cardboard, about 6 inches square
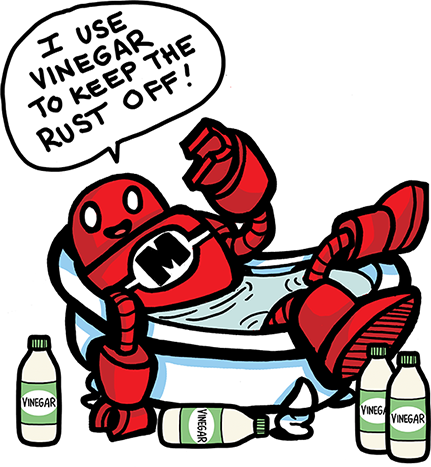
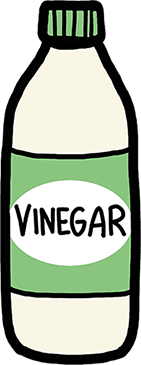 vinegar, pour into the cup
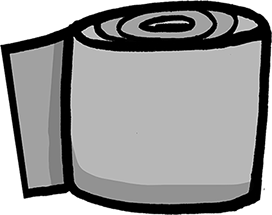 duct tape, 5-inch-long piece
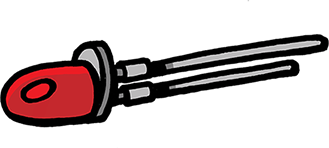 1 LED, red
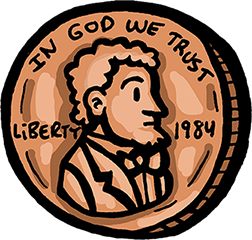
STEP 1
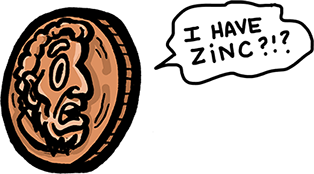
Gather seven pennies that were made in 1983 or later. You can tell when a penny was made by looking at the date on the front of it. Pennies made in 1983 and later have zinc in them, which is what we need for this project.

Did You Know?

The LED, or light emitting diode, was first invented in the 1960s, but the idea of a form of light that could be produced from silicon was conceived of way back in the early 1900s.
STEP 2
Put on your safety glasses and sand one side of each penny until it has a silver-looking finish. Thats the zinc! It could take a while to sand away the copper (brown finish), but the zinc is under there.
STEP 3
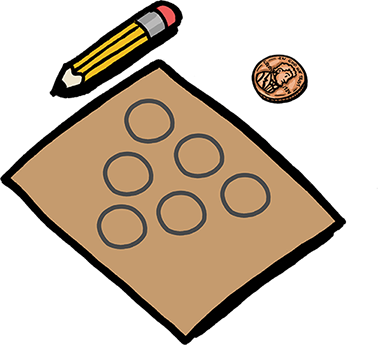
Place a penny on a piece of cardboard and trace around it six different times. Cut out the six cardboard circles and put them in the cup of vinegar.
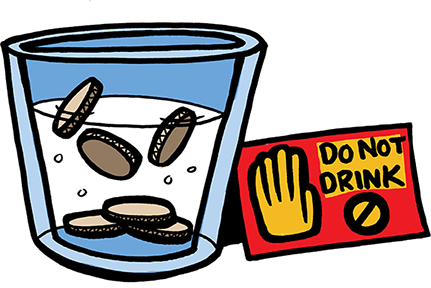
Once they are completely saturated with vinegar, take the cardboard circles out and use a paper towel to wipe off the excess vinegar.
STEP 4
Now lets build the battery. Cut a piece of duct tape about inch wide and 5 inches long. Lay it flat on a surfacesticky side up. Place 1 sanded pennyzinc (silvery) side upin the middle of the tape.

STEP 5
Place a cardboard circle on top of the penny. Place another pennyzinc side upon top of the cardboard circle. Continue to do this until youve placed all pennies and cardboard circles in one stack. A penny with the zinc side facing up should be at the top of the stack.

Make sure none of the pennies are touching each other. If they touch, it will create a short circuit, and the battery wont work. Dont squeeze the stack of pennies either. The harder you squeeze the stack, the lower the voltage the battery will produce. Red LEDs are best for this project because they dont need much voltage to light up, but if you dont generate enough voltage or if theres a short circuit, the flashlight wont work.
STEP 6
Bring one long end of the duct tape up along the side of the stack, wrap it across the top, and then down along the other side of the stack to the other side of the duct tape. The two long ends of the duct tape should meet at the bottom of the stack. Stick them together. Cut off excess tape after the long ends meet. The other two sides of the stack should remain open so we can attach the LED.
Next pageFont size:
Interval:
Bookmark:
Similar books «Electricity for Young Makers: Fun and Easy Do-It-Yourself Projects»
Look at similar books to Electricity for Young Makers: Fun and Easy Do-It-Yourself Projects. We have selected literature similar in name and meaning in the hope of providing readers with more options to find new, interesting, not yet read works.
Discussion, reviews of the book Electricity for Young Makers: Fun and Easy Do-It-Yourself Projects and just readers' own opinions. Leave your comments, write what you think about the work, its meaning or the main characters. Specify what exactly you liked and what you didn't like, and why you think so.